Olive and Chive Cream Cheese Buns
Published: August 14, 2026
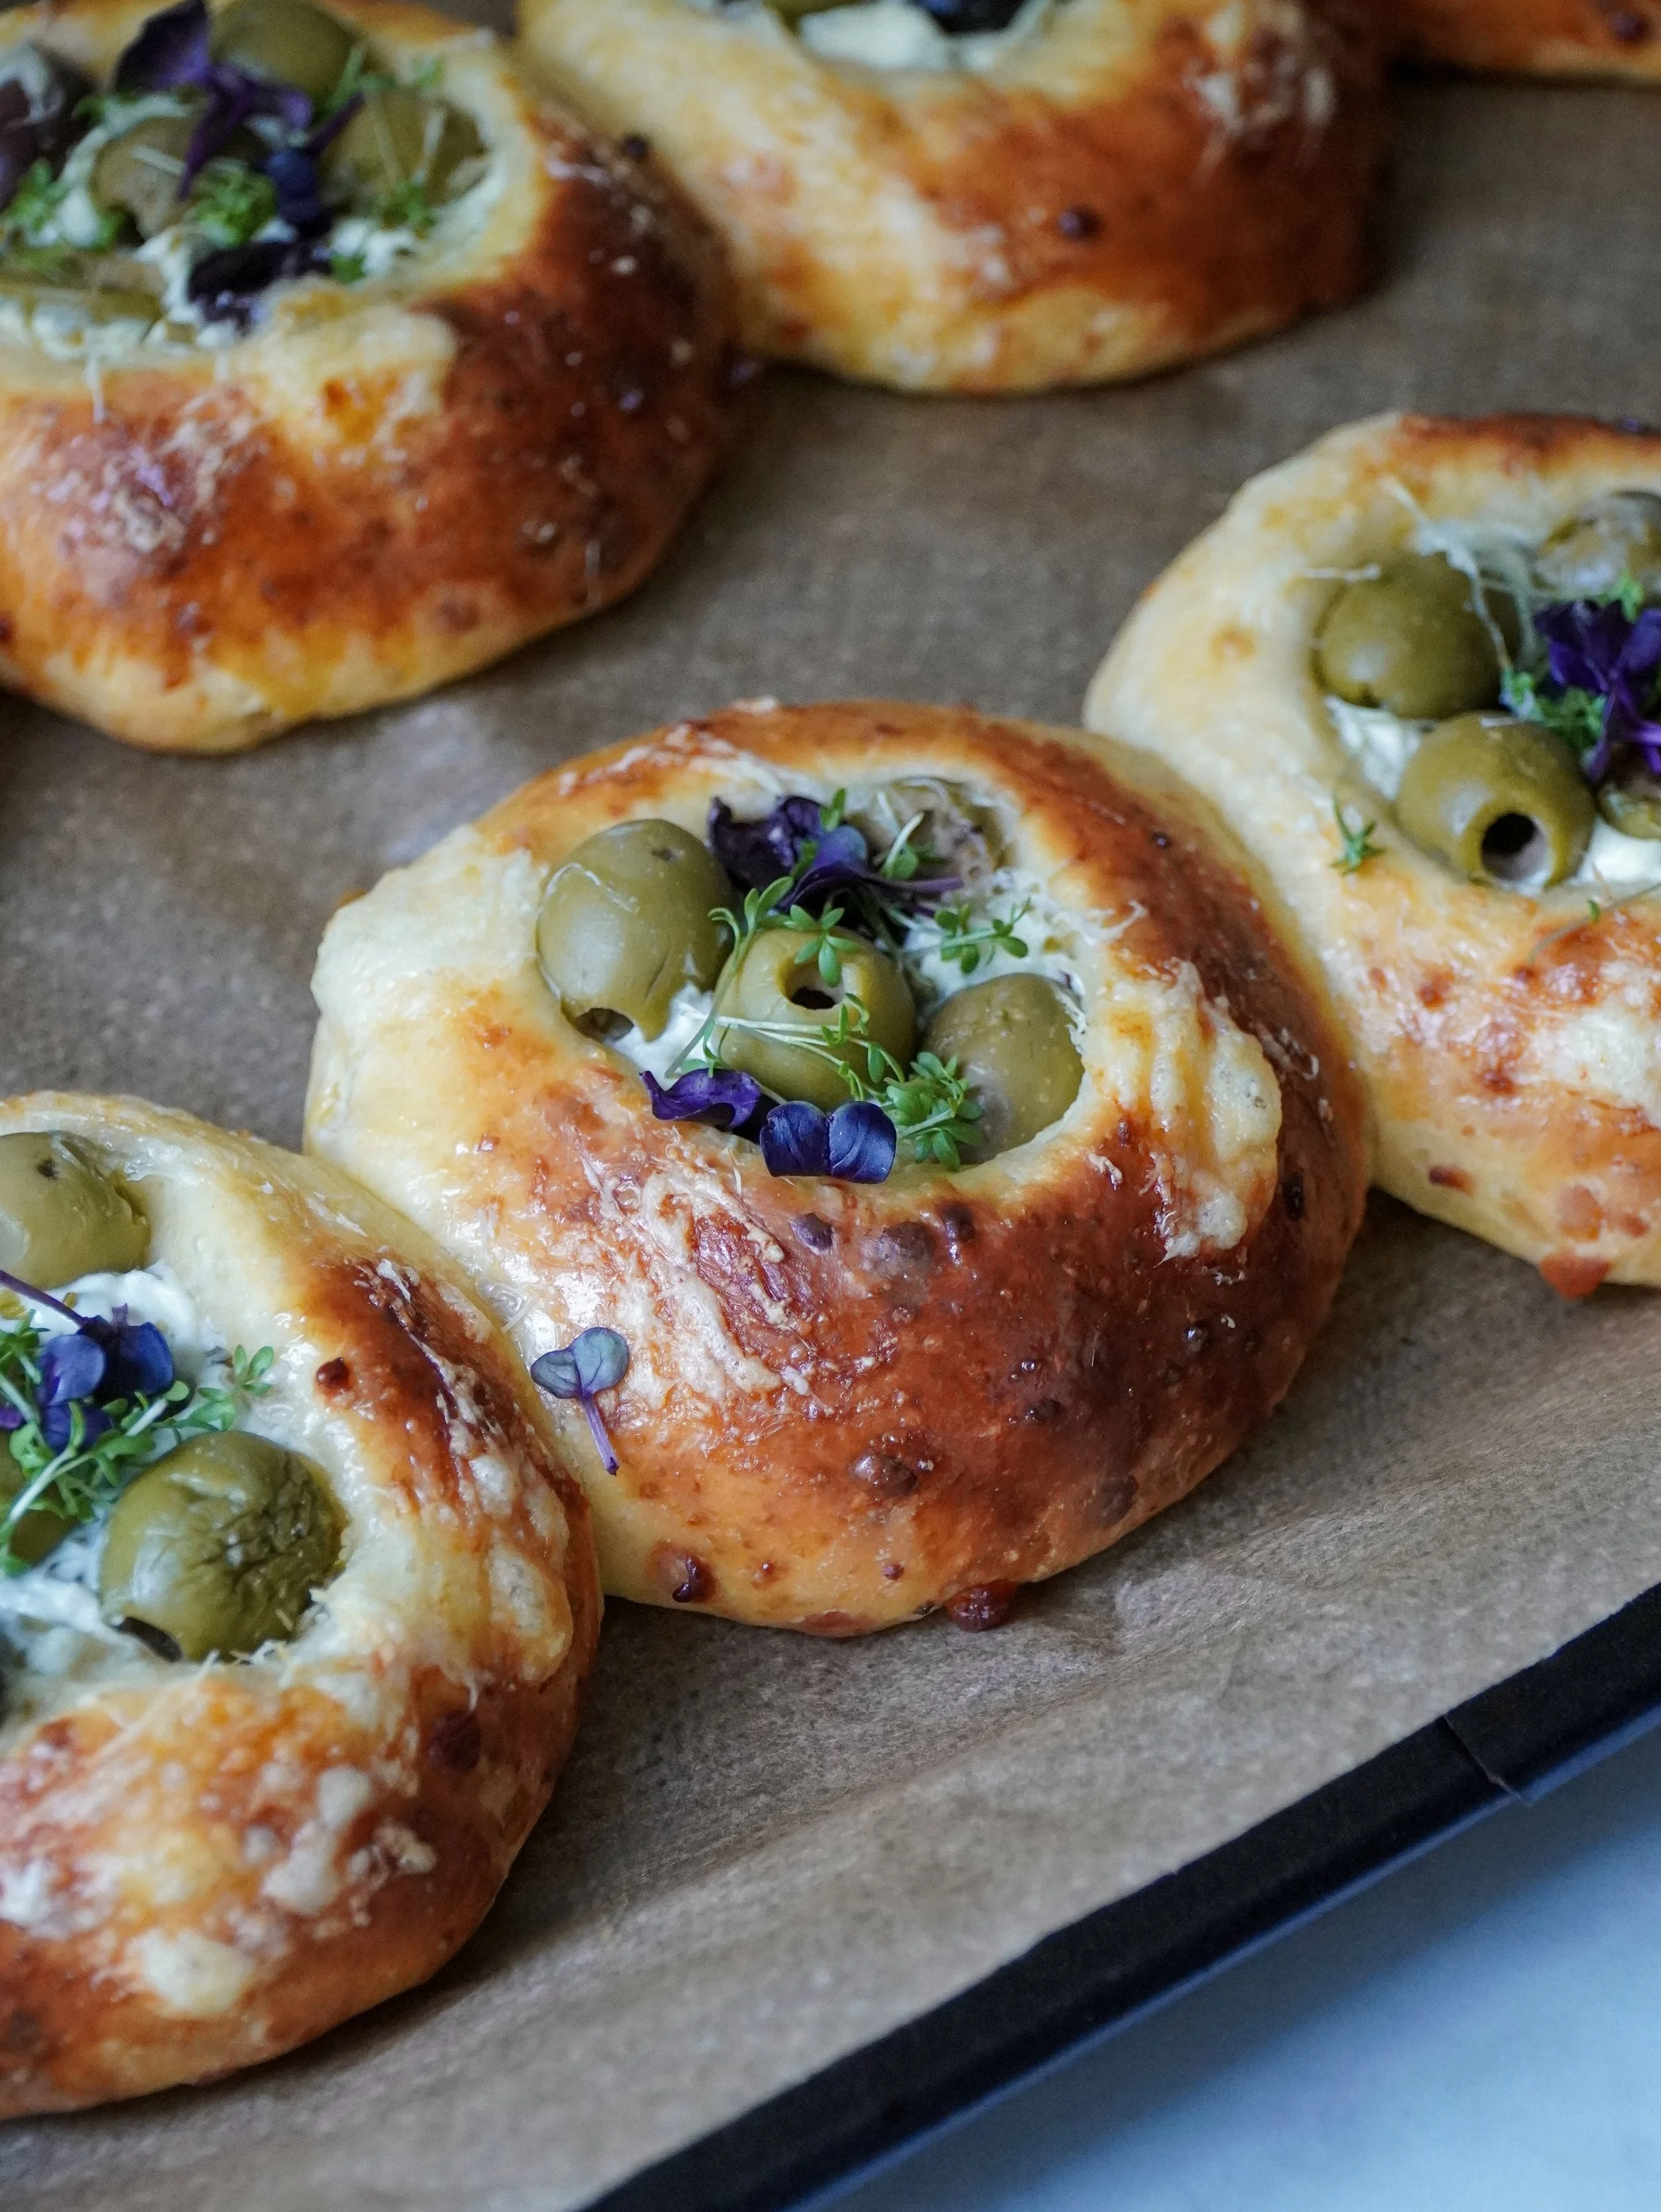
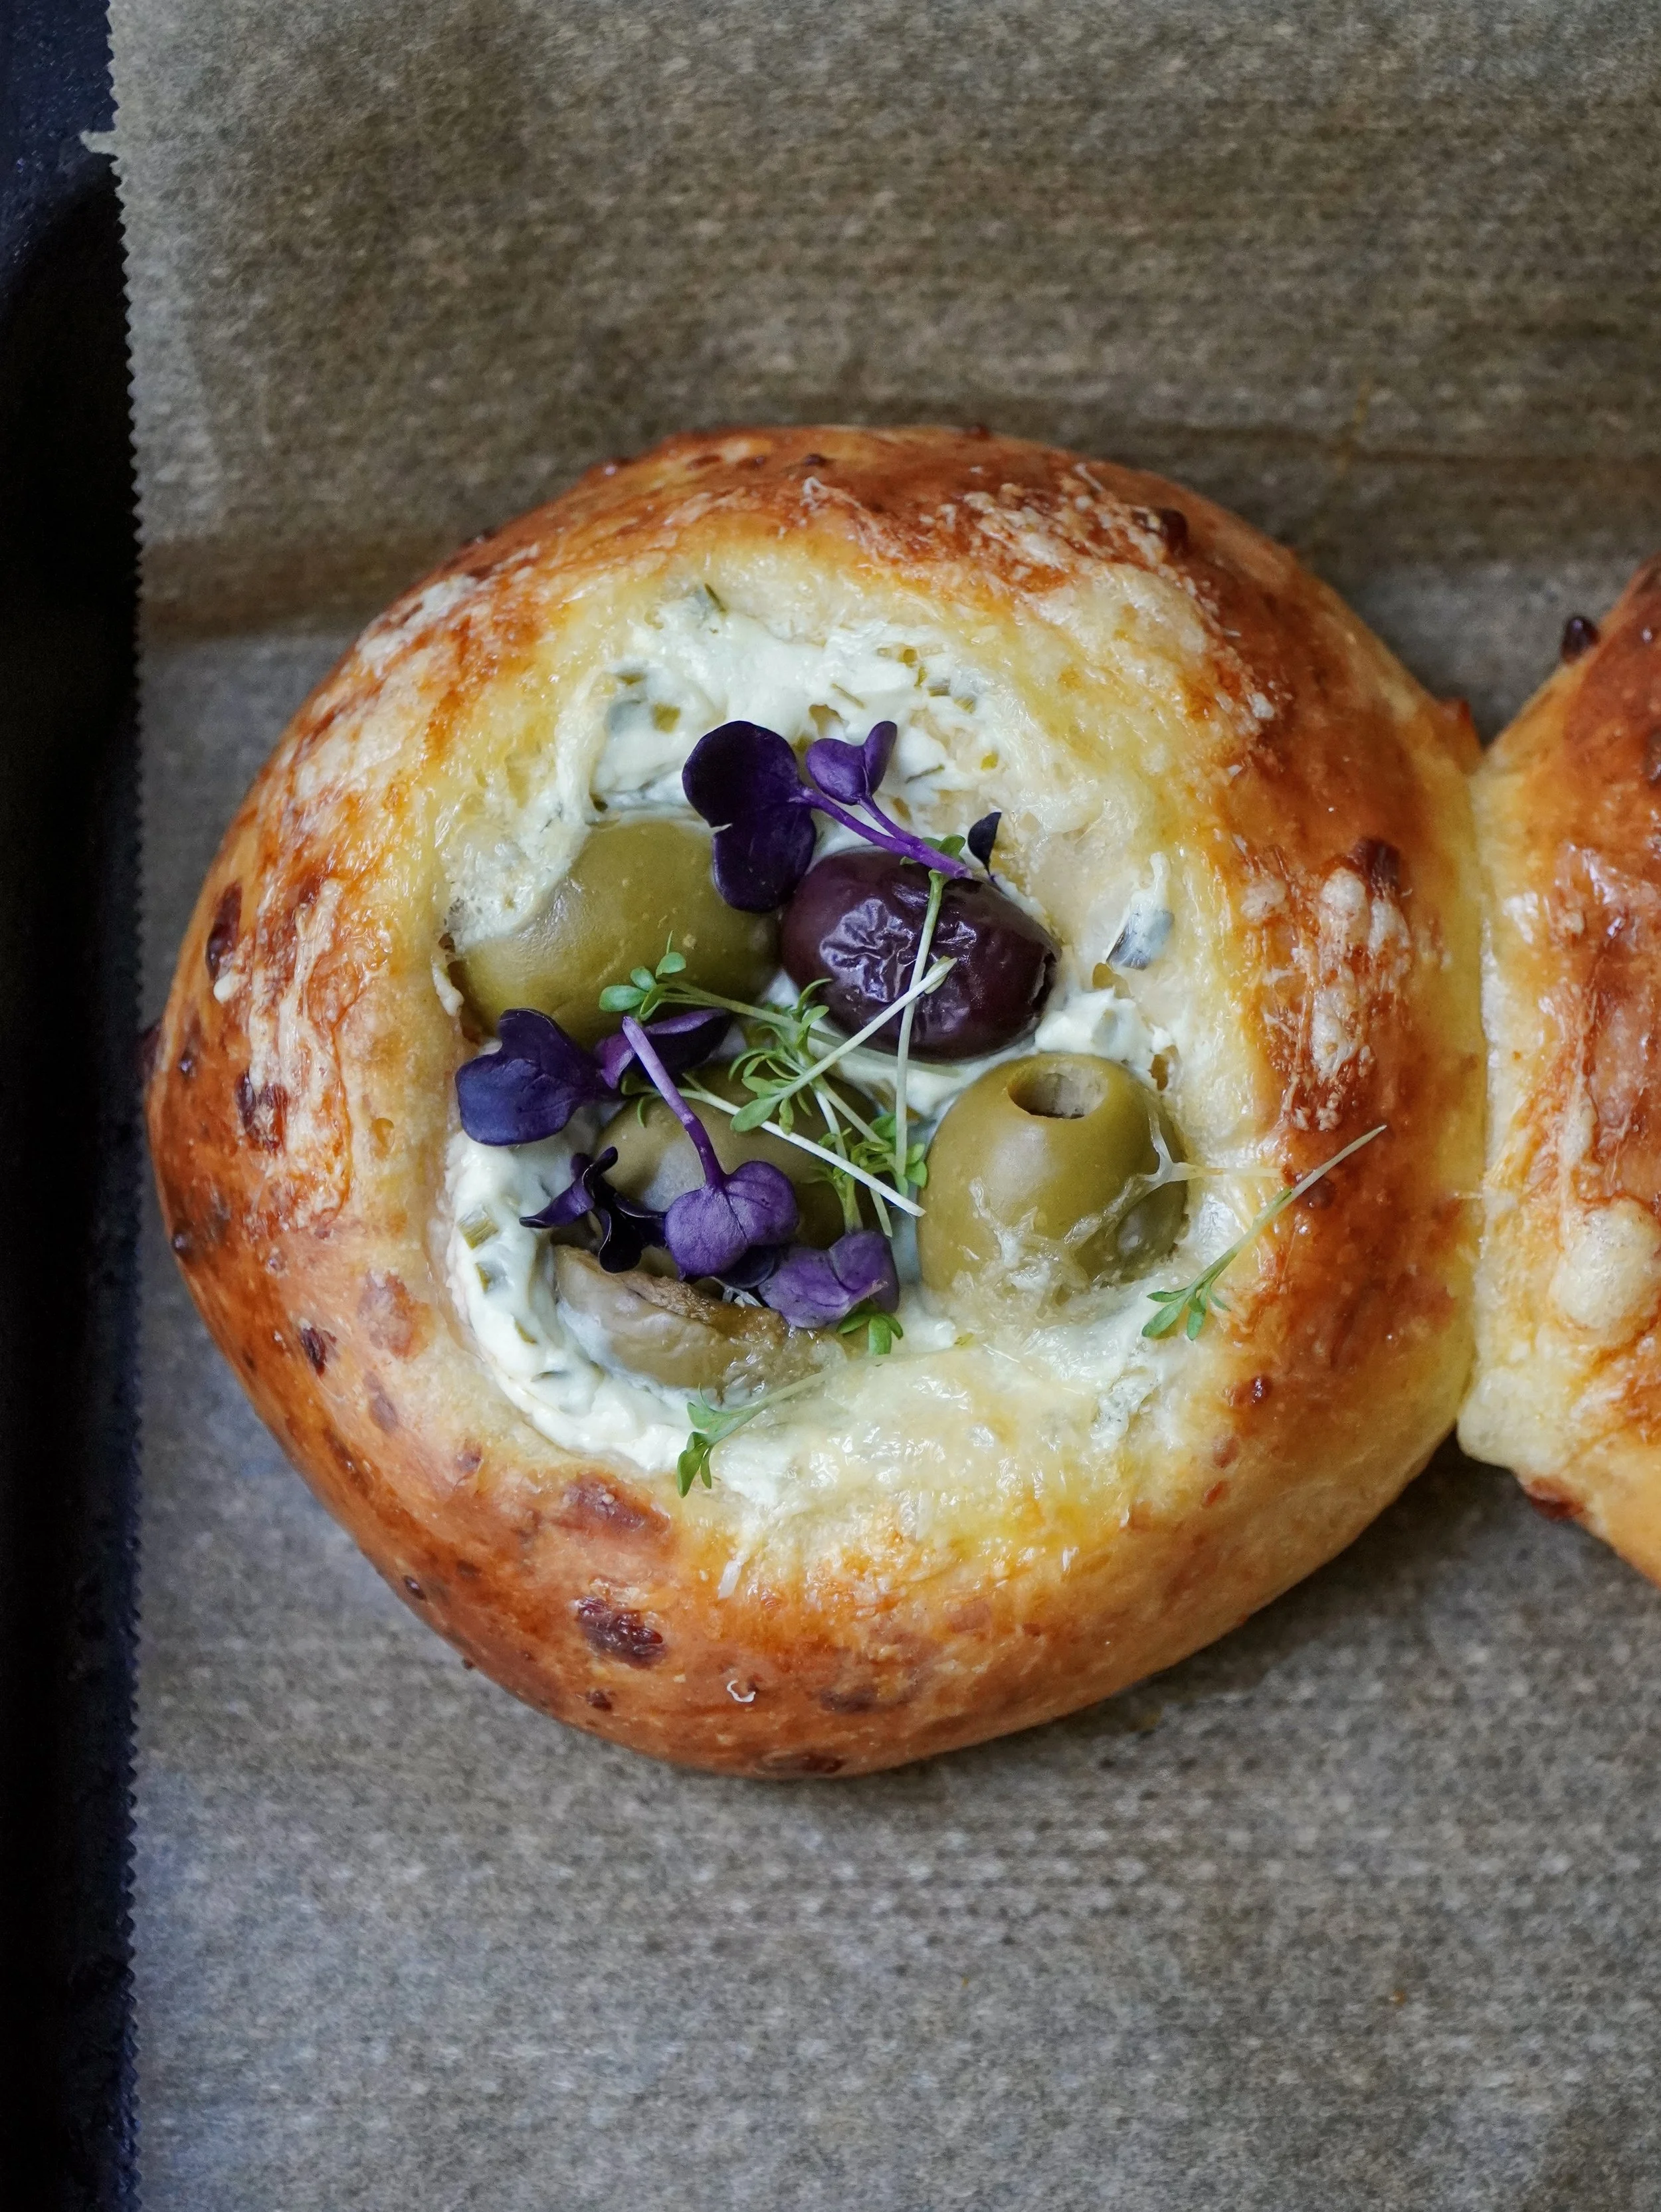
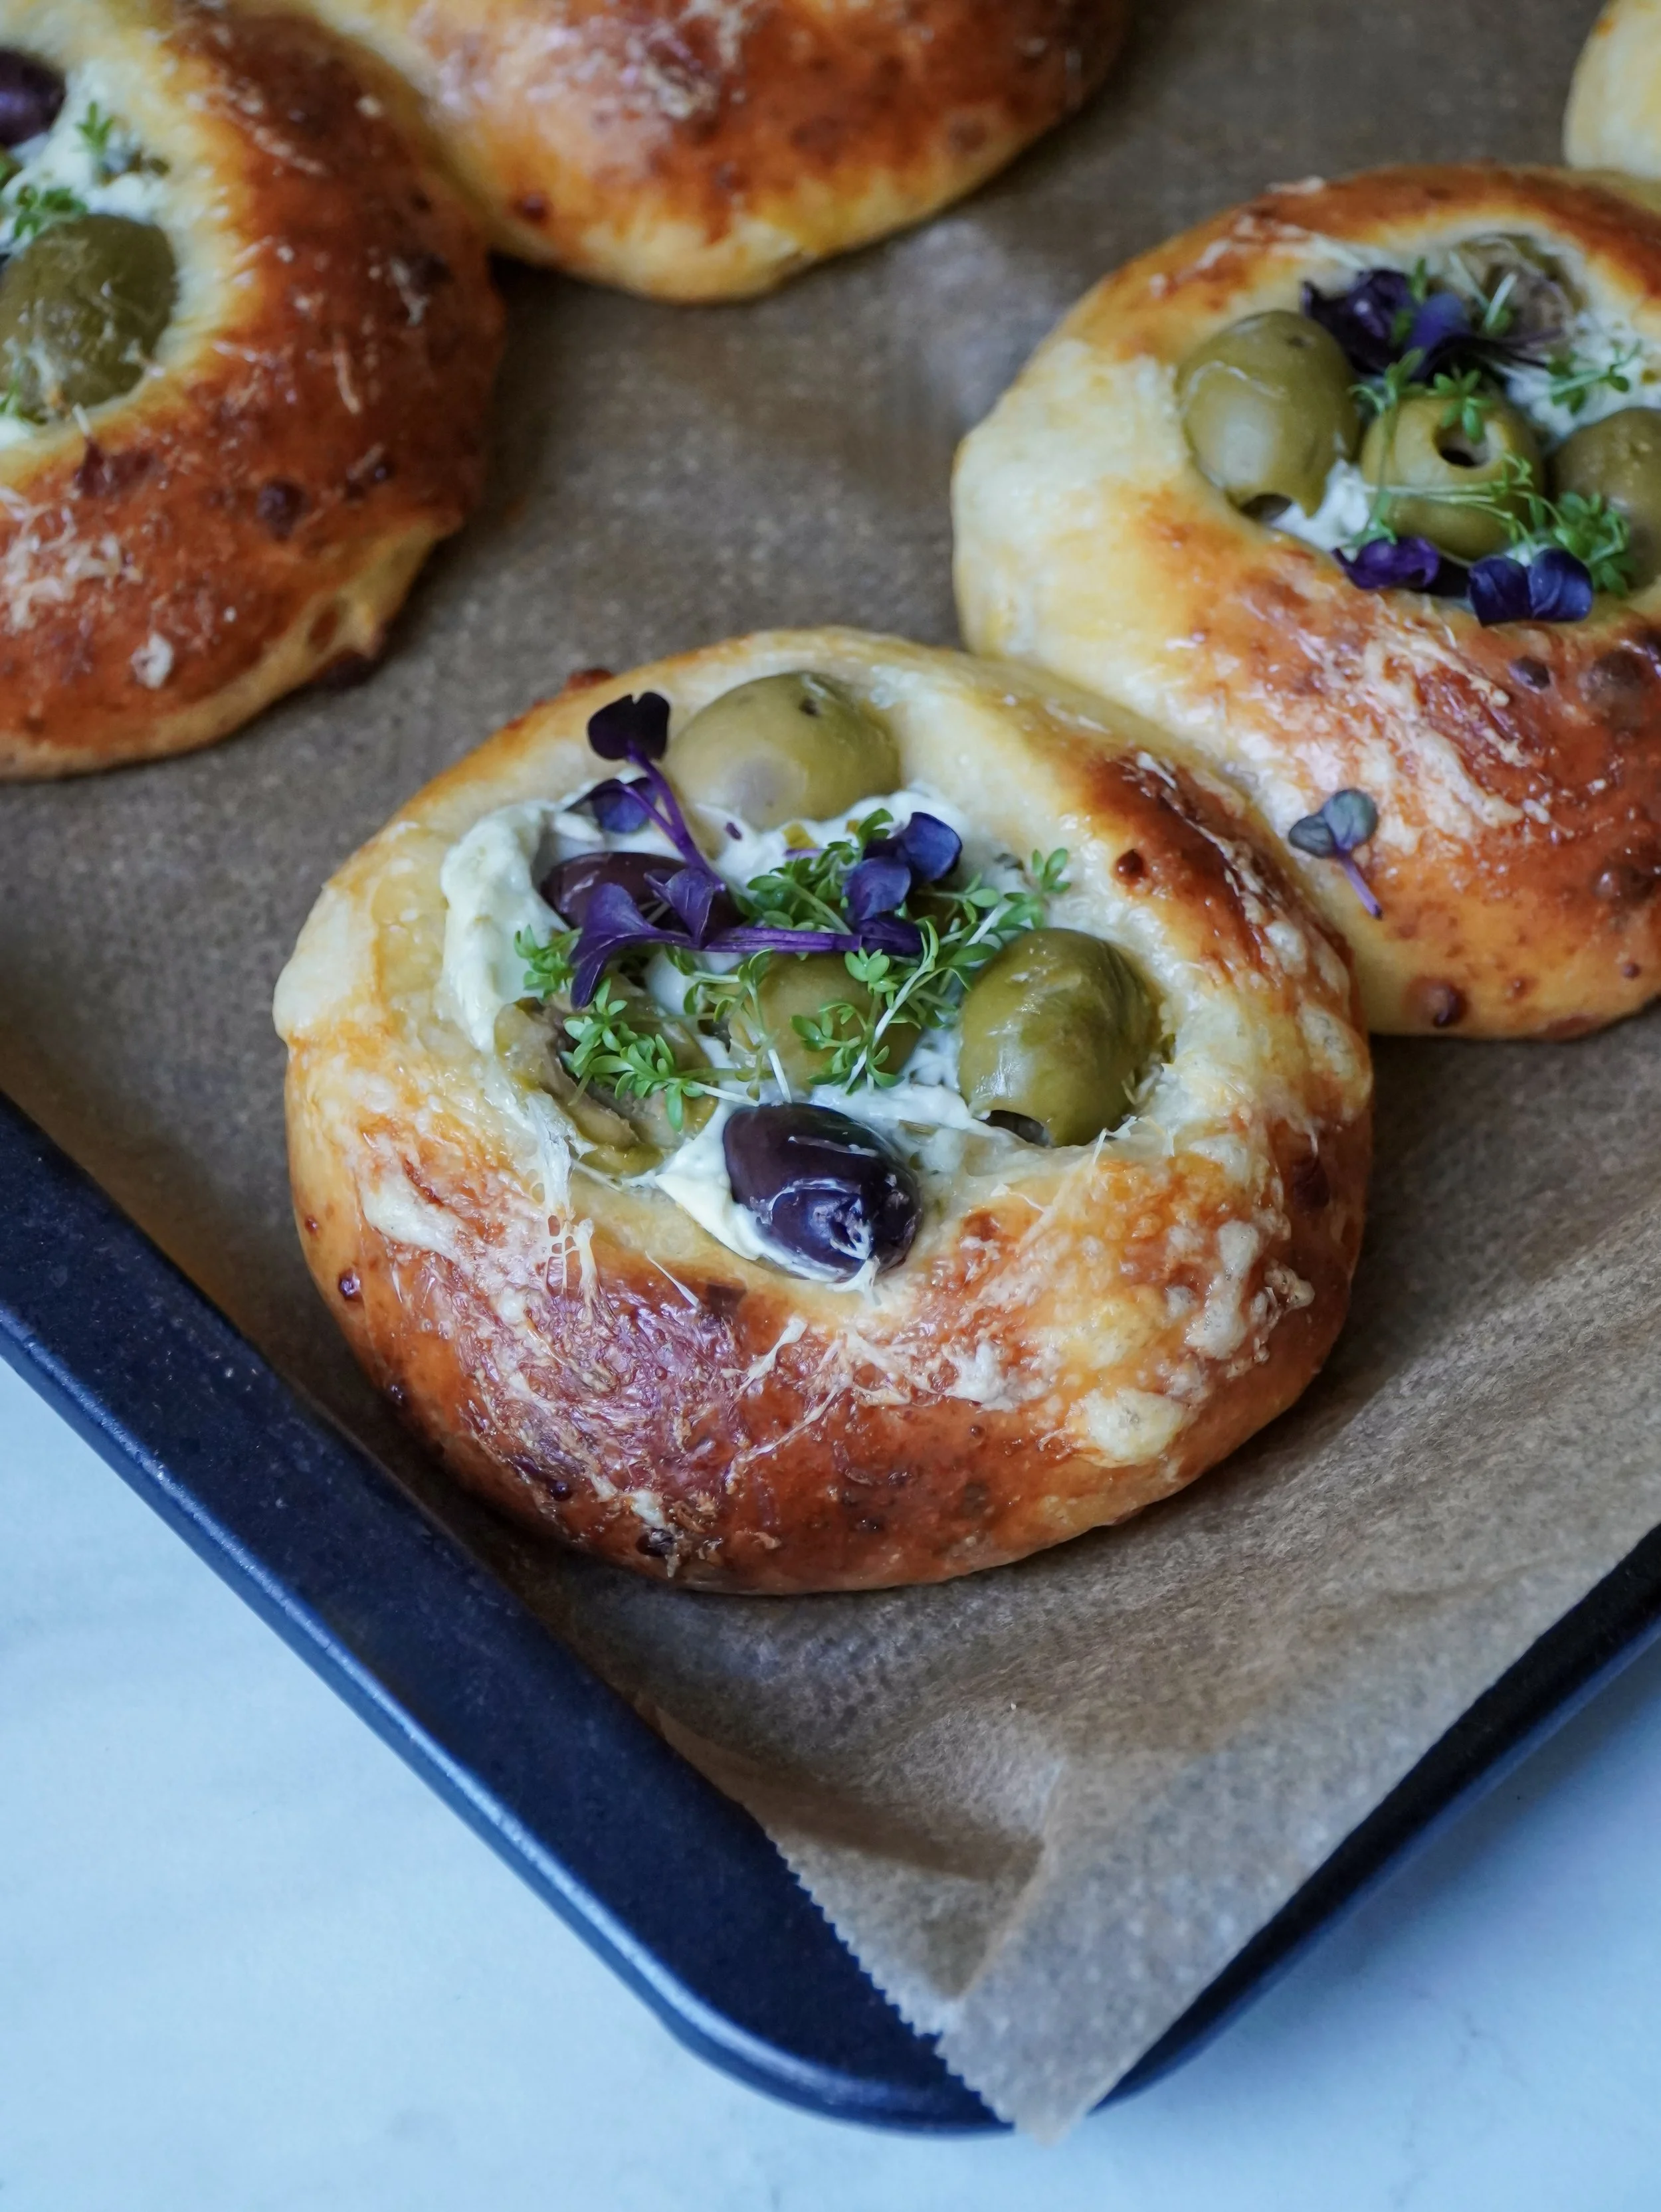
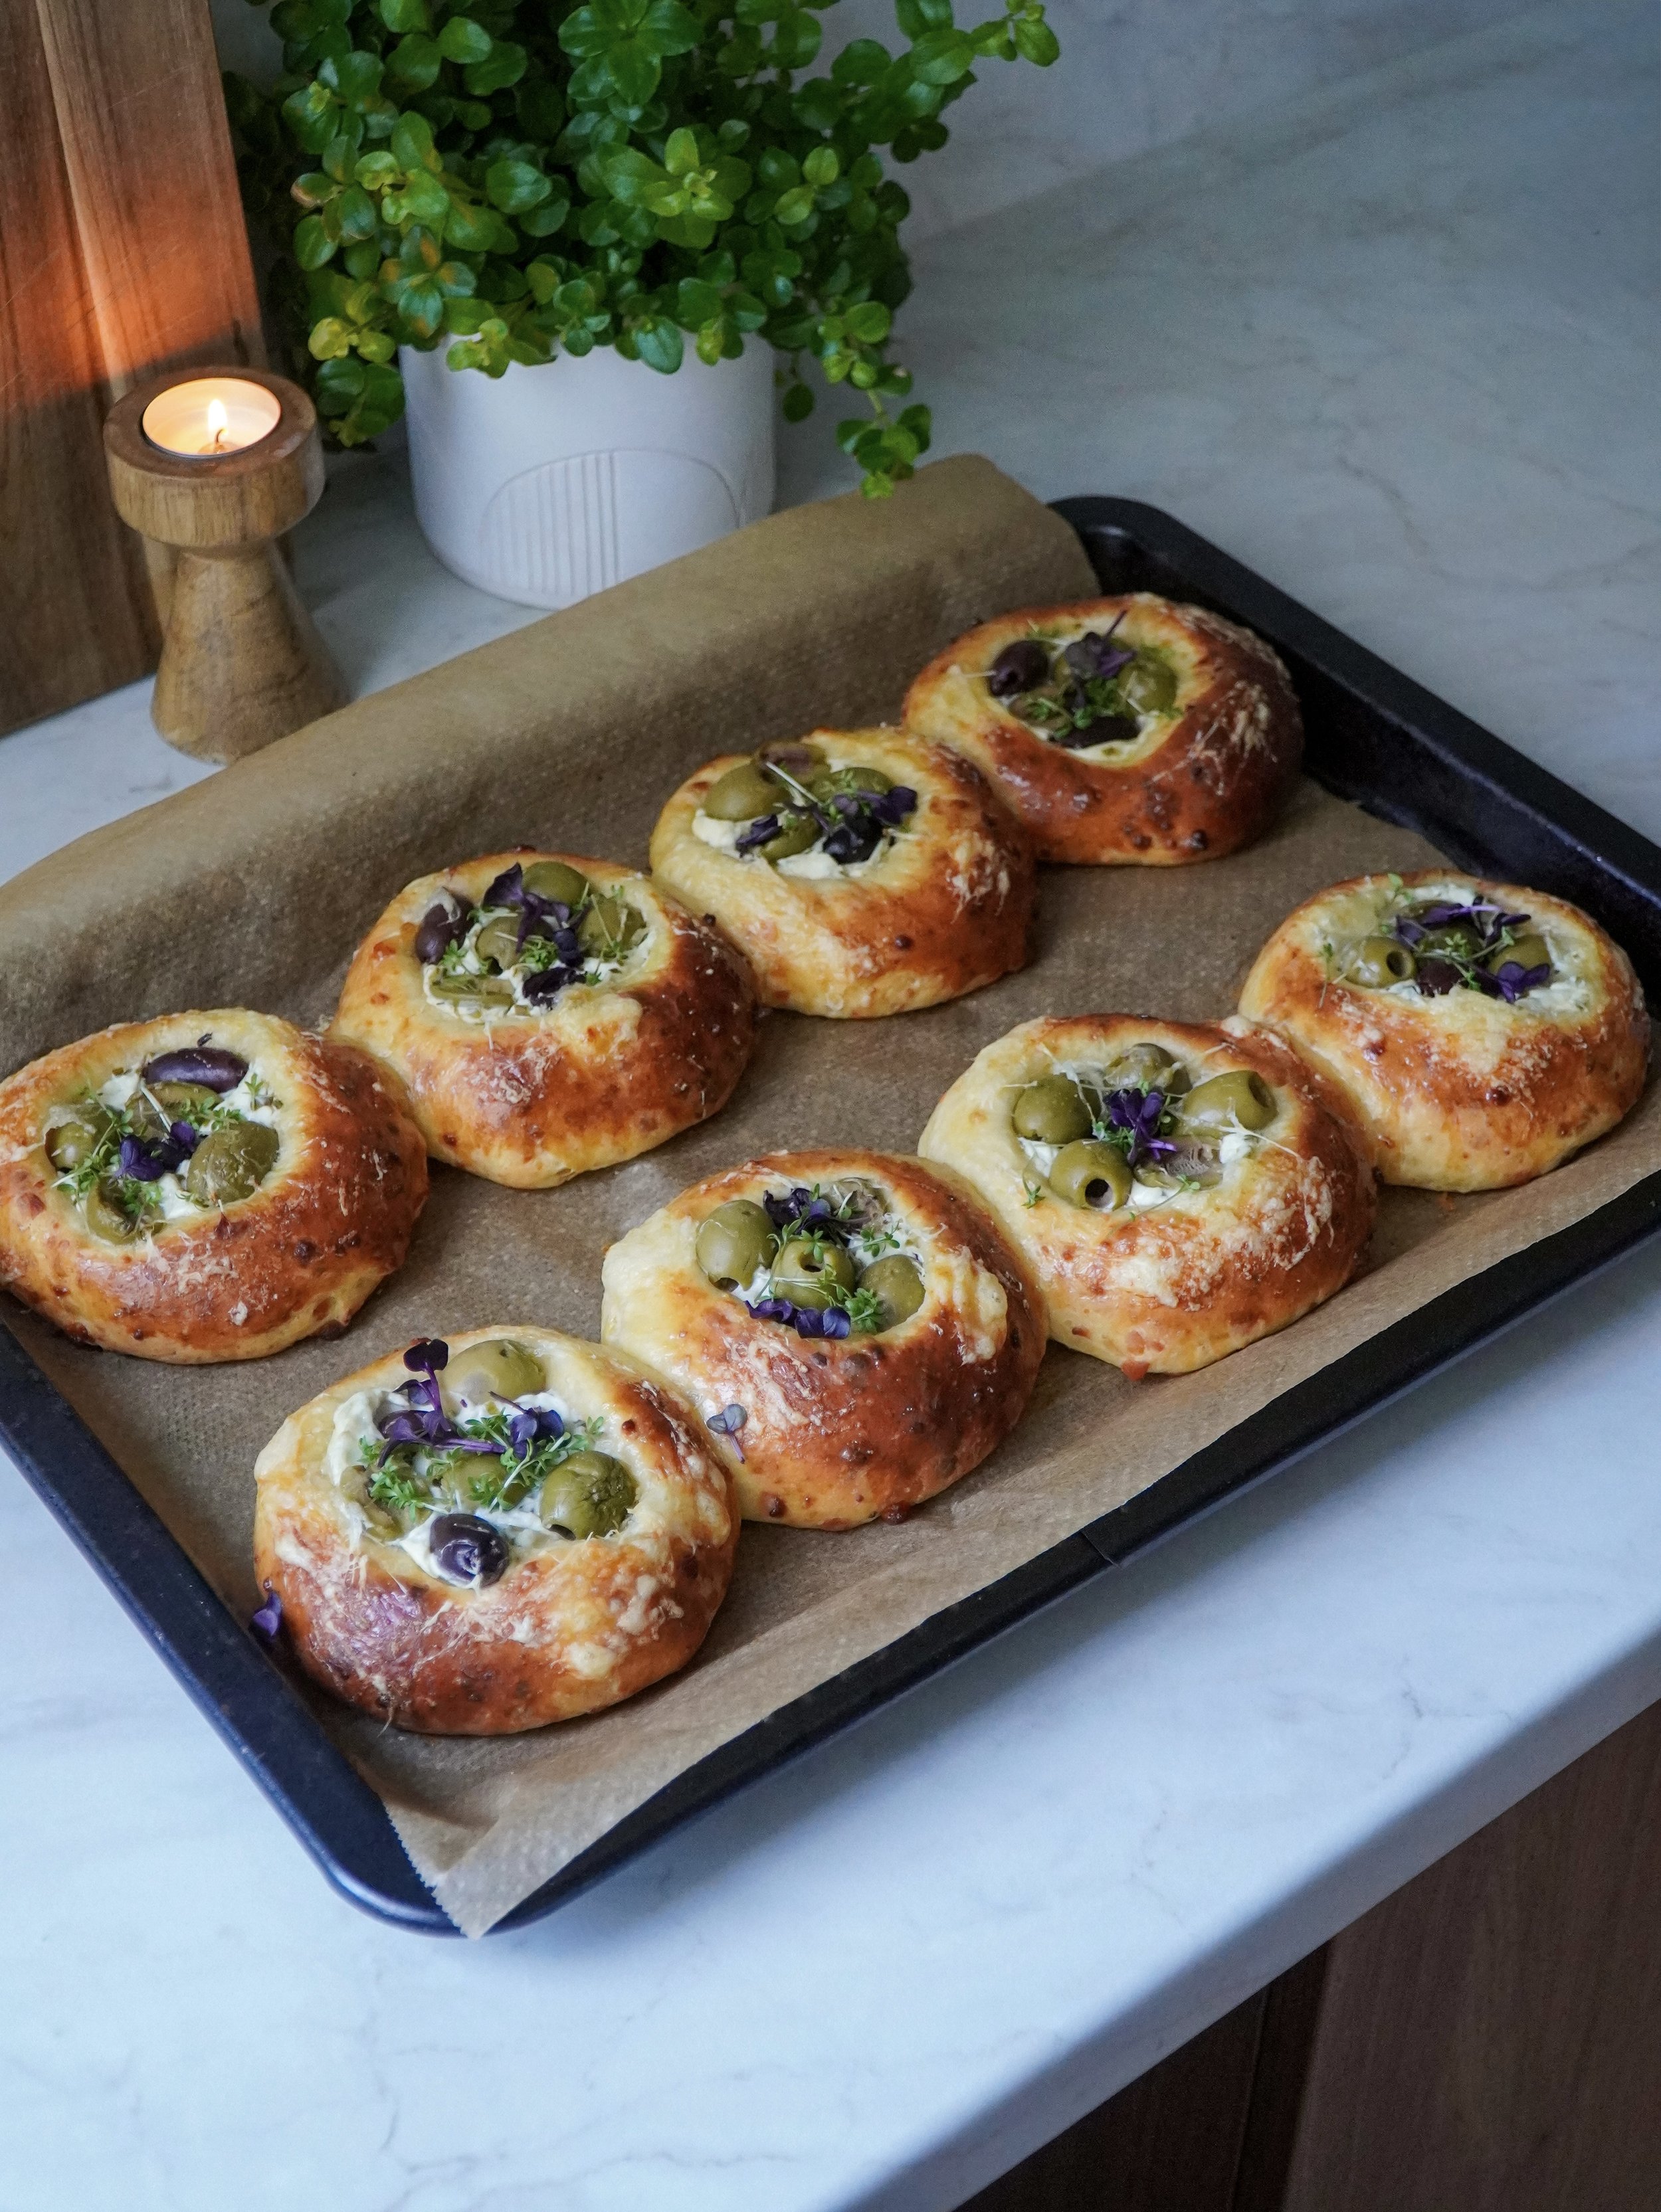
These Danish-style Olive and Chive Cream Cheese Buns are soft, pillowy and incredibly delicious. Made with cheese baked directly into the dough, filled with a creamy chive cream cheese filling and topped with olives, these buns are the perfect savory treat for appetizers, breakfast, brunch or a cozy afternoon snack.
WHY YOU’LL LOVE THIS RECIPE
💚Soft and pillowy dough - These buns have a light, fluffy texture that makes every bite incredibly satisfying and perfect for a savory pastry.
💚Cheese baked directly into the dough - The cheese melts throughout the dough, adding extra flavor and creating delicious cheesy pockets in every bite.
💚Creamy chive cream cheese filling - The smooth cream cheese filling adds richness and pairs beautifully with the savory flavors of the dough and olives.
💚Perfect for any time of the day - These buns are delicious for breakfast, brunch, appetizers or even as a cozy afternoon snack.
Tips and Tricks
→ Do not skip the proofing times - Both proofing stages are extremely important for achieving soft, fluffy and pillowy buns. The first proof allows the dough to ferment and develop flavor while also giving the yeast time to create a light texture. The second proof, after shaping the buns, helps them become airy and ensures they bake up beautifully soft instead of dense. Make sure to give the dough enough time to rise properly, as proofing times can vary depending on the temperature of your kitchen.
→ Try not to overbake the buns - Overbaking can quickly turn these soft, cheesy buns into a dry and firm pastry. Keep an eye on them towards the end of the baking time and remove them from the oven once they are lightly golden on top. They will continue to set slightly as they cool, while still keeping their soft and fluffy texture.
→ Brush with olive oil before serving - Once the buns come out of the oven, brush them with a little olive oil for an extra boost of flavor. This adds a beautiful savory finish and enhances the olive flavor while also giving the tops a lovely shine.
→ Use a stand mixer if you have one - While you can absolutely make this dough by hand, I highly recommend using a stand mixer if you have one. Enriched doughs can be slightly sticky and require a longer kneading time to develop the right texture. A stand mixer makes the process easier and helps create a smooth, elastic dough without needing to add extra flour.
→ Serve them warm - These buns are at their absolute best when served warm, straight from the oven or gently reheated. The cheese inside the dough becomes soft and melty, the cream cheese filling is extra creamy and the overall texture is much closer to freshly baked.
→ Store leftovers properly - When I make these buns, I usually store them at room temperature for a few hours if my kitchen is not too warm. I wrap each bun individually in plastic wrap and place them in an airtight container to keep them soft and fresh.
If you have a lot of leftovers, you can also store them in the fridge. Wrap each bun tightly in plastic wrap, place them in an airtight container and refrigerate for up to a few days. Since the fridge can make the dough slightly firm, I recommend warming them up for about 30 seconds in the microwave or reheating them gently in the oven before serving. This brings back their soft, fluffy texture and makes them taste almost as good as when they first came out of the oven.
How to Serve These Buns?!
These Olive and Chive Cream Cheese Buns are incredibly versatile and can be enjoyed in so many different ways. Here are a few of my favorite ways to serve them:
For Breakfast: Serve them warm in the morning with a cup of coffee or tea for a cozy and satisfying breakfast. The soft cheesy dough and creamy filling make them filling enough to enjoy on their own.
As an Appetizer: These buns make a wonderful appetizer for gatherings, brunches or holiday spreads. Arrange them on a serving platter with extra olives, fresh herbs, or a small bowl of olive oil for dipping.
As a Snack: They're perfect as an afternoon snack when you want something savory and comforting. Simply warm one up for a few seconds and enjoy it.
Serve with Kefir: One of my favorite pairings is serving these buns with a cold glass of kefir. The slight tanginess of the kefir pairs beautifully with the rich cheese, olives and soft dough, making it a delicious and surprisingly refreshing combination.
Ingredients You Will Need For This Recipe
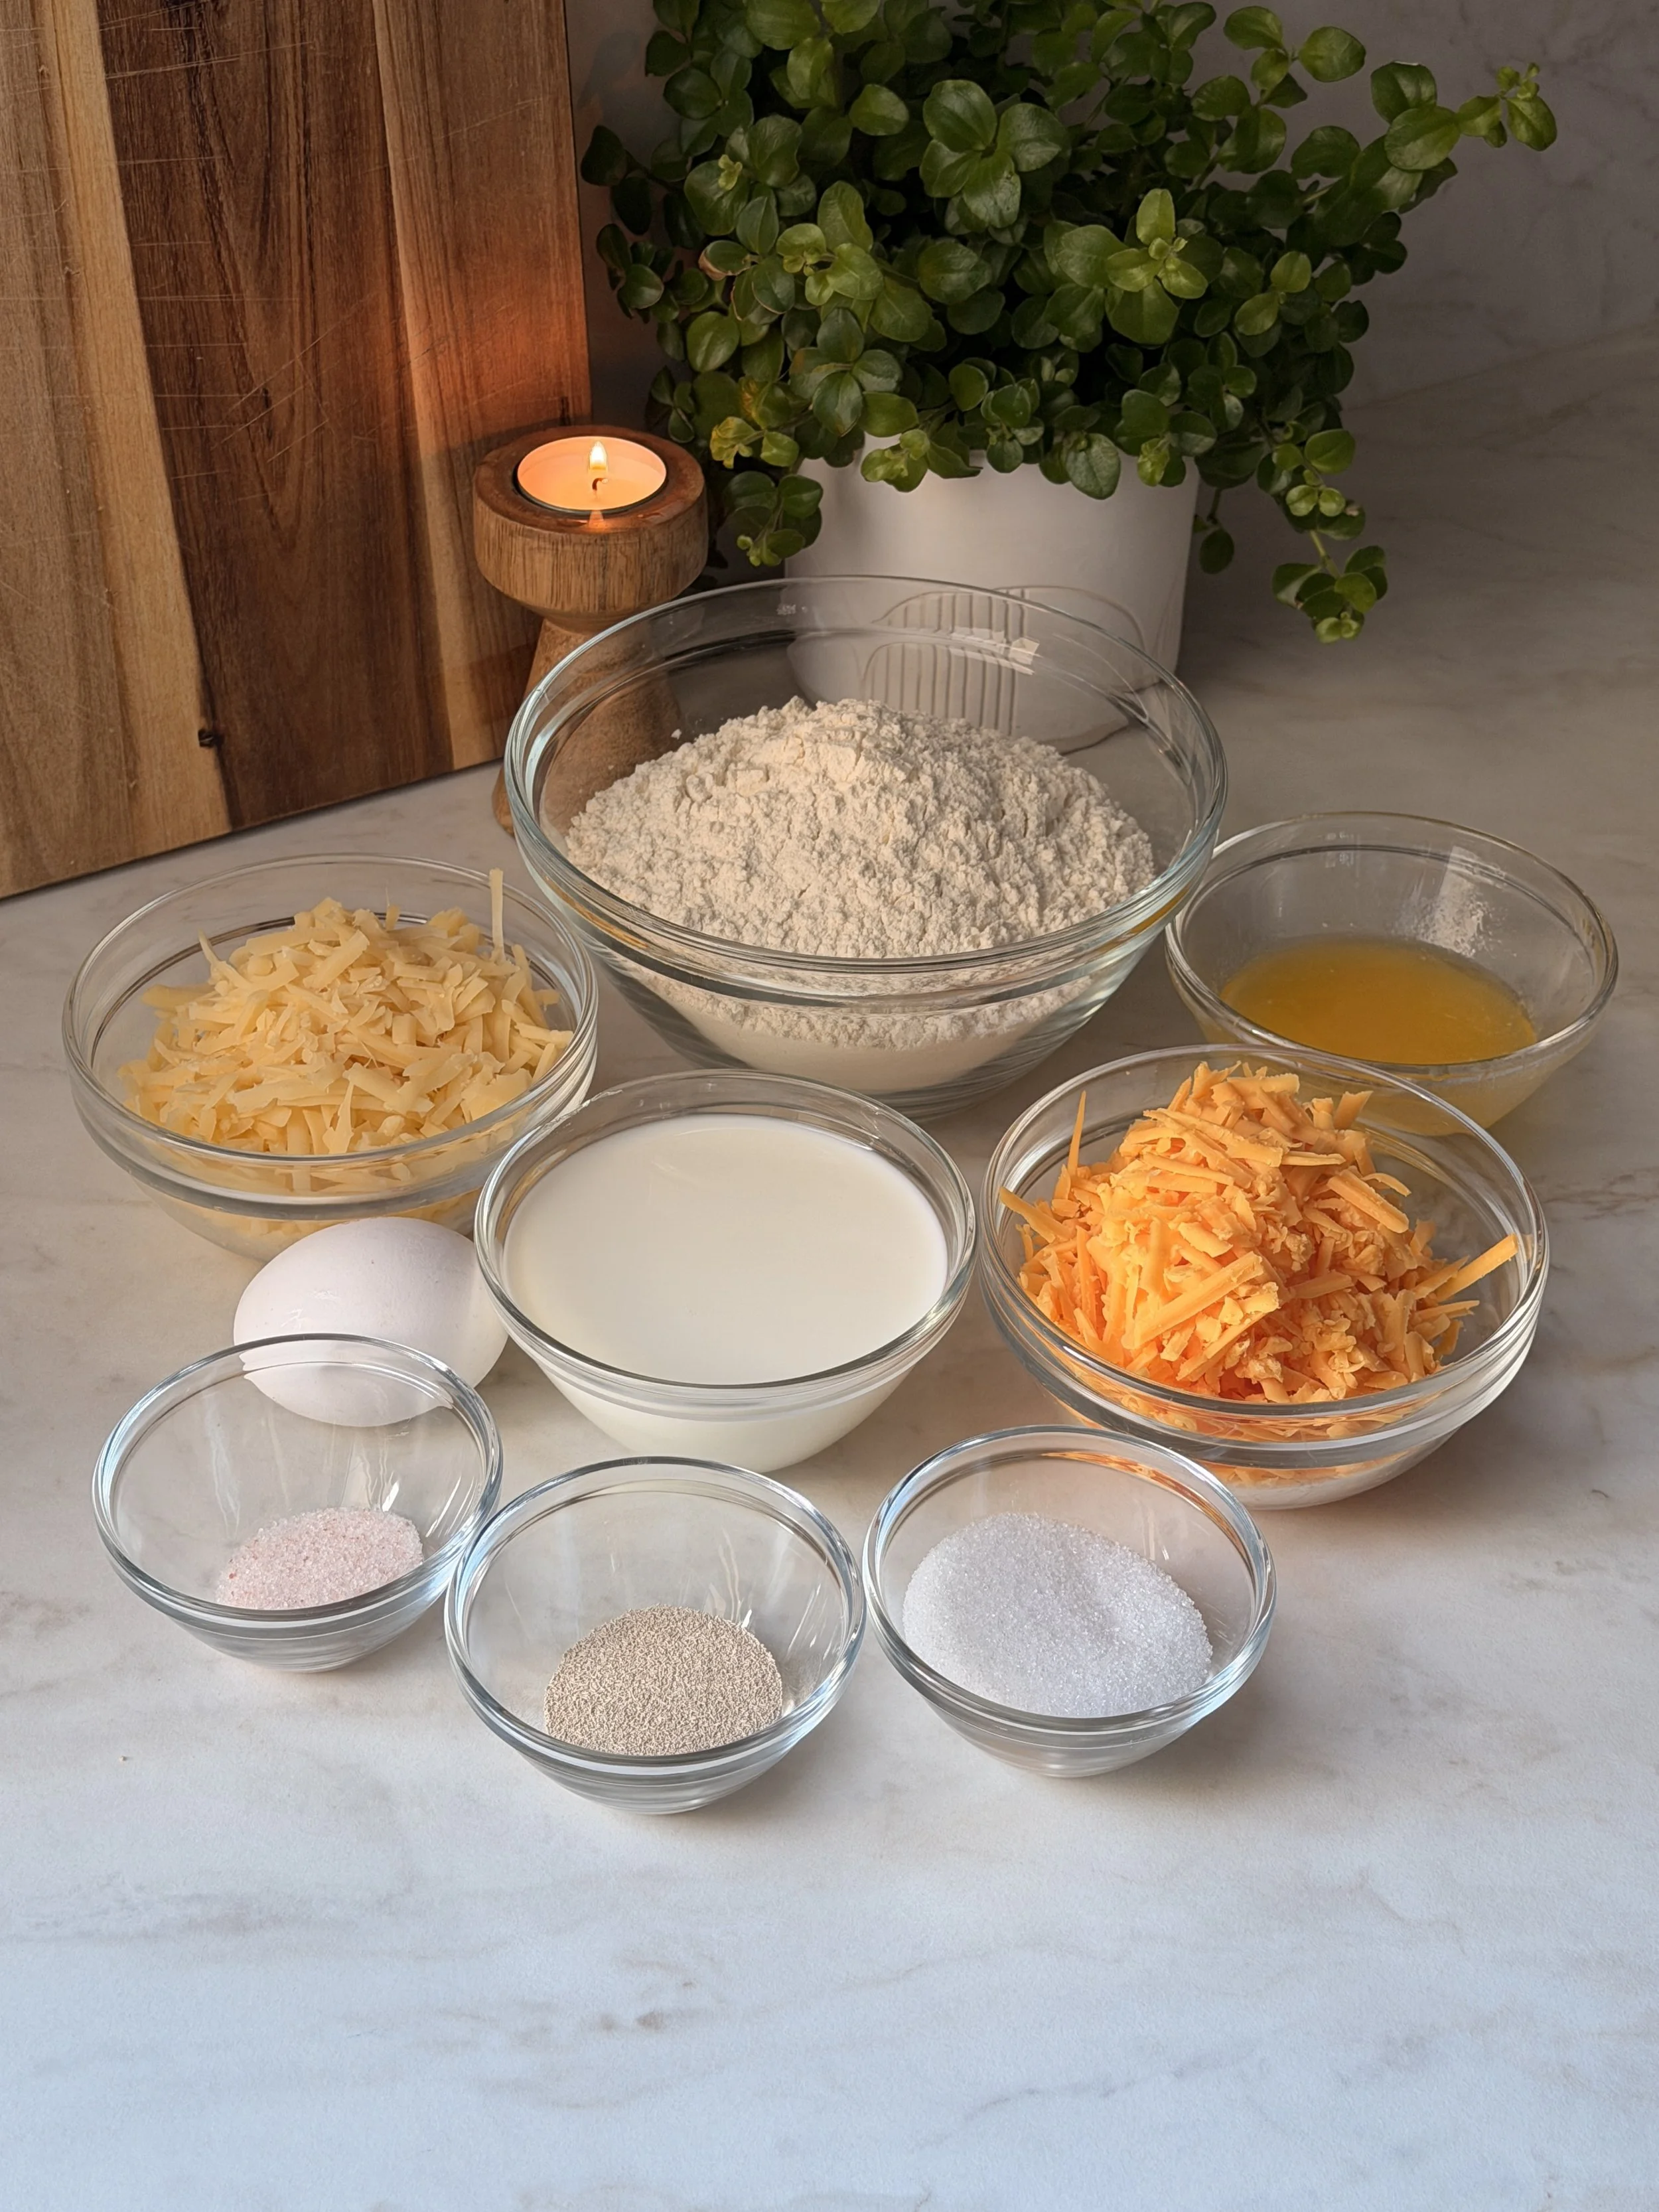
For the Dough
All-purpose flour: Provides the structure for the dough and creates the base for these soft, fluffy buns. Bread flour can also be used for a slightly chewier texture.
Granulated sugar: Adds a subtle sweetness to balance the savory ingredients and also supports yeast activity.
Instant dry yeast: Helps the dough rise and creates the airy, fluffy texture. Instant yeast can be mixed directly into the dry ingredients without needing to be activated first. Active dry yeast can be used, but it must be activated in the warm milk first.
Fine sea salt: Regular fine salt works as well.
Unsalted butter: Salted butter can be used, but reduce the added salt slightly.
Large egg: Adds richness, structure, and moisture to the dough.
Warm milk: Provides moisture and helps activate the yeast while contributing to the soft, tender texture of the dough. Using warm milk (not hot) helps the yeast work properly.
Cheddar cheese: Adds a rich, savory flavor throughout the dough and creates delicious cheesy pockets once baked.
Emmentaler cheese: Adds a mild, nutty flavor.
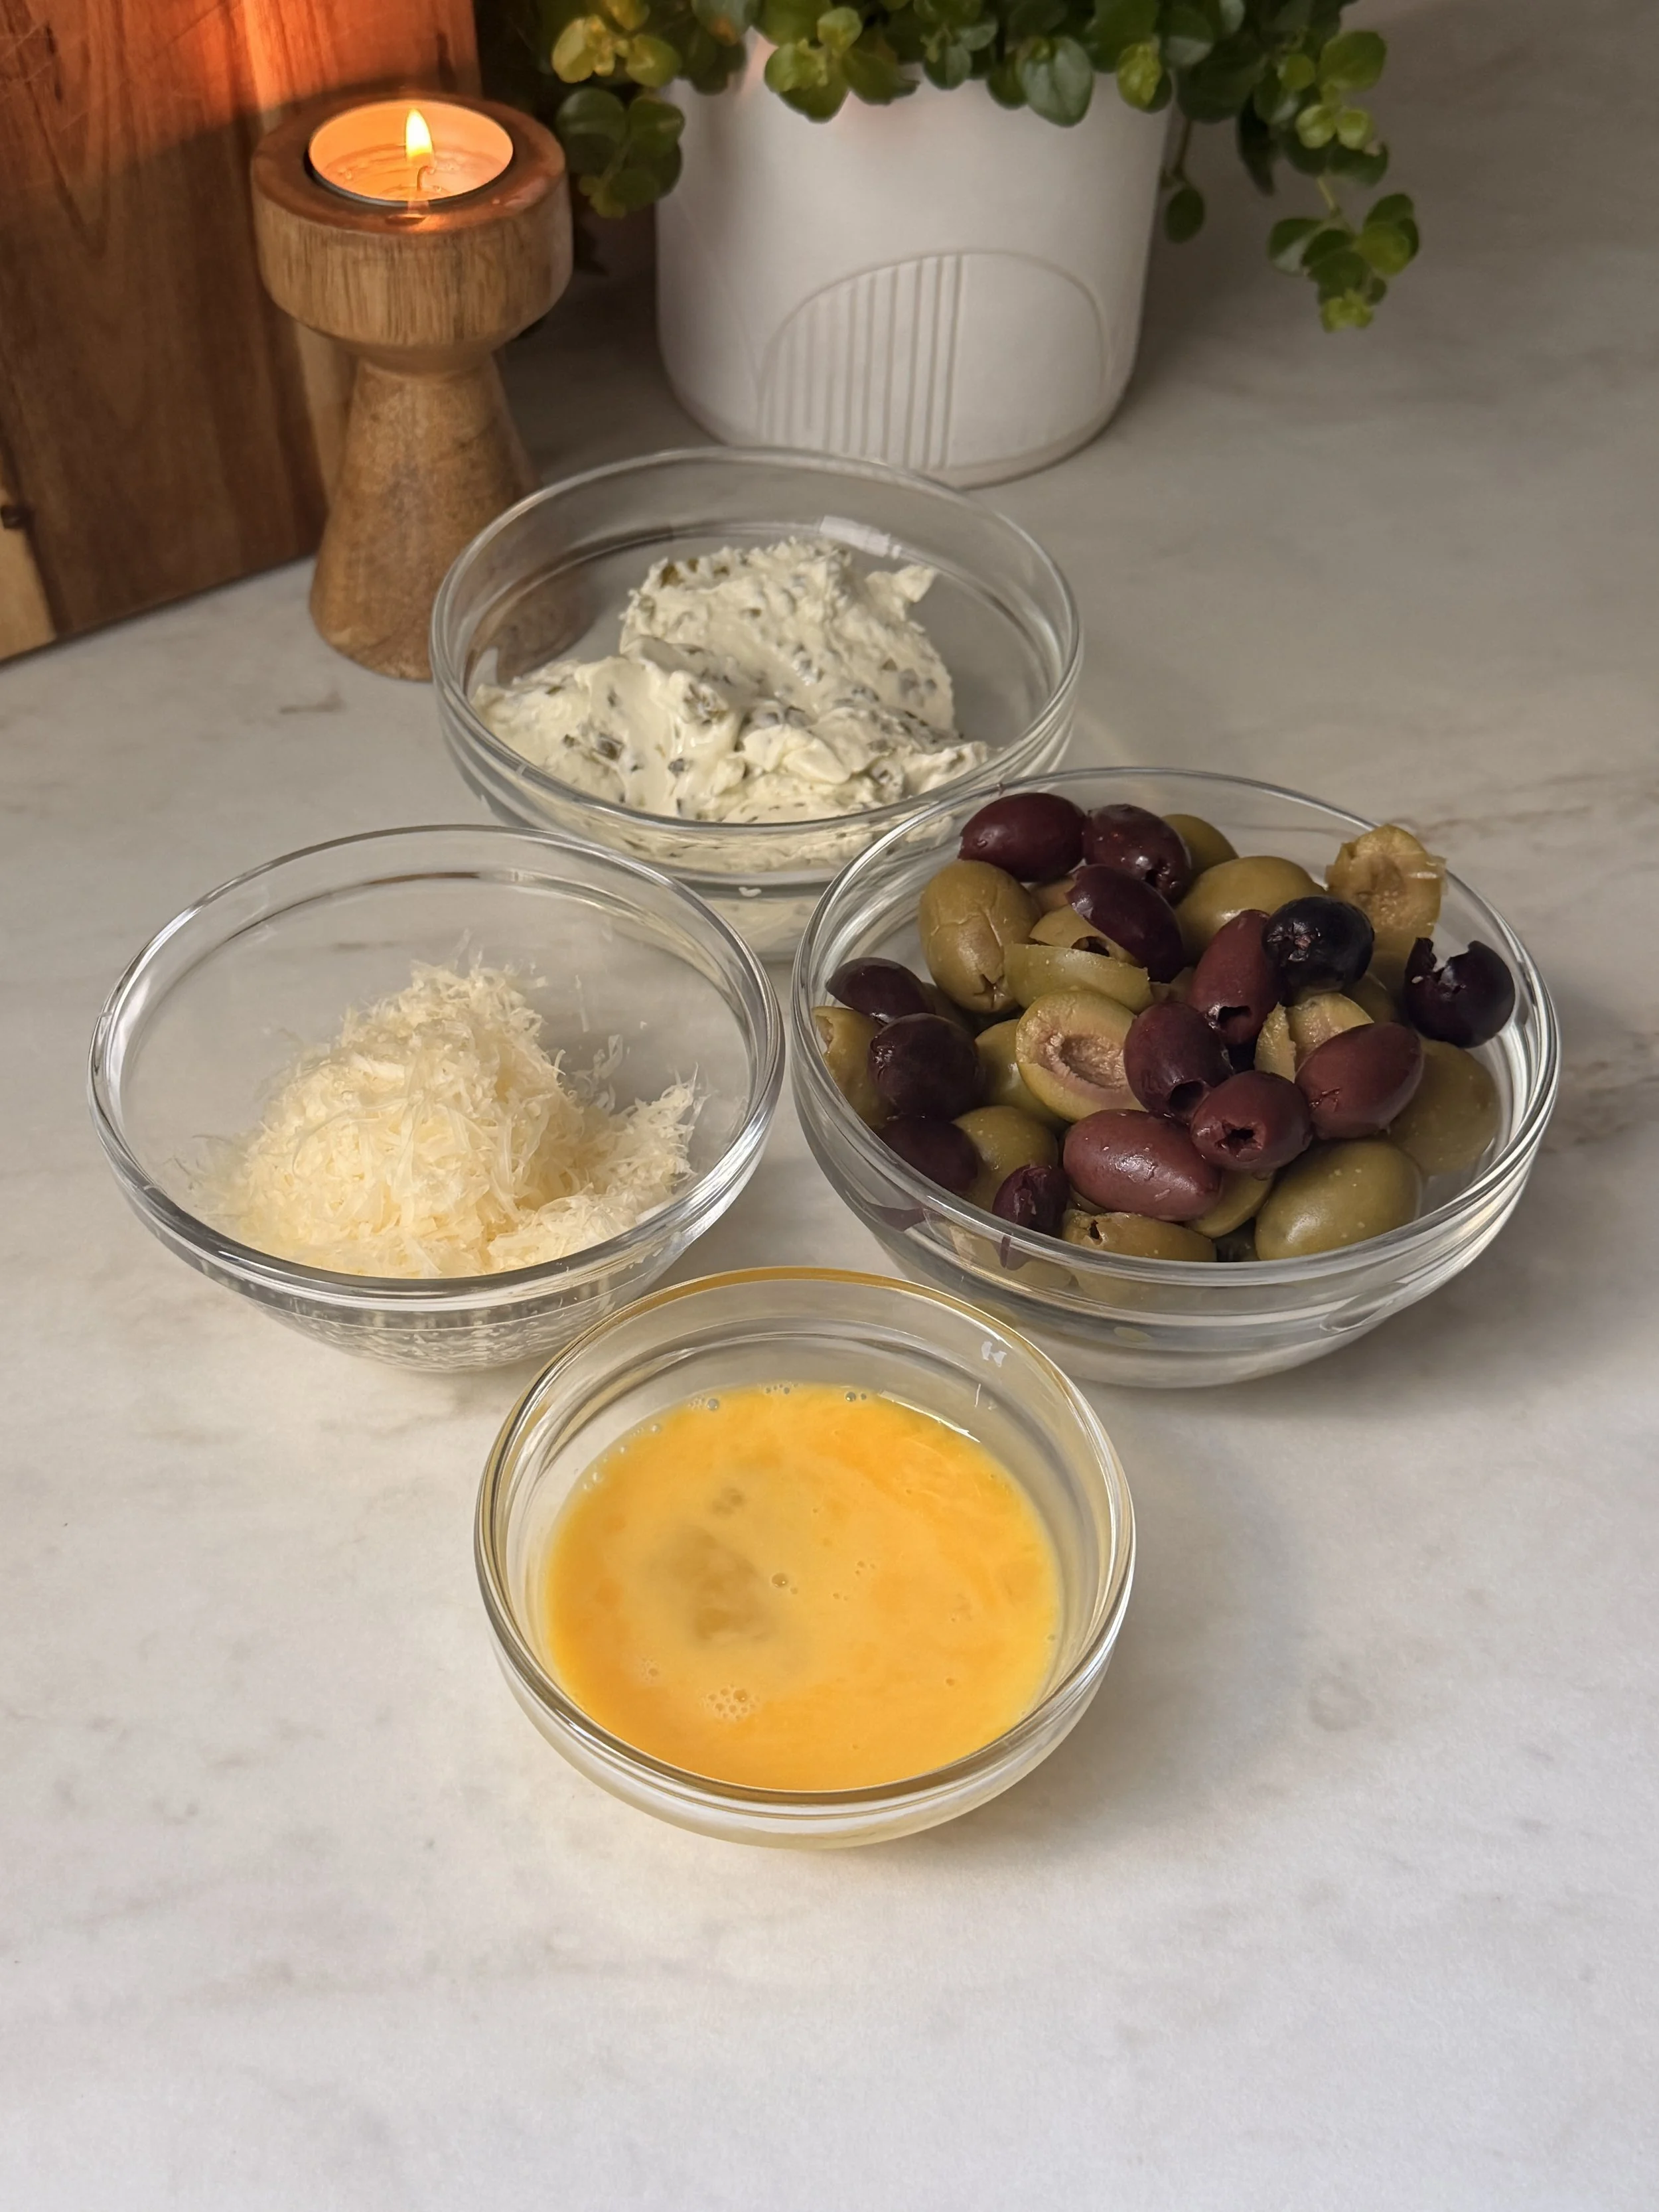
For the Filling
Chive Philadelphia cream cheese: Creates the creamy, flavorful center of the buns.
Green olives: You can use other olives depending on your preference.
Kalamata olives: Add a deeper, richer olive flavor.
Grated Emmentaler cheese: Adds extra cheesiness to the filling and melts beautifully during baking.
Egg wash: Creates a beautiful golden, glossy finish on the buns.
Microgreens: Add a fresh finishing touch and a pop of color.
Step By Step Instructions With Photos
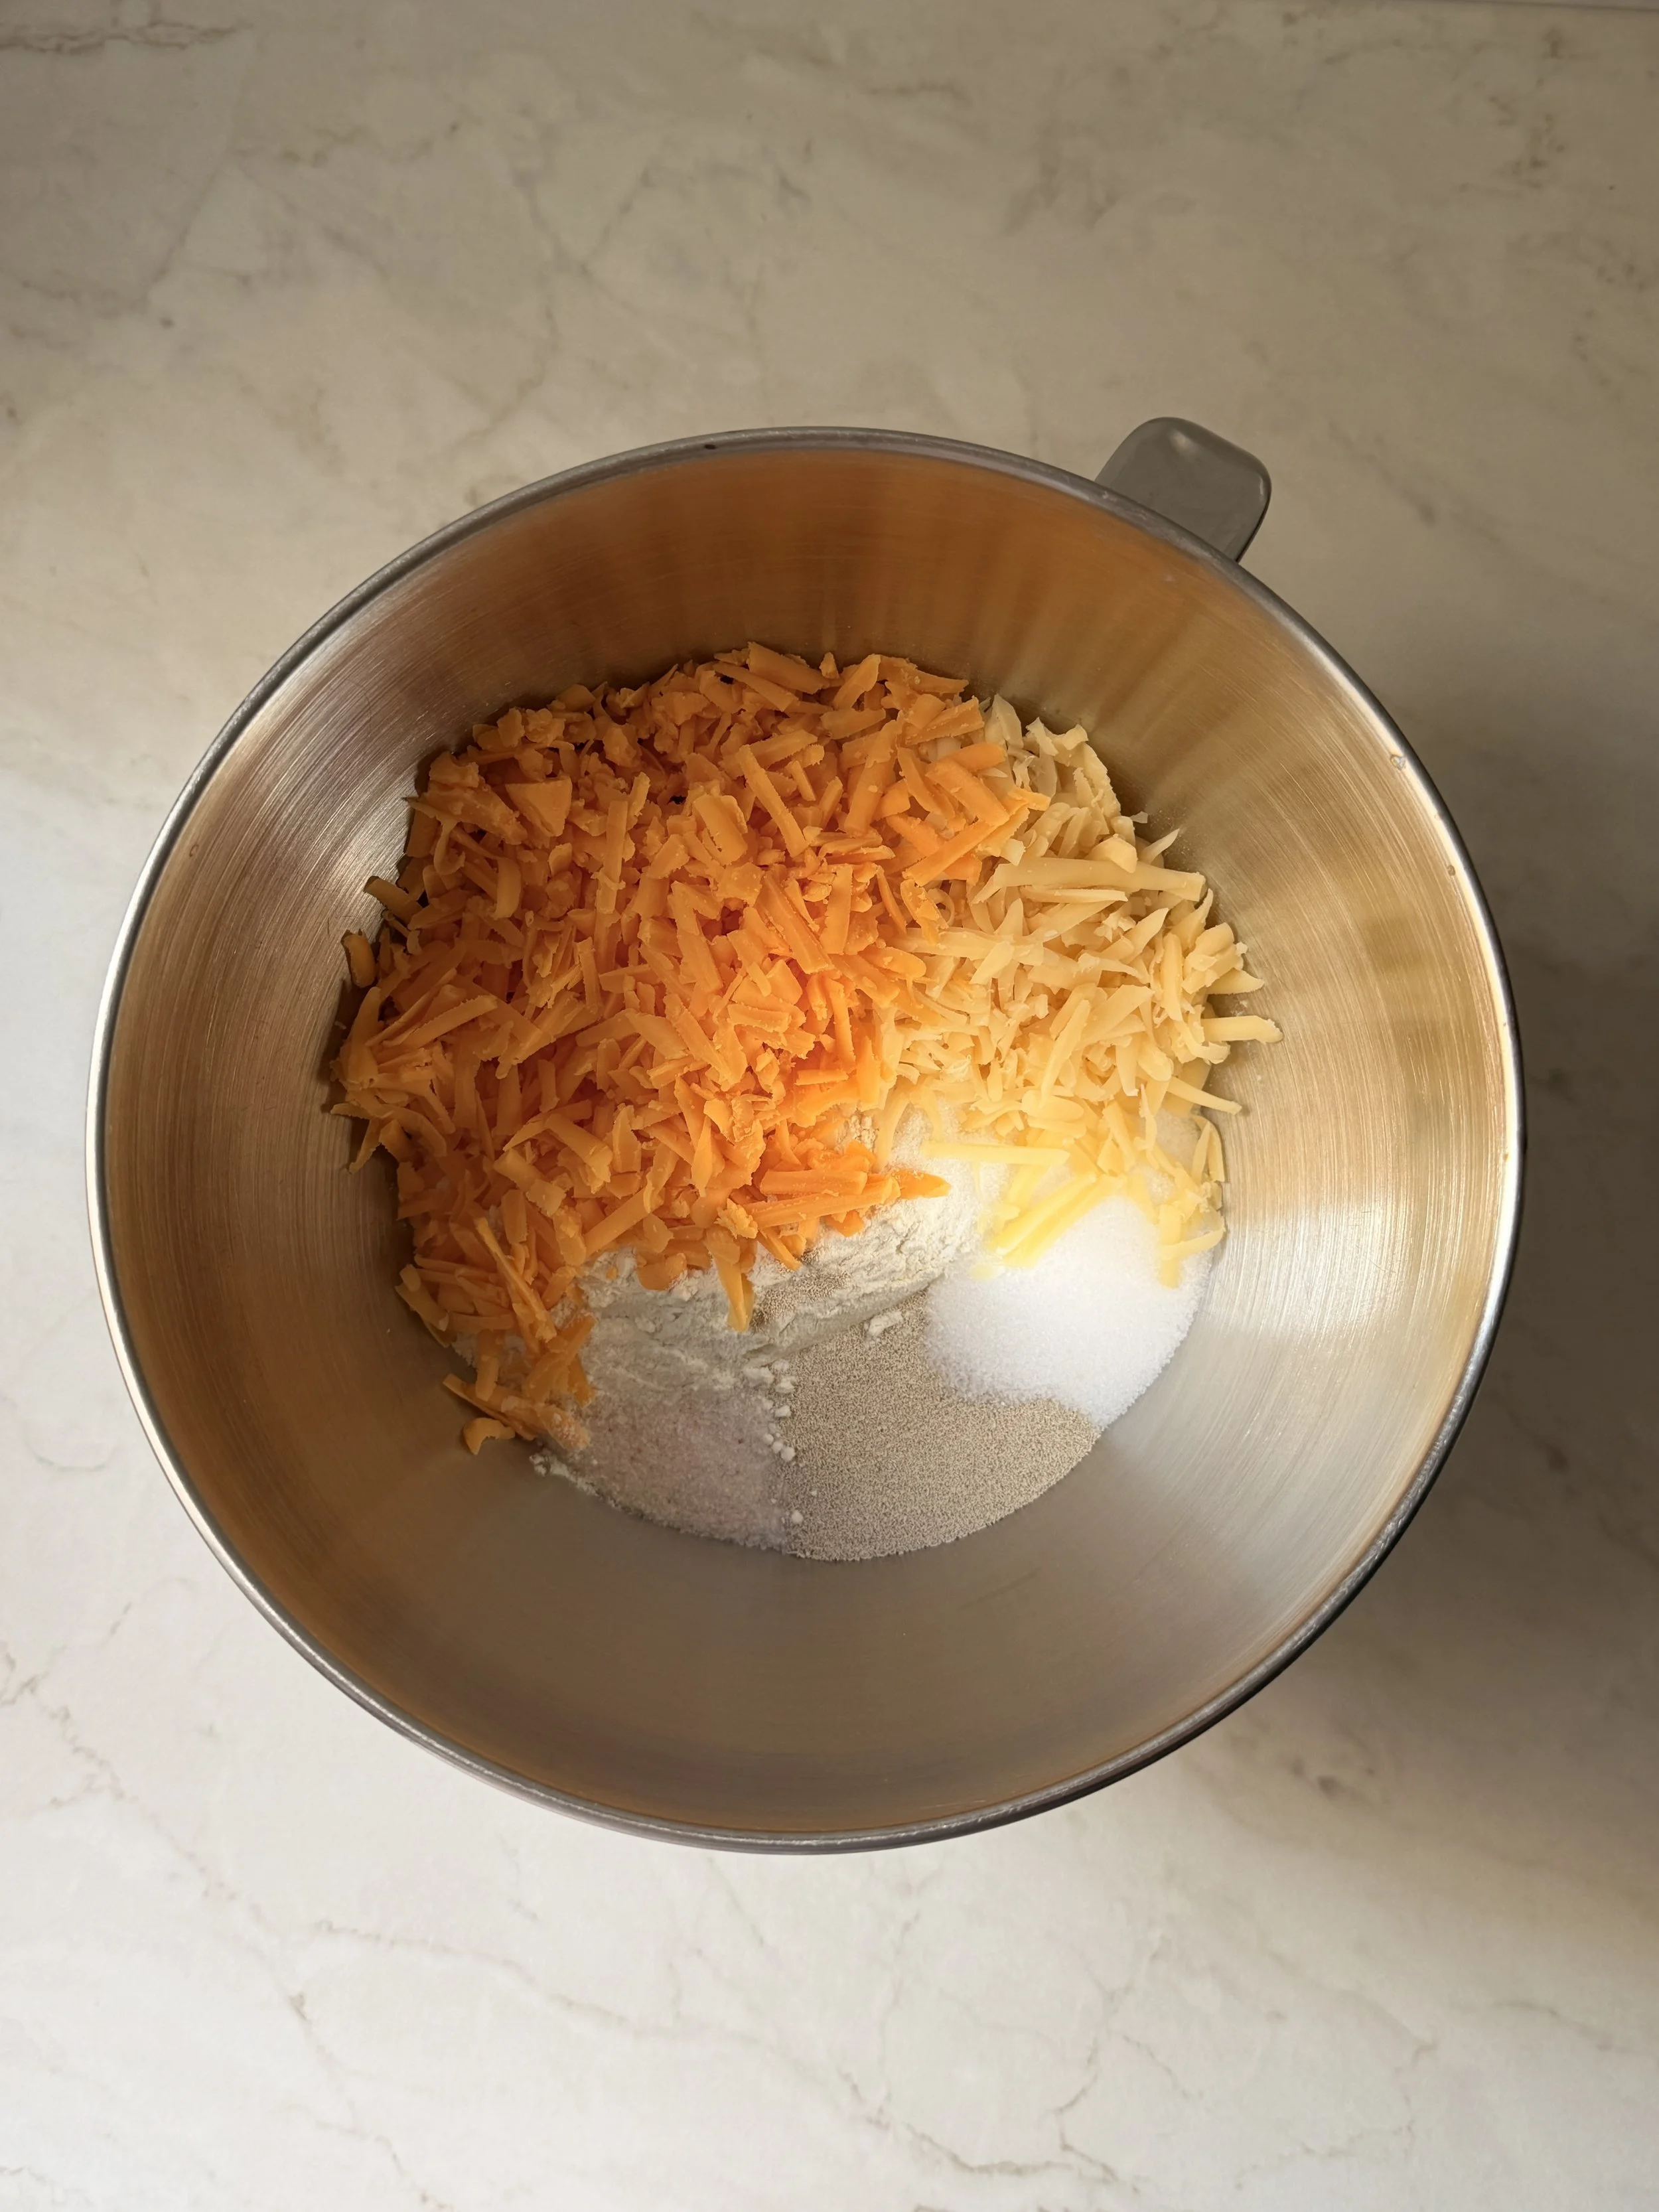
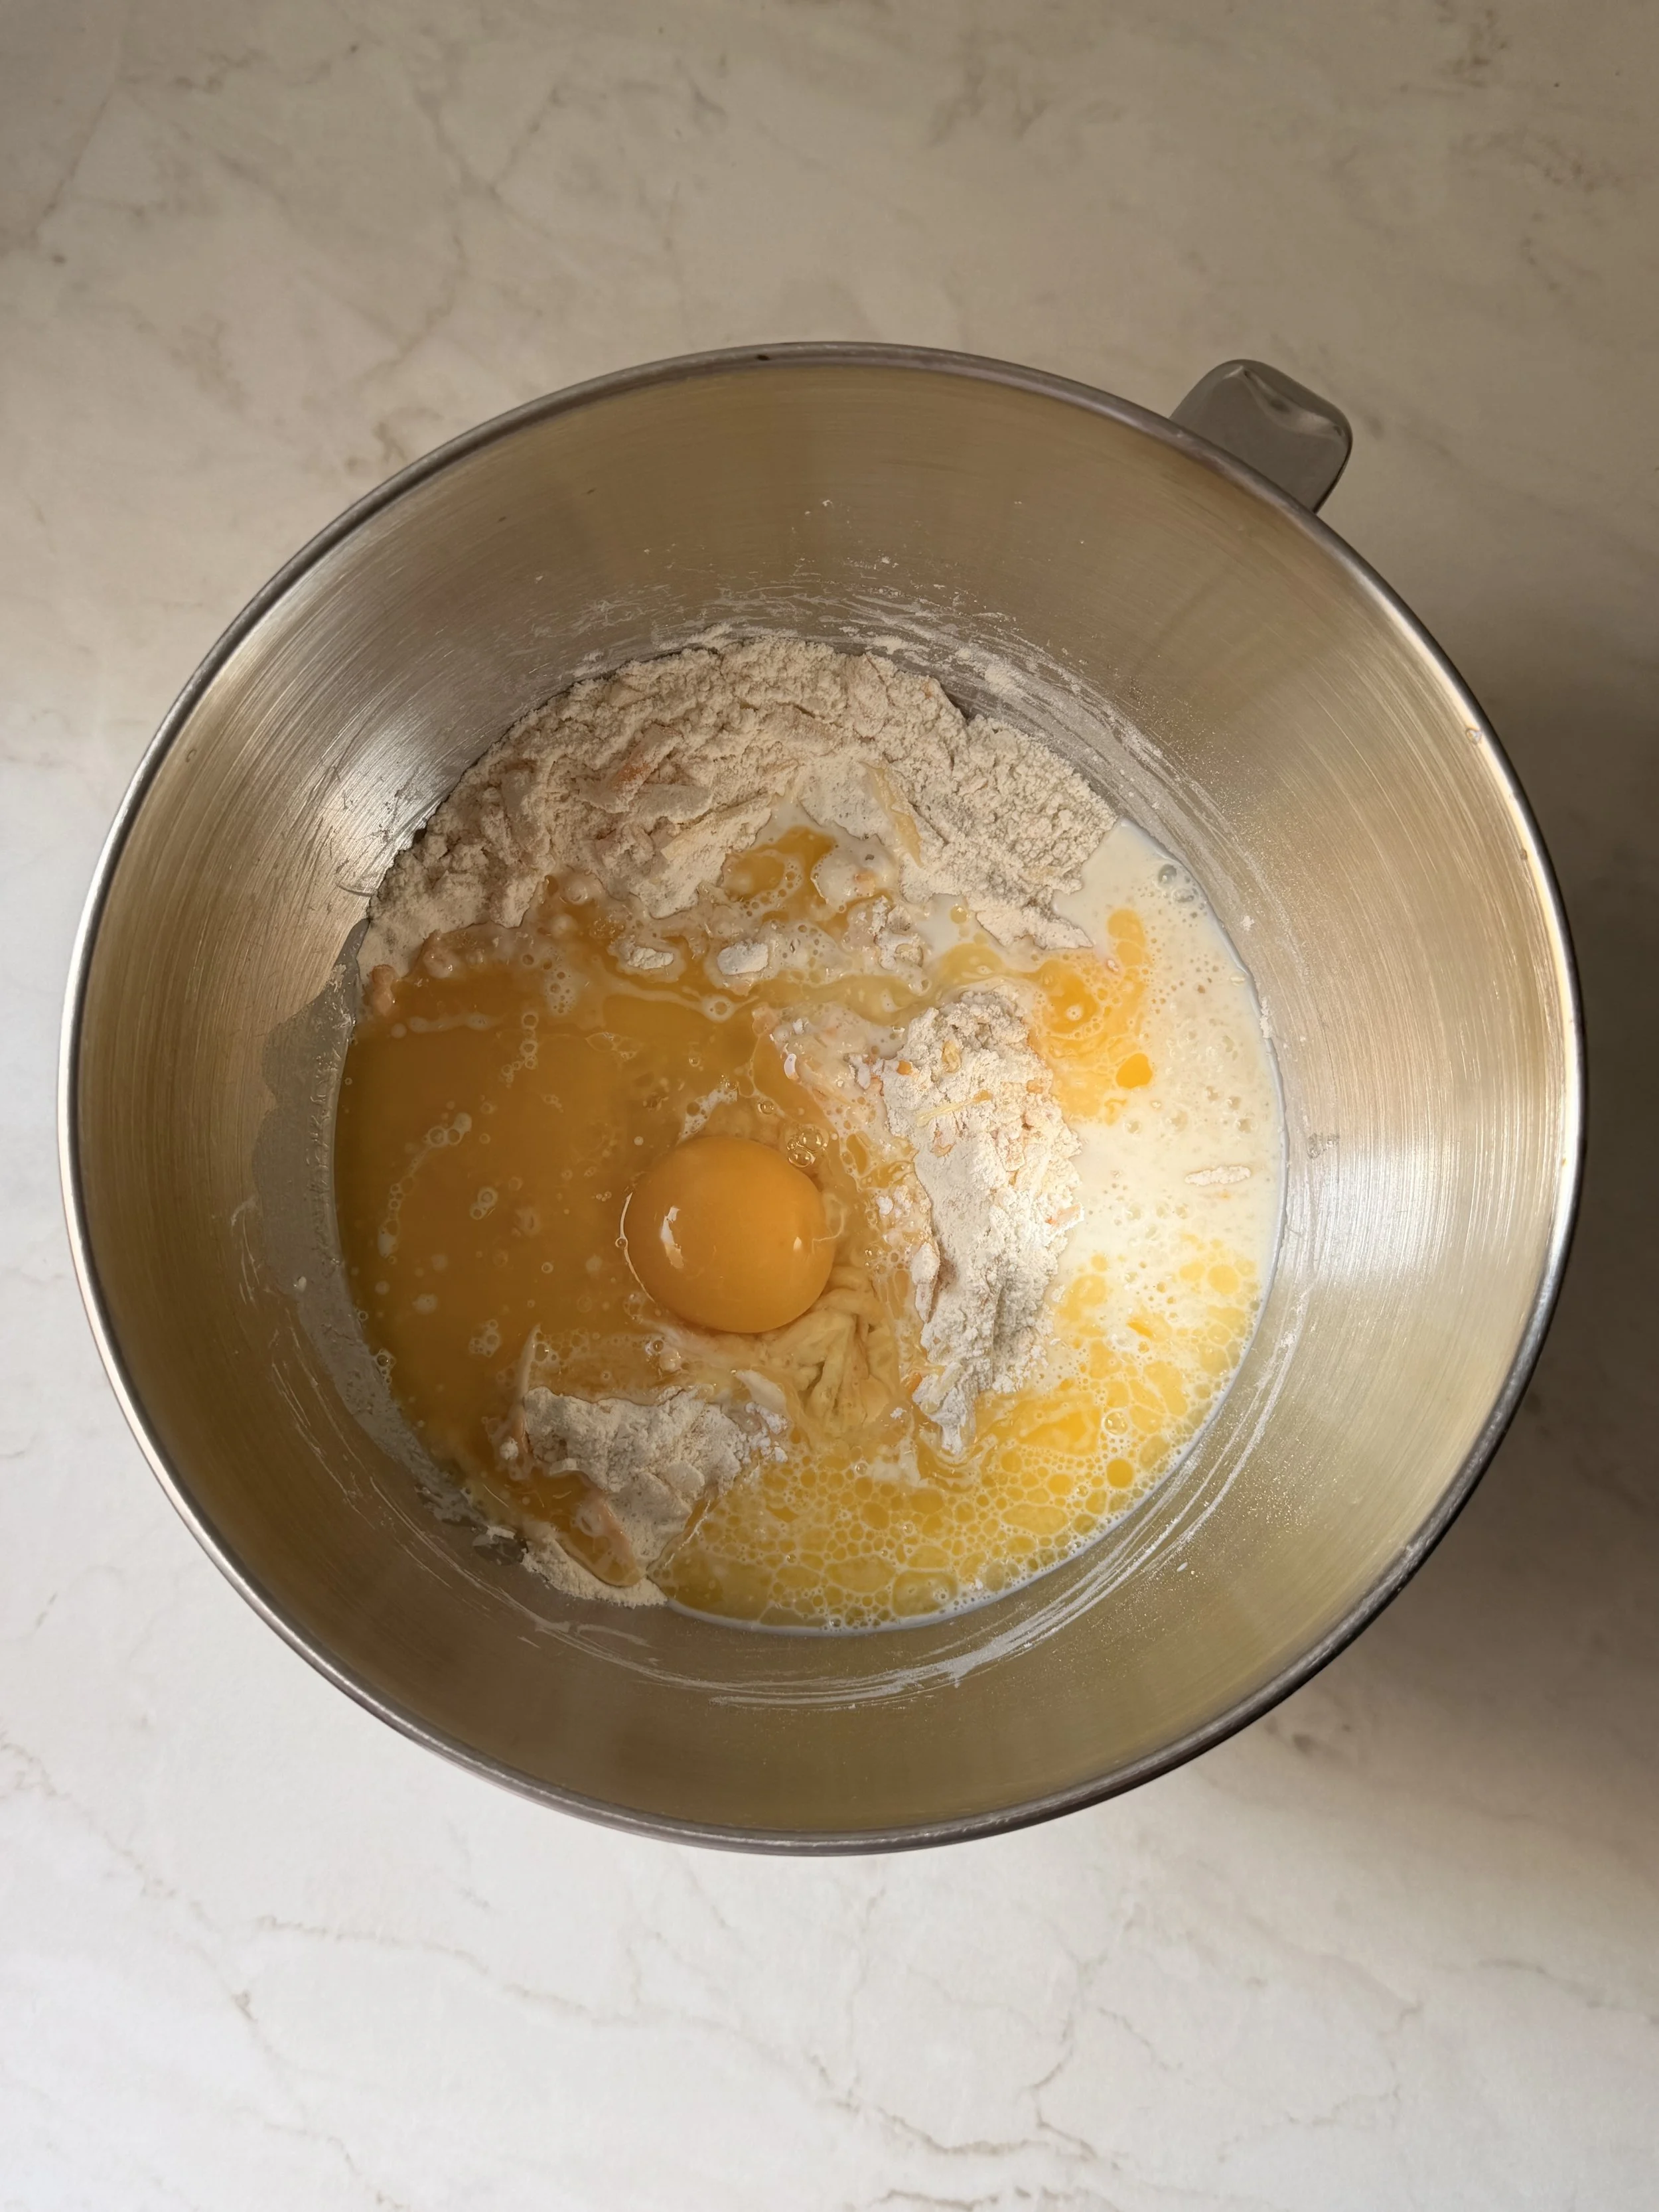
1. To the bowl of your stand mixer, add the flour, salt, sugar, instant dry yeast, grated Cheddar and grated Emmentaler cheese. Whisk everything together.
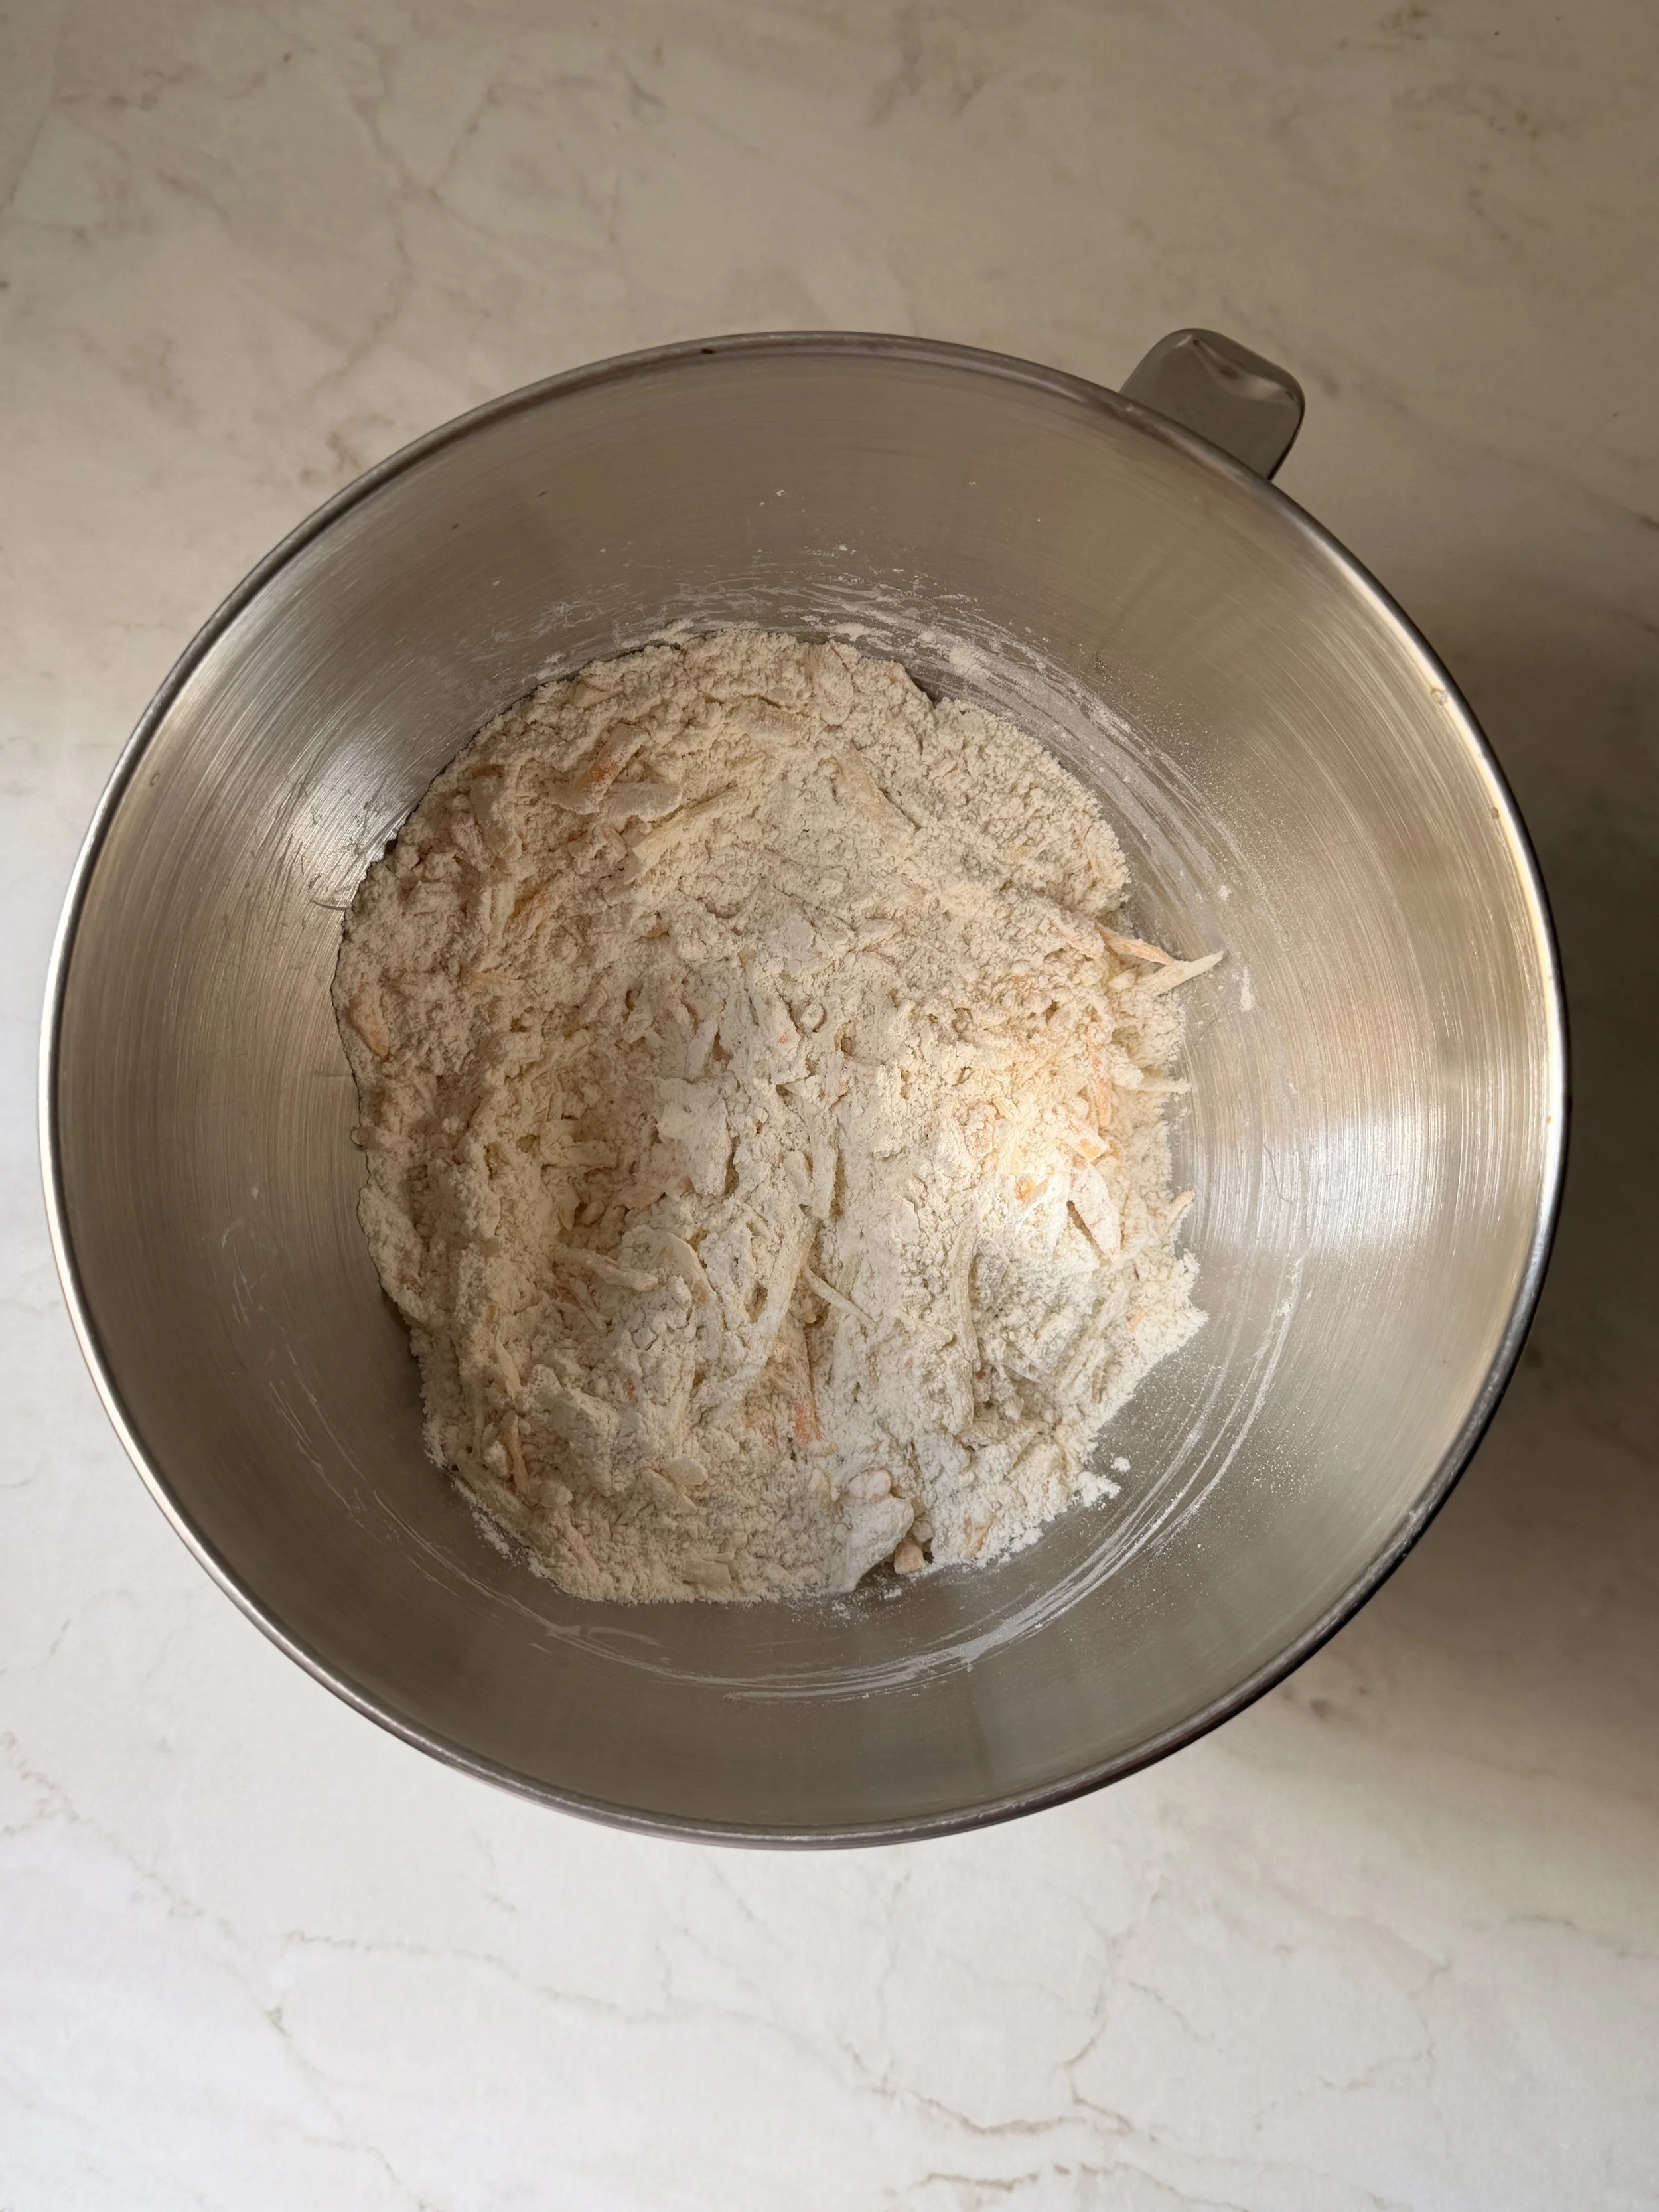
2. Next, add the milk, egg and melted butter.
3. Using the dough hook attachment, knead on low speed until the dough becomes smooth and forms a ball, about 6-8 minutes.
4. Once ready, transfer the dough to a clean, lightly oiled bowl.
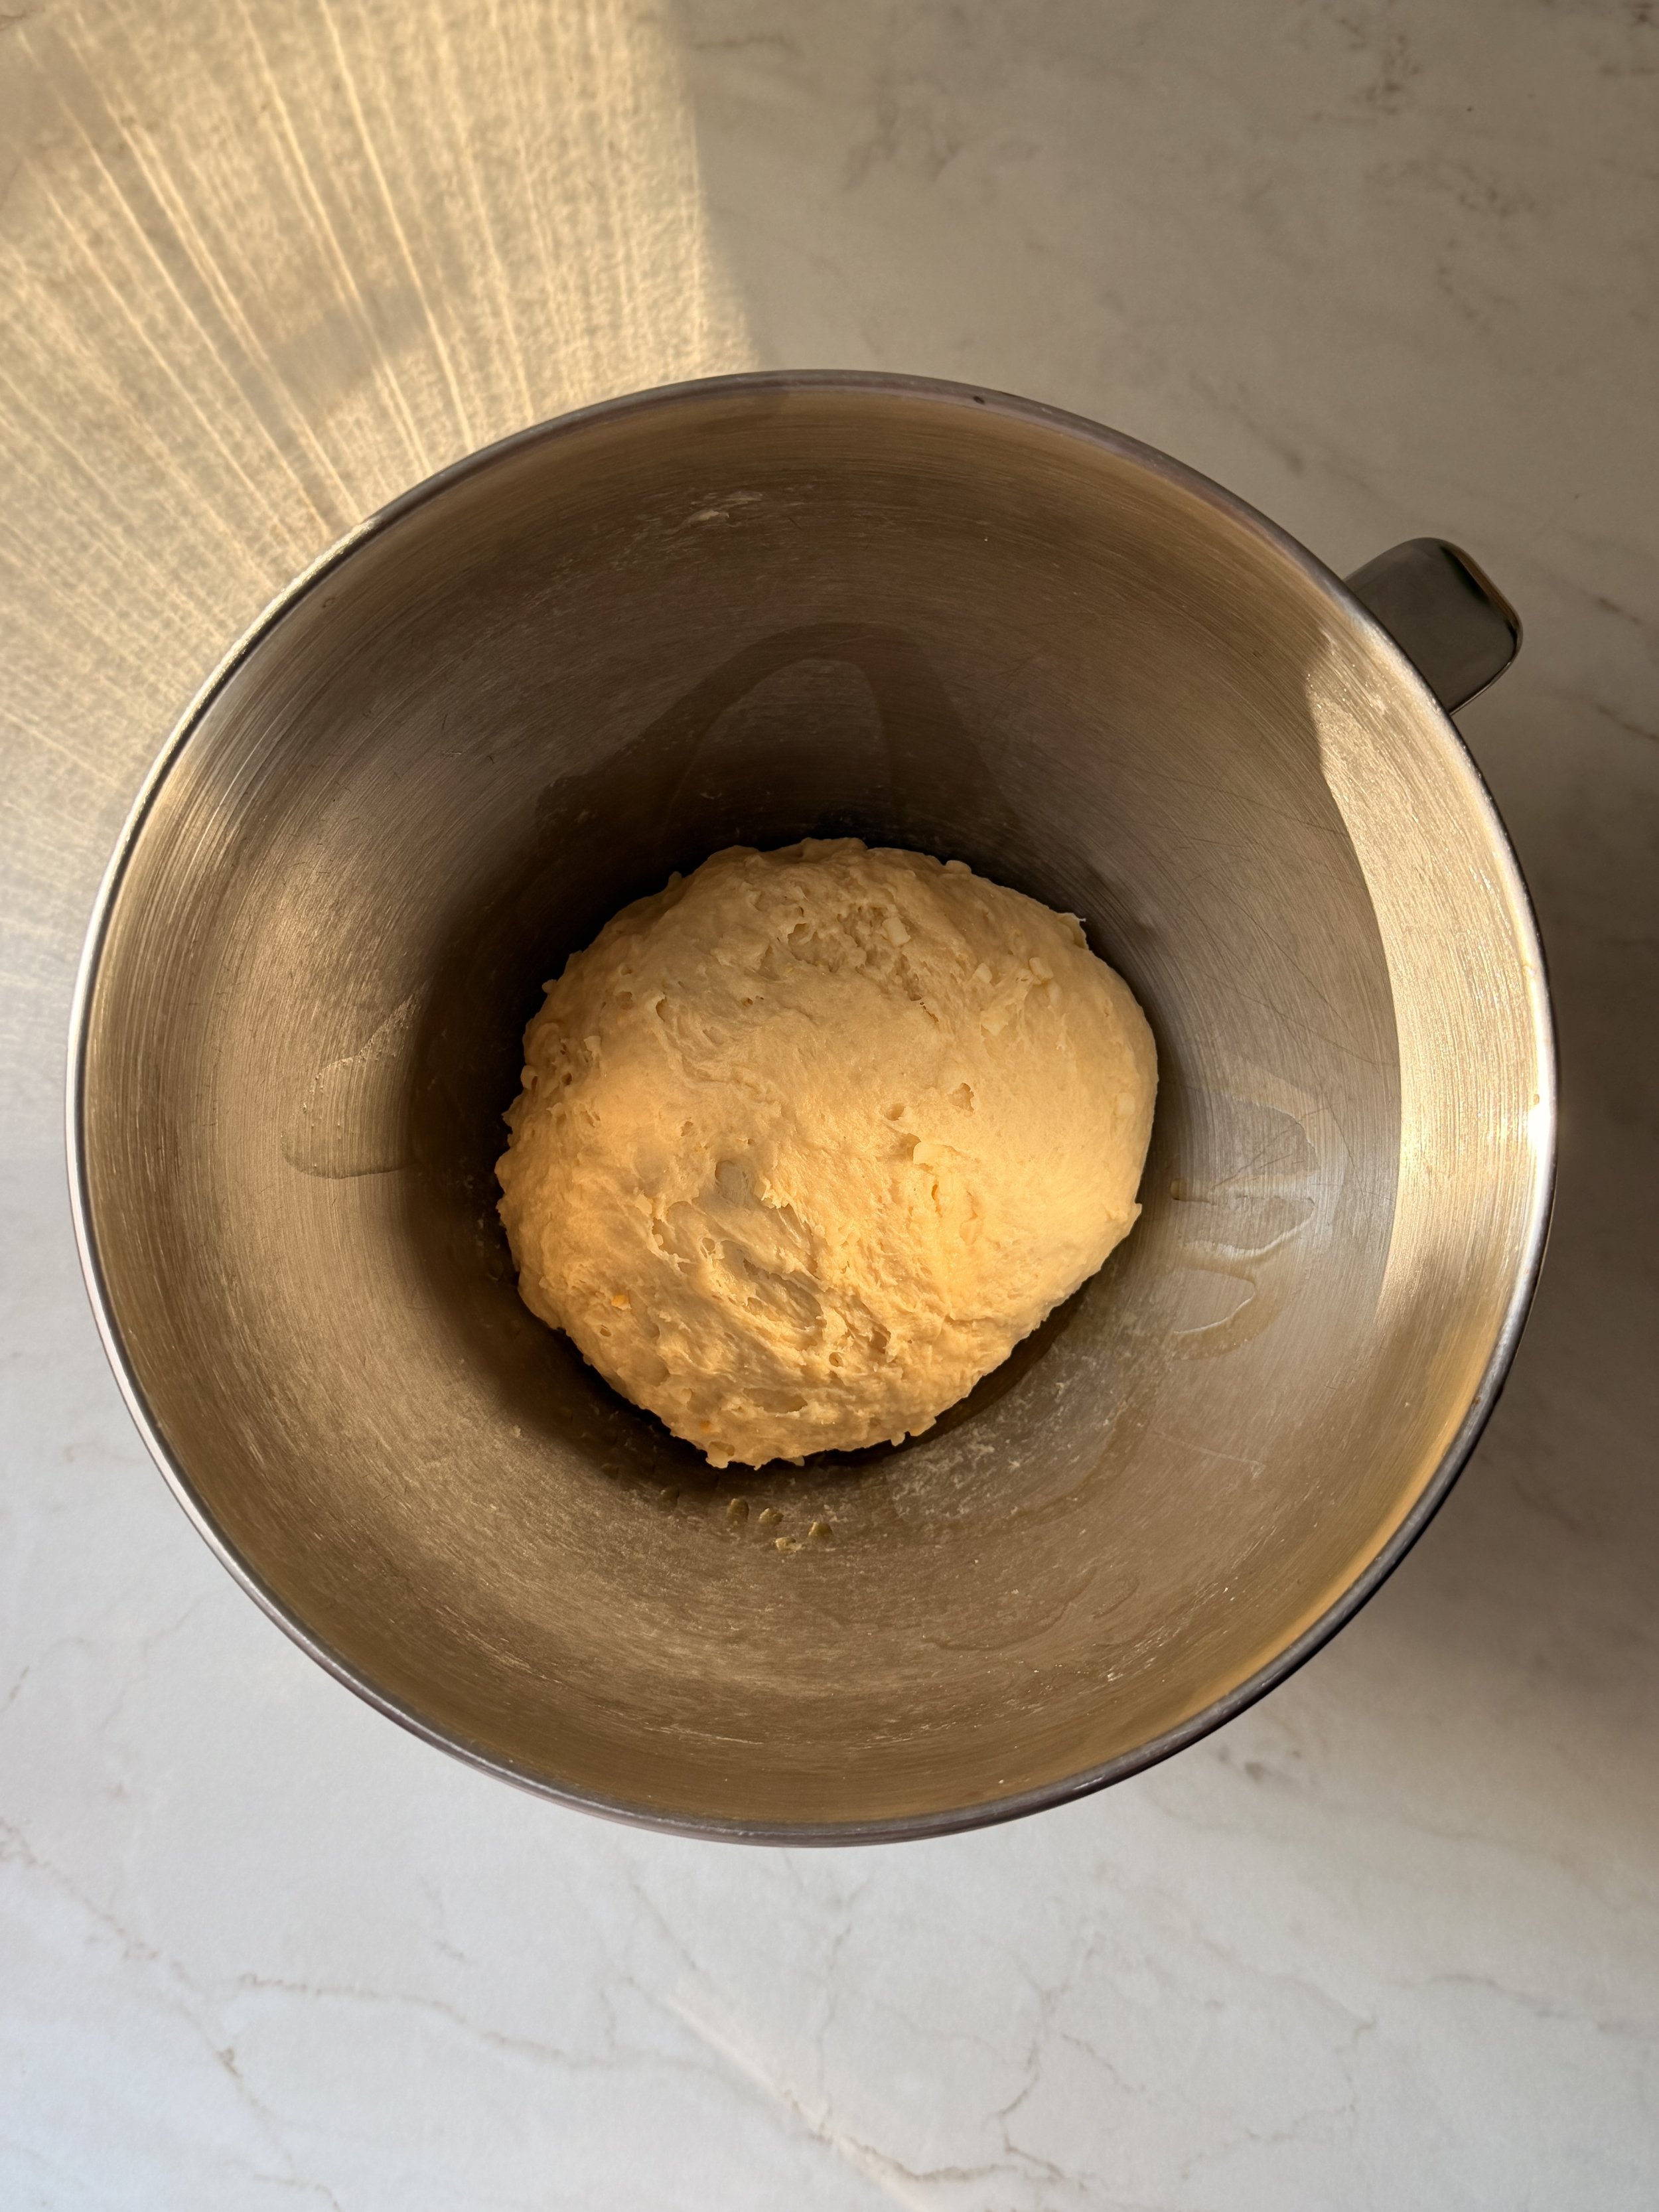
5. Cover and let it rise at room temperature for 2 hours.
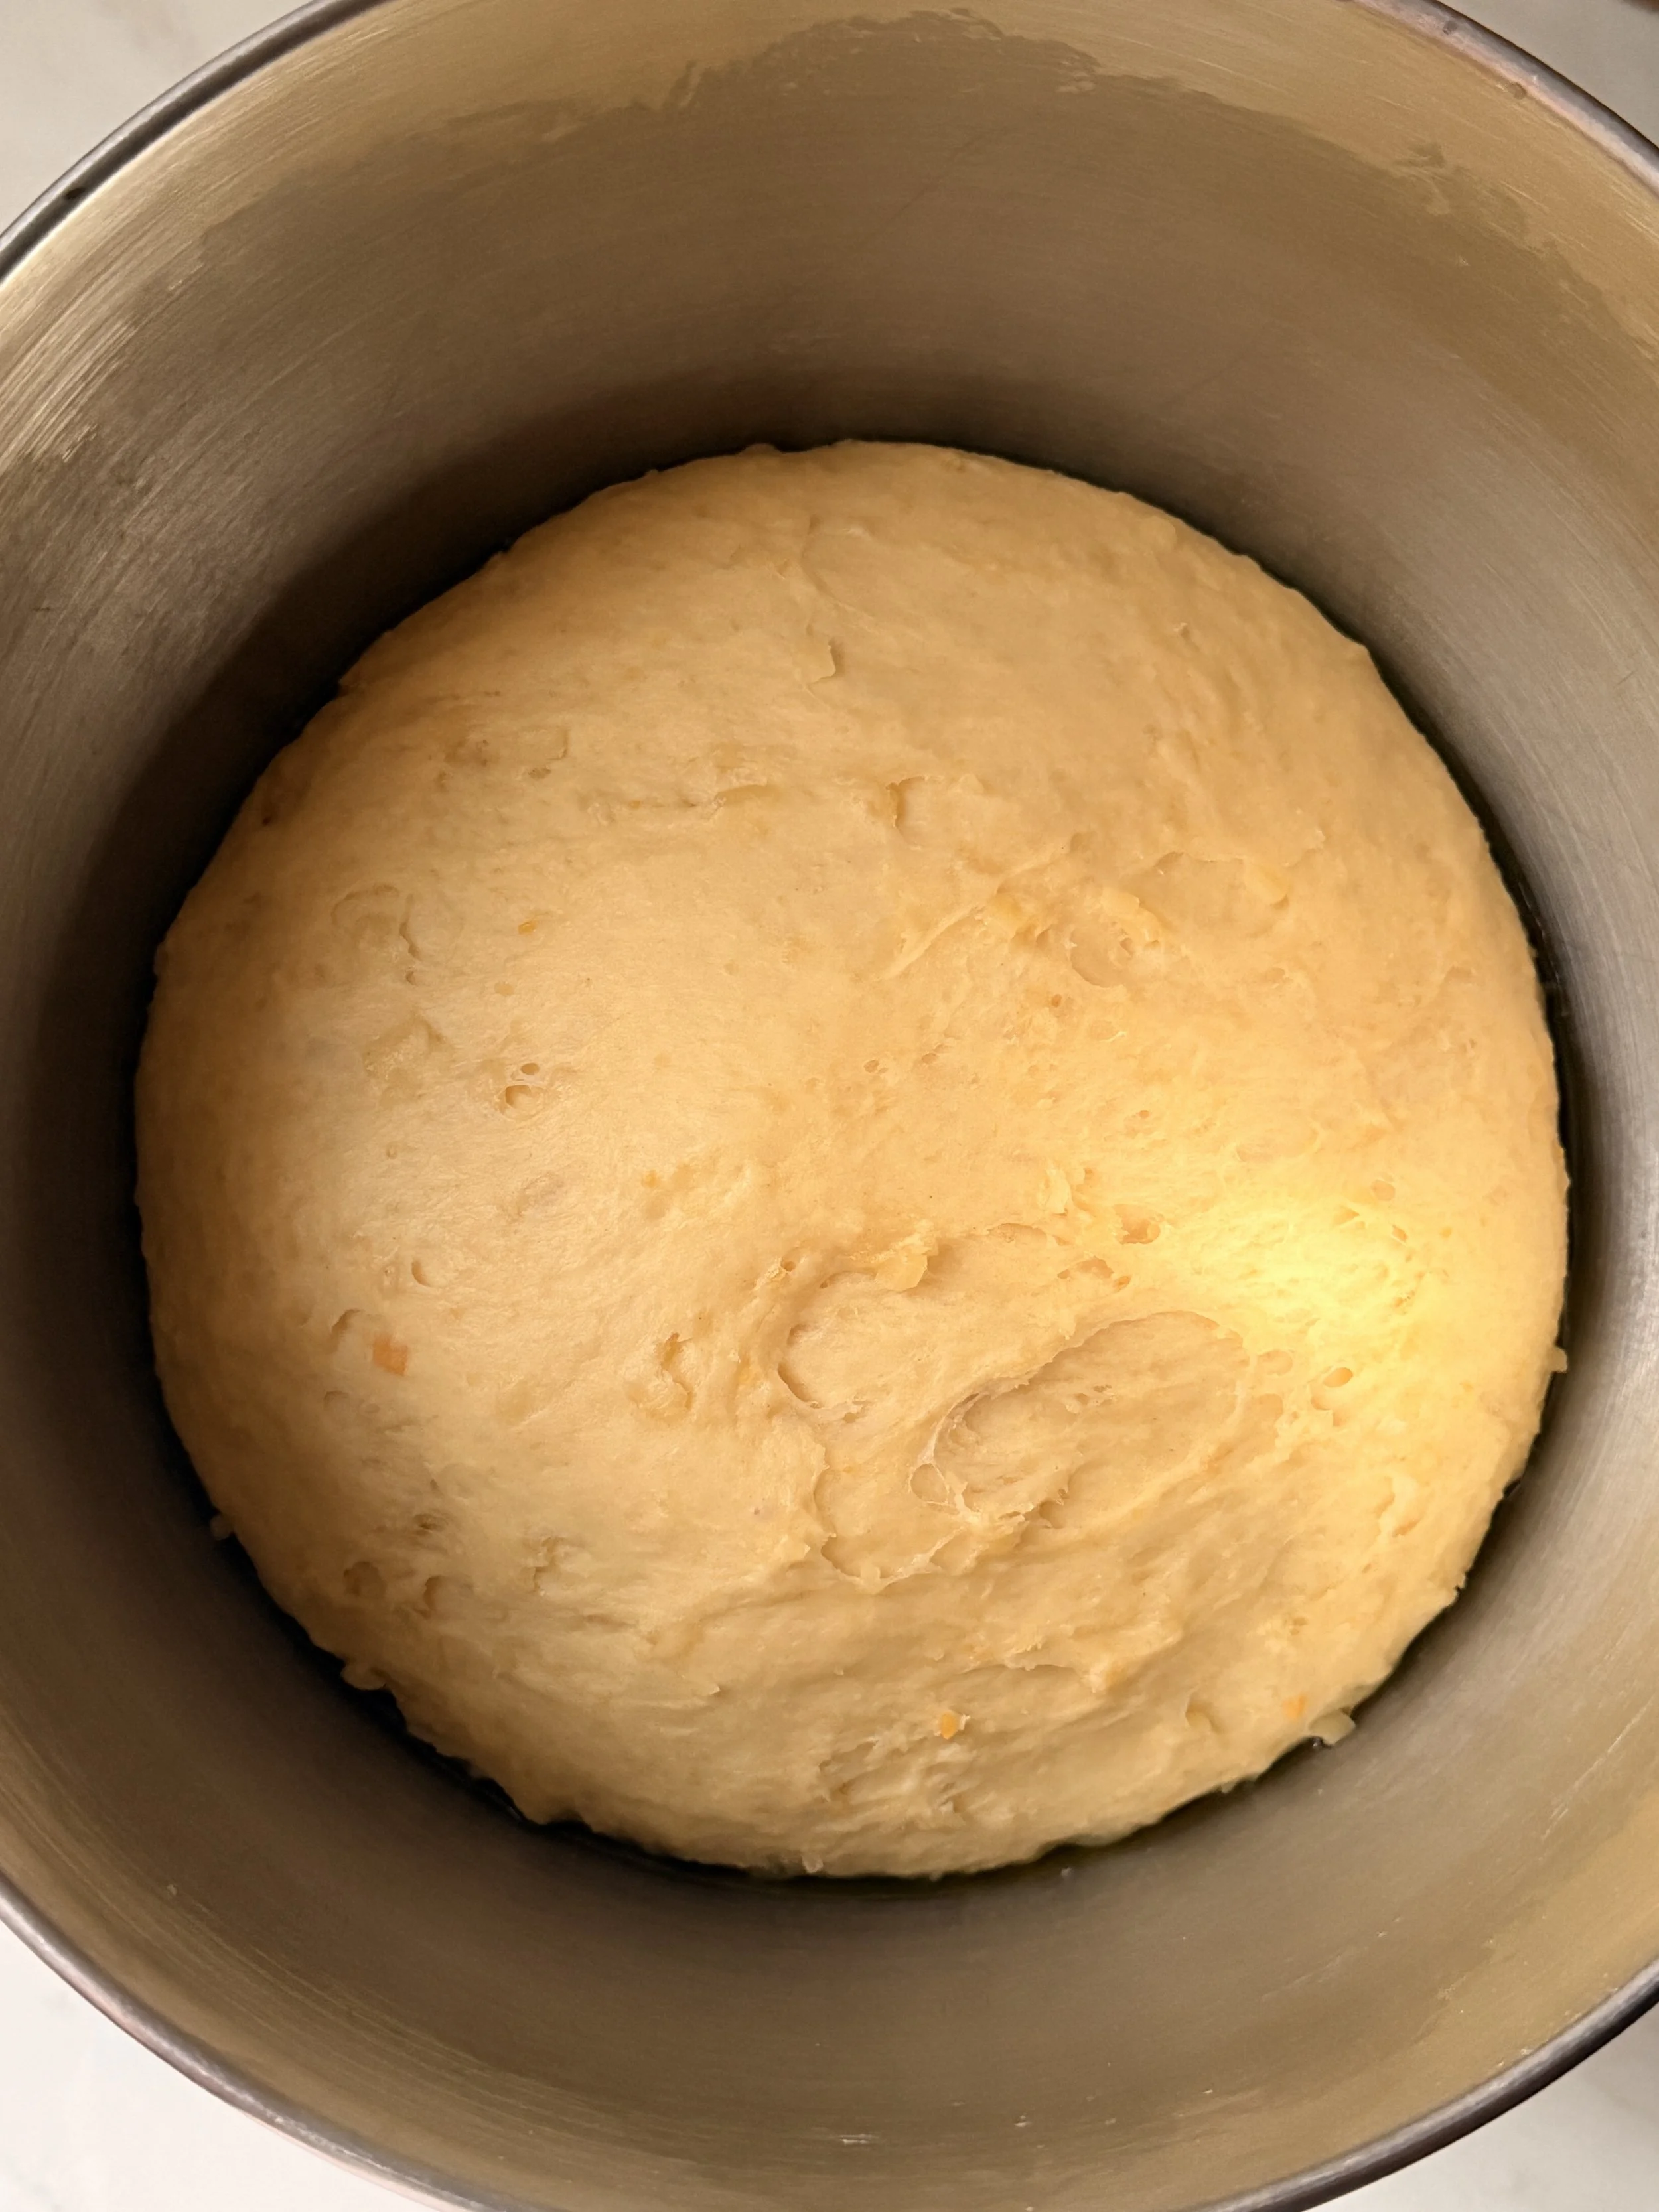
6. After 2 hours, punch the dough down and divide it into 8 equal balls, about 105 g each.
7. Place them on a large baking tray lined with parchment paper, cover and let them rise for another 1 hour.
8. Preheat the oven to 180°C.
9. Brush each bun with the egg wash.
10. Fill each bun with a little cream cheese and top with the olives.
11. Sprinkle with more grated cheese.
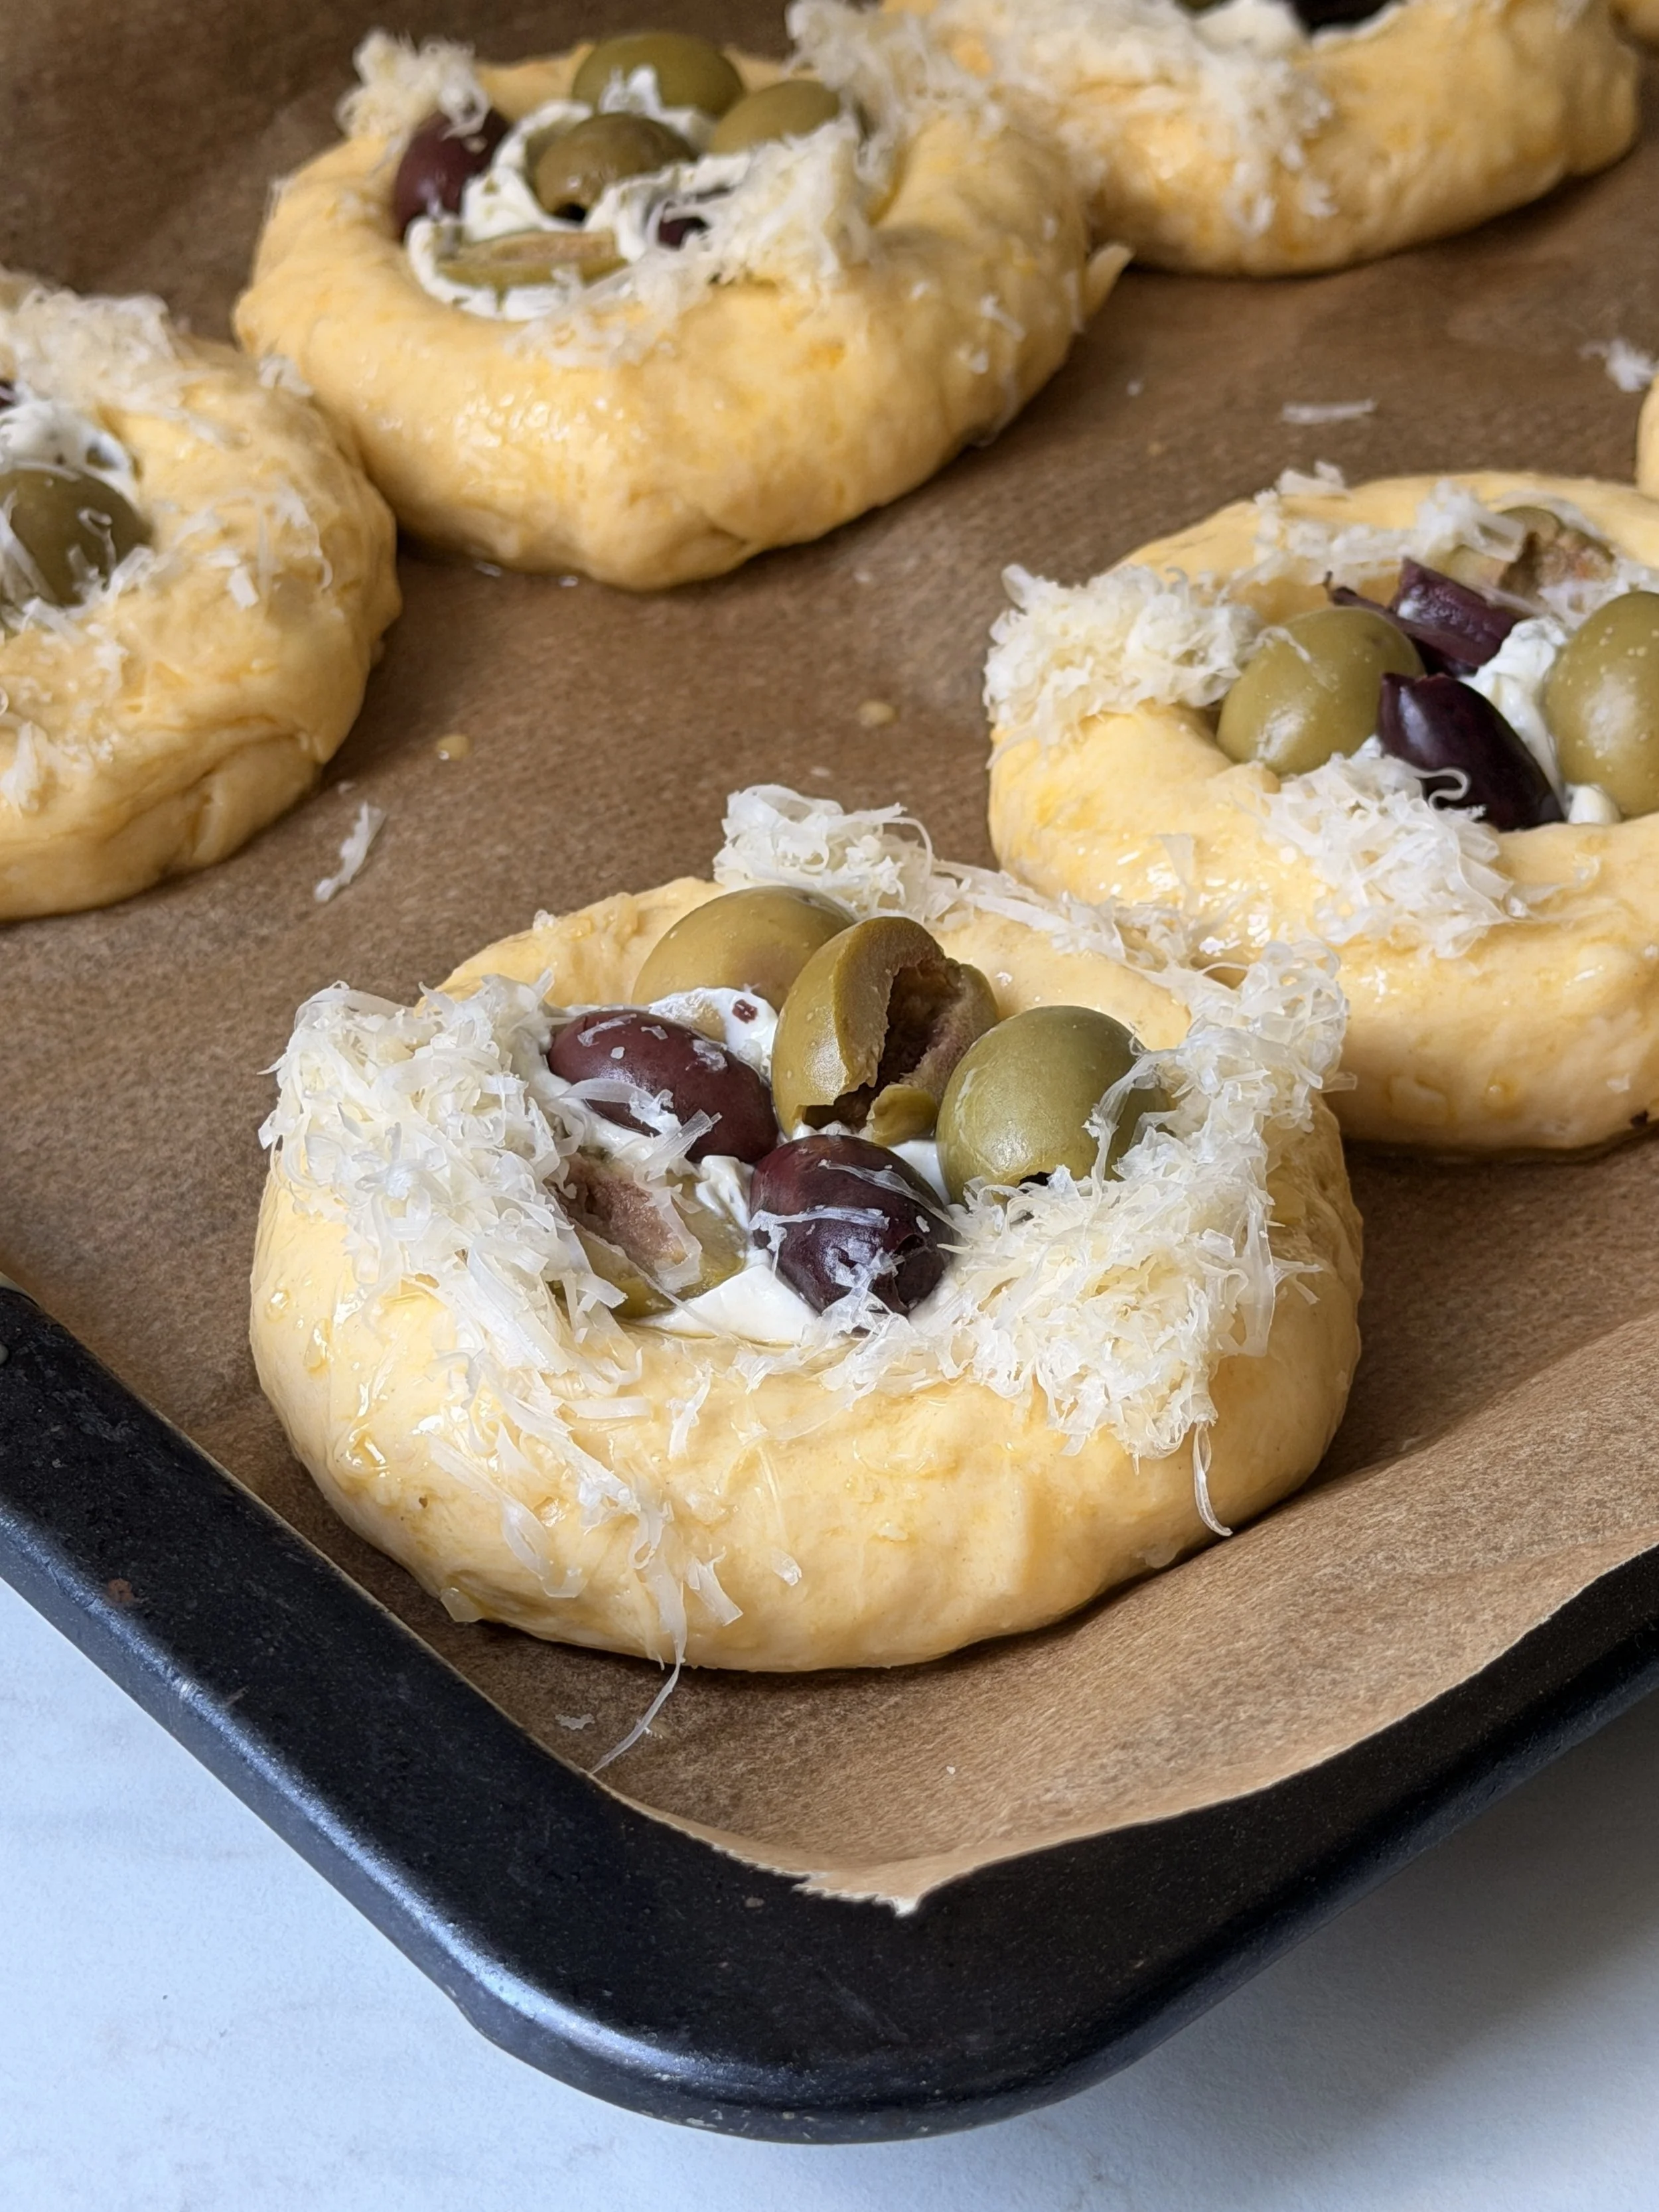
12. Bake in the preheated oven for 20-25 minutes, or until the buns are golden brown.
13. Once ready, top with microgreens and serve warm.

Olive and Chive Cream Cheese Buns
These Danish-style Olive and Chive Cream Cheese Buns are soft, pillowy and incredibly delicious. Made with cheese baked directly into the dough, filled with a creamy chive cream cheese filling and topped with olives, these buns are the perfect savory treat for appetizers, breakfast, brunch or a cozy afternoon snack.
Ingredients
- 350g all purpose flour (2 cups + 3/4 cup + 1 tablespoon)
- 35g granulated sugar (3 tablespoons)
- 7g instant dry yeast (1 packet)
- 7g fine sea salt (1 teaspoon + 1/4 teaspoon)
- 50g unsalted butter, melted and cooled (3 tablespoons + 1 teaspoon)
- 1 large egg
- 150g warm milk (1/2 cup + 2 tablespoons)
- 100g grated Cheddar Cheese (1 cup)
- 100g grated Emmentaler Cheese (1 cup)
- 200g Chive Philadelphia Cream Cheese
- Green Olives
- Kalamata Olives
- Grated Emmentaler Cheese
- An egg, for an egg wash
- Microgreens, for toppings
Instructions
- To the bowl of your stand mixer, add the flour, salt, sugar, instant dry yeast, grated Cheddar and grated Emmentaler cheese. Whisk everything together.
- Next, add the milk, egg and melted butter.
- Using the dough hook attachment, knead on low speed until the dough becomes smooth and forms a ball, about 6-8 minutes.
- Once ready, transfer the dough to a clean, lightly oiled bowl.
- Cover and let it rise at room temperature for 2 hours.
- After 2 hours, punch the dough down and divide it into 8 equal balls, about 105 g each.
- Place them on a large baking tray lined with parchment paper, cover and let them rise for another 1 hour.
- Preheat the oven to 180°C.
- Brush each bun with the egg wash.
- Fill each bun with a little cream cheese and top with the olives.
- Sprinkle with more grated cheese.
- Bake in the preheated oven for 20-25 minutes, or until the buns are golden brown.
- Once ready, top with microgreens and serve warm.