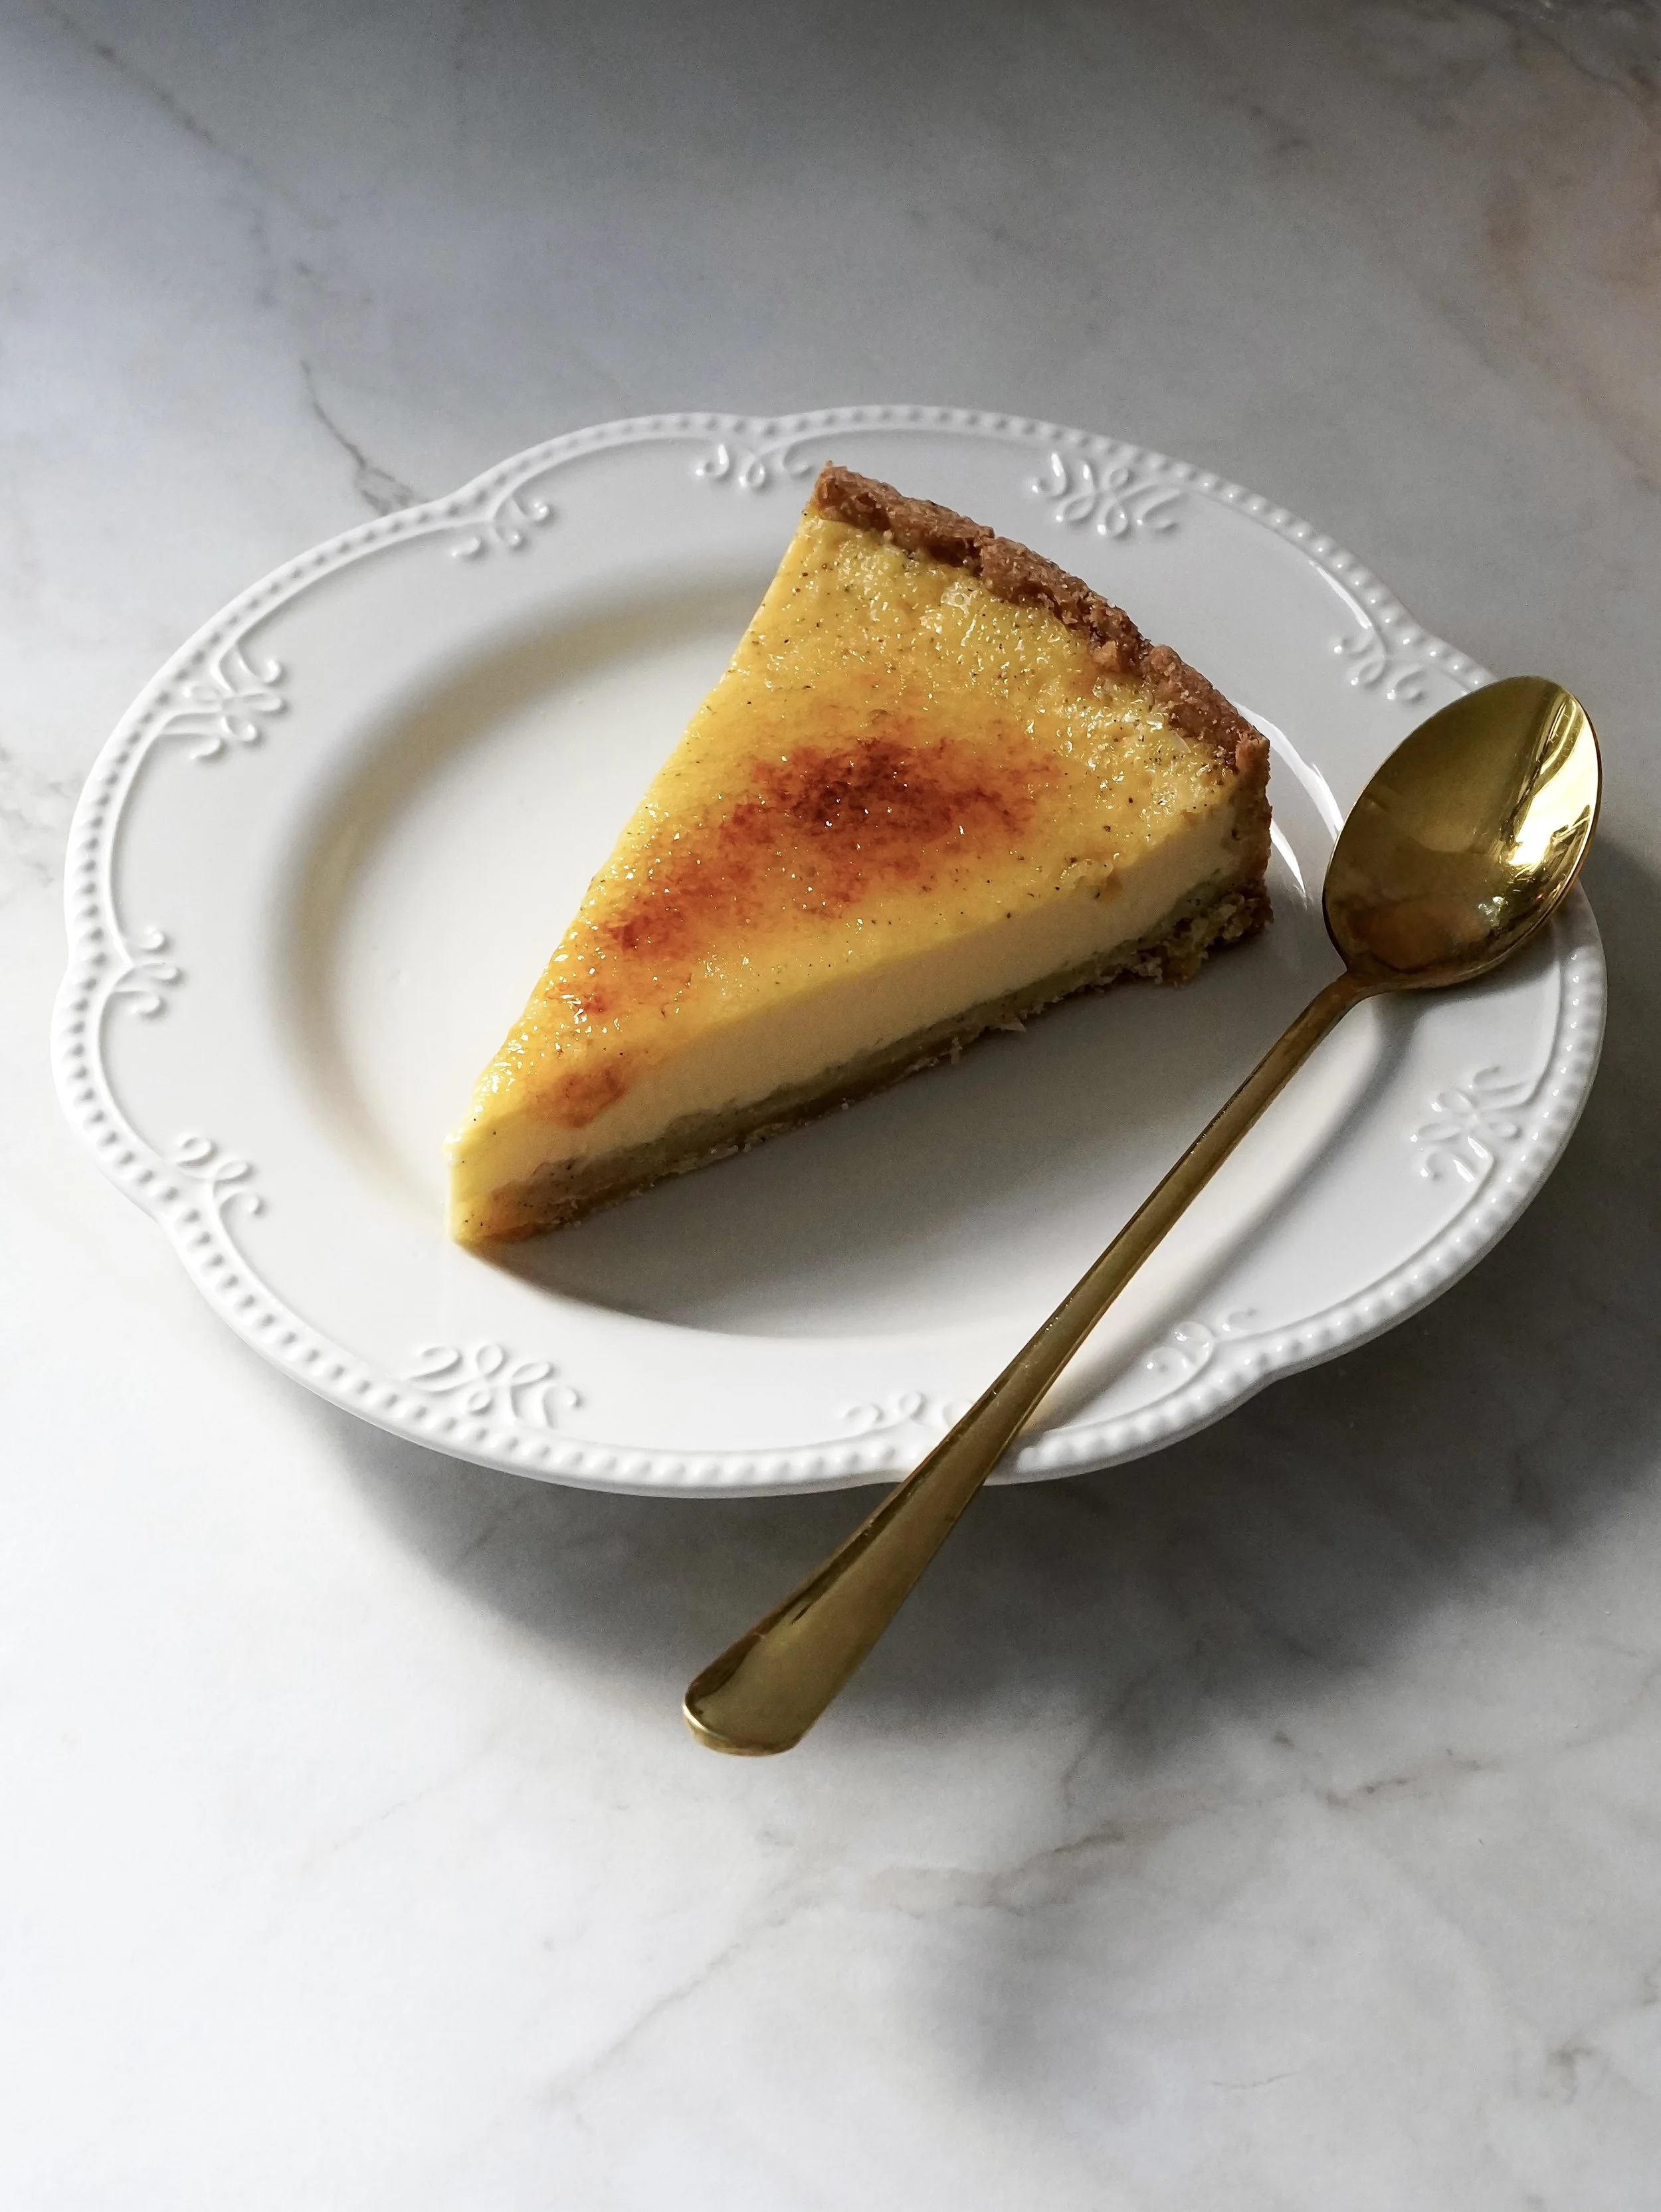
Crème Brûlée Tart
If you love Crème Brûlée and tarts, this recipe is the best of both worlds. It's made in a 24 cm tart ring and has a smooth, creamy custard filling with a caramelized sugar top, just like the classic dessert. The crust is buttery and holds everything together perfectly.
This tart is one of the most beautiful desserts I’ve ever made, but also one of the hardest. I want to start this post by being completely honest. This is not a quick or beginner friendly recipe. It takes time, practice and a little patience. The dough alone needs 3 hours of chilling before baking and then once filled with the crème brûlée custard, it must chill overnight. So yes, it’s time-consuming, but if you’re ready for a baking challenge and love the process, it’s 100% worth it.
I consider this a hard recipe and I say that with all the love and respect for beginner bakers. I never want to discourage anyone, but I do want to be real. I don’t recommend this tart as your first go at baking. Not because beginners aren’t capable. I truly believe everyone can learn anything, but because I think it’s better to build confidence with easier recipes first. Failing can be disheartening and I’d hate for anyone to feel discouraged early in their baking journey.
I say this from experience. It took me almost two years to learn how to make tart crusts that didn’t shrink, crack or fall apart. I’ve failed more times than I can count. I’ve had crusts bubble up, collapse in the oven or turn to crumbs when trying to unmold them. But I learned something new every time. In this post, I’m sharing everything I’ve figured out through all that trial and error, hoping it helps someone else avoid the same mistakes.
One of the most important things I’ve learned is that chilling the dough is non-negotiable. If you skip this step, the dough will shrink in the oven… always. No matter how perfectly you shape it, if it goes in warm, it will melt and slide. Chilling helps the gluten relax and the butter firm up.
For this recipe, I used a 24 cm perforated tart ring. I highly recommend either a perforated tart ring or a regular tart tin with a removable bottom. Both work great, but the key is that the tart needs to be easy to remove without damaging the crust. Perforated rings allow more air circulation and give super crisp edges, but if you use one, make sure you also have a perforated mat and baking tray. I don’t have those, so I still used baking rice and beans just to be safe.
As for the dough, you can make it in three ways: by hand, in a food processor or in a stand mixer with a paddle attachment. I’ve tried all of them, and they all work. Just go with what you’re most comfortable using.
There are two main ways to line the tart ring with dough. One is by rolling the dough over a rolling pin and carefully placing it into the tart tin in one piece. The second method, which I actually used for this recipe, is cutting out a base with the tart ring and then cutting strips to build up the sides.
Once the crust is shaped and chilled, don’t forget to pre-bake it before adding the filling. This ensures that it stays crisp and doesn't turn soggy once the custard is poured in.
The custard filling is a simple Crème Brûlée base, but it needs to be baked very gently and then chilled overnight to fully set. Don’t worry if it looks a bit wobbly in the center when it comes out of the oven, that’s exactly how it should be. It will firm up in the fridge overnight.
For this recipe, a water bath is really important. It helps the filling bake slowly and gently, which gives it that silky, smooth texture. I placed a second baking tin filled with hot water on the lowest rack of the oven to create steam. This keeps the tart from baking too quickly or cracking on top. I also lowered the heat to 150°C to make sure the filling doesn’t curdle and stays nice and creamy.
Important Info, Tips and Tricks
Do not skip chilling the dough - this step is essential to prevent shrinkage during baking.
Butter the tart ring or tin well before placing in the dough - even if you’re using a perforated tart ring or a non-stick tin, it’s always a good idea to lightly butter it. This helps the crust release cleanly after baking. If it still sticks a little, you can gently loosen it with a small knife, just run it carefully around the edge to help release it without breaking the crust.
When baking the tart with the crème brûlée filling, use a water bath - this helps the filling bake slowly and evenly, preventing cracks and keeping the texture smooth and creamy.
The dough can be made - by hand, in a food processor or using a stand mixer with a paddle attachment.
To place the dough into the tin - either roll it over a rolling pin and gently lower it in, or cut a base and strips to build the border.
Chill overnight - after baking to let the crème brûlée filling set properly.
Do not overbake the crème brûlée - it should still wobble slightly in the center when you remove it from the oven. It sets as it cools.
Use cold butter when making the dough - this helps with flakiness and structure.
Perforated or regular tins both work - I used a perforated ring, which usually doesn’t need weights, but since I don’t own a perforated mat and tray, I used baking rice to be safe and avoid shrinkage.
Ingredients you will need for this recipe
For the tart crust:
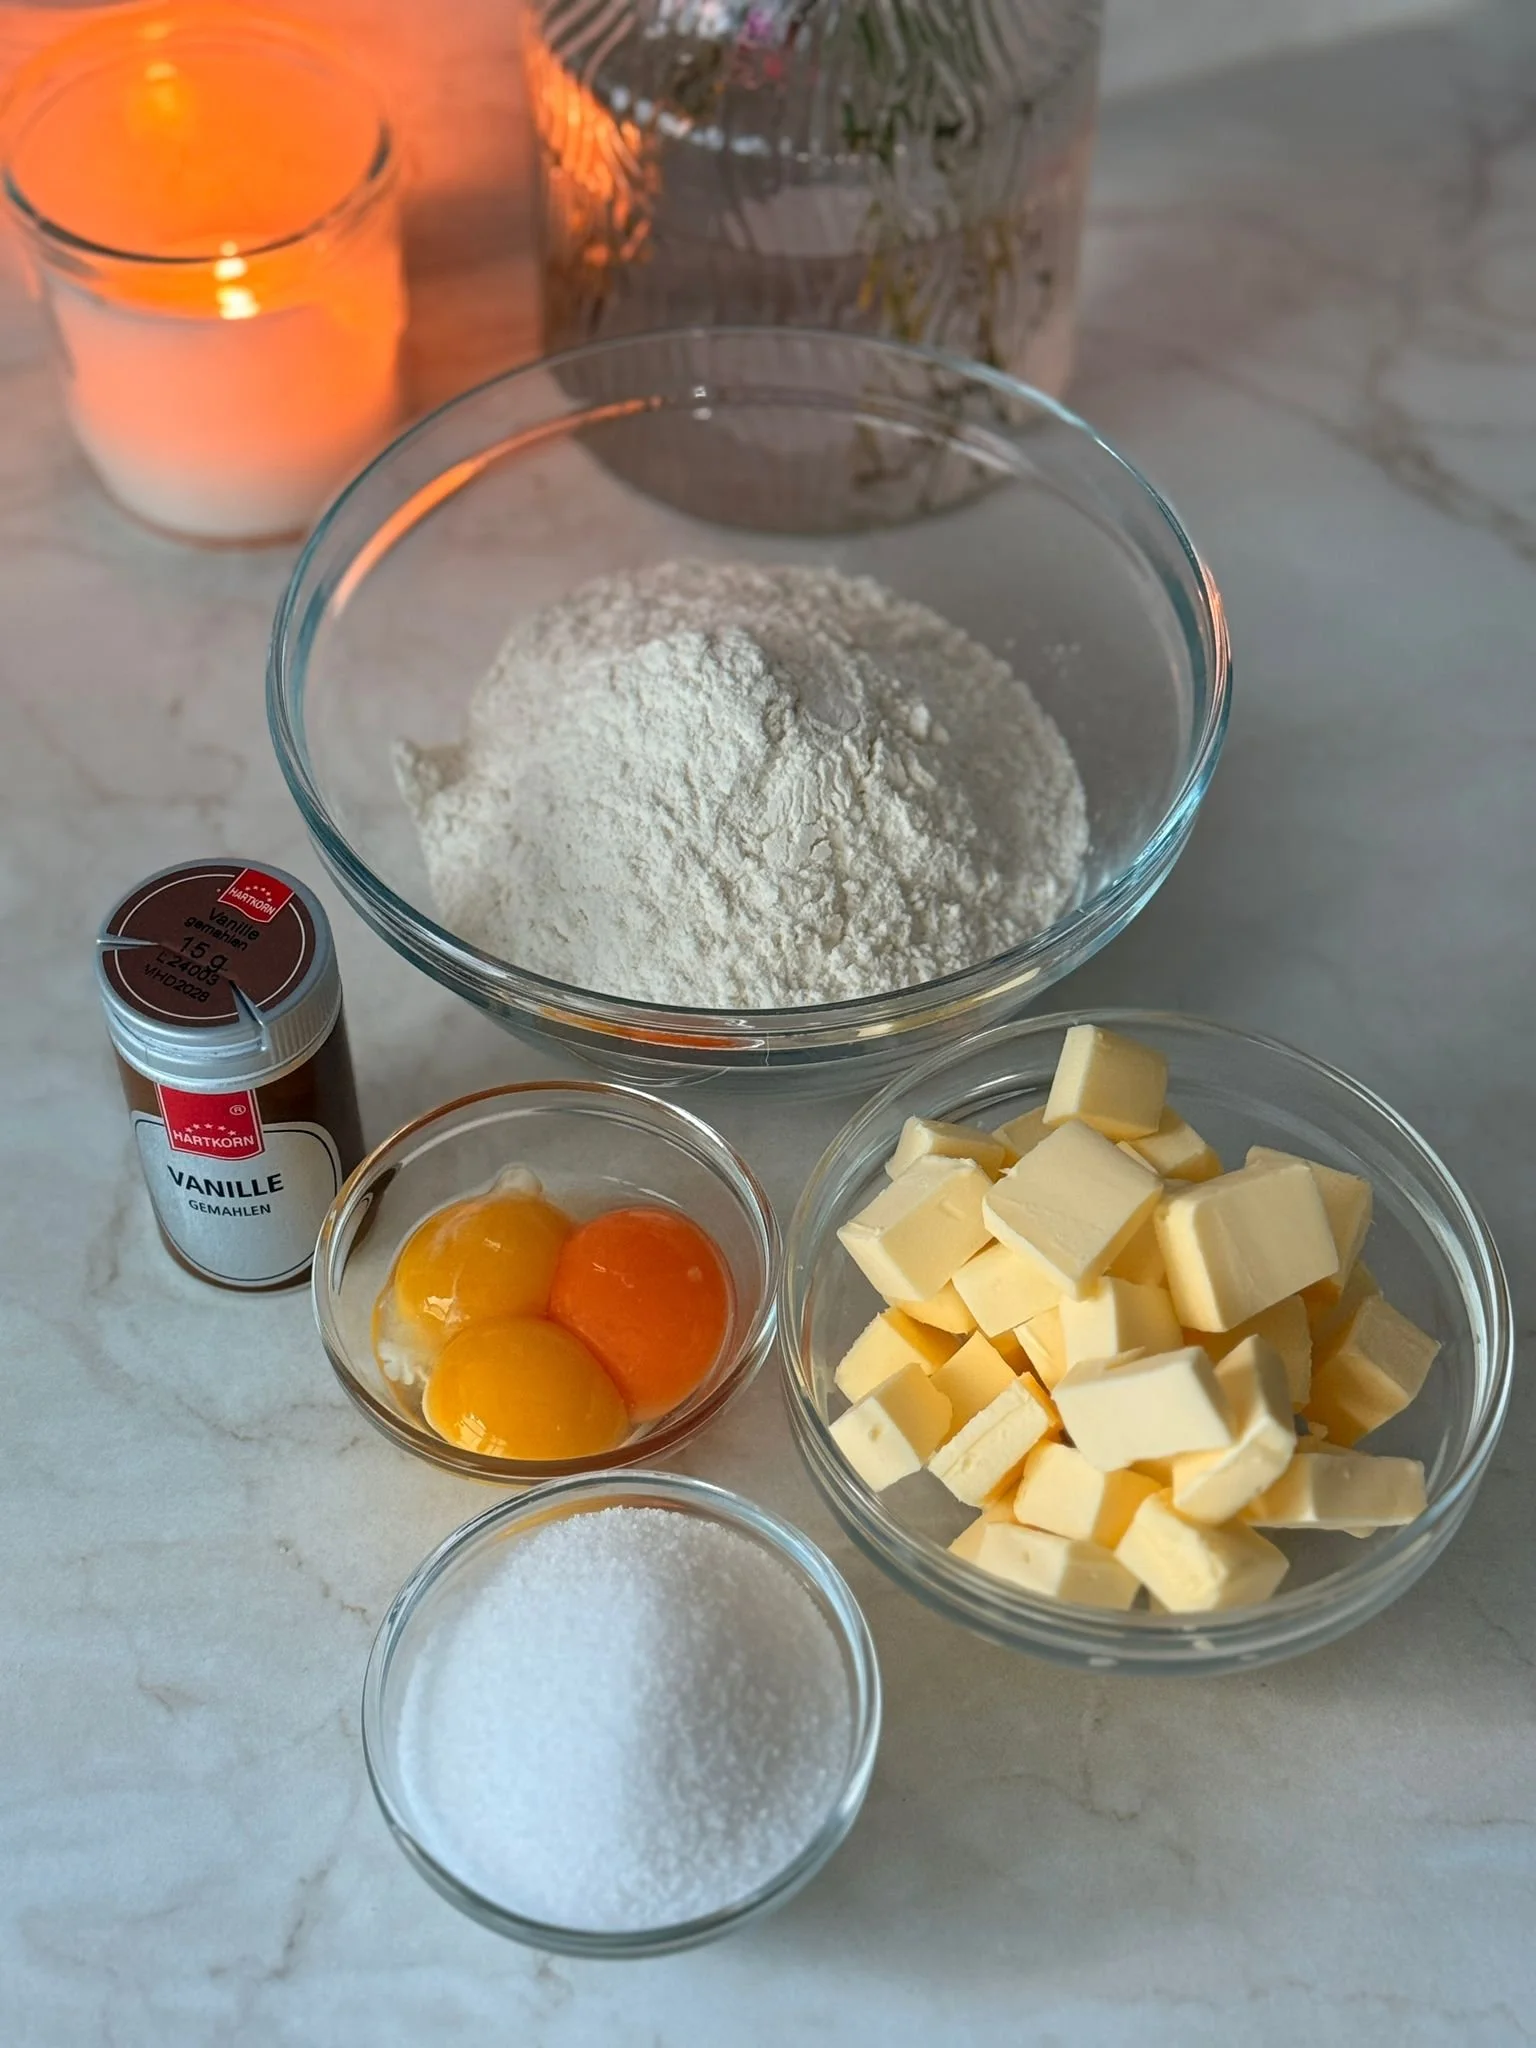
All-purpose flour: This is the main structure builder for your tart crust. It provides the base and gives the dough stability.
Granulated sugar: Sugar sweetens the crust.
Unsalted butter, cold and cubed: Using unsalted butter lets you control the salt level and keeping it cold prevents it from fully blending in, which is essential for that perfect texture.
Large egg yolks: Egg yolks add richness and help bind the dough together. They contribute fat and a tender crumb, making the crust smooth and easy to roll out without being too fragile.
Cold water (if needed): Just enough cold water brings the dough together without making it sticky or tough. The cold temperature keeps the butter firm.
Ground vanilla: Enhances the overall flavor of the dough.
For the filling:
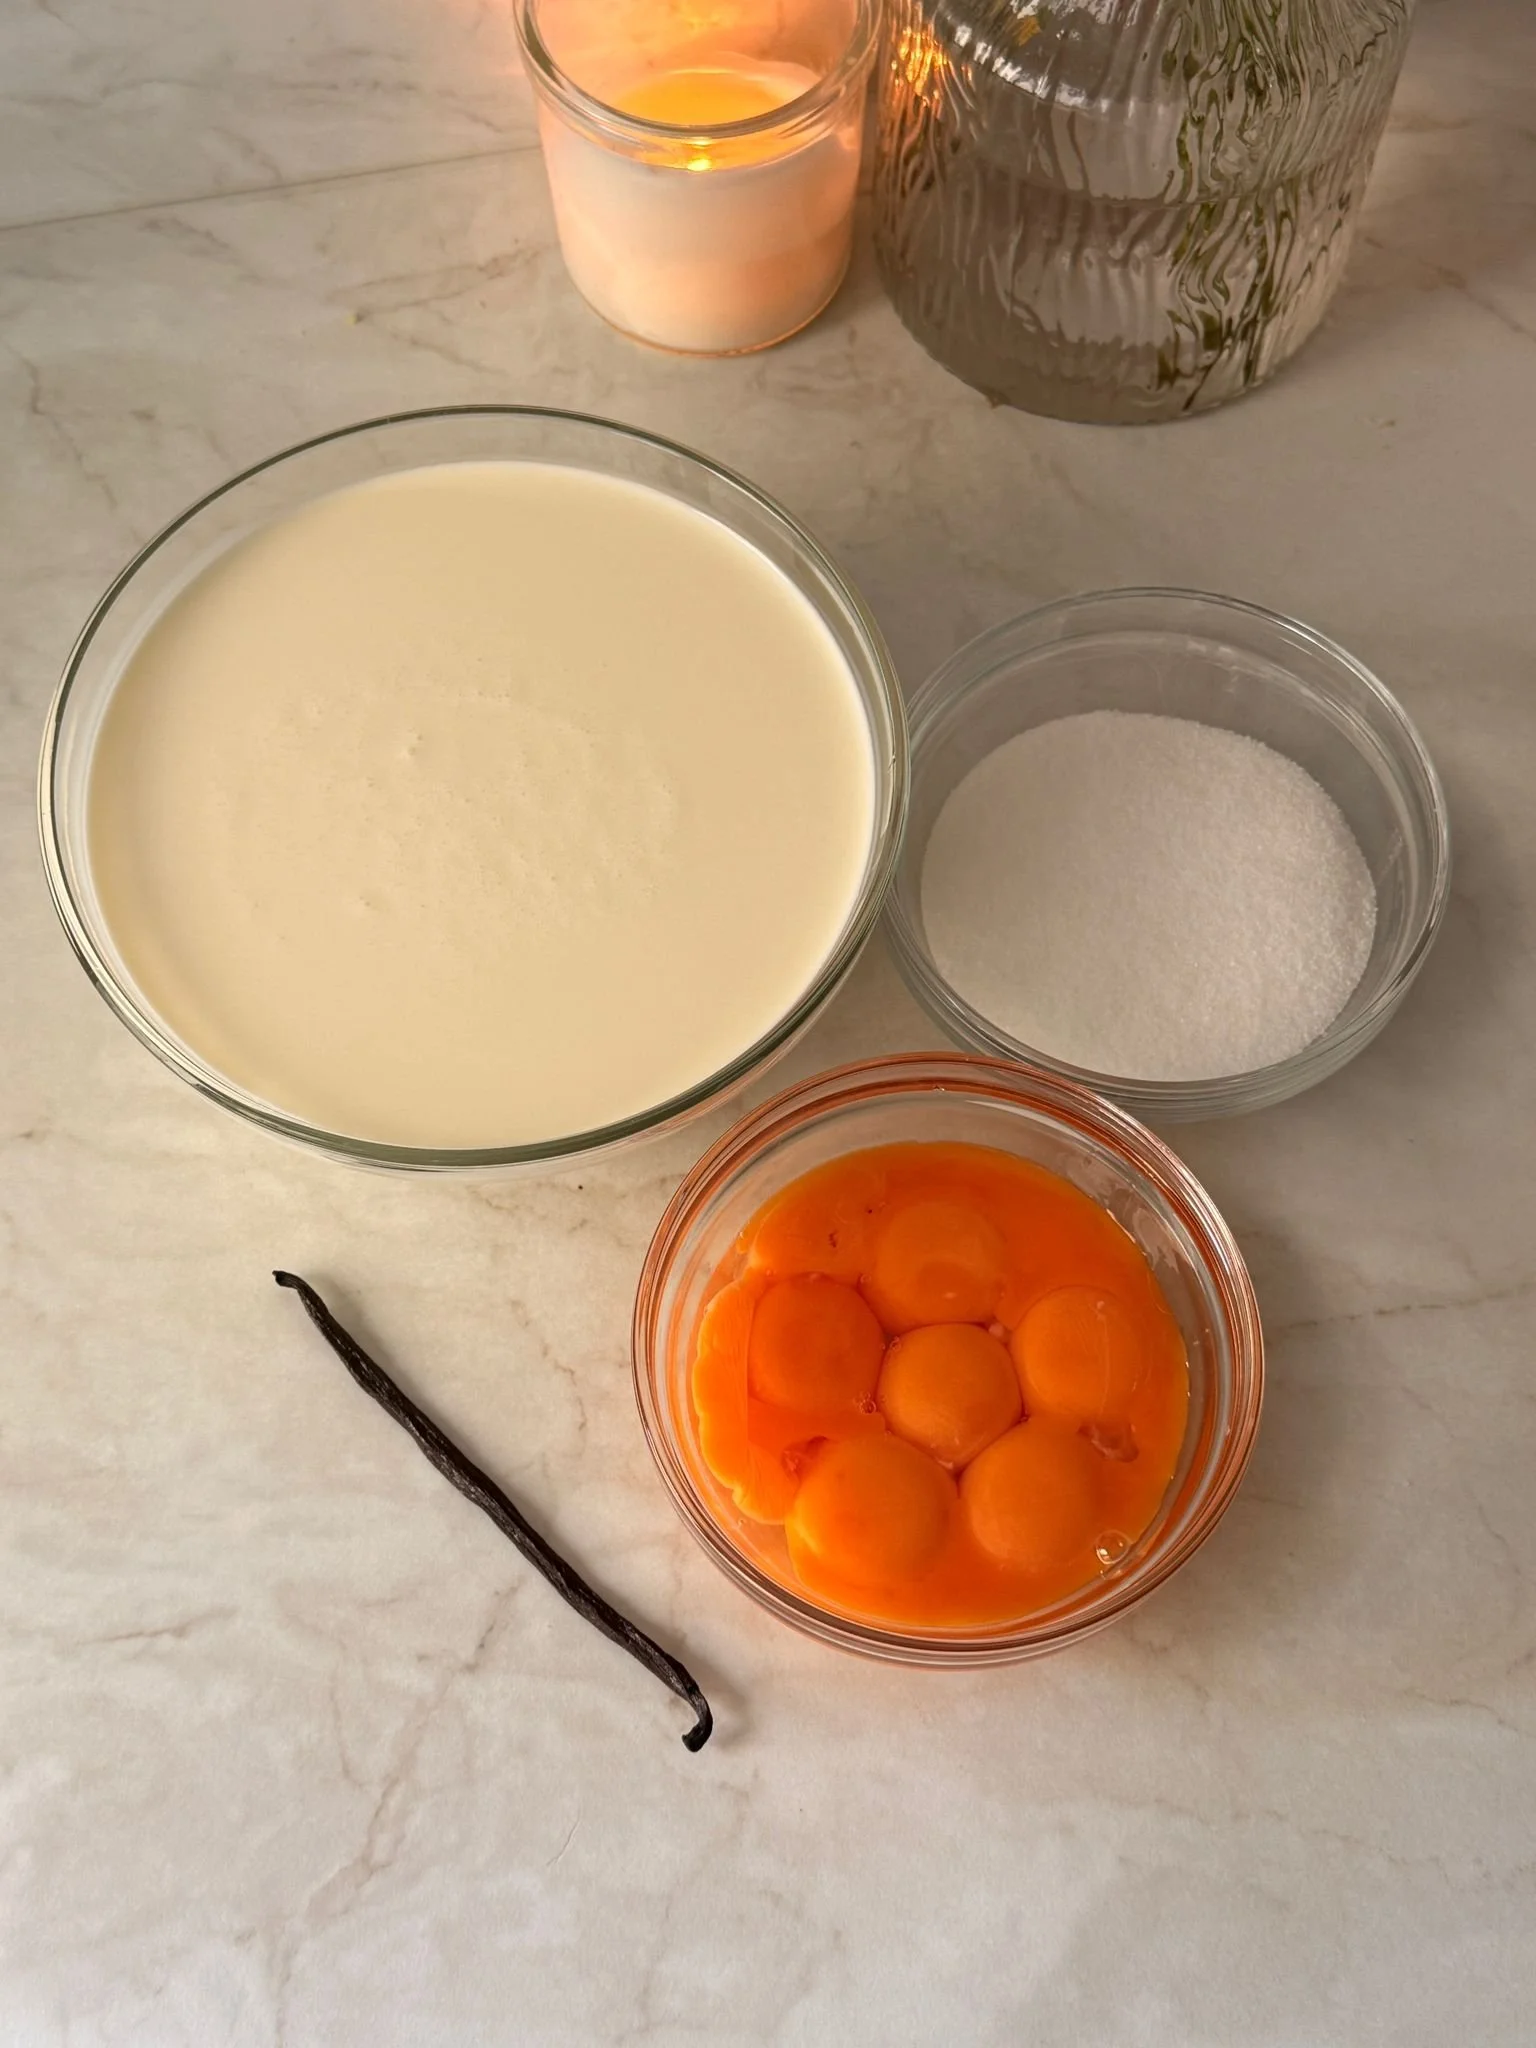
Egg yolks: They provide richness and creaminess.
Sugar: Sugar sweetens the custard.
Heavy cream (32% fat): Heavy cream adds richness and its high fat content makes the custard smooth and velvety.
Vanilla bean (pod scraped or ground): Using real vanilla beans (not extract) gives the custard a natural, intense vanilla flavor. The bean’s aroma is deeper and more complex than extract, which is important for that authentic crème brûlée character.
Step by step directions with photos
Preparing the tart crust
1. Let’s prepare the crust first. You can make the dough by hand, in a food processor or in a stand mixer using a paddle attachment. Today, I used a food processor.
2. In the food processor, add the flour, sugar, vanilla and cold (cubed) butter. Pulse until the mixture resembles wet sand or coarse crumbs. Add the egg yolks and pulse again until the dough comes together. If needed, add one or two tablespoons of cold water.


3. Transfer the dough to your work surface and gently shape it into a disc. Wrap in cling film and refrigerate for 2 hours. (Chilling is essential! If skipped, the dough will shrink while baking)


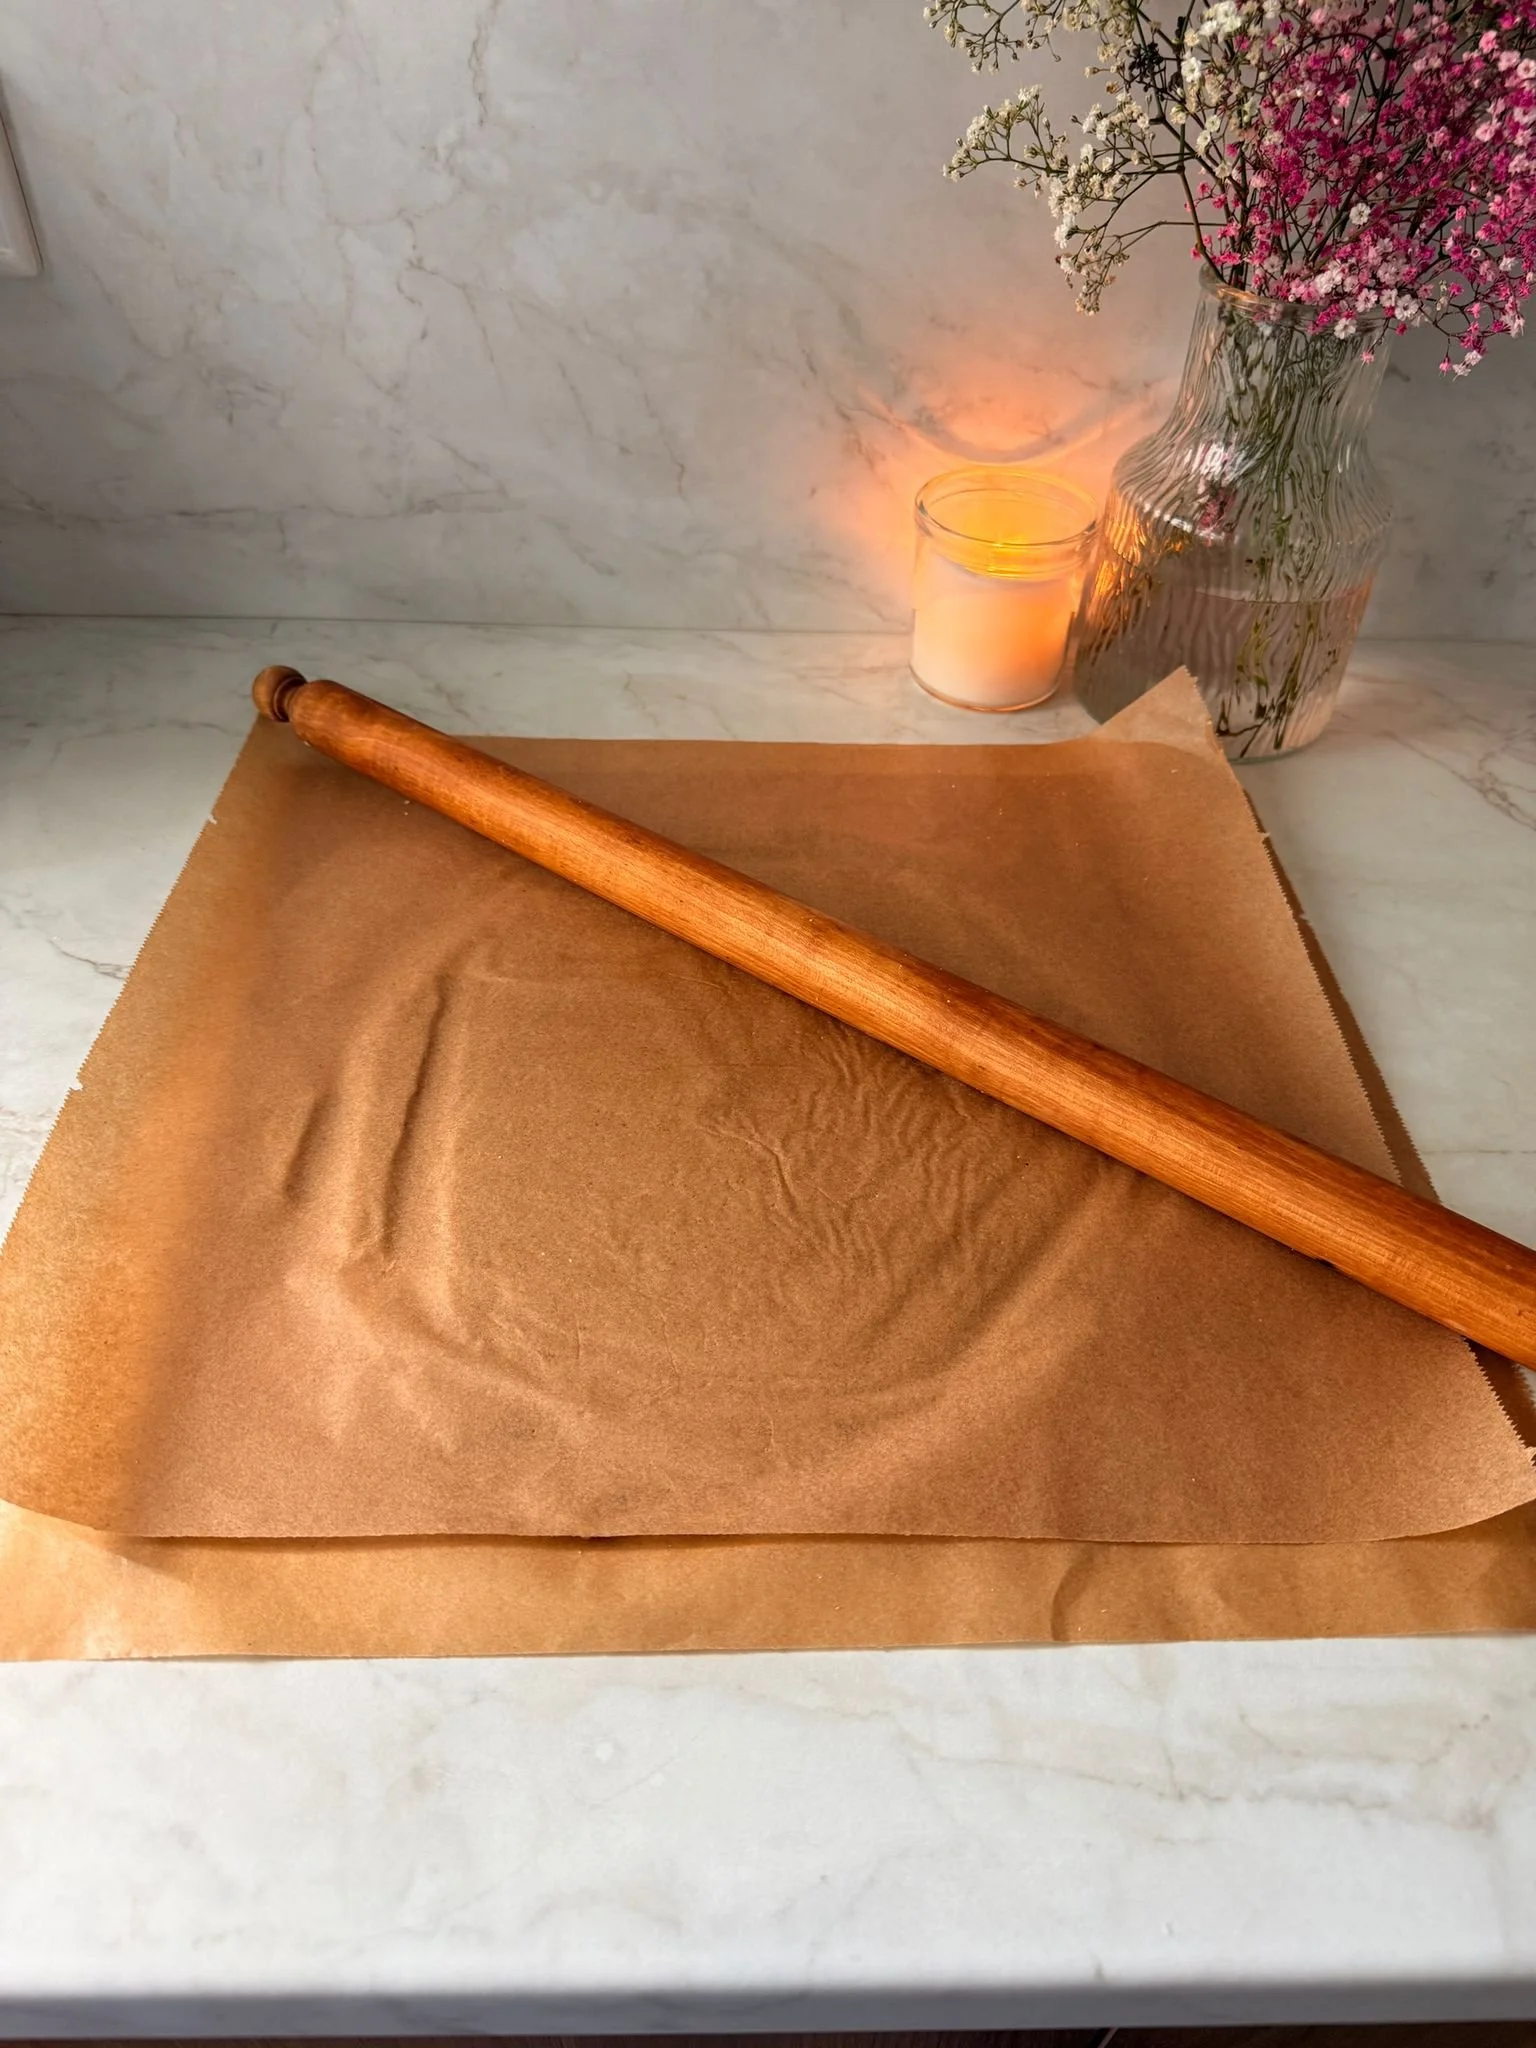
4. After chilling, take the dough out of the fridge and place it between two sheets of parchment paper. Roll it out until it’s large enough to cover your 24 cm tart ring. You can also do this directly on a lightly floured work surface without parchment.

- Method 1 (this is the method I used):
To make the crust this way, I cut the dough and worked in parts. I rolled out three quarters of the dough for the base. I placed the tart ring on top and used it to cut out a perfect circle. I transferred the circle to a baking tray lined with baking paper. Then, I rolled out the remaining dough and cut it into strips for the sides. I gently pressed the strips into the tart ring to form the borders, making sure they adhered well to the base. Trim any excess dough cleanly.


- Method 2 (easier option):
Roll out the entire dough on a lightly floured surface, then carefully drape it over your rolling pin to lift and place it into the tart ring. Gently press the dough into the base and sides. Trim the edges with a knife and prick the bottom with a fork.
5. Freeze the lined tart shell for 60 minutes. (Do not skip this step! Freezing helps prevent shrinking in the oven.)
6. About 10 minutes before the freezing time is up, preheat your oven to 180°C (fan setting).
7. Line the frozen tart shell with parchment paper and fill it with pie weights, dried beans, or rice to prevent puffing.

8. Bake for 15 minutes, then remove the weights and parchment and bake for another 5 minutes until lightly golden.
9. Remove from the oven and let the tart shell cool slightly, but leave it in the tart ring.
Preparing the Crème Brûlée Filling
Lower the oven temperature to 150°C and prepare a water bath: fill a cake tin or oven safe dish with hot water and place it on the lowest rack of the oven. This helps the filling cook gently and evenly.
In a saucepan, heat the heavy cream and scraped vanilla bean (or ground vanilla) over medium heat until just simmering. Do not boil.


3. In a separate bowl, whisk the egg yolks and sugar until pale and smooth.


4. Slowly pour the warm cream into the egg yolk mixture, whisking constantly to avoid curdling. Optionally, strain through a fine sieve for a smooth texture.

5. Carefully pour the crème brûlée mixture into the pre baked tart shell.

6. Bake at 150°C for around 35 to 40 minutes. The center should still be wobbly and it will set as it cools.
7. Remove the tart from the oven and let it cool to room temperature, then refrigerate overnight.

8. The next day, gently remove the tart ring. If it sticks slightly, you can help loosen it by running a small knife carefully around the edges.
9. For the best result, slice the tart before caramelizing the tops.
10. Torch the tops with sugar for that classic crème brûlée crack… and enjoy!


Crème Brûlée Tart
If you love Crème Brûlée and tarts, this recipe is the best of both worlds. It's made in a 24 cm tart ring and has a smooth, creamy custard filling with a caramelized sugar top, just like the classic dessert. The crust is buttery and holds everything together perfectly.
Ingredients
- 230g all purpose flour
- 80g granulated sugar
- 150g unsalted butter, cold and cubed
- 3 large egg yolks
- 1-2 tablespoons of cold water (If needed)
- 1/2 tsp ground vanilla
- 8 egg yolks
- 120g sugar
- 800g heavy cream (32% fat)
- One vanilla pod scraped out, or one teaspoon ground vanilla bean (Do not use vanilla extract, we need vanilla beans here)
Instructions
- Let’s prepare the crust first. You can make the dough by hand, in a food processor or in a stand mixer using a paddle attachment. Today, I used a food processor.
- In the food processor, add the flour, sugar, vanilla and cold (cubed) butter. Pulse until the mixture resembles wet sand or coarse crumbs. Add the egg yolks and pulse again until the dough comes together. If needed, add one or two tablespoons of cold water.
- Transfer the dough to your work surface and gently shape it into a disc. Wrap in cling film and refrigerate for 2 hours. (Chilling is essential! If skipped, the dough will shrink while baking)
- After chilling, take the dough out of the fridge and place it between two sheets of parchment paper. Roll it out until it’s large enough to cover your 24 cm tart ring. You can also do this directly on a lightly floured work surface without parchment.
- - Method 1 (this is the method I used): To make the crust this way, I cut the dough and worked in parts. I rolled out three quarters of the dough for the base. I placed the tart ring on top and used it to cut out a perfect circle. I transferred the circle to a baking tray lined with baking paper. Then, I rolled out the remaining dough and cut it into strips for the sides. I gently pressed the strips into the tart ring to form the borders, making sure they adhered well to the base. Trim any excess dough cleanly.
- - Method 2 (easier option): Roll out the entire dough on a lightly floured surface, then carefully drape it over your rolling pin to lift and place it into the tart ring. Gently press the dough into the base and sides. Trim the edges with a knife and prick the bottom with a fork.
- Freeze the lined tart shell for 60 minutes. (Do not skip this step! Freezing helps prevent shrinking in the oven.)
- About 10 minutes before the freezing time is up, preheat your oven to 180°C (fan setting).
- Line the frozen tart shell with parchment paper and fill it with pie weights, dried beans, or rice to prevent puffing.
- Bake for 15 minutes, then remove the weights and parchment and bake for another 5 minutes until lightly golden.
- Remove from the oven and let the tart shell cool slightly, but leave it in the tart ring.
- Lower the oven temperature to 150°C and prepare a water bath: fill a cake tin or oven safe dish with hot water and place it on the lowest rack of the oven. This helps the filling cook gently and evenly.
- In a saucepan, heat the heavy cream and scraped vanilla bean (or ground vanilla) over medium heat until just simmering. Do not boil.
- In a separate bowl, whisk the egg yolks and sugar until pale and smooth.
- Slowly pour the warm cream into the egg yolk mixture, whisking constantly to avoid curdling. Optionally, strain through a fine sieve for a smooth texture.
- Carefully pour the crème brûlée mixture into the pre baked tart shell.
- Bake at 150°C for around 35 to 40 minutes. The center should still be wobbly and it will set as it cools.
- Remove the tart from the oven and let it cool to room temperature, then refrigerate overnight.
- The next day, gently remove the tart ring. If it sticks slightly, you can help loosen it by running a small knife carefully around the edges.
- For the best result, slice the tart before caramelizing the tops.
- Torch the tops with sugar for that classic crème brûlée crack… and enjoy!
Notes
- I know this recipe leaves you with a lot of egg whites, but don’t throw them away. You can use them to make Meringues, Pavlova, Macarons and more
- Do not skip chilling the dough - this step is essential to prevent shrinkage during baking.
- Butter the tart ring or tin well before placing in the dough - even if you’re using a perforated tart ring or a non-stick tin, it’s always a good idea to lightly butter it. This helps the crust release cleanly after baking. If it still sticks a little, you can gently loosen it with a small knife, just run it carefully around the edge to help release it without breaking the crust.
- When baking the tart with the crème brûlée filling, use a water bath - this helps the filling bake slowly and evenly, preventing cracks and keeping the texture smooth and creamy.
- The dough can be made - by hand, in a food processor or using a stand mixer with a paddle attachment.
- To place the dough into the tin - either roll it over a rolling pin and gently lower it in, or cut a base and strips to build the border.
- Chill overnight - after baking to let the crème brûlée filling set properly.
- Do not overbake the crème brûlée - it should still wobble slightly in the center when you remove it from the oven. It sets as it cools.
- Use cold butter when making the dough - this helps with flakiness and structure.
- Perforated or regular tins both work - I used a perforated ring, which usually doesn’t need weights, but since I don’t own a perforated mat and tray, I used baking rice to be safe and avoid shrinkage.
Nutrition Facts
Calories
504Fat
39 gSat. Fat
23 gCarbs
34 gFiber
1 gNet Carbs
33 gSugar
19 gProtein
7 gSodium
28 mgCholesterol
278 mg