No Bake Blackberry Cheesecake
This No Bake Blackberry Cheesecake is creamy, fruity and simple to make. It has a smooth cream cheese filling, a layer of homemade blackberry jam and a cocoa crust. I made it in a 22 cm round cake tin and it’s perfect for when you want a beautiful dessert without turning on the oven
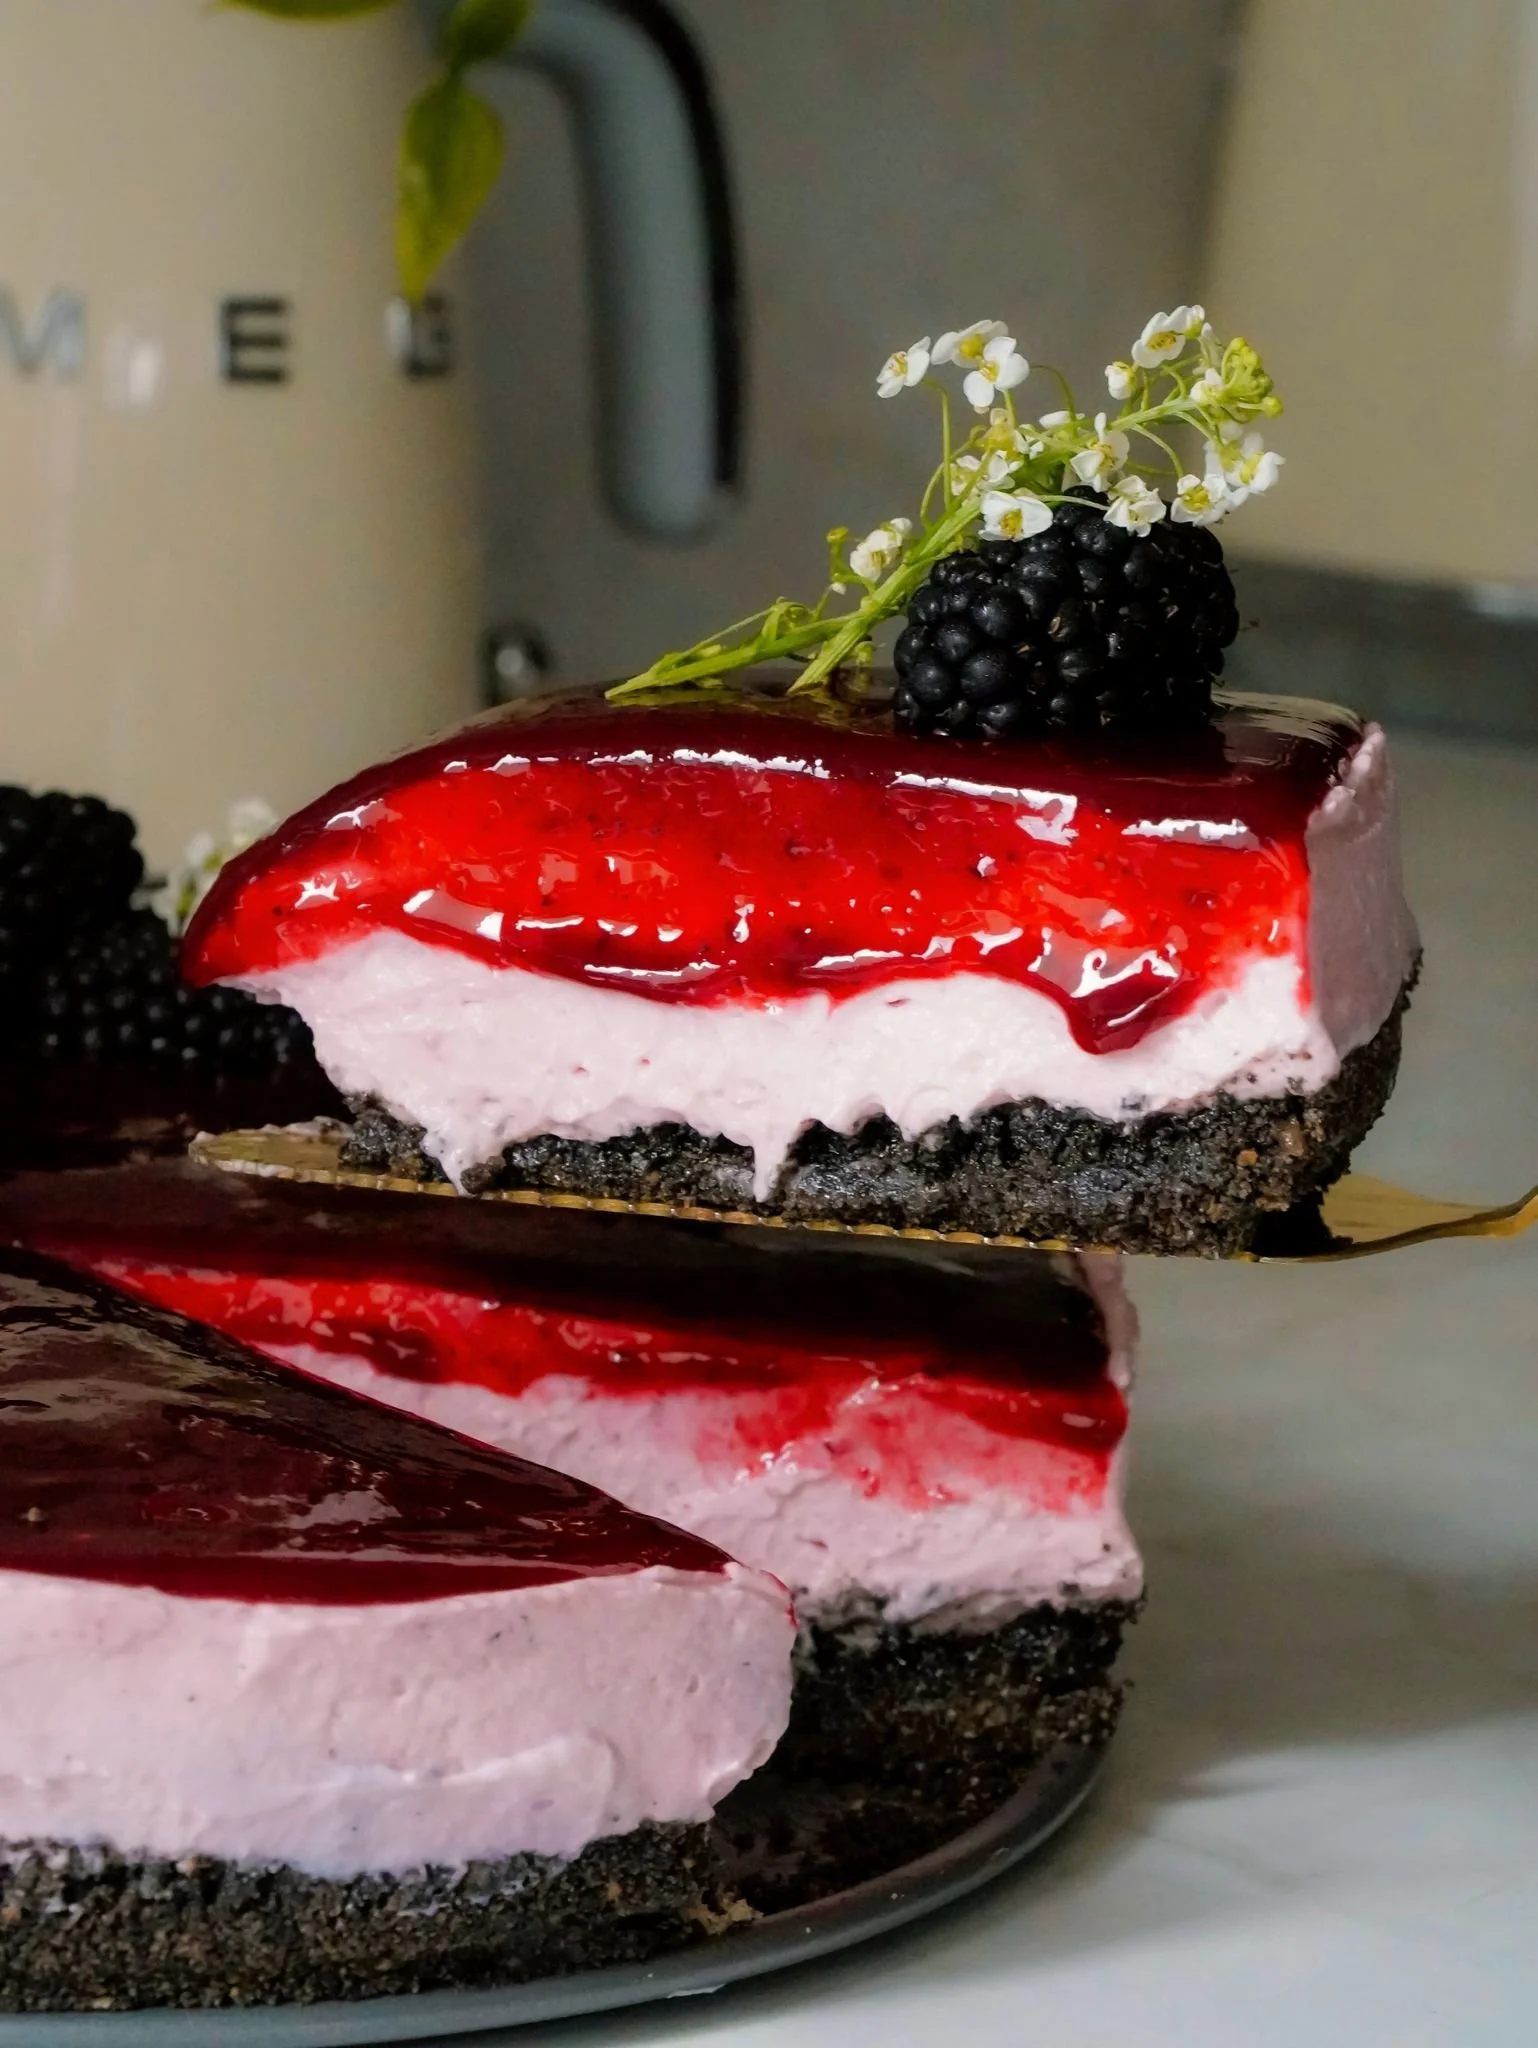
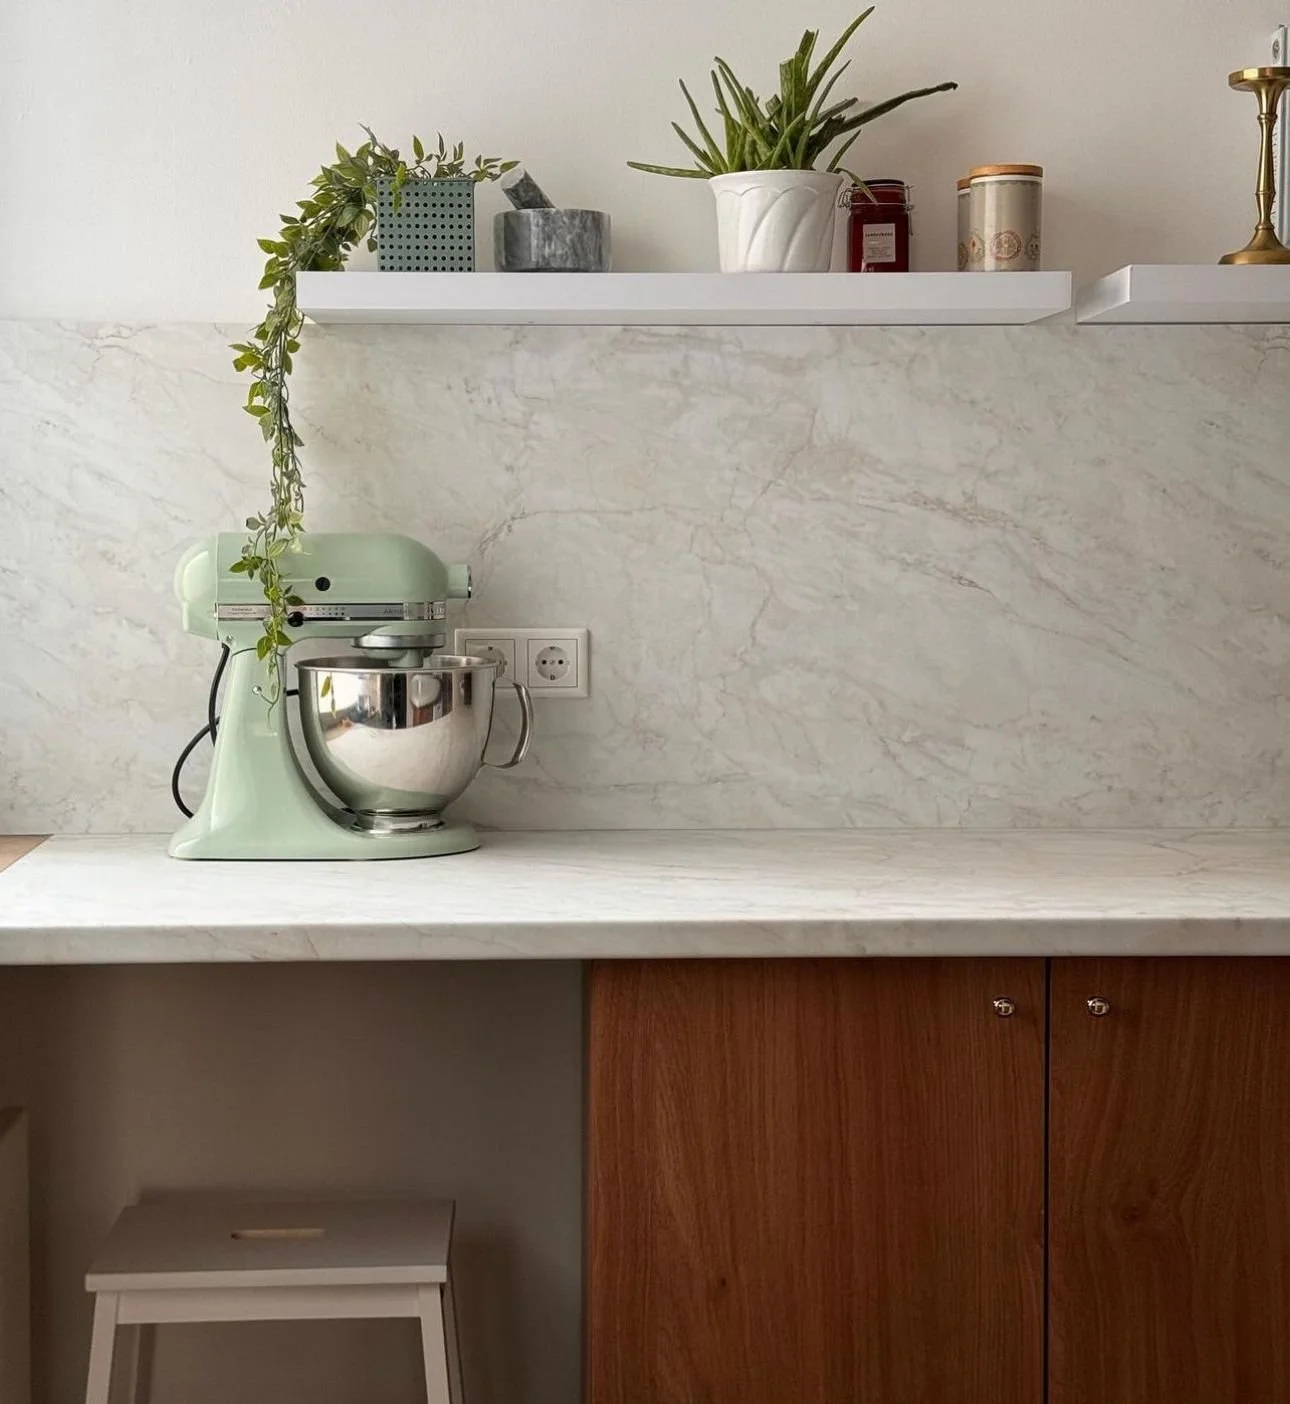
This is a no bake cheesecake, which means you don’t have to worry about baking or using the oven. I made it in a 22 cm round cake tin with removable sides, which makes it easy to take out and get clean slices. If you prefer a taller cheesecake, you can use a 20 cm tin instead and it will still work beautifully. The star of this recipe is a homemade blackberry jam that adds a lovely fruity flavor to the cheesecake. I used frozen blackberries because that’s what I had at home, but fresh blackberries work just as well if you have them. The jam is used in two ways: it’s mixed into the cheesecake filling for a berry flavor throughout and it’s also scooped on top of the cheesecake as a finishing touch. This makes every bite creamy and fruity at the same time.
The crust is made with black cocoa powder, which gives it a deeper flavor and a dark color. I think it pairs so nicely with the purple of the blackberries, making the cake look really elegant without much effort. I actually decided to make this cheesecake because I posted a poll on Instagram asking what dessert I should make next and most of my followers voted for this. Even though I’m personally not a big fan of blackberries, I was so happy with how this cheesecake turned out. My boyfriend loved it too, which is always a good sign.
I also love how easy this recipe is to prepare. You don’t have to bake anything and most of the time spent making it is actually chilling time in the fridge. That means you can make it the day before a gathering and have a beautiful ready to serve dessert. The jam takes a little bit of time to cook down, but it’s very simple to make and you can even make it ahead of time. Once the jam is ready, putting the cheesecake together is quick and straightforward.
I’m really glad I made this recipe because it pushed me out of my comfort zone with blackberries. I wouldn’t normally choose them, but now I’m glad I tried because it turned out delicious. My boyfriend gave it a big thumbs up, which made me even happier to share it. If you’re a fan of blackberries, I think you’ll love it.
For more helpful tips and tricks to make this cheesecake a success, check out the notes below!
Important notes, tips and tricks
1. Chill the cheesecake for a minimum of 6 hours, preferably overnight - Chilling is key for no bake cheesecakes. The longer it sits, the firmer and more sliceable it becomes. Overnight chilling allows the flavors to meld and the filling to set perfectly. If you try to slice it too early, the cheesecake may be too soft and fall apart. Patience really pays off here.
2. Let the jam completely cool before adding it to the filling - Hot jam can melt the cheesecake filling, making it runny and hard to set. Always let the jam cool down before folding it into the cream mixture. This keeps your filling smooth and ensures the cheesecake holds its shape.
3. Blend the jam and strain for extra smoothness - If you want a silky filling without berry seeds, blending and straining the jam is a simple trick. It creates a more refined texture in the cheesecake. You can skip this if you like a rustic feel, but for a super smooth dessert this step is worth it.
4. If you don’t want a cocoa crust, just make a regular crust but leave out the sugar - Not everyone loves a chocolaty base. You can easily swap it for a plain biscuit/graham cracker crust. Leaving out the sugar keeps the crust from being too sweet, letting the blackberry flavor shine. This is a great option if you prefer a lighter base.
5. Gently mix in the whipping cream into the cheesecake filling to avoid deflating the batter - Whipping cream adds airiness to the filling, but if you fold it too roughly you’ll lose that light texture. Use a spatula and fold slowly until just combined.
Frequently asked questions
1. How to store?
Store the cheesecake in the fridge, covered with plastic wrap or in a cake box.
2. How long to store?
It will stay fresh for up to 4-5 days when refrigerated.
3. Can I freeze this cheesecake?
Yes you can freeze it, but it’s best to freeze before adding the jam on top. Wrap it tightly in plastic wrap and then place it in a ziplock bag. Thaw in the fridge overnight before serving.
4. What can I use instead of black cocoa powder?
You can use regular unsweetened cocoa powder or a mix of dark cocoa and regular cocoa. The flavor will be slightly different, but still delicious.
5. Can I omit the cocoa powder?
Yes, just make a plain biscuit crust instead. Omit the sugar as well if you go plain.
6. Why is my cheesecake runny?
There are two common reasons for a runny cheesecake. The first is that it hasn’t chilled long enough. Always let it chill at least 6 hours, but overnight is best. The second reason could be that the whipping cream was mixed in too roughly instead of gently folded, which can make the filling too loose.
7. How long to chill the cheesecake?
Minimum 6 hours, ideally overnight. This helps the filling set properly and makes slicing easier.
8. Can I use fresh blackberries instead of frozen?
Yes!
Tools you’ll need for this recipe
- A 22 cm round cake pan, with removable sides - Click here to check it out/purchase
- An electric hand mixer or a stand mixer
- A spatula
- A small saucepan
- A food processor or a ziplock back, to crush the cookies
Ingredients you will need for this recipe
For the crust:
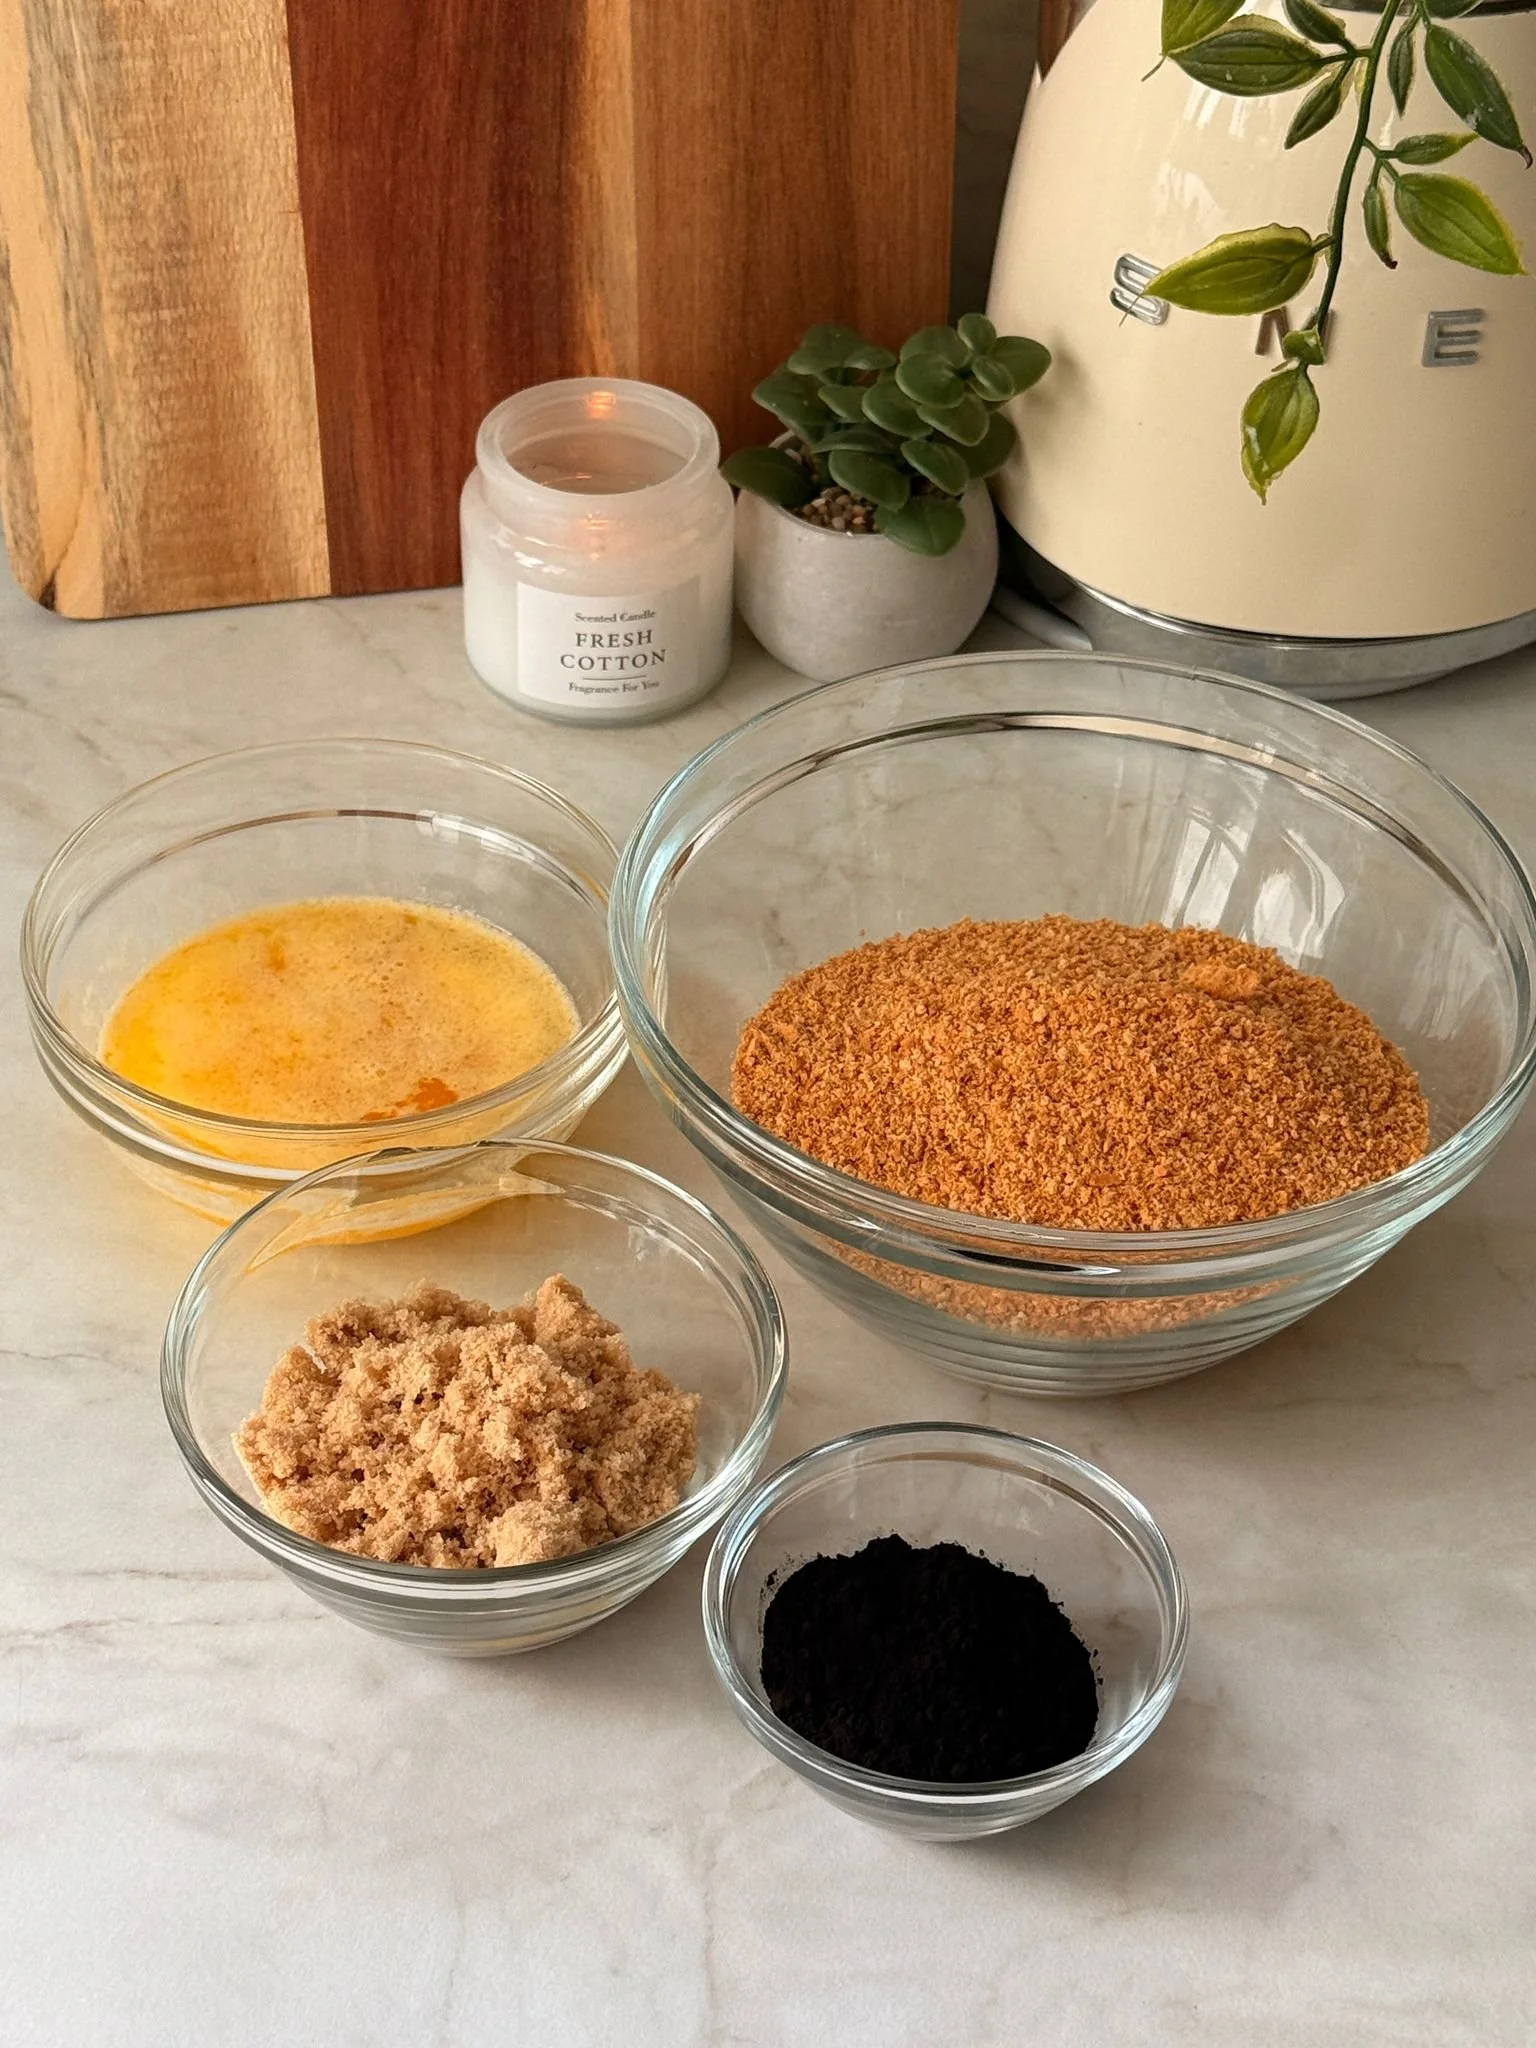
Butter cookies or graham crackers, crushed: This forms the base of your cheesecake and gives it a nice crunch. You can use digestive biscuits or any plain sweet biscuits instead.
Light brown sugar: Adds sweetness and a subtle caramel flavor to the crust. You can use dark brown sugar if you like a richer taste.
Unsalted butter, melted: Helps bind the crumbs together.
Black cocoa powder: Adds a deep, dark color and mild chocolate flavor to the crust. You can substitute with regular cocoa powder if needed, though the color won’t be as dark.
For the blackberry jam:

Blackberries, fresh or frozen: This is the star flavor of your jam.
Granulated sugar: Sweetens the jam.
Juice of a lemon: Balances the sweetness.
Cornstarch slurry: Thickens the jam so it isn’t too runny.
For the batter:

Philadelphia cream cheese: The creamy base for the cheesecake.
Granulated sugar: Sweetens the cheesecake.
Whipping cream: Adds lightness and creaminess to the filling.
Blackberry jam: Adds flavor and a little natural sweetness to the filling. You can adjust the amount based on how strong you want the berry flavor.
Vanilla bean paste or ground vanilla powder: Adds a slight vanilla flavor to the cheesecake.
Step by step instructions with photos
1. Prepare the jam: add the blackberries, sugar and lemon juice to a small saucepan.

2. Let it cook over medium heat for 15-20 minutes, stirring occasionally.
3. After 15-20 minutes, mix in the cornstarch slurry and let it cook for additional 3 minutes, stirring constantly until it becomes thick.
4. Once ready, add to a blender and blend until smooth.

5. Next, pass it through a fine mesh sieve in order to get rid of the seeds. Place in the fridge and let it completely cool. (1-2 hours)


6. Now, for the crust: crush the biscuits using a food processor or by placing them in a ziplock bag and crushing them with a rolling pin.
7. Once crushed, whisk together the biscuit/graham cracker crumbs with the cocoa powder and the sugar, then mix in the melted butter and press the mixture firmly into your baking tin.


8. Place the in the fridge to chill while you prepare the cheesecake batter.
9. First, whip the cream until stiff peaks form. Set aside.


10. In another bowl, gently mix the cream cheese with the sugar using a spatula. Be careful not to overmix, as this can make the cream cheese runny and affect how the cheesecake sets.


11. Next, mix in 200g of blackberry jam.


12. Finally, gently fold in the whipped cream using a spatula. Do this slowly and carefully to avoid deflating the batter.


13. Pour the batter over the chilled crust and spread it evenly. Place the cheesecake in the fridge for 12 hours to set.

14. The next day, take the cheesecake out of the fridge and scoop the remaining blackberry jam on top.
15. Enjoy!

No Bake Blackberry Cheesecake
This No Bake Blackberry Cheesecake is creamy, fruity and simple to make. It has a smooth cream cheese filling, a layer of homemade blackberry jam and a cocoa crust. I made it in a 22 cm round cake tin and it’s perfect for when you want a beautiful dessert without turning on the oven
Ingredients
- 130g butter cookies or graham crackers, crushed - 1 cup
- 100g light brown sugar - 1/3 cup + 2 tablespoons
- 80g g unsalted butter, melted - 1/3 cup + 1 teaspoon
- 15g black cocoa powder - 3 tablespoons
- 600g blackberries, fresh or frozen - 4 cups
- 300g granulated sugar - 1 3/4 cup + ¼ cup
- Juice of a lemon
- Cornstarch slurry (1 tablespoon cornstarch mixed with 1-2 tablespoons of water)
- 525g Philadelphia cream cheese - 2 cups + 1/3 cup
- 130g granulated sugar - 2/3 cup
- 350g whipping cream – 1 1/3 cup +1/8 cup
- 150g blackberry jam – 1/2 cup
- 1 teaspoon vanilla bean paste or 1/2 teaspoon ground vanilla powder
Instructions
- Prepare the jam: add the blackberries, sugar and lemon juice to a small saucepan.
- Let it cook over medium heat for 15-20 minutes, stirring occasionally.
- After 15-20 minutes, mix in the cornstarch slurry and let it cook for additional 3 minutes, stirring constantly until it becomes thick.
- Once ready, add to a blender and blend until smooth.
- Next, pass it through a fine mesh sieve in order to get rid of the seeds. Place in the fridge and let it completely cool. (1-2 hours)
- Now, for the crust: crush the biscuits using a food processor or by placing them in a ziplock bag and crushing them with a rolling pin.
- Once crushed, whisk together the biscuit/graham cracker crumbs with the cocoa powder and the sugar, then mix in the melted butter and press the mixture firmly into your baking tin.
- Place the in the fridge to chill while you prepare the cheesecake batter.
- First, whip the cream until stiff peaks form. Set aside.
- In another bowl, gently mix the cream cheese with the sugar using a spatula. Be careful not to overmix, as this can make the cream cheese runny and affect how the cheesecake sets.
- Next, mix in 200g of blackberry jam.
- Finally, gently fold in the whipped cream using a spatula. Do this slowly and carefully to avoid deflating the batter.
- Pour the batter over the chilled crust and spread it evenly. Place the cheesecake in the fridge for 12 hours to set.
- The next day, take the cheesecake out of the fridge and scoop the remaining blackberry jam on top.
- Enjoy!


Nutrition Facts
Calories
602Fat
27 gSat. Fat
12 gCarbs
81 gFiber
6 gNet Carbs
87 gSugar
66 gProtein
55 gSodium
243 mgCholesterol
40 mg