Nutella Hazelnut Brownies
Published: July 30, 2026
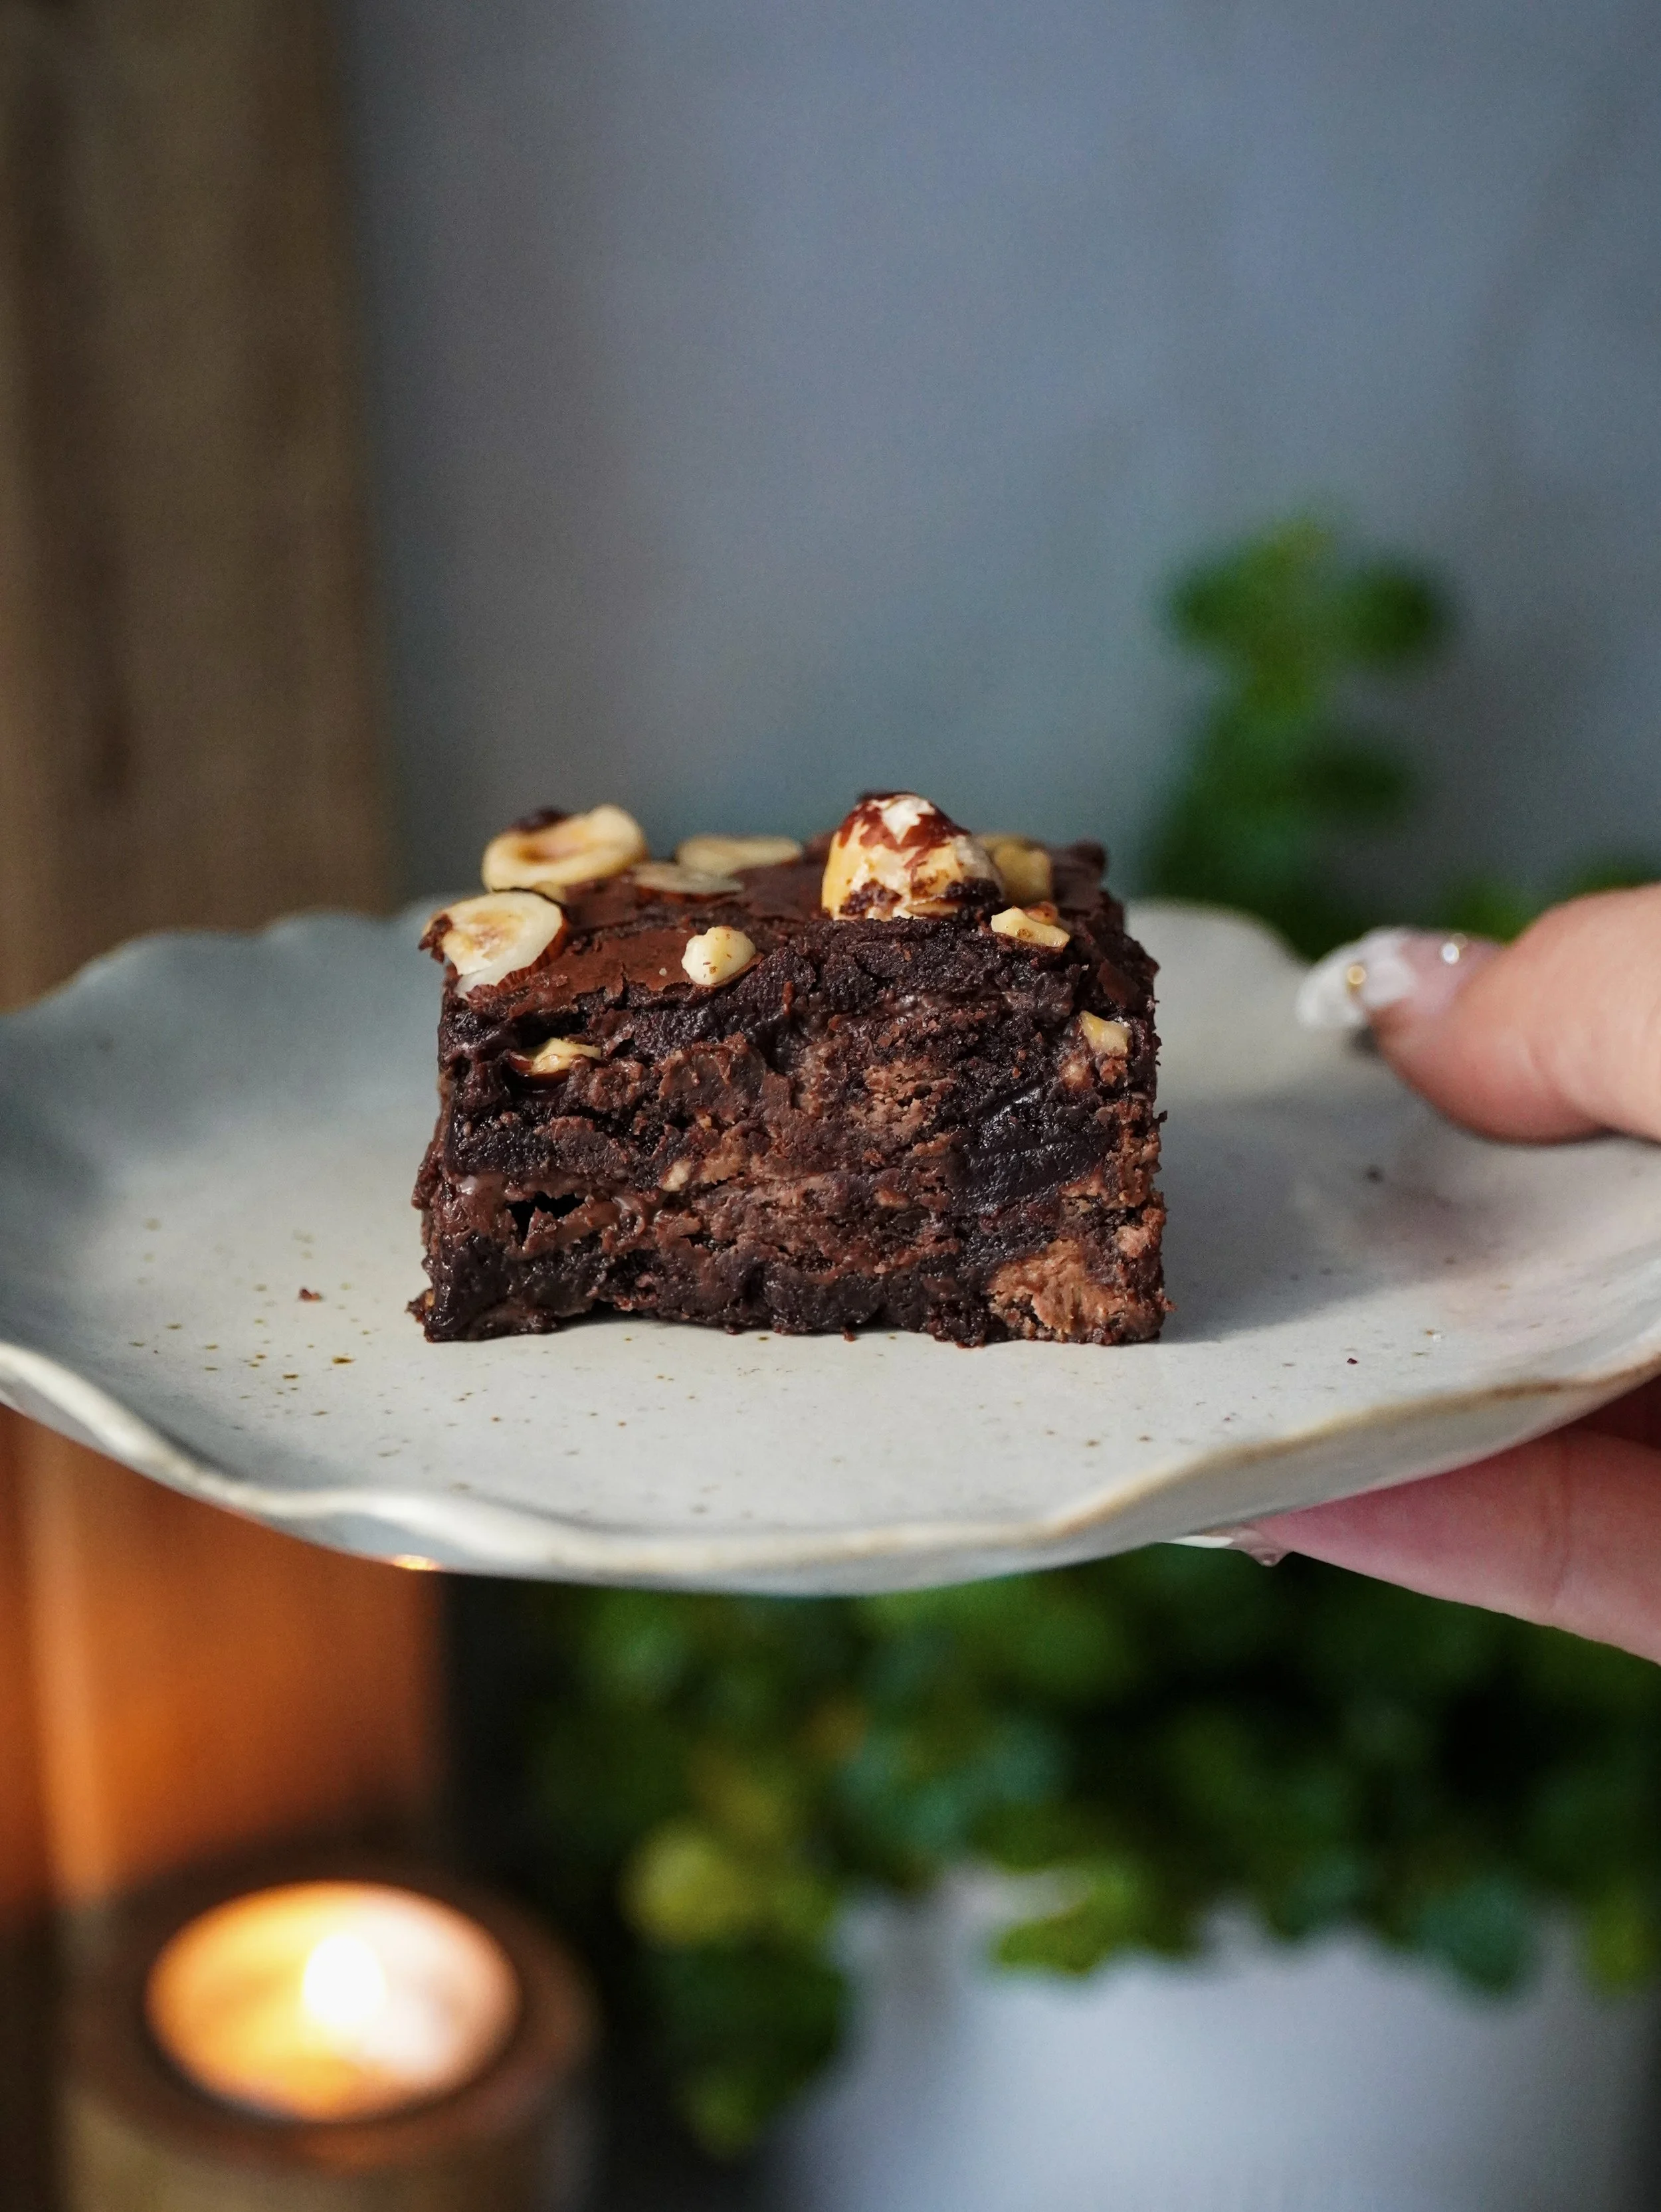
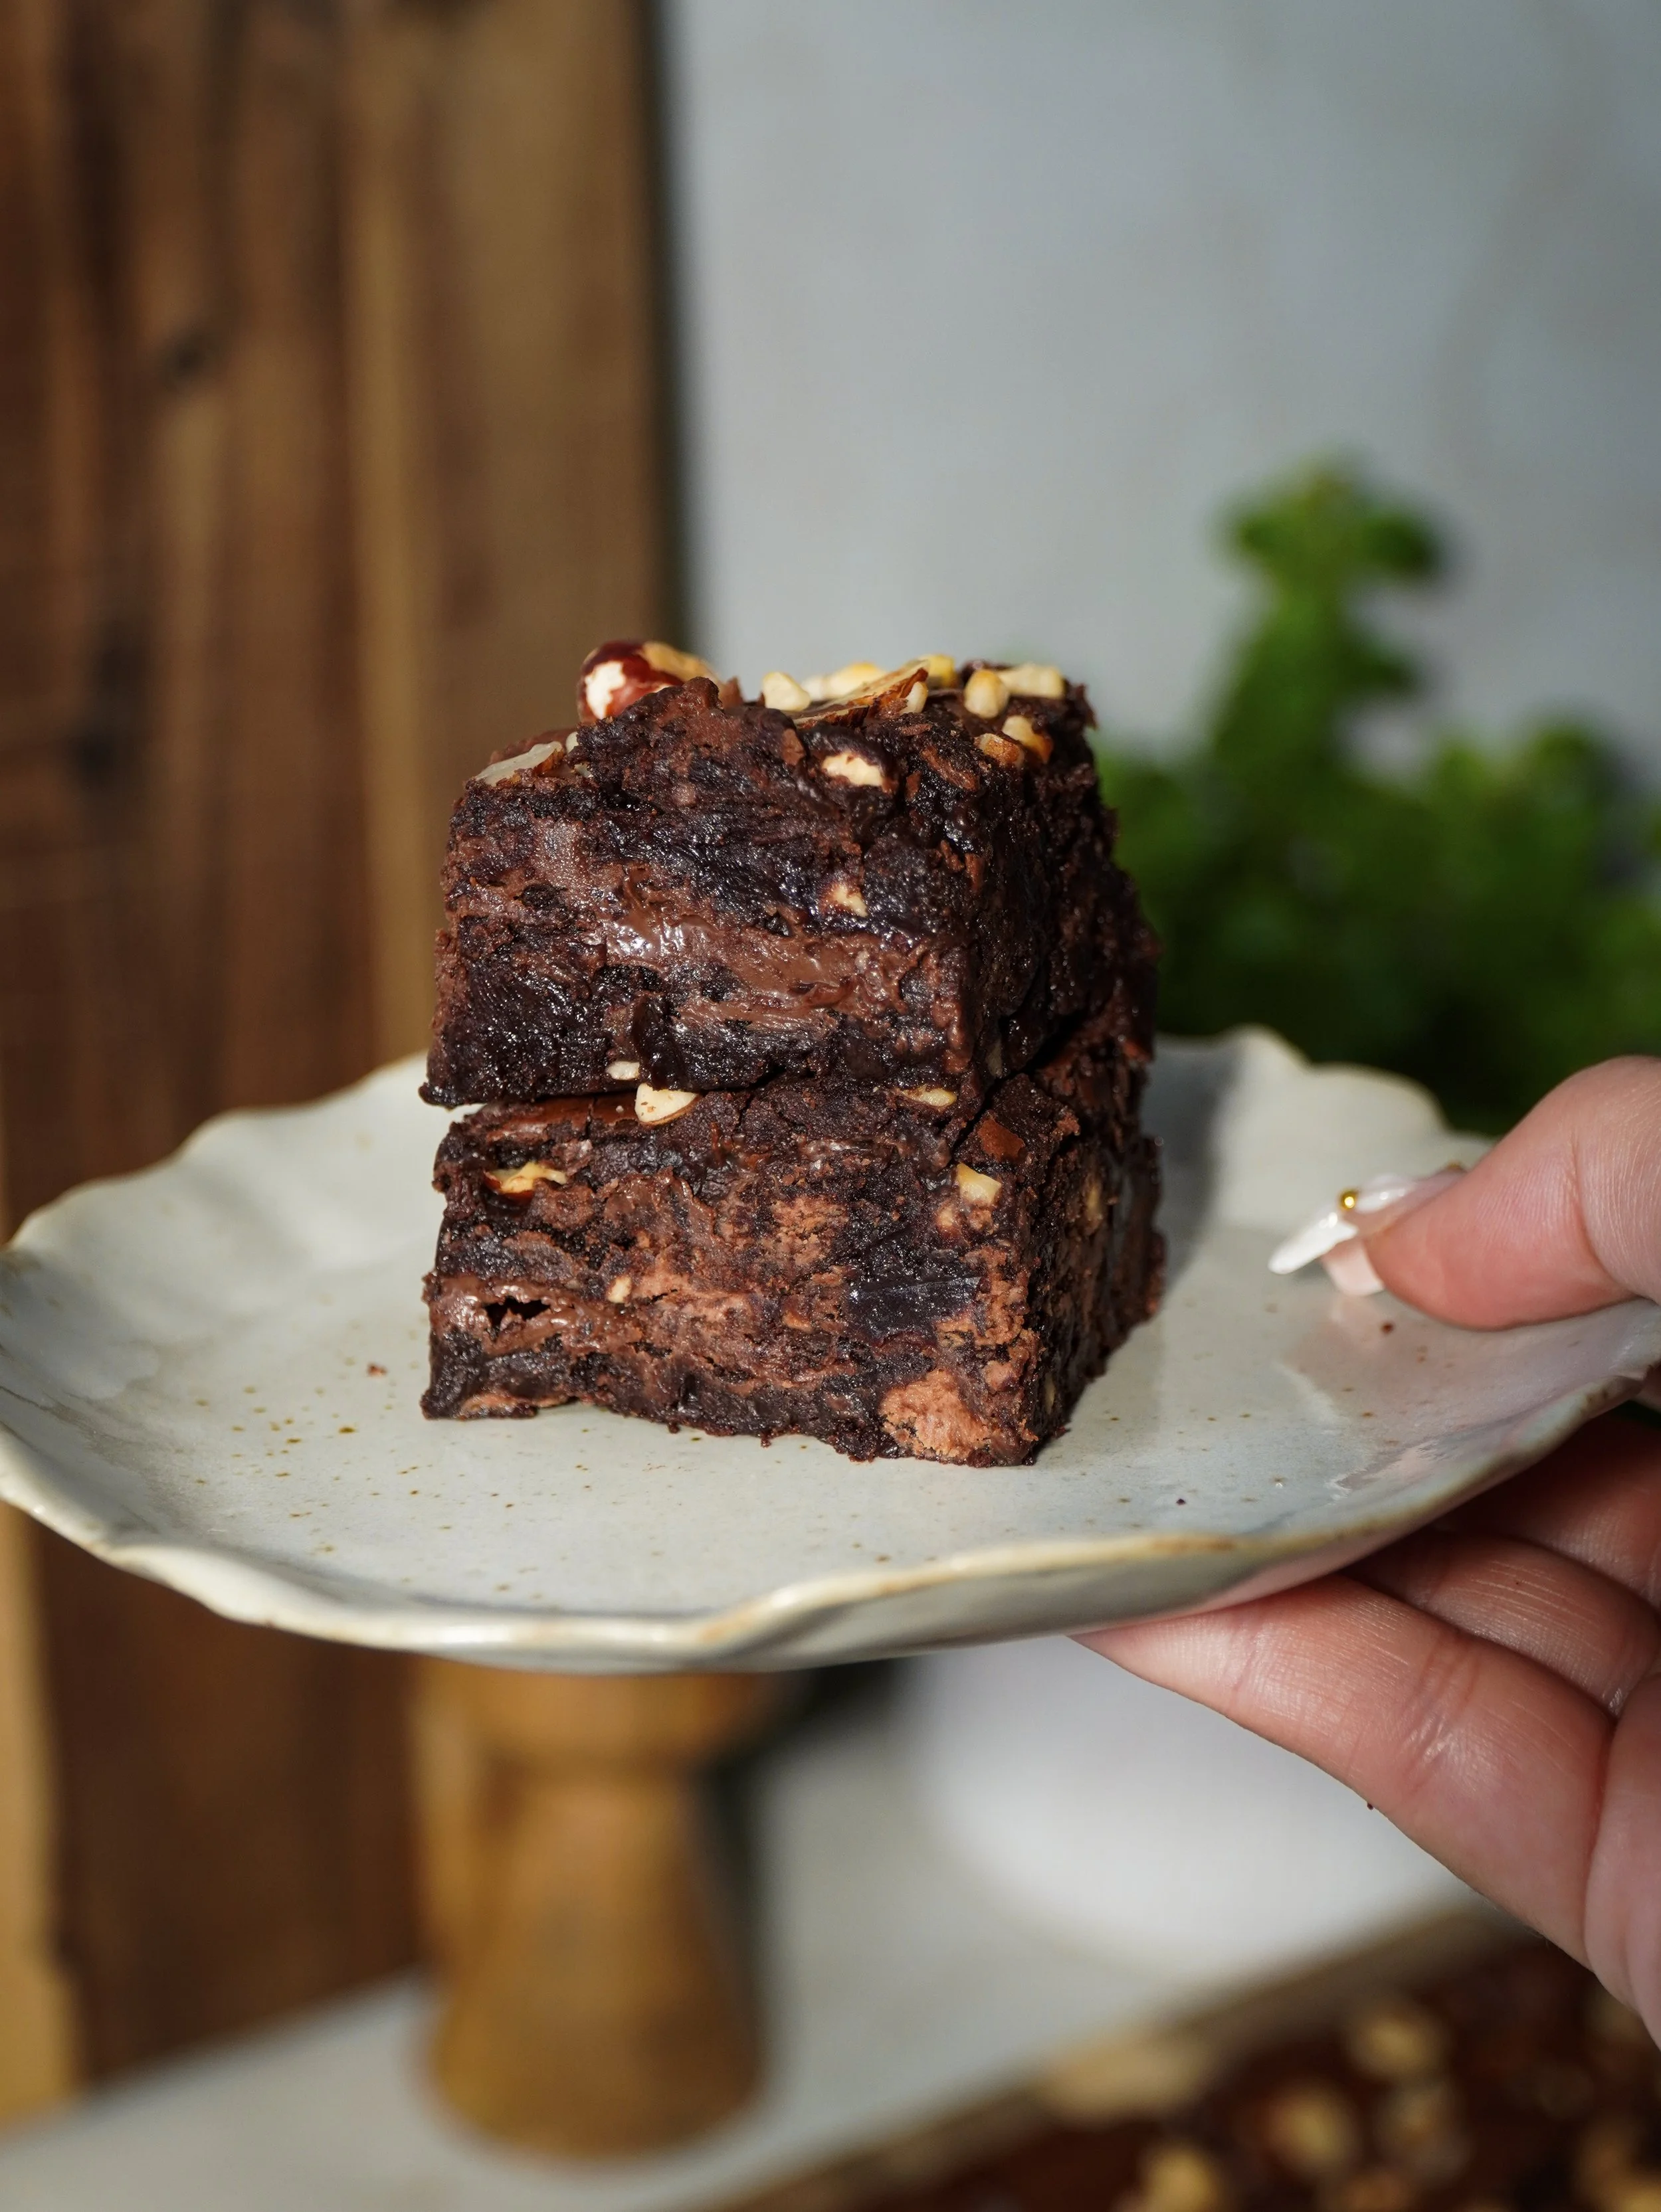
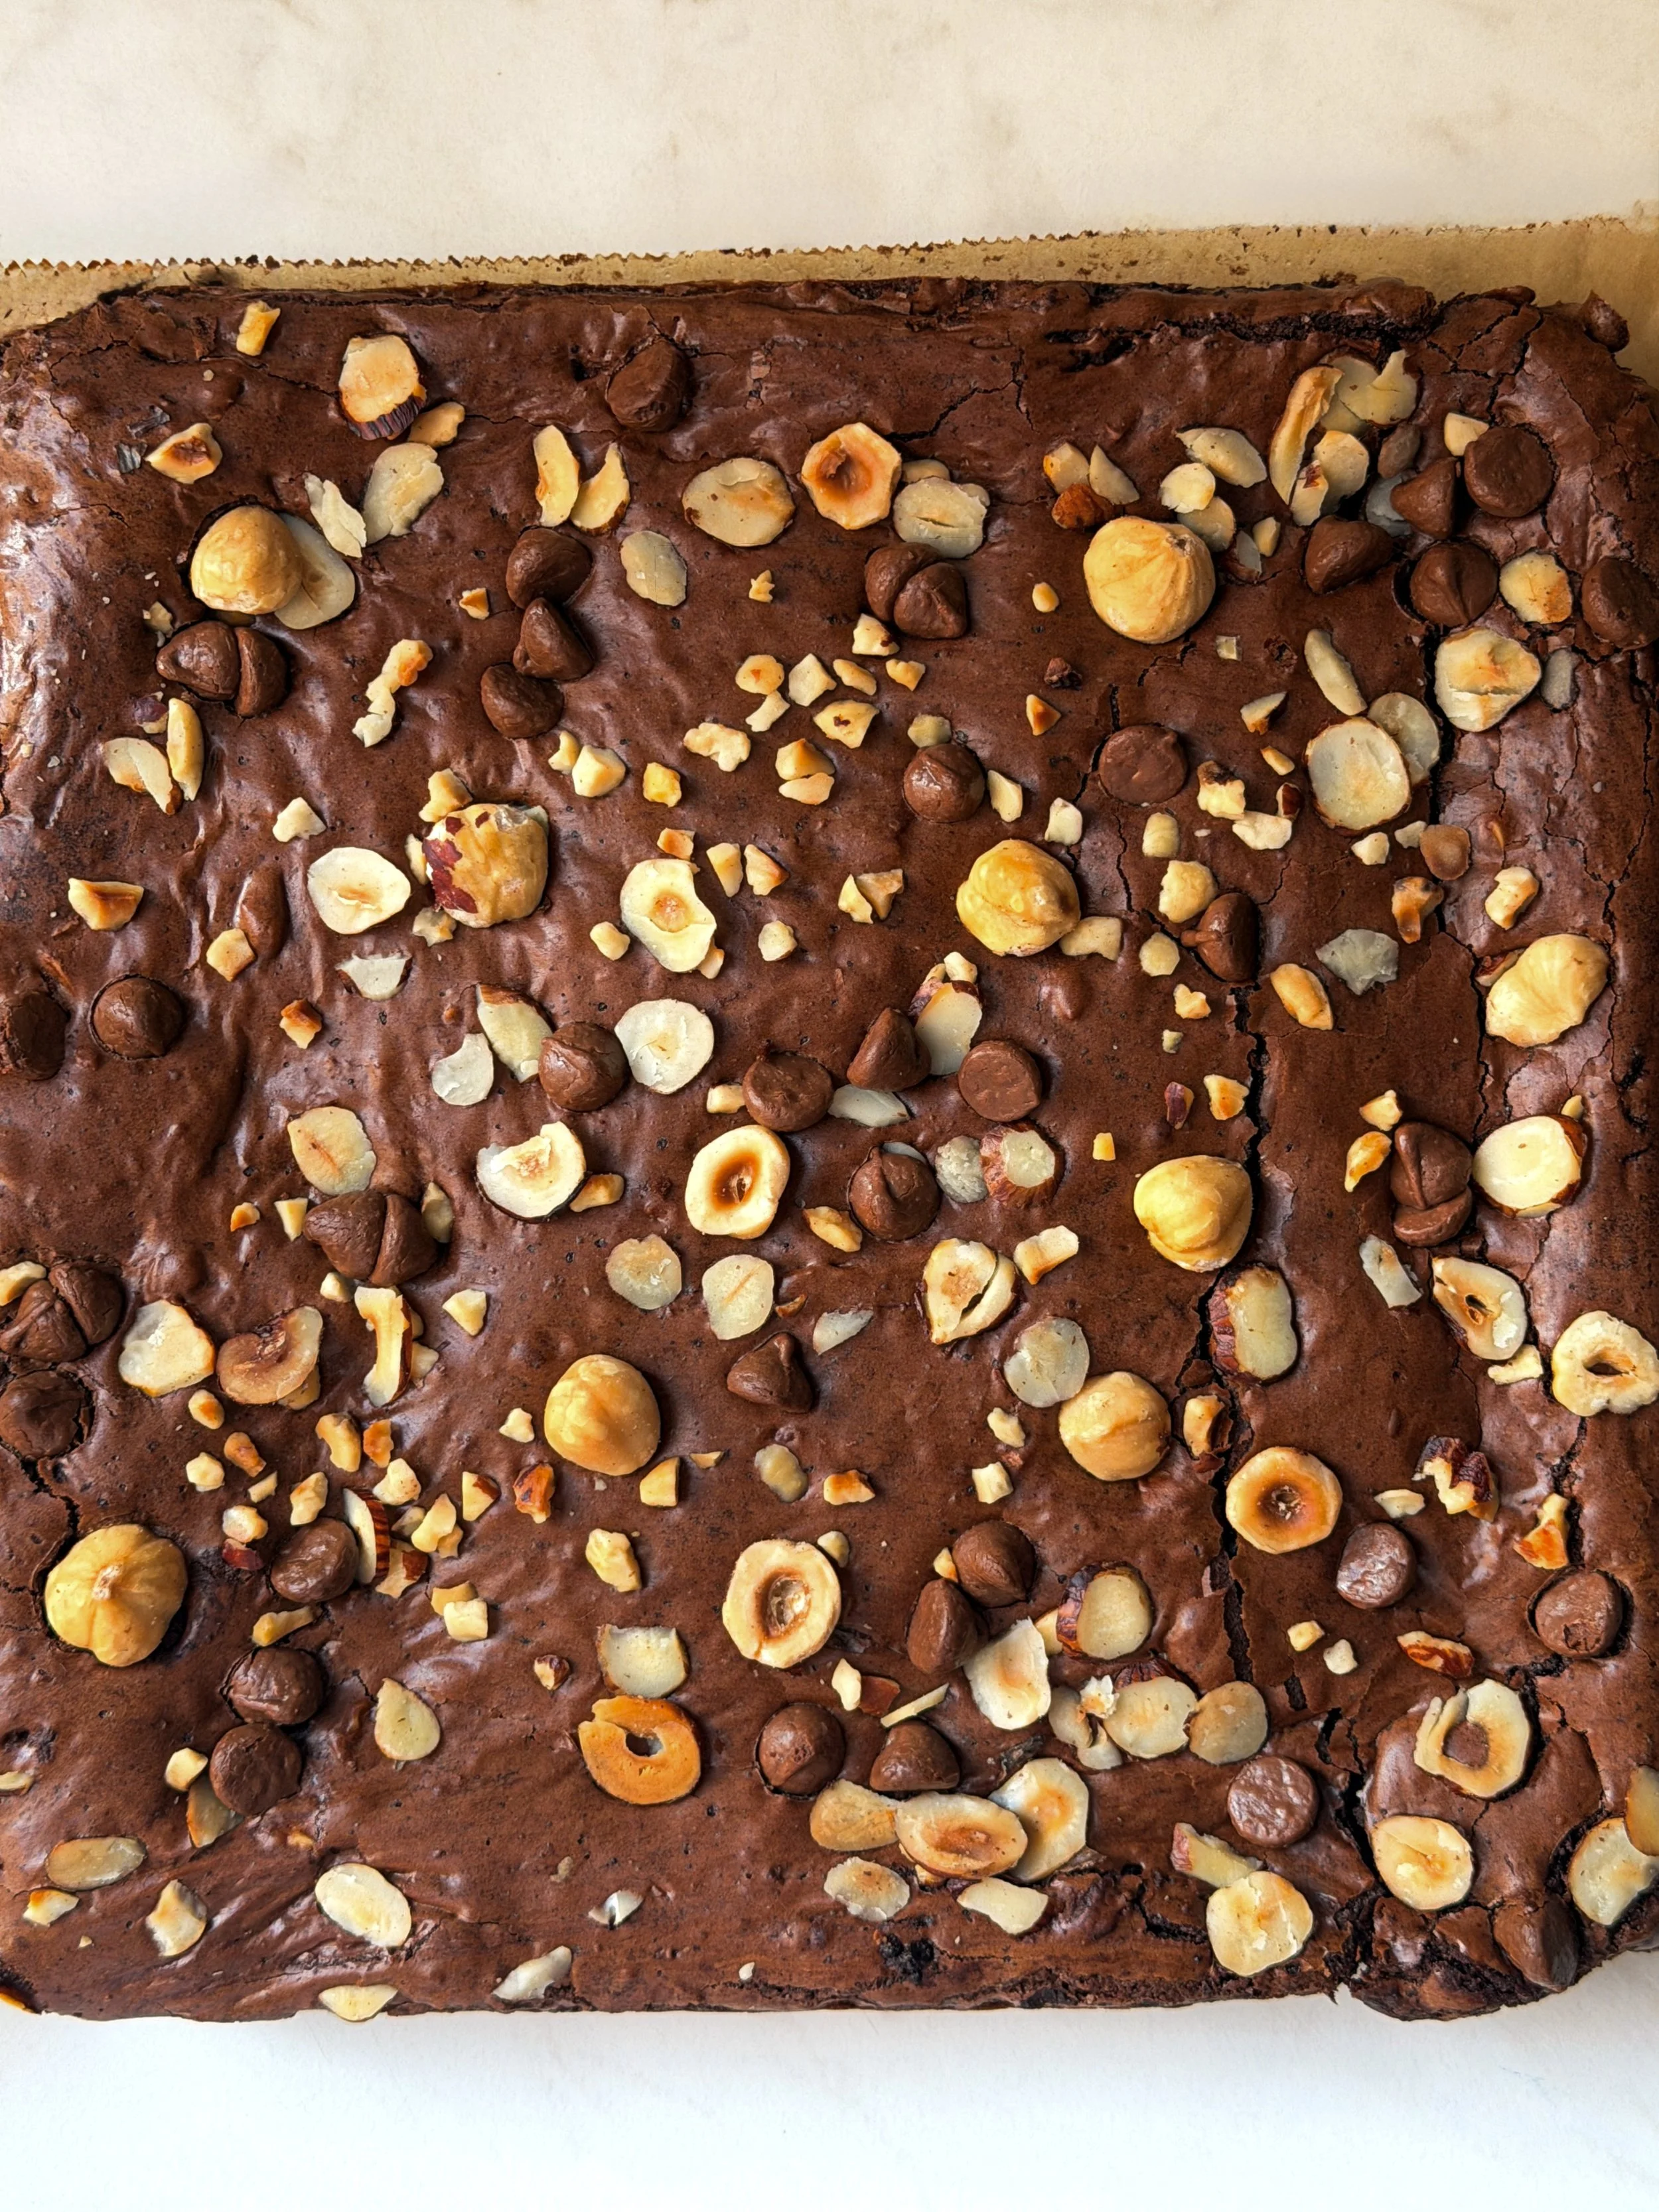
These Nutella Hazelnut Brownies are rich, fudgy and layered with a generous layer of creamy Nutella in the center. They're filled with toasted hazelnuts for the perfect crunch and have that signature crackly top every great Brownie should have. If you're a fan of chocolate and hazelnut desserts, you need to give these a try.
WHY YOU’LL LOVE THIS RECIPE
🤎Rich and fudgy brownies - These brownies have a fudgy, gooey center with perfectly chewy edges, making every bite incredibly satisfying.
🤎A creamy Nutella center - Hidden in the middle is a generous layer of Nutella that stays soft and creamy.
🤎Crunchy toasted hazelnuts - Toasted hazelnuts add the perfect crunch and pair beautifully with the rich chocolate flavor.
🤎Perfectly crackly tops - Every great Brownie needs that beautiful shiny, crackly top and this recipe delivers exactly that.
🤎The perfect balance of textures - Between the fudgy brownie, creamy Nutella layer and crunchy hazelnuts, every bite is full of delicious contrast.
🤎A must for chocolate and hazelnut lovers - If you love the classic combination of rich chocolate and roasted hazelnuts, these Brownies are guaranteed to become a new favorite.
Notes, Tips and Tricks
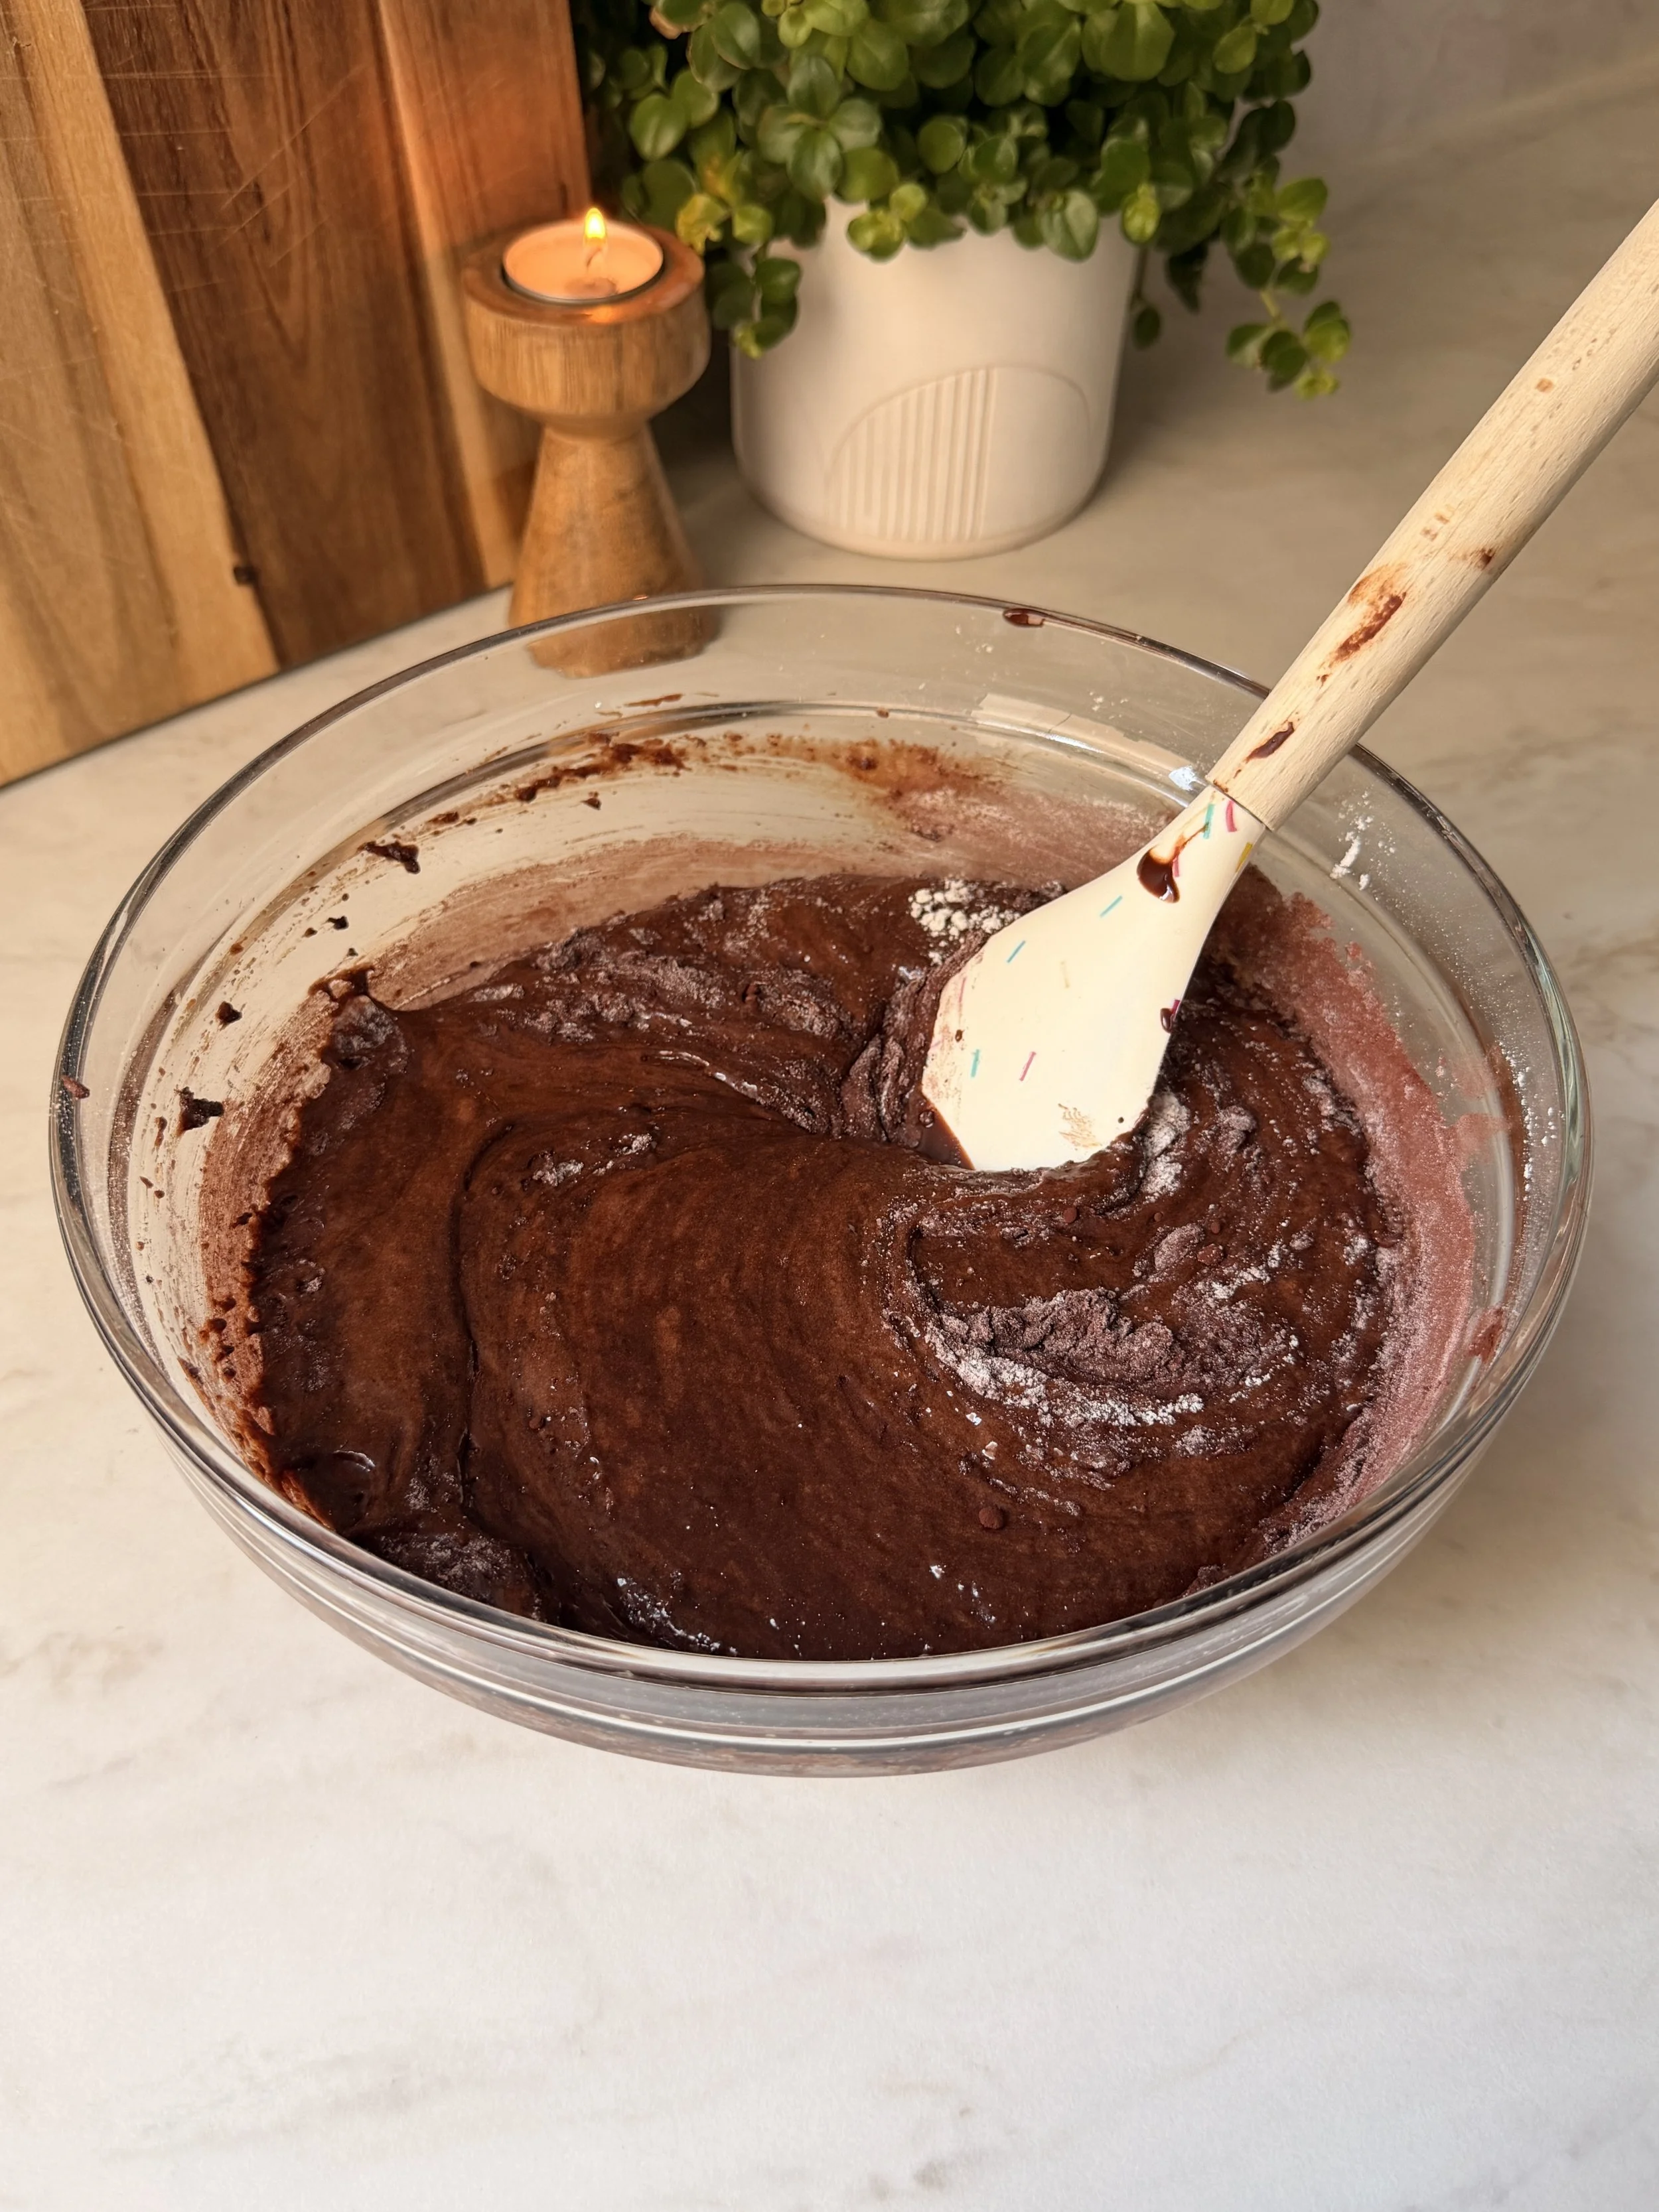
→ Do not overmix once you add the flour - Once the flour has been added to the batter, mix only until you no longer see streaks of flour. Overmixing develops the gluten in the flour, which can result in dense, cakey Brownies instead of the rich, fudgy texture we're aiming for. It's perfectly fine if the batter isn't completely smooth right away, it will finish coming together as you fold in the remaining ingredients.
→ Do not overbake the Brownies - The key to perfectly fudgy Brownies is taking them out of the oven at the right time. The Brownies will continue to set as they cool, giving you that irresistible fudgy texture.
→ Let the butter and chocolate mixture cool before adding the eggs - After melting the butter and chocolate together, let the mixture cool for about 10 minutes before whisking in the eggs. If it's too hot, it can partially cook the eggs, resulting in a grainy batter. Allowing it to cool slightly ensures the eggs incorporate smoothly while still keeping the batter warm enough to create those beautiful crackly tops.
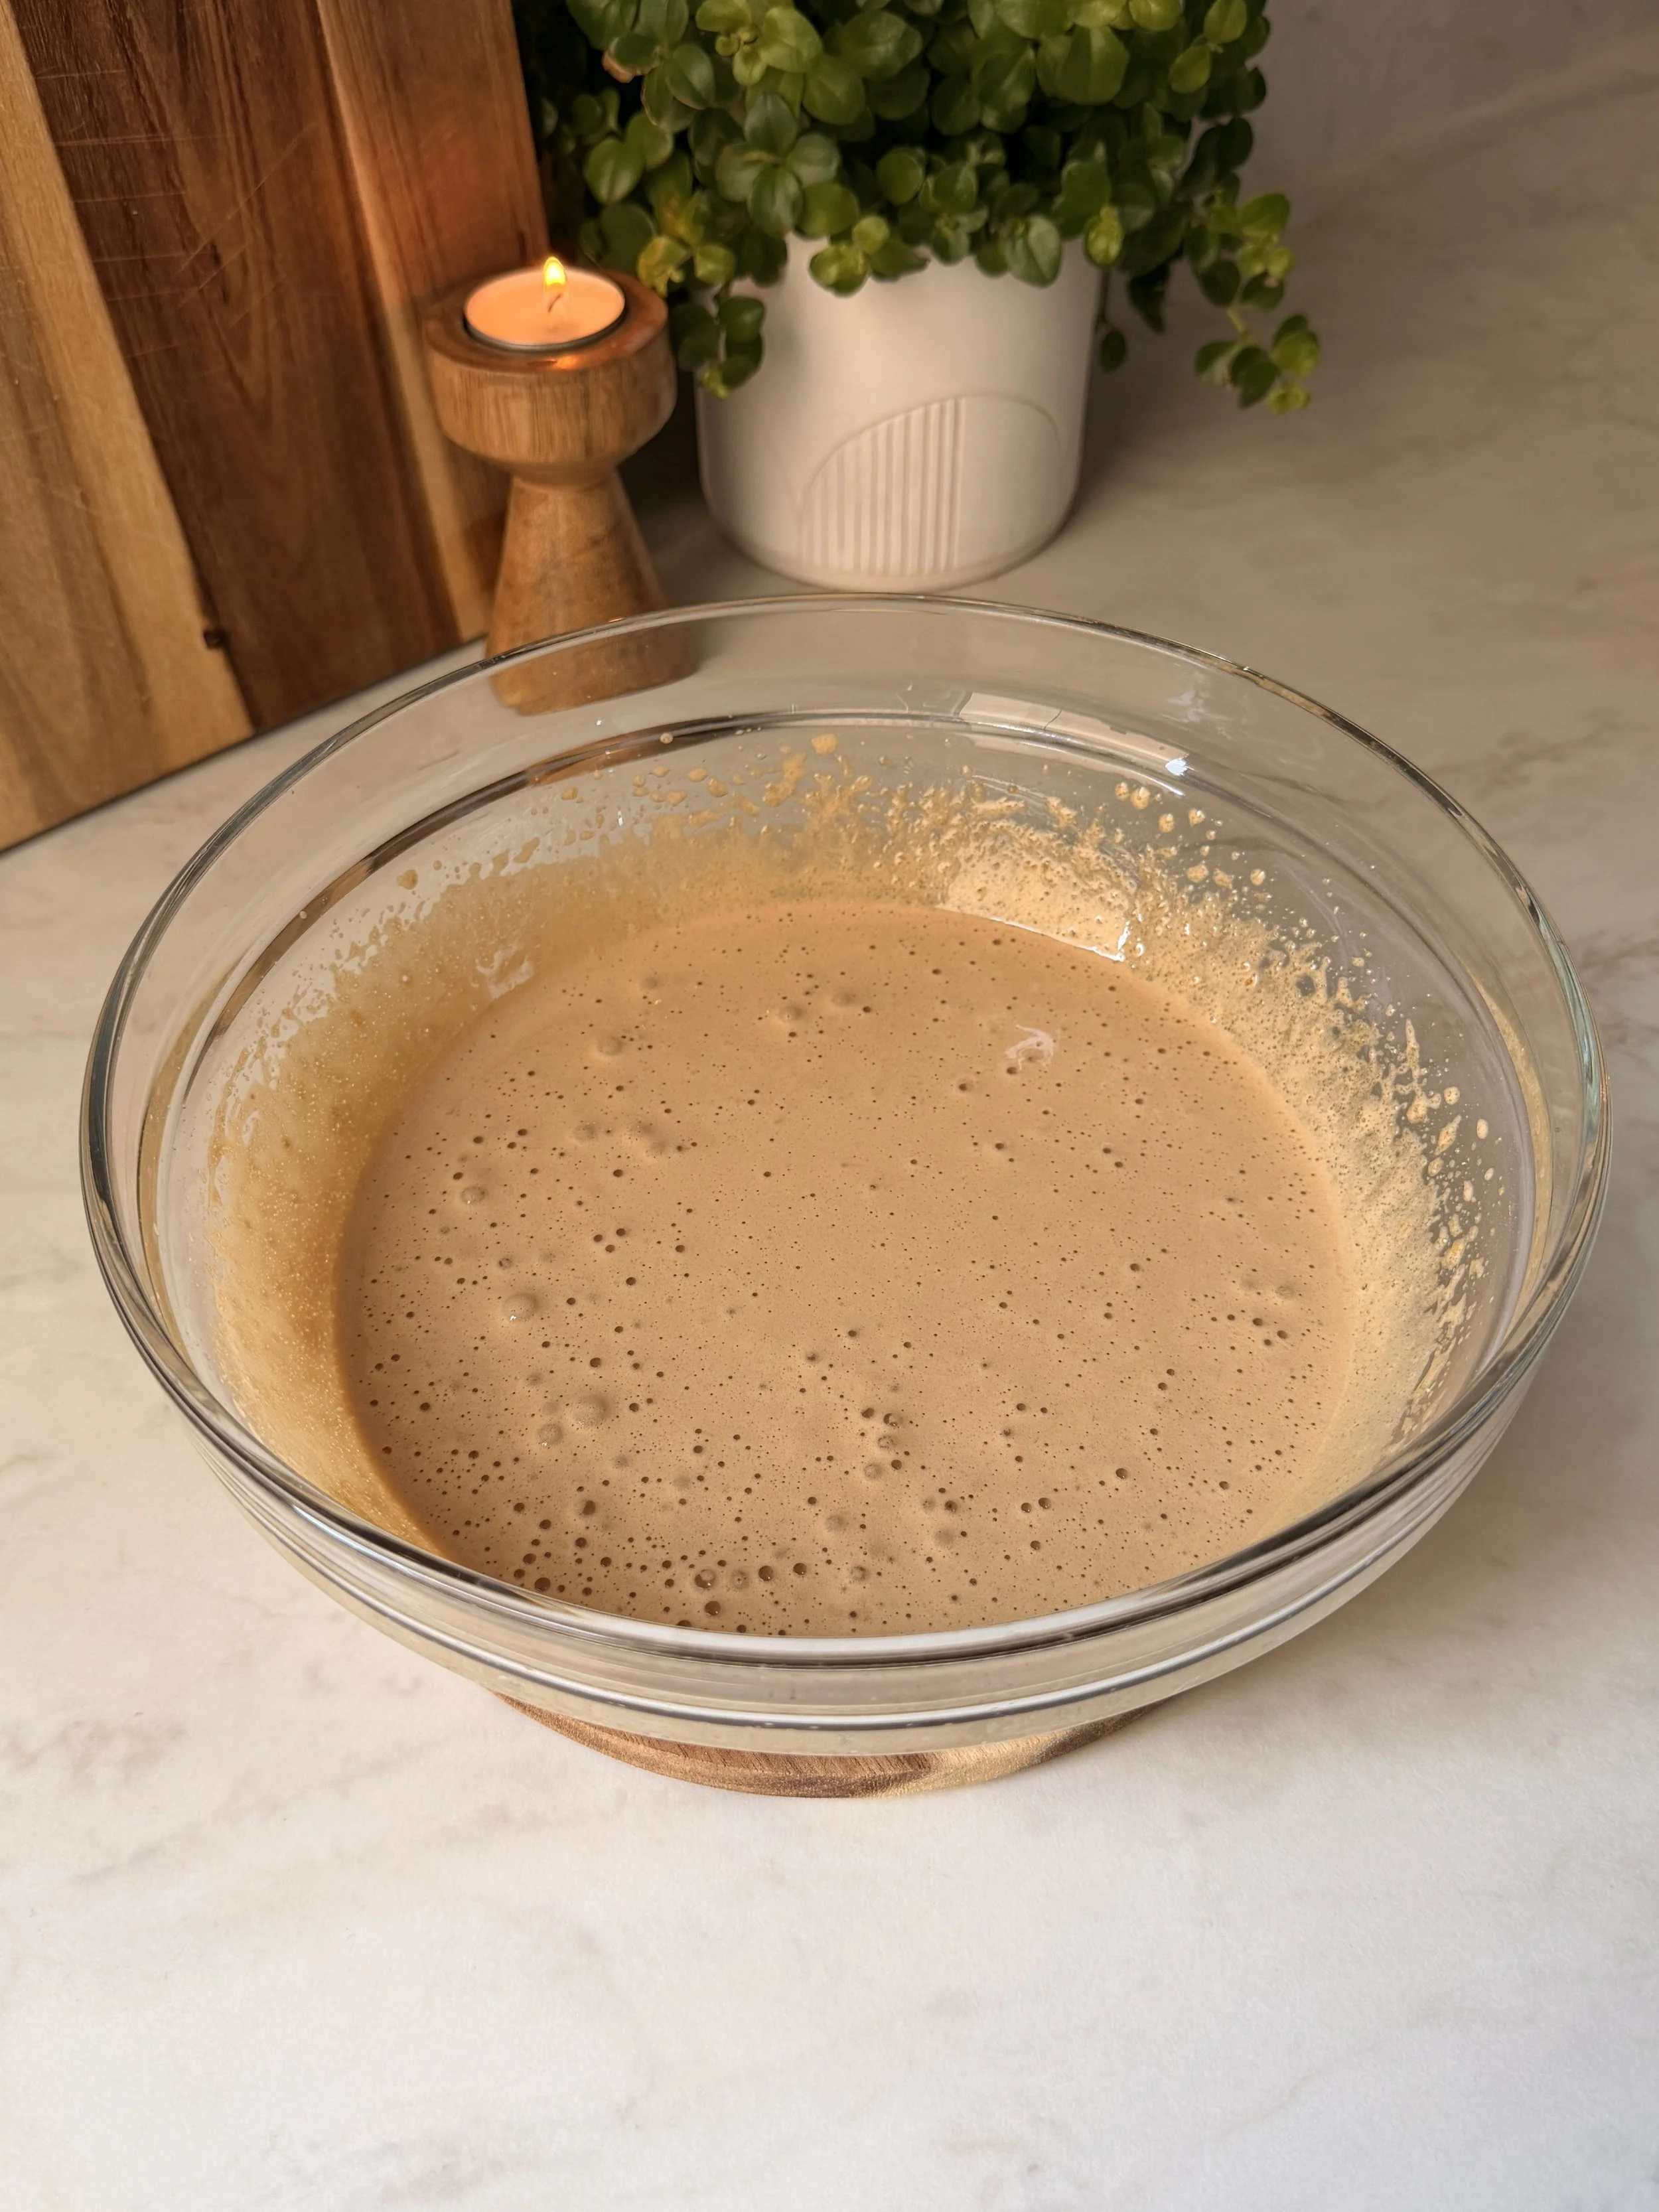
→ Whip the eggs and sugar until pale and fluffy - Using an electric hand mixer, beat the eggs and sugar together until the mixture becomes noticeably lighter in color, thick and fluffy. This step incorporates air into the batter and is one of the secrets to achieving that shiny, crackly Brownie top while still maintaining a dense, fudgy center. Don't rush this step, it makes a big difference in the final texture.
→ Use a 20x20 cm (8x8 inch) square baking pan - For the best thickness and baking time, I highly recommend using a 20x20 cm (8x8 inch) square baking pan. Using a larger pan will produce thinner Brownies that bake more quickly, while a smaller pan will make thicker Brownies that require additional baking time.
→ Line your baking pan with parchment paper - Lining your pan with parchment paper makes removing the Brownies incredibly easy and helps prevent sticking. Leave a little overhang on two sides so you can simply lift the Brownie out of the pan once they've cooled.
→ Let the Brownies cool overnight for the best texture - As tempting as it is to slice into them straight from the oven, these Brownies are at their absolute best after they've had plenty of time to cool and set. You can leave them covered at room temperature overnight, which allows the crumb to firm up while staying wonderfully fudgy. Alternatively, you can chill them in the refrigerator if you prefer a slightly firmer, denser texture. Either way, they'll still melt in your mouth with every bite.
Frequently Asked Questions
1. How should I store these Nutella Hazelnut Brownies?
Store these Brownies in an airtight container at room temperature for up to 3 days. Keeping them covered will help prevent them from drying out while maintaining their fudgy texture.
You can also store them in the fridge for up to 5 days if you prefer a firmer, denser texture. The chilled Brownies will have a slightly more set and fudgy consistency. If storing them in the fridge, I recommend letting them sit at room temperature for a little bit before serving if you prefer a softer texture.
2. Can I freeze these Brownies?
Yes, these Brownies freeze very well. Once completely cooled, cut them into individual pieces and wrap each Brownie tightly in plastic wrap before placing them in a freezer-safe container or bag. Freeze for up to 1 month, then thaw at room temperature before serving.
3. Can I use a different chocolate instead of dark chocolate?
I personally wouldn’t recommend using milk chocolate for this recipe, as it can make the Brownies overly sweet and reduce the depth of chocolate flavor. Don’t be afraid to use dark chocolate, it won’t make the Brownies taste bitter or too intense. I recommend using a chocolate around 53–60% cocoa or semi-sweet chocolate, which will give you a rich, balanced chocolate flavor while still keeping the Brownies sweet and indulgent. You can also use a combination of dark and semi-sweet chocolate if you prefer.
4. Can I use a different nut instead of hazelnuts?
Absolutely! Hazelnuts pair beautifully with Nutella, but you can substitute them with walnuts, pecans or leave them out completely if you prefer a nut free version.
5. Why are my Brownies cakey instead of fudgy?
This can happen if the batter was overmixed after adding the flour or if the Brownies were overbaked. To keep them fudgy, mix gently once the flour is added and remove them from the oven while the center is still slightly underdone.
6. Why don't my Brownies have a crackly top?
The crackly top comes from properly whipping the eggs and sugar together until pale and fluffy. This creates a thin crackly layer on top of the Brownies while baking. Make sure not to skip this step.
7. Can I use homemade hazelnut spread instead of Nutella?
Yes, homemade hazelnut spread can work well in this recipe. Just make sure it has a similar thick consistency to Nutella so it stays as a defined layer inside the Brownies.
8. When is the best time to slice these brownies?
For the cleanest slices and the best texture, wait until the Brownies have completely cooled. I recommend letting them rest overnight if possible, as this allows the fudgy texture to fully develop and the Nutella layer to set beautifully.
Ingredients You Will Need For This Recipe
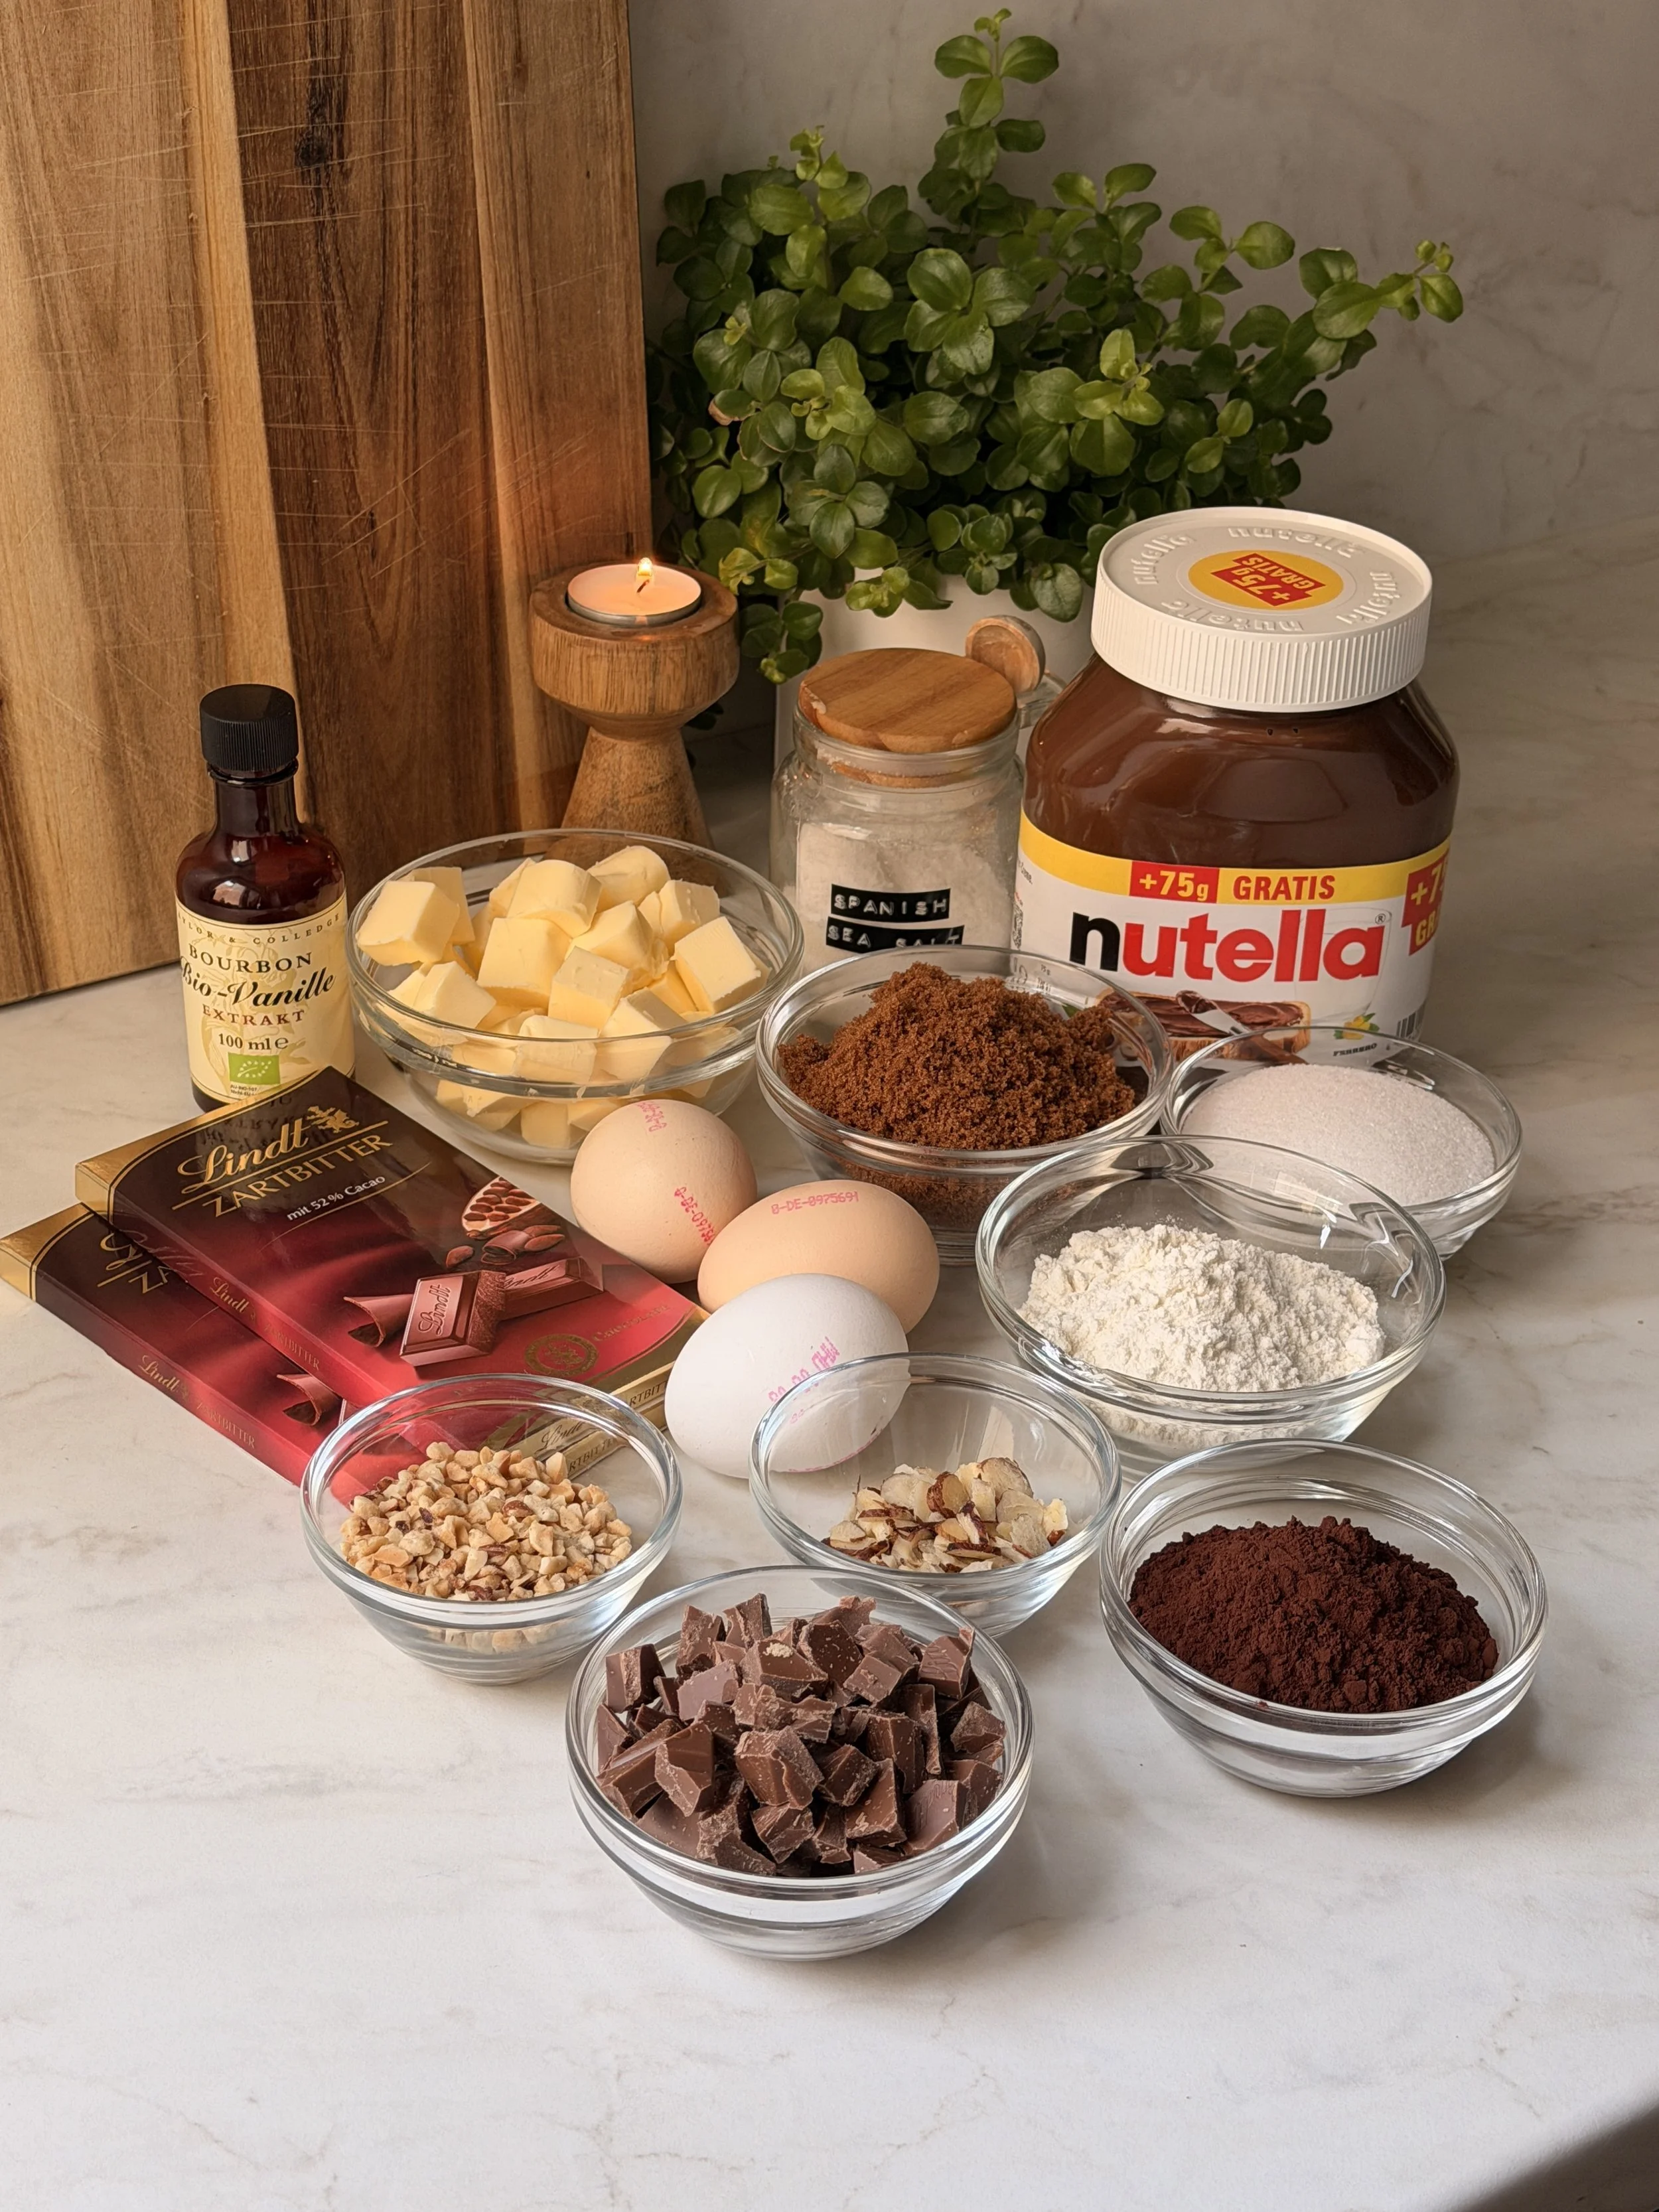
Dark Chocolate
Butter
Granulated Sugar
Brown Sugar
Eggs
Vanilla
Salt
Flour
Cocoa Powder
Hazelnuts
Nutella
Step By Step Instructions With Photos
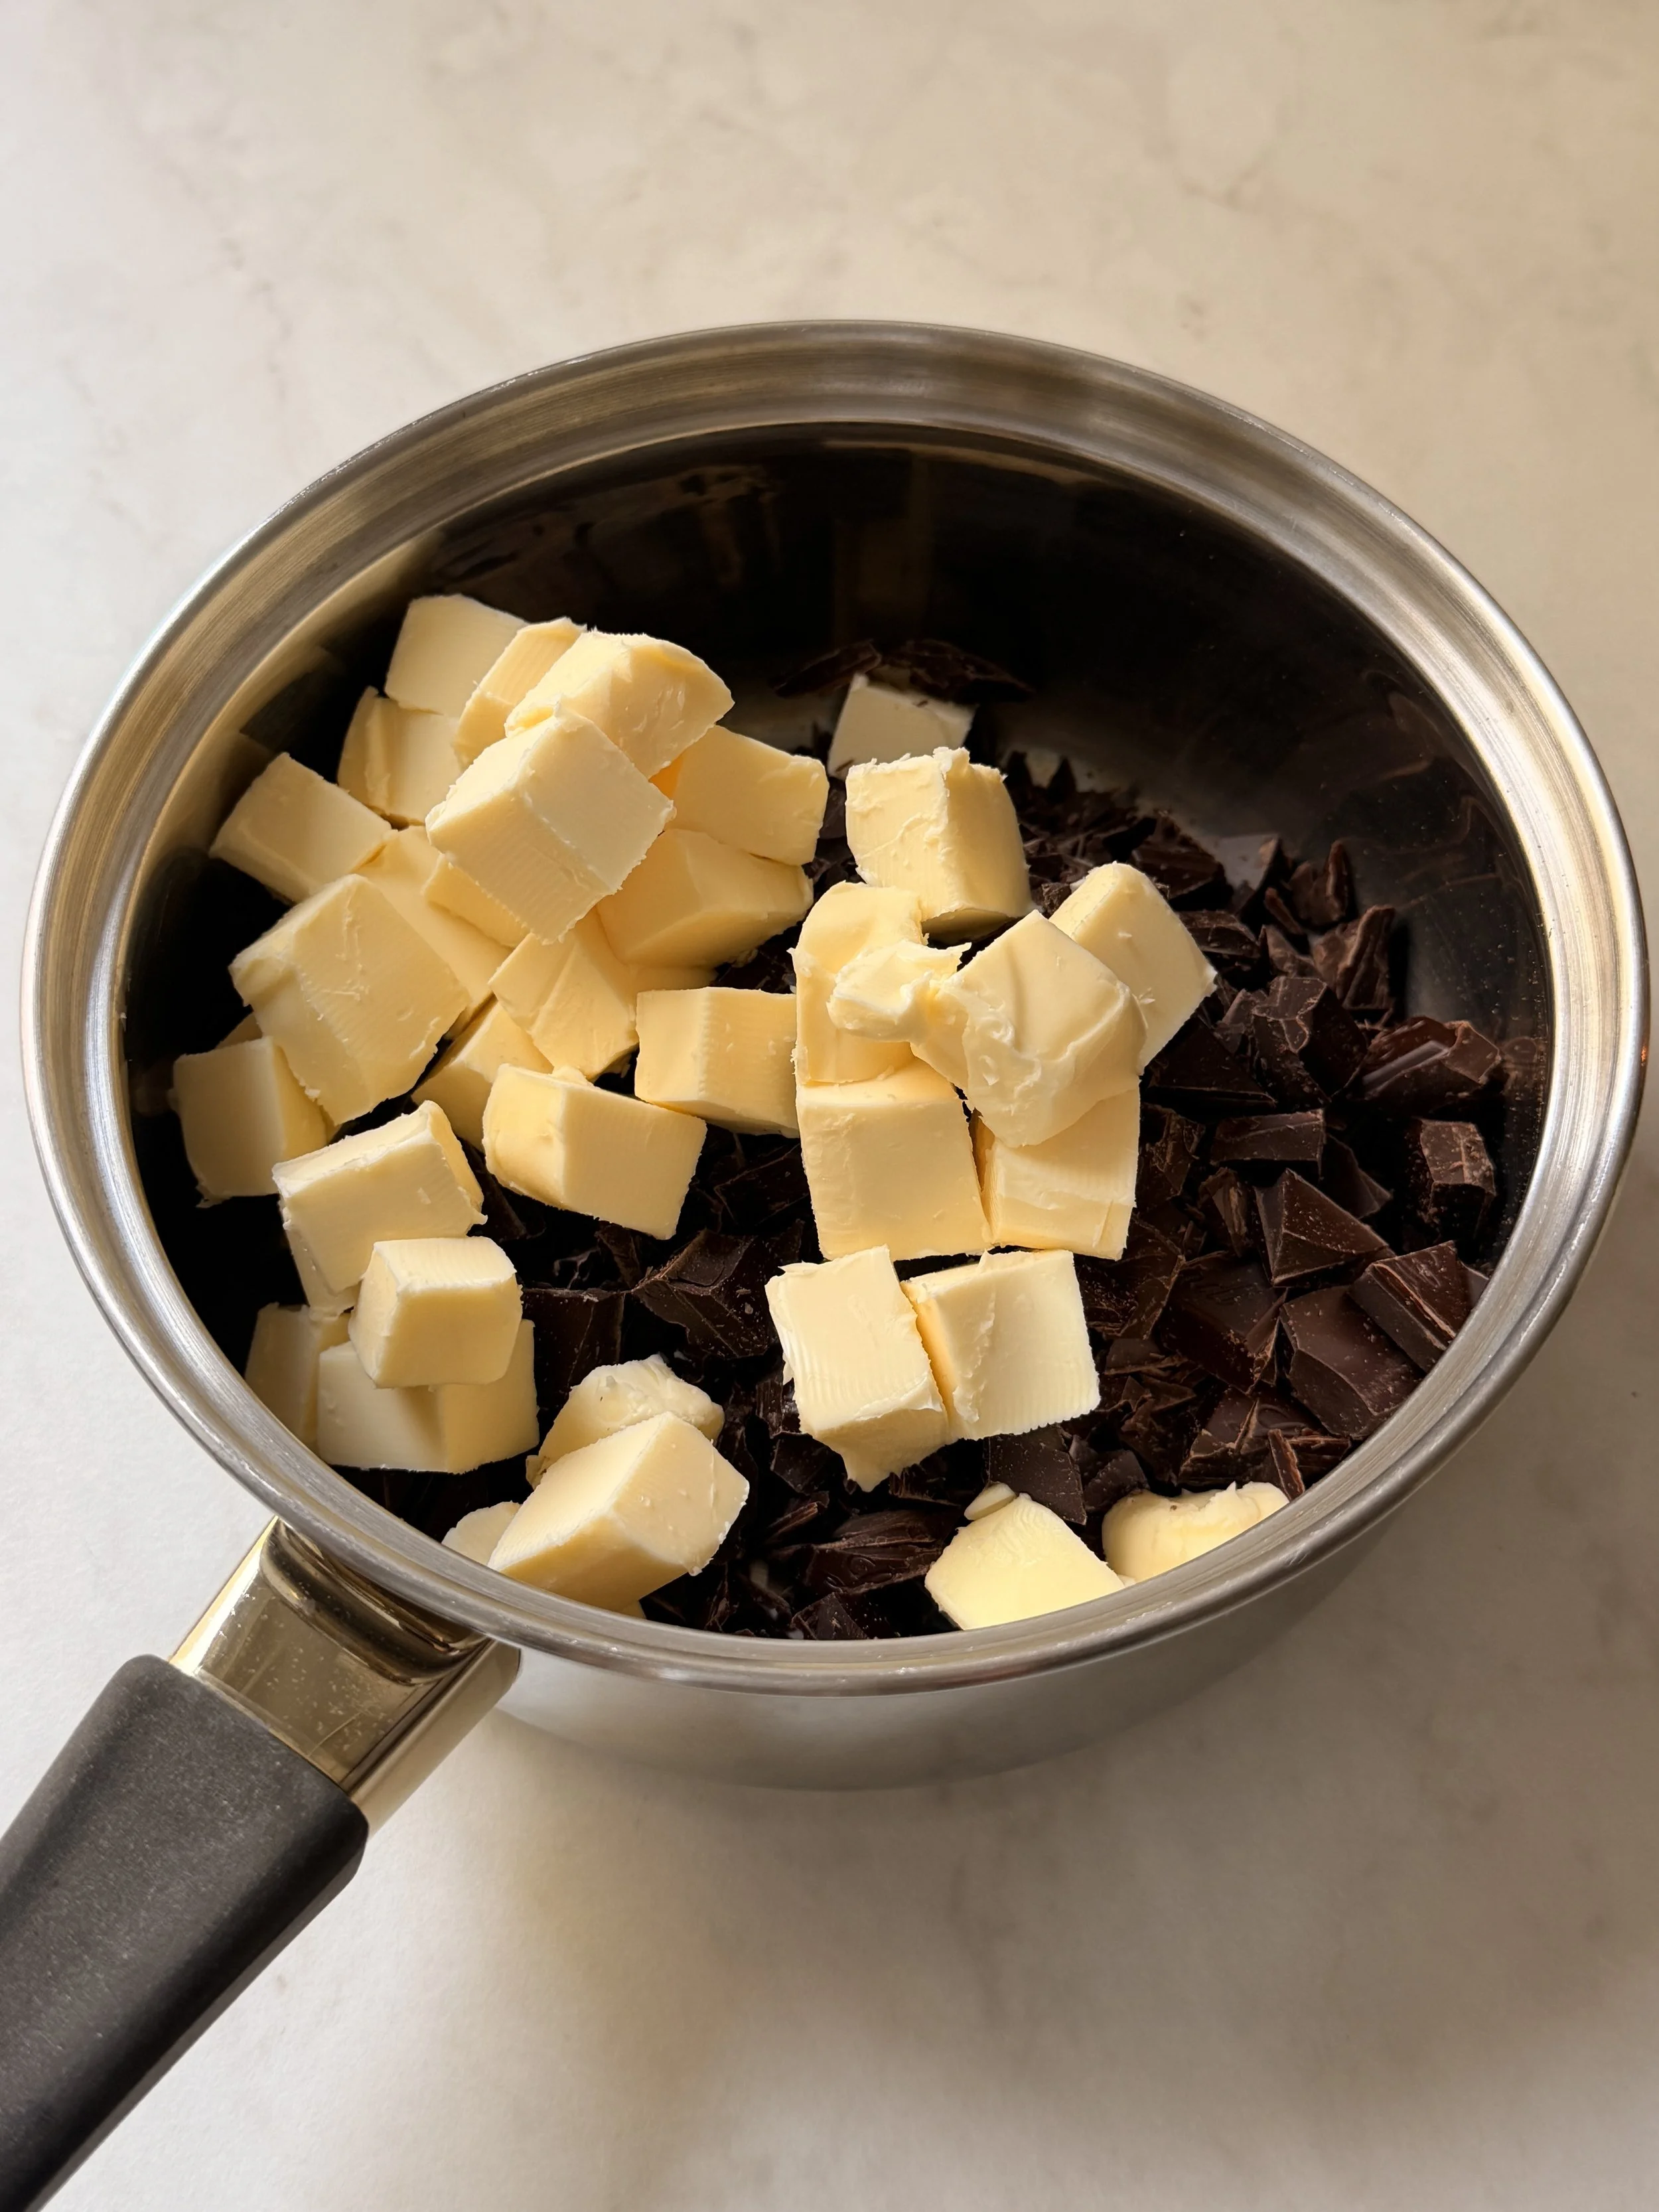
1. Add the butter to a saucepan along with the chopped chocolate.
2. Over medium heat, melt the mixture, stirring continuously until fully melted and smooth.
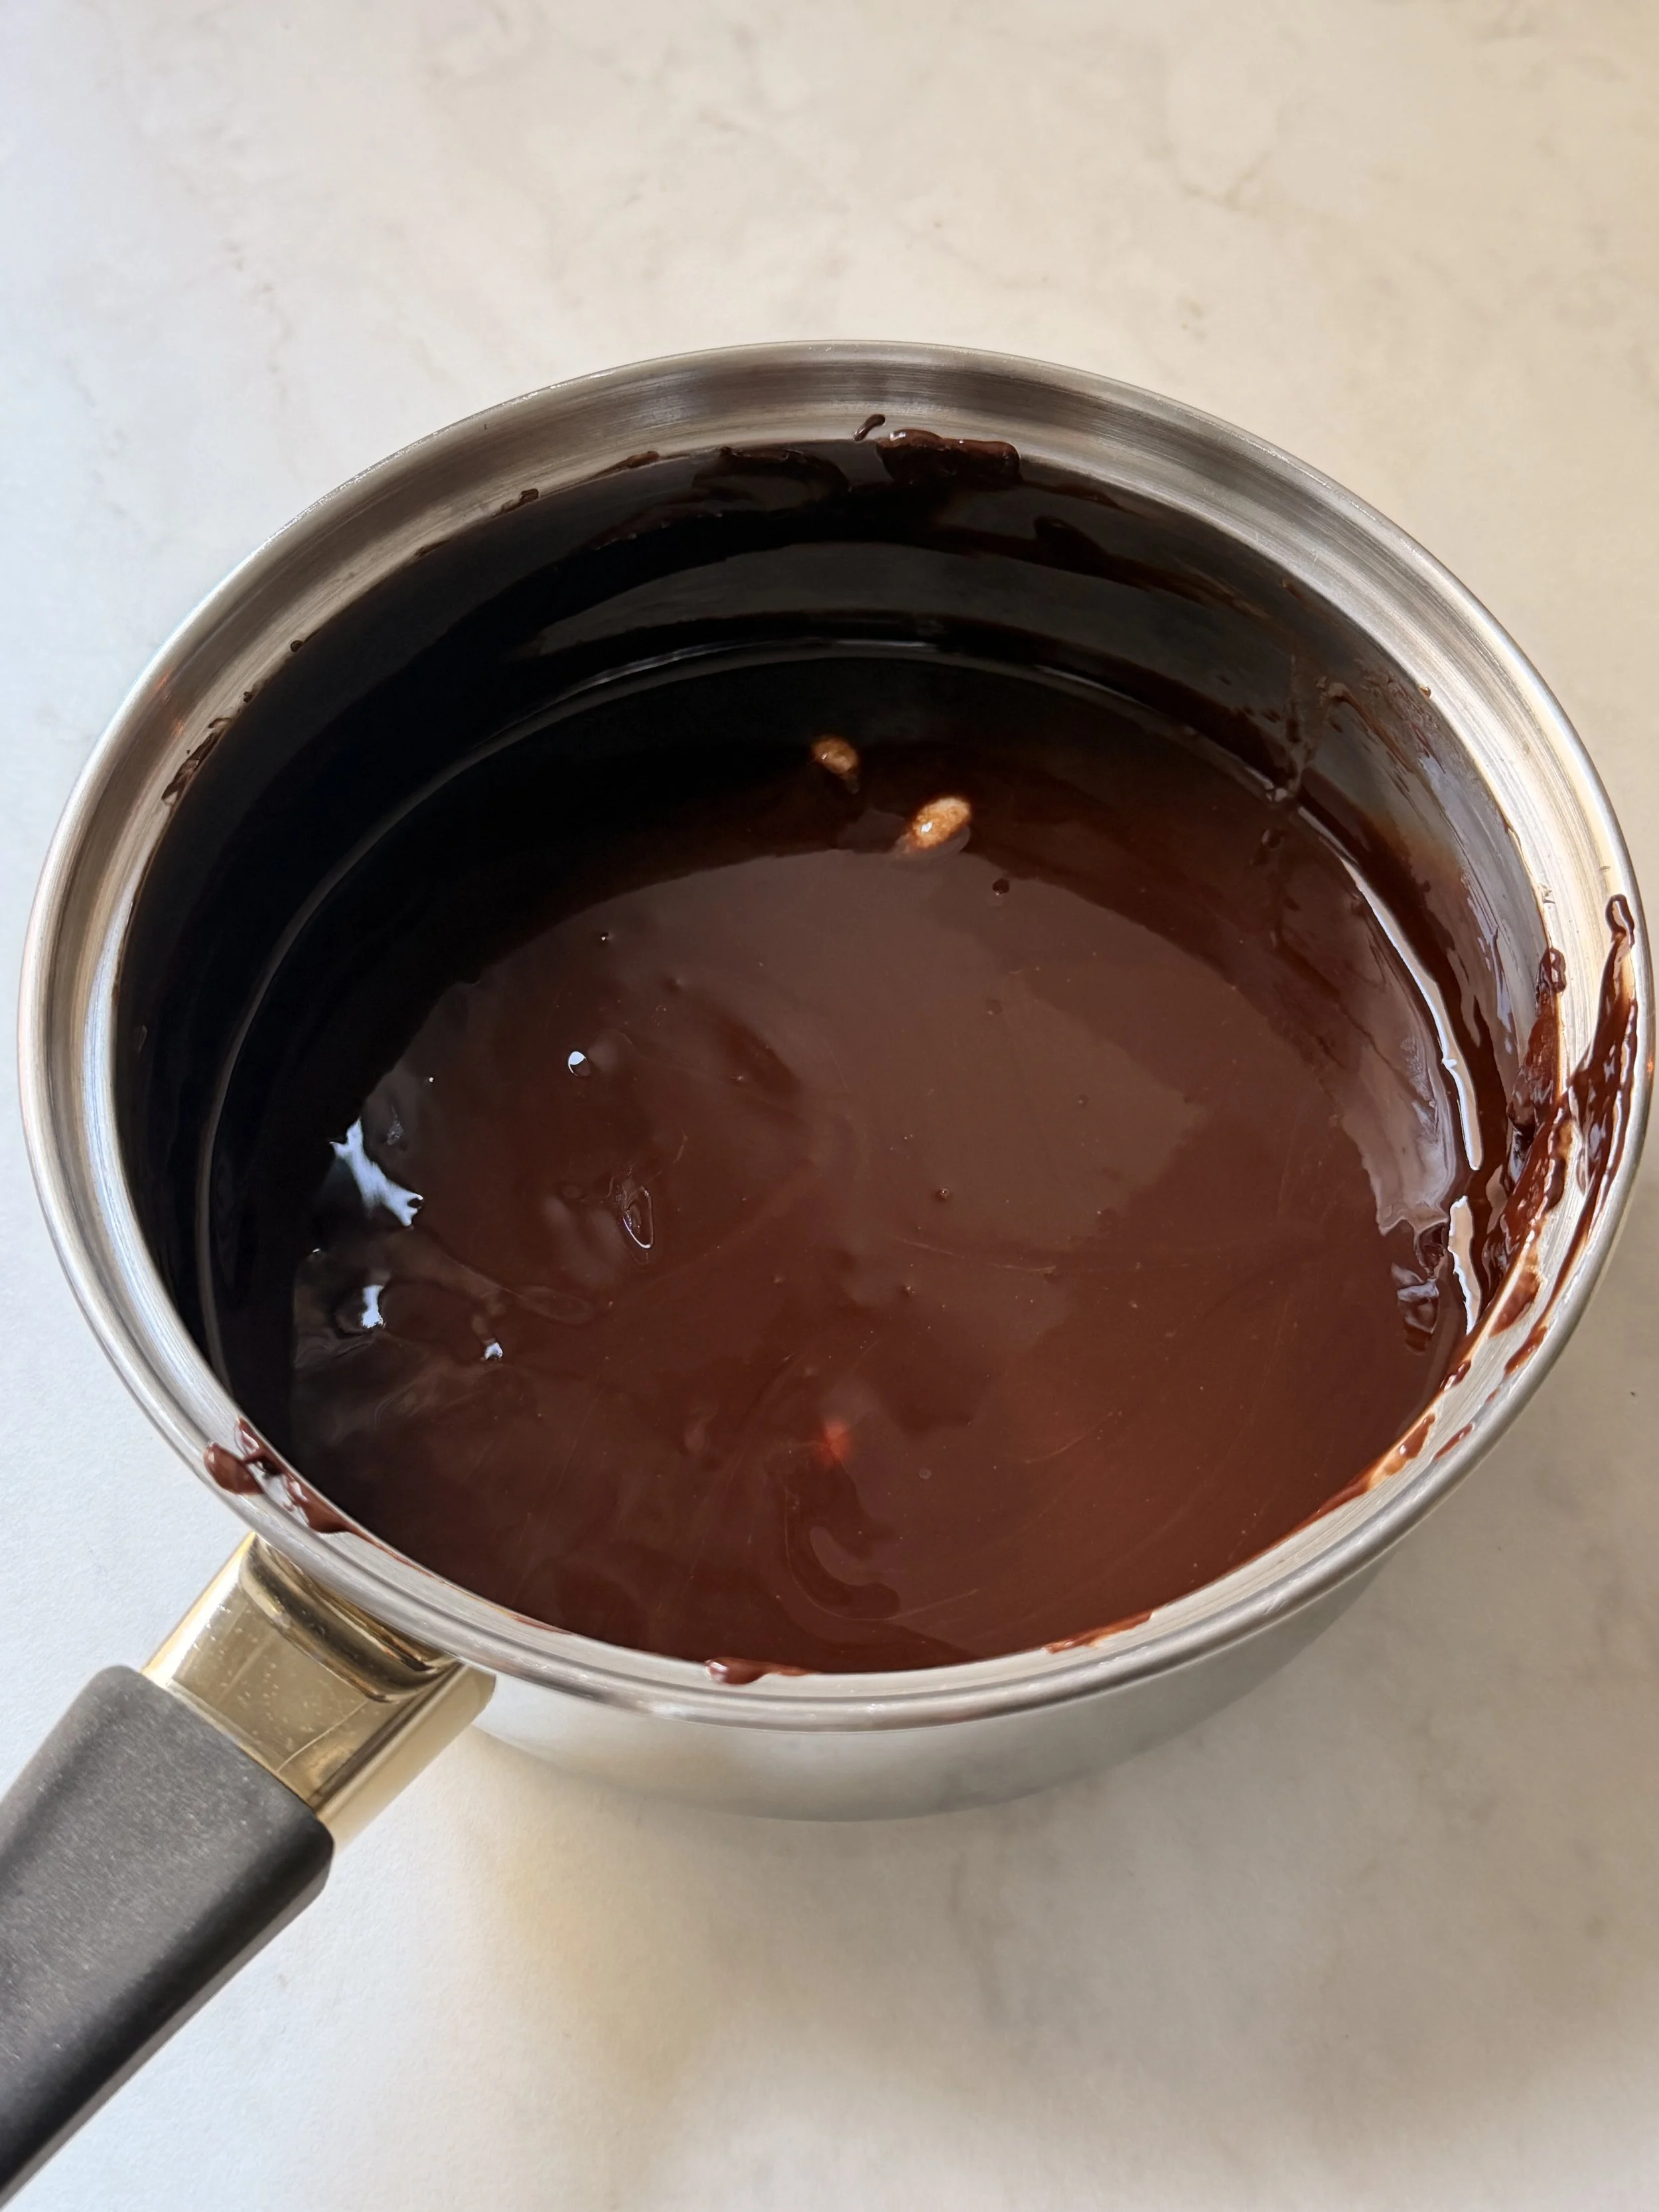
3. Once ready, let it cool for 10 minutes.
4. Preheat the oven to 180°C and line an 20x20 cm square baking pan with parchment paper.
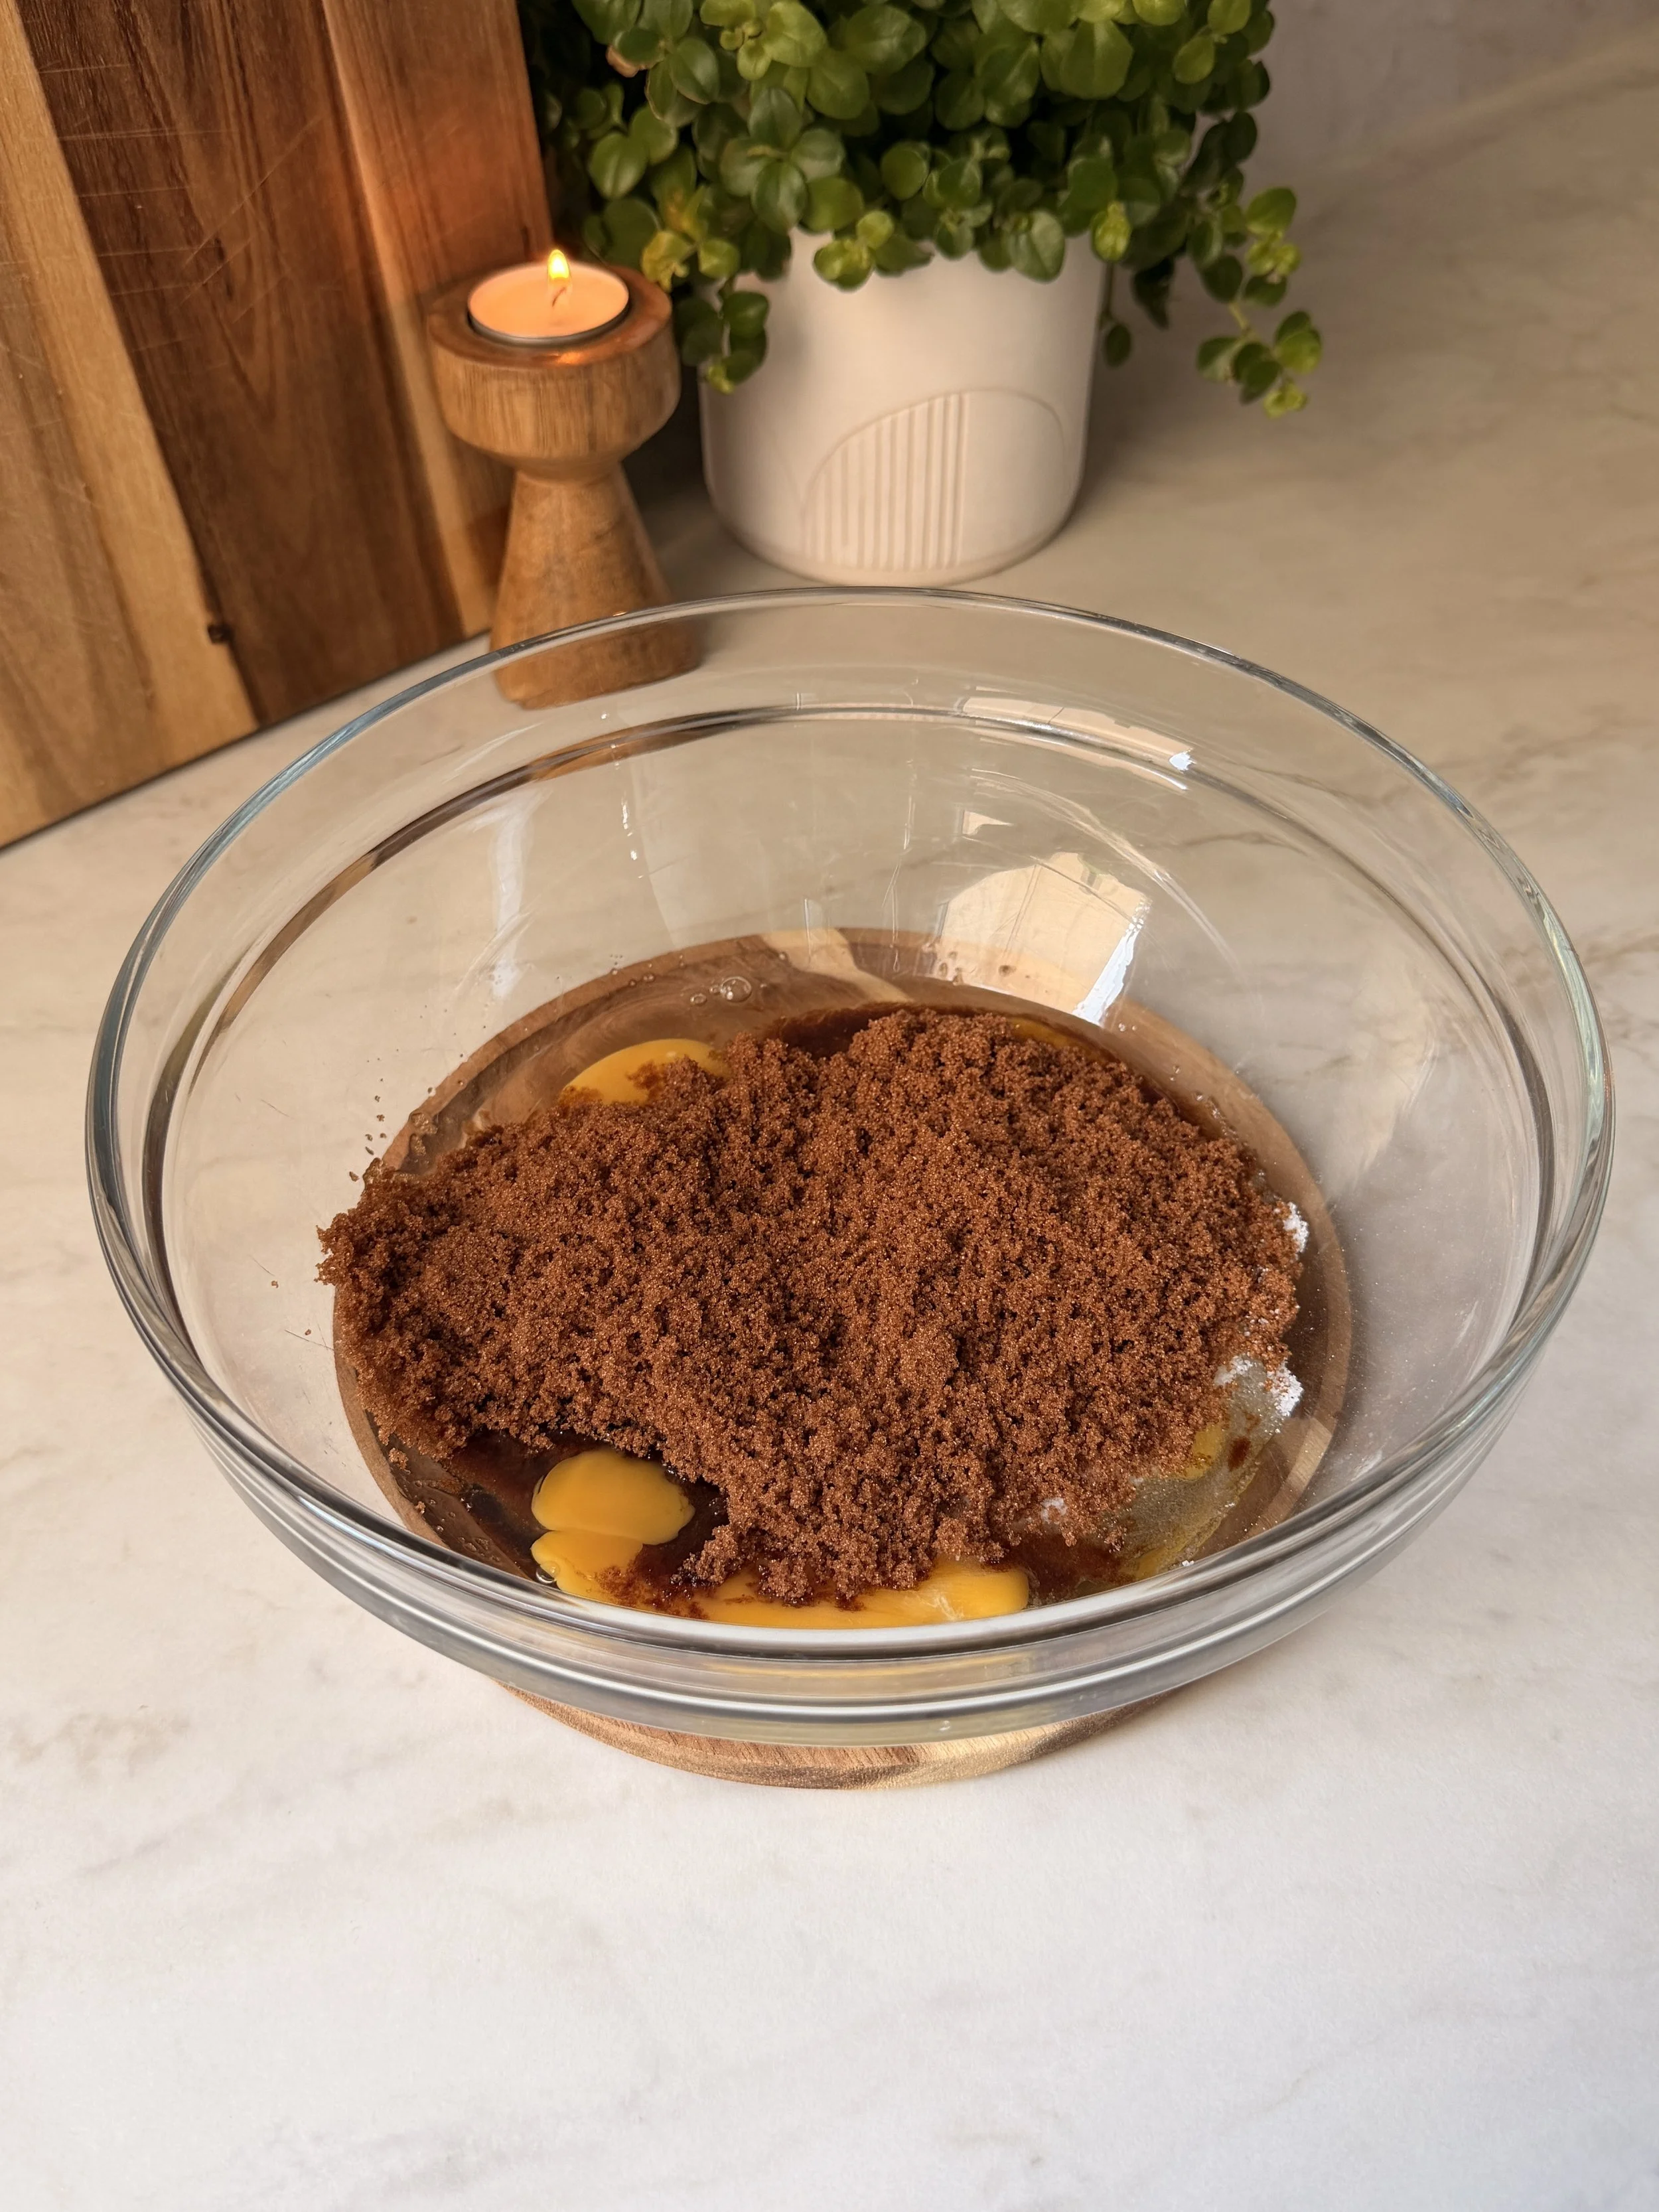
5. In a large bowl, add the eggs, egg yolk, brown sugar and granulated sugar.
6. Using an electric hand mixer, whip on high speed until fluffy and pale in color.
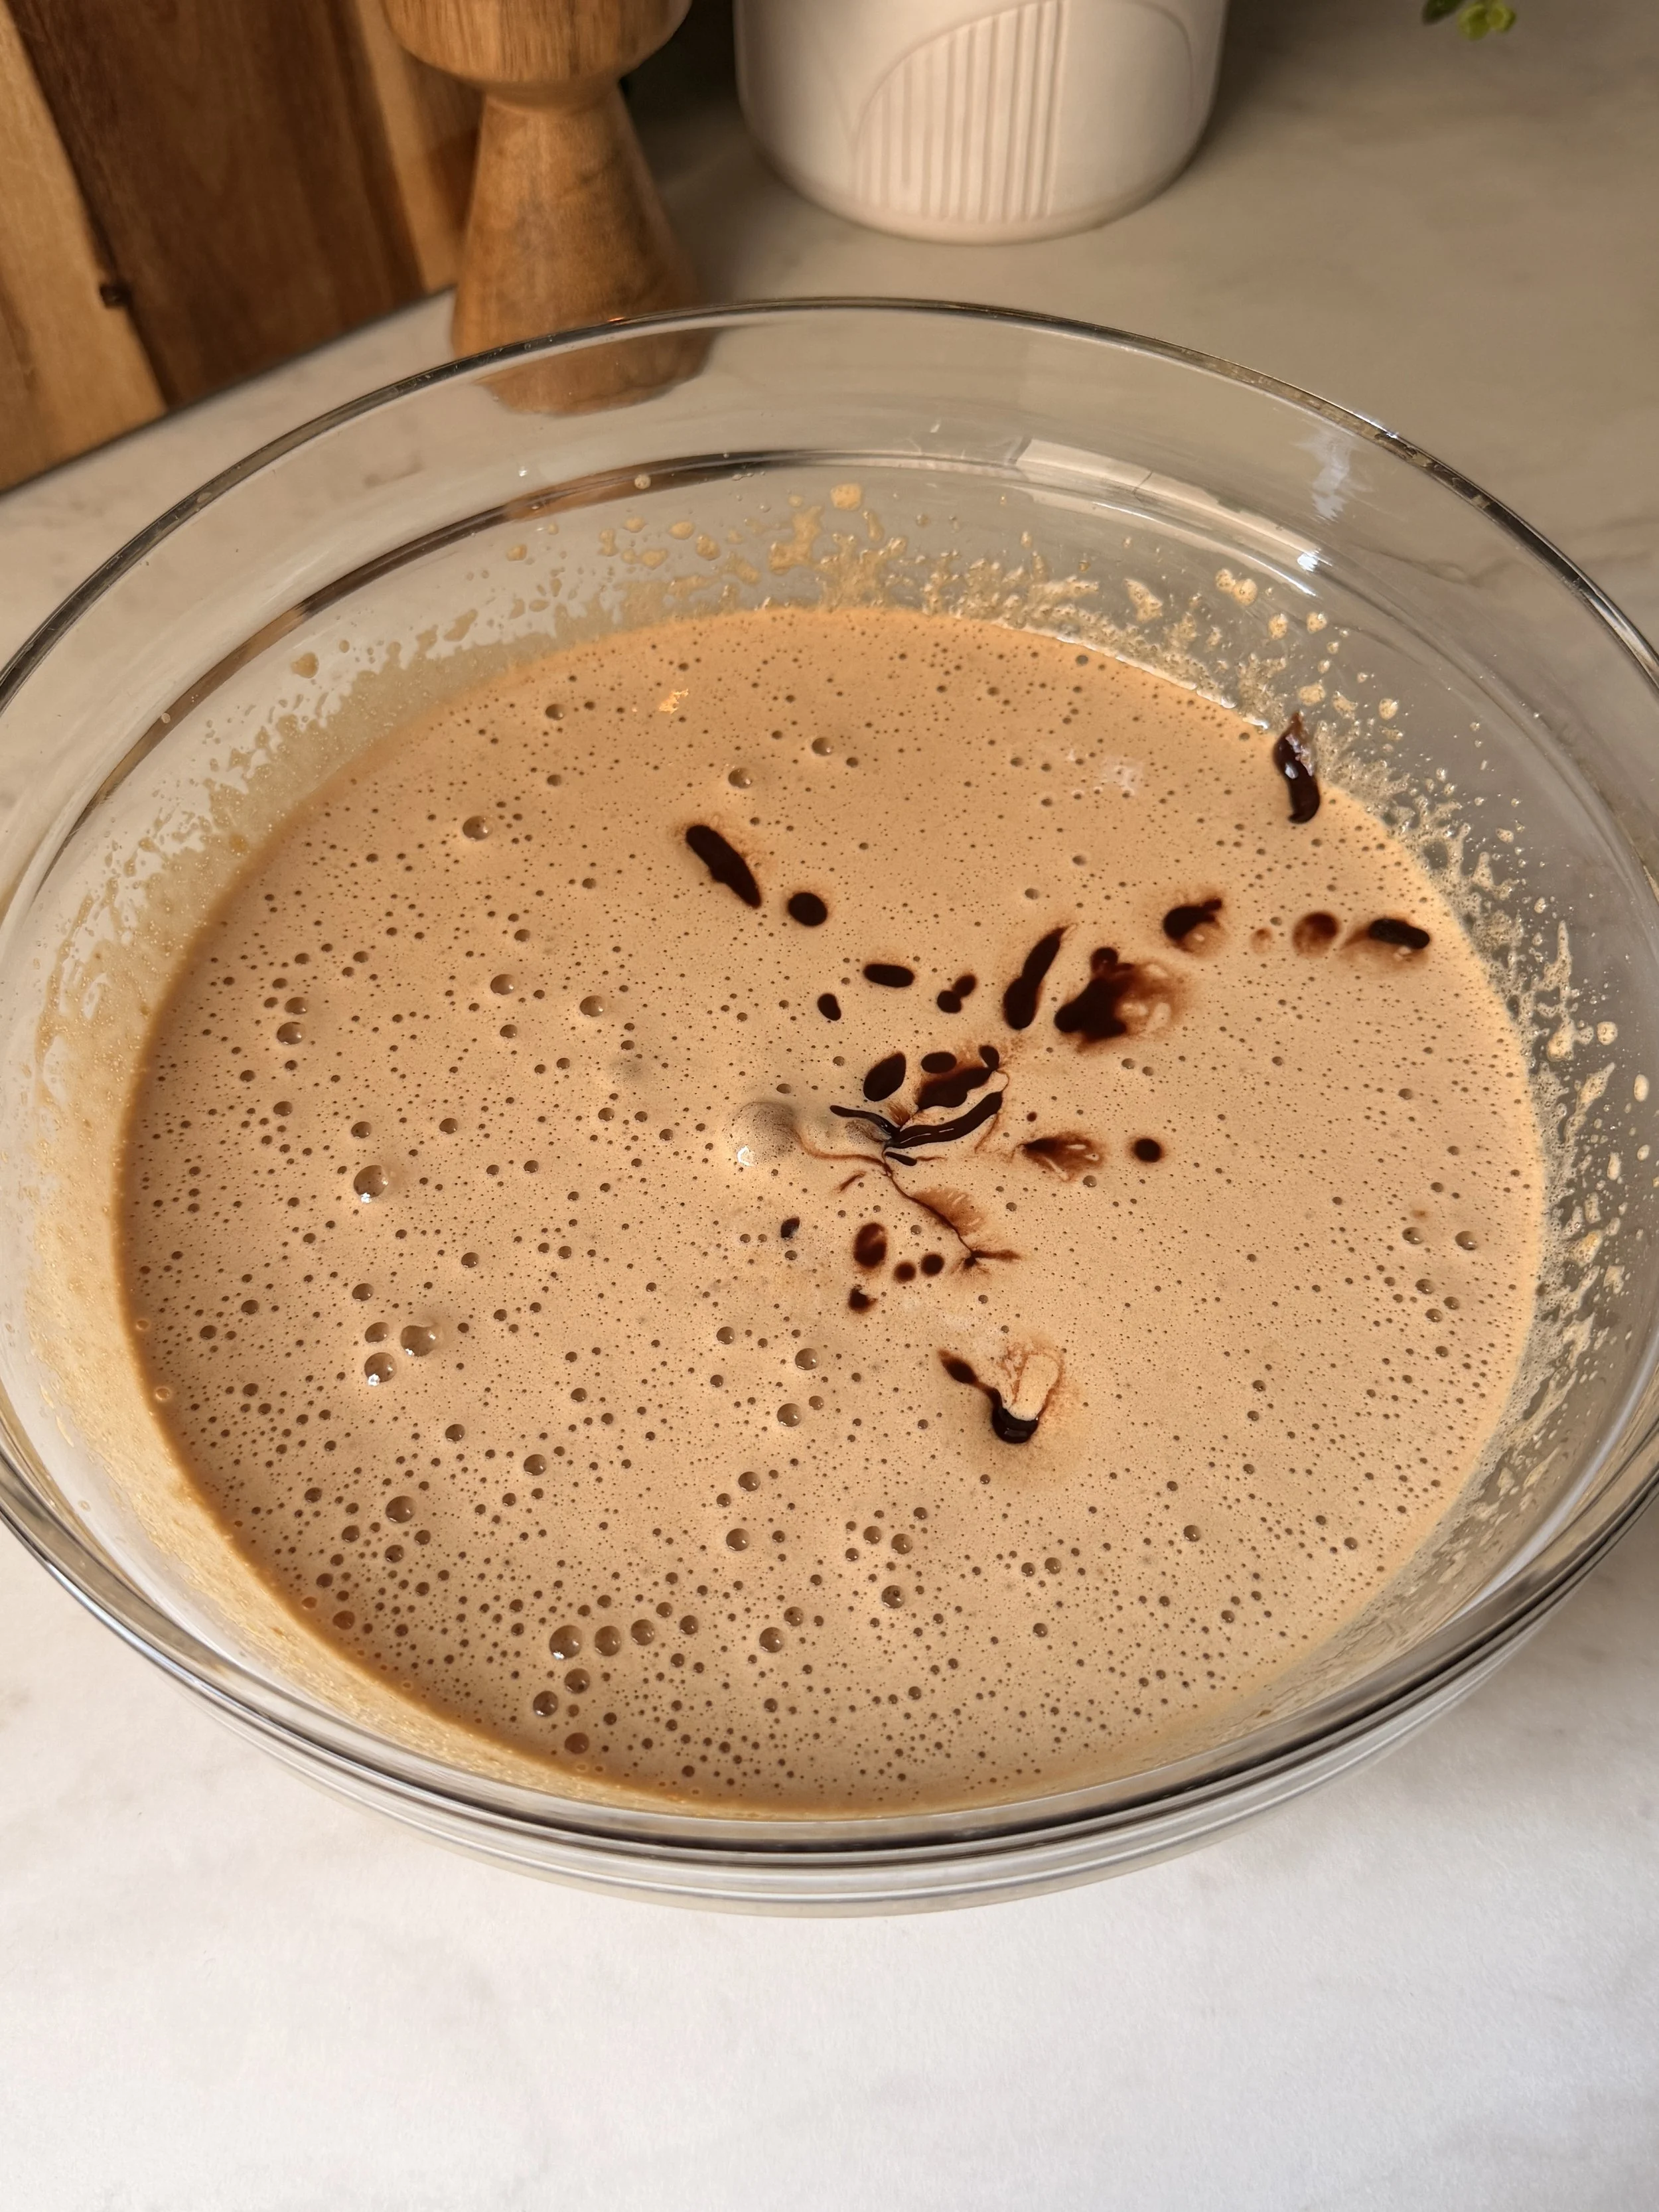
7. Next, mix in the chocolate-butter mixture along with the vanilla extract.
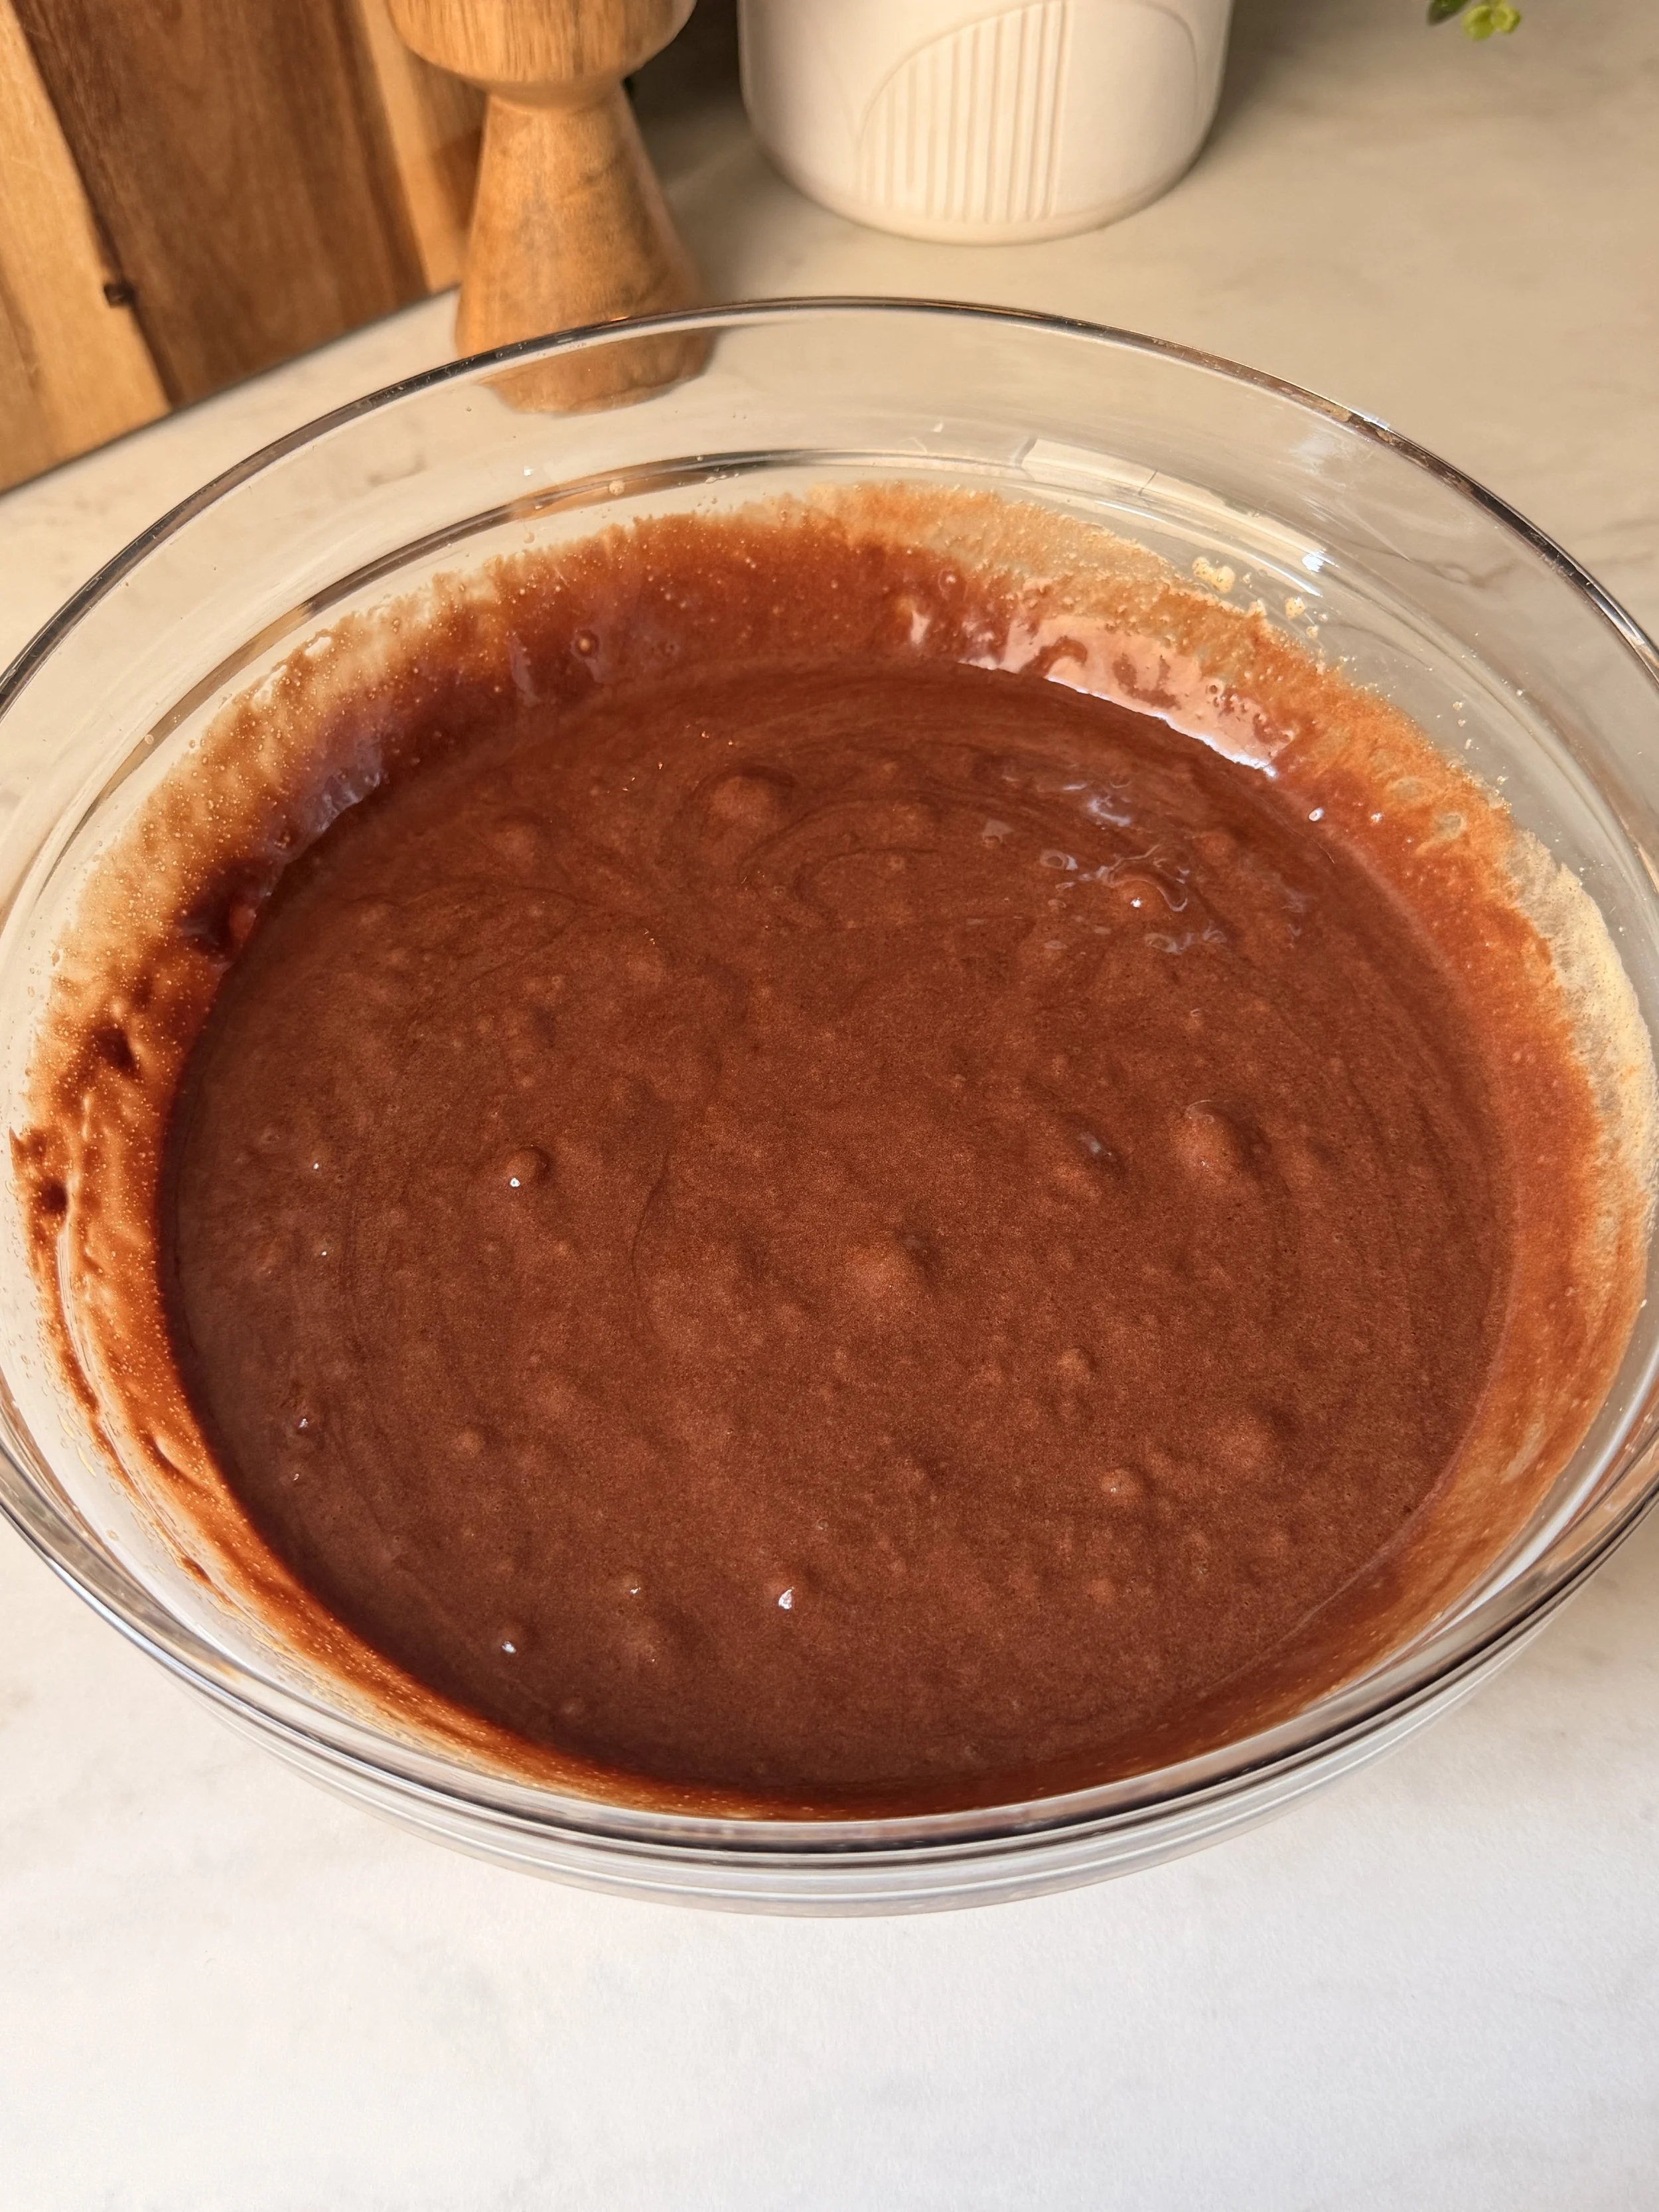
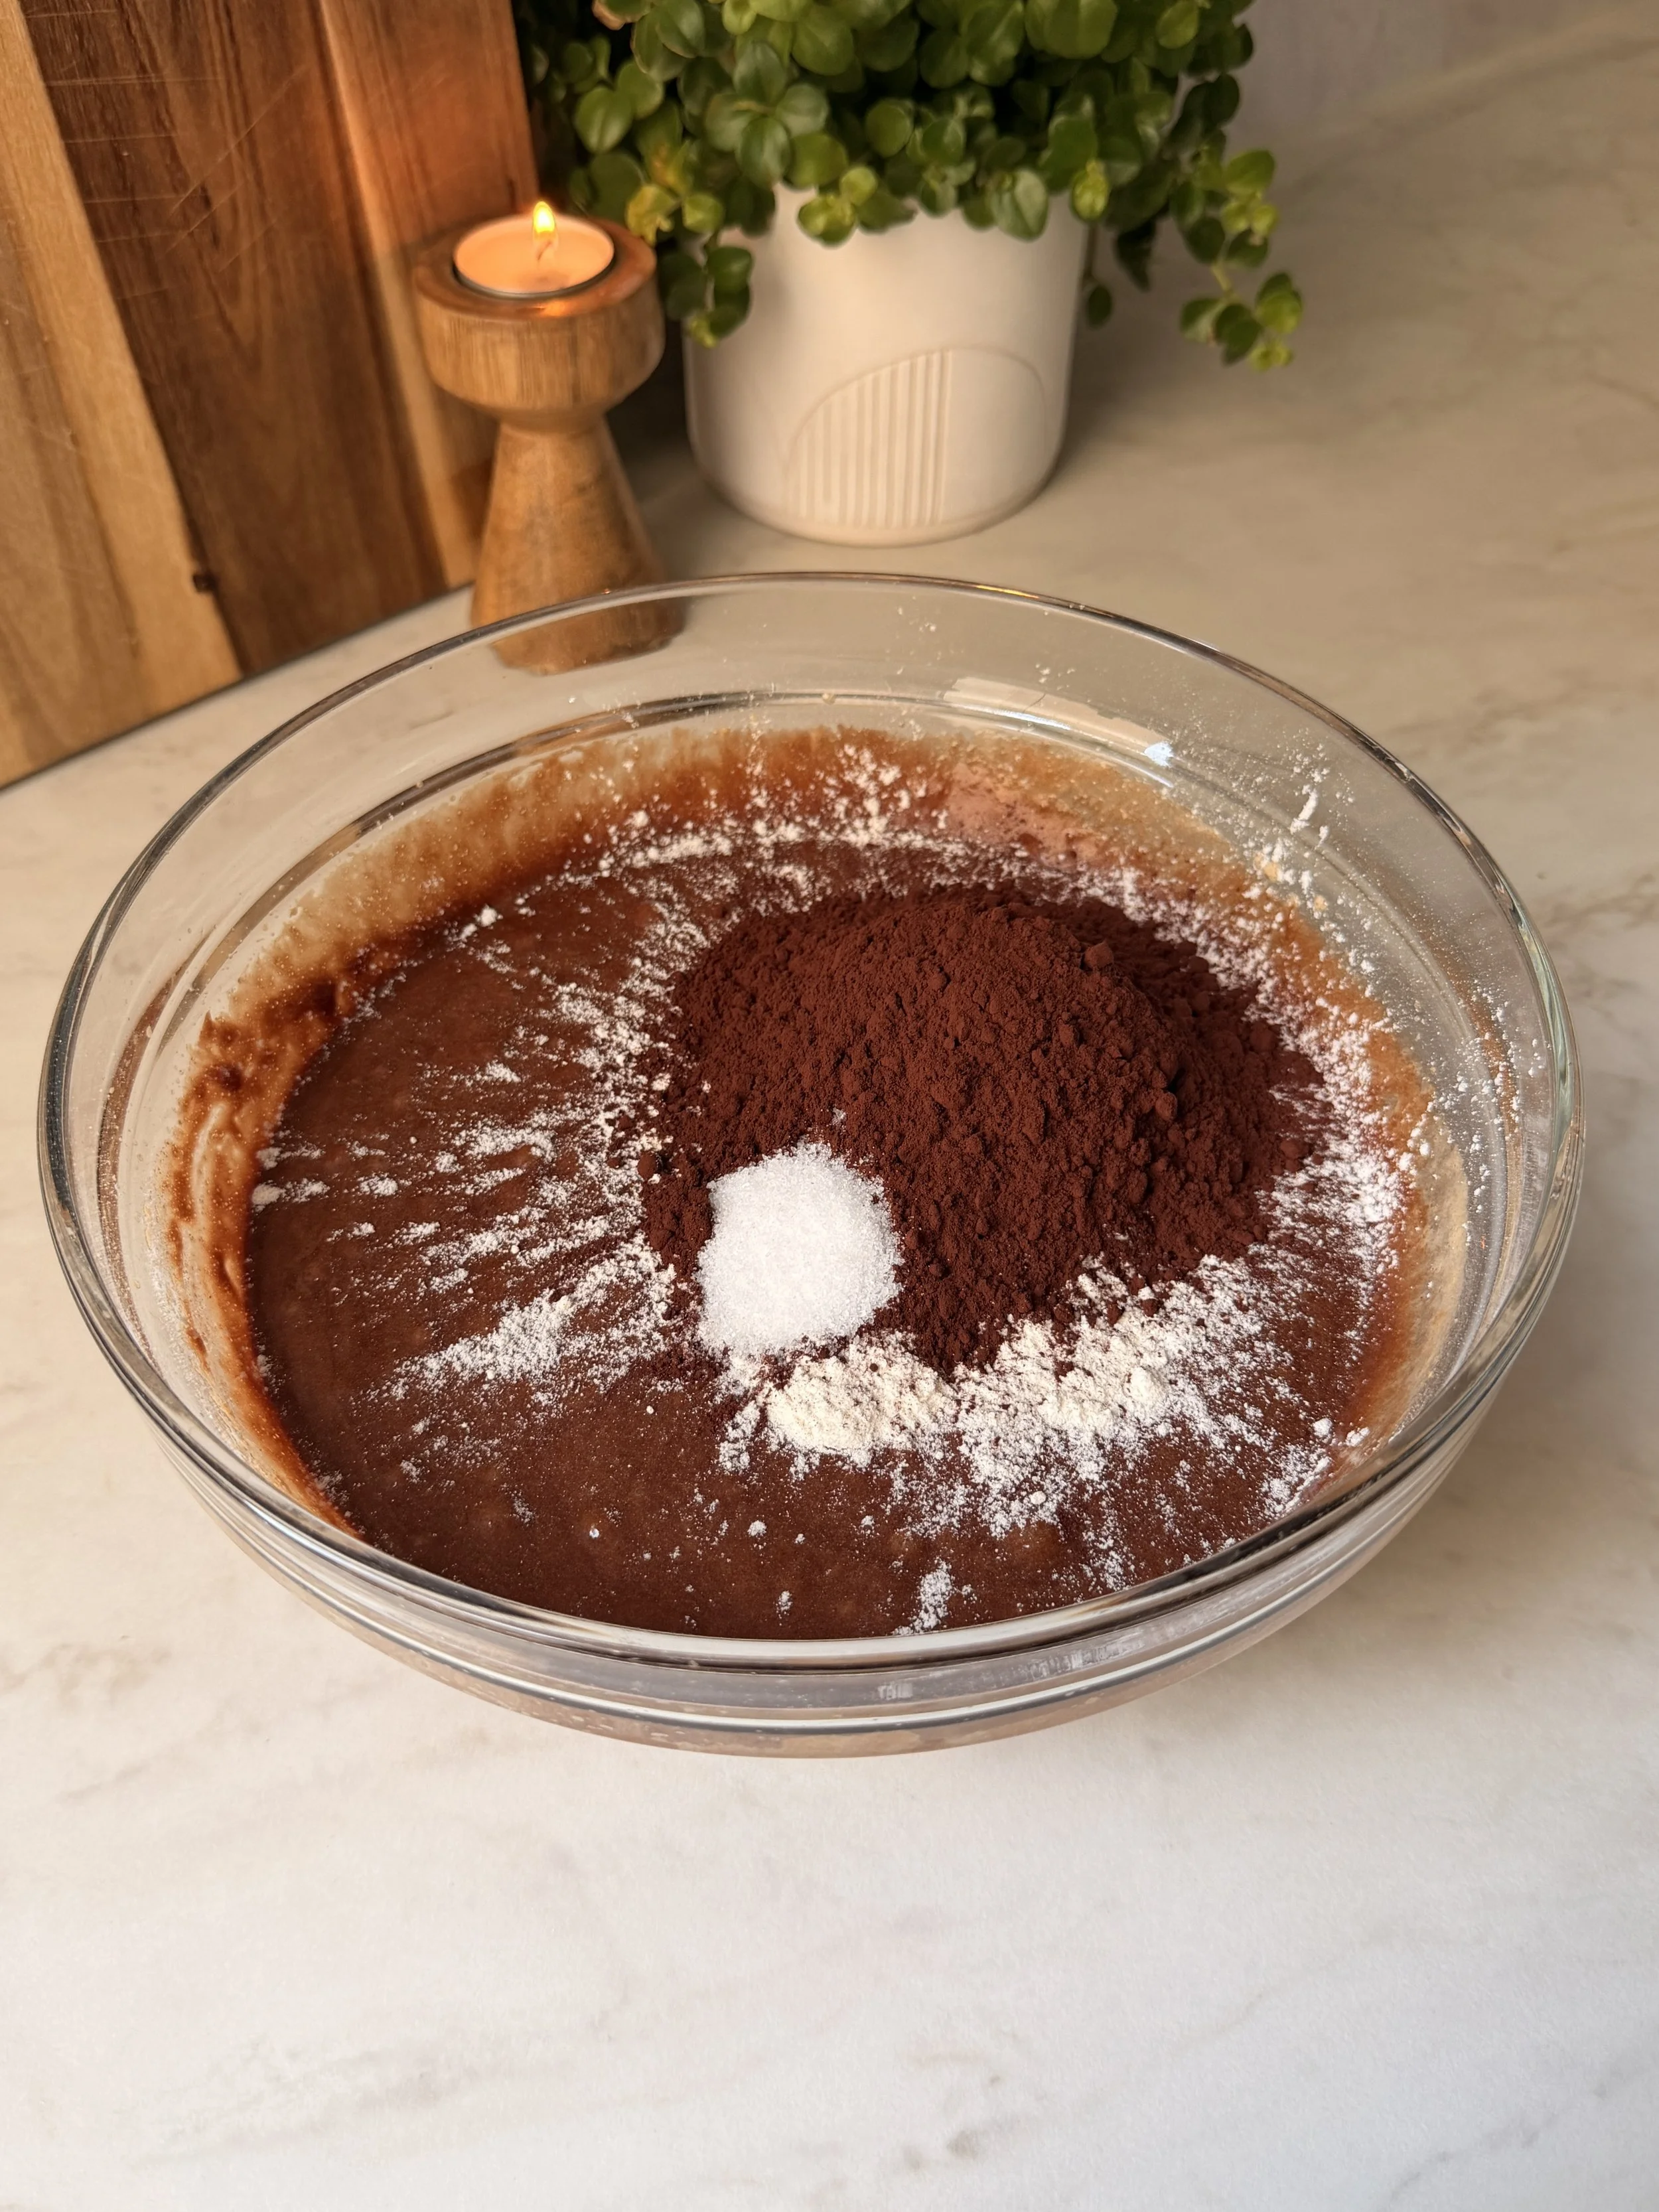
8. Add the flour, salt and cocoa powder, and gently fold until just combined.
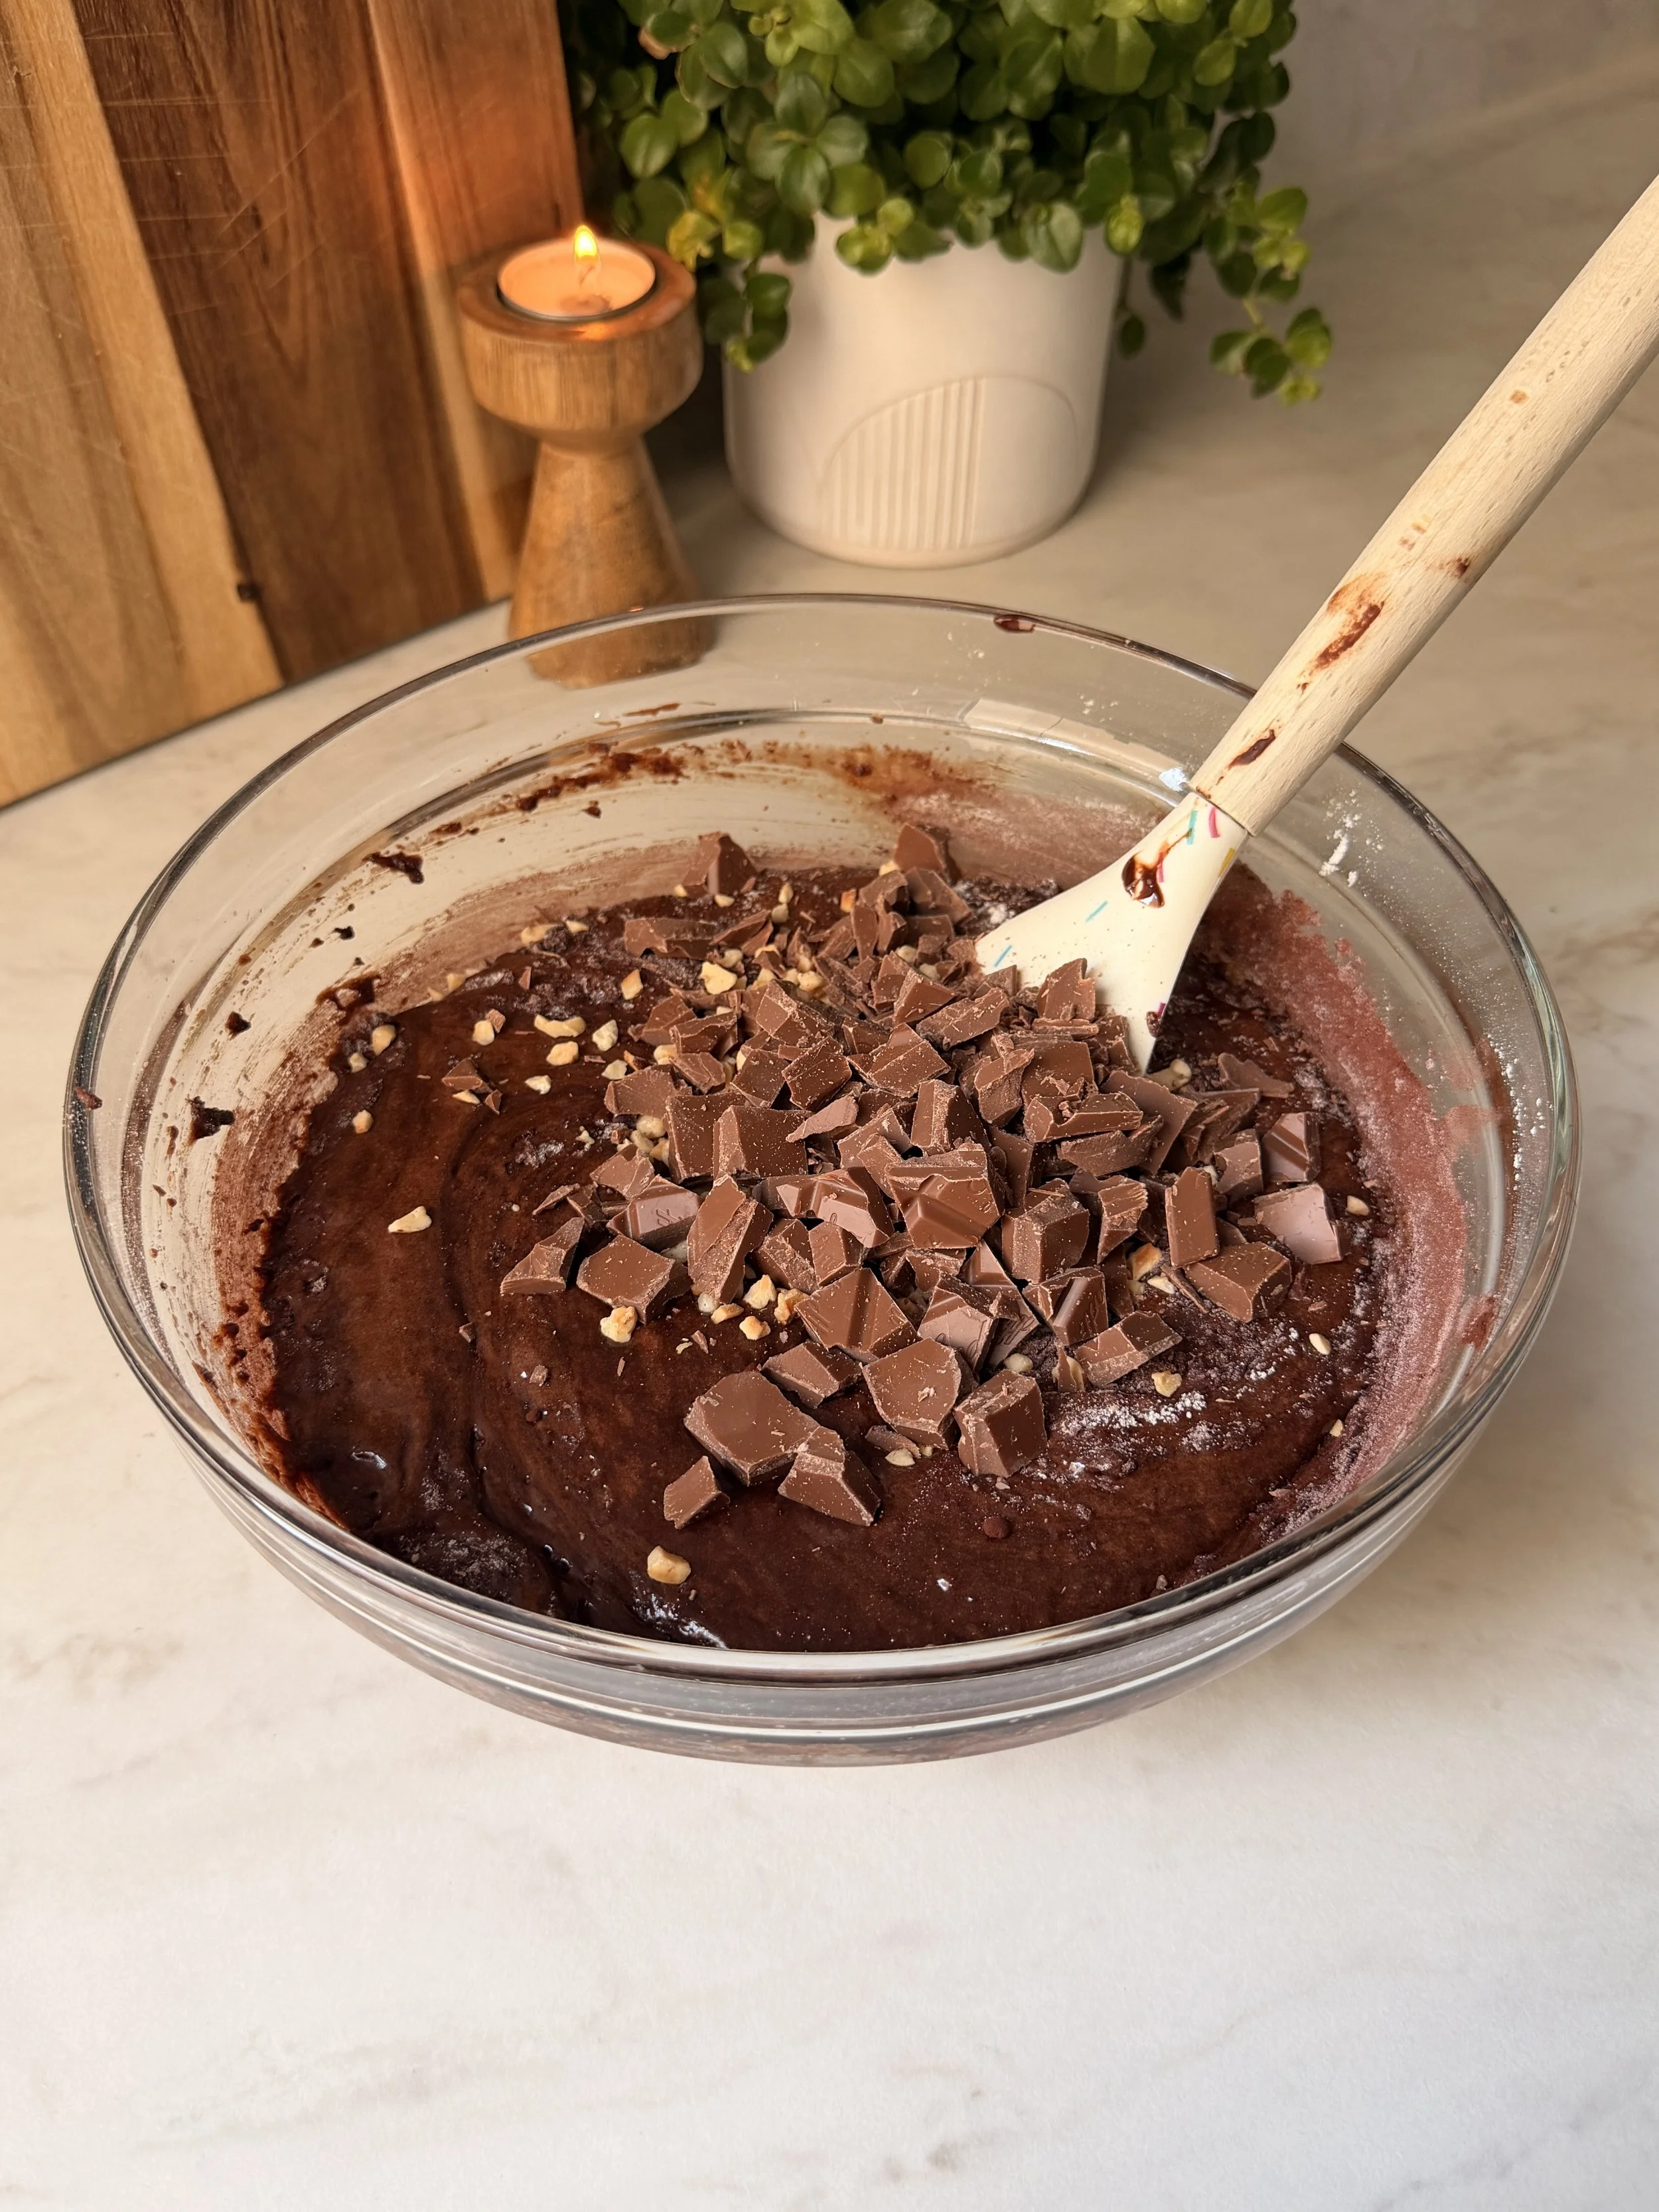
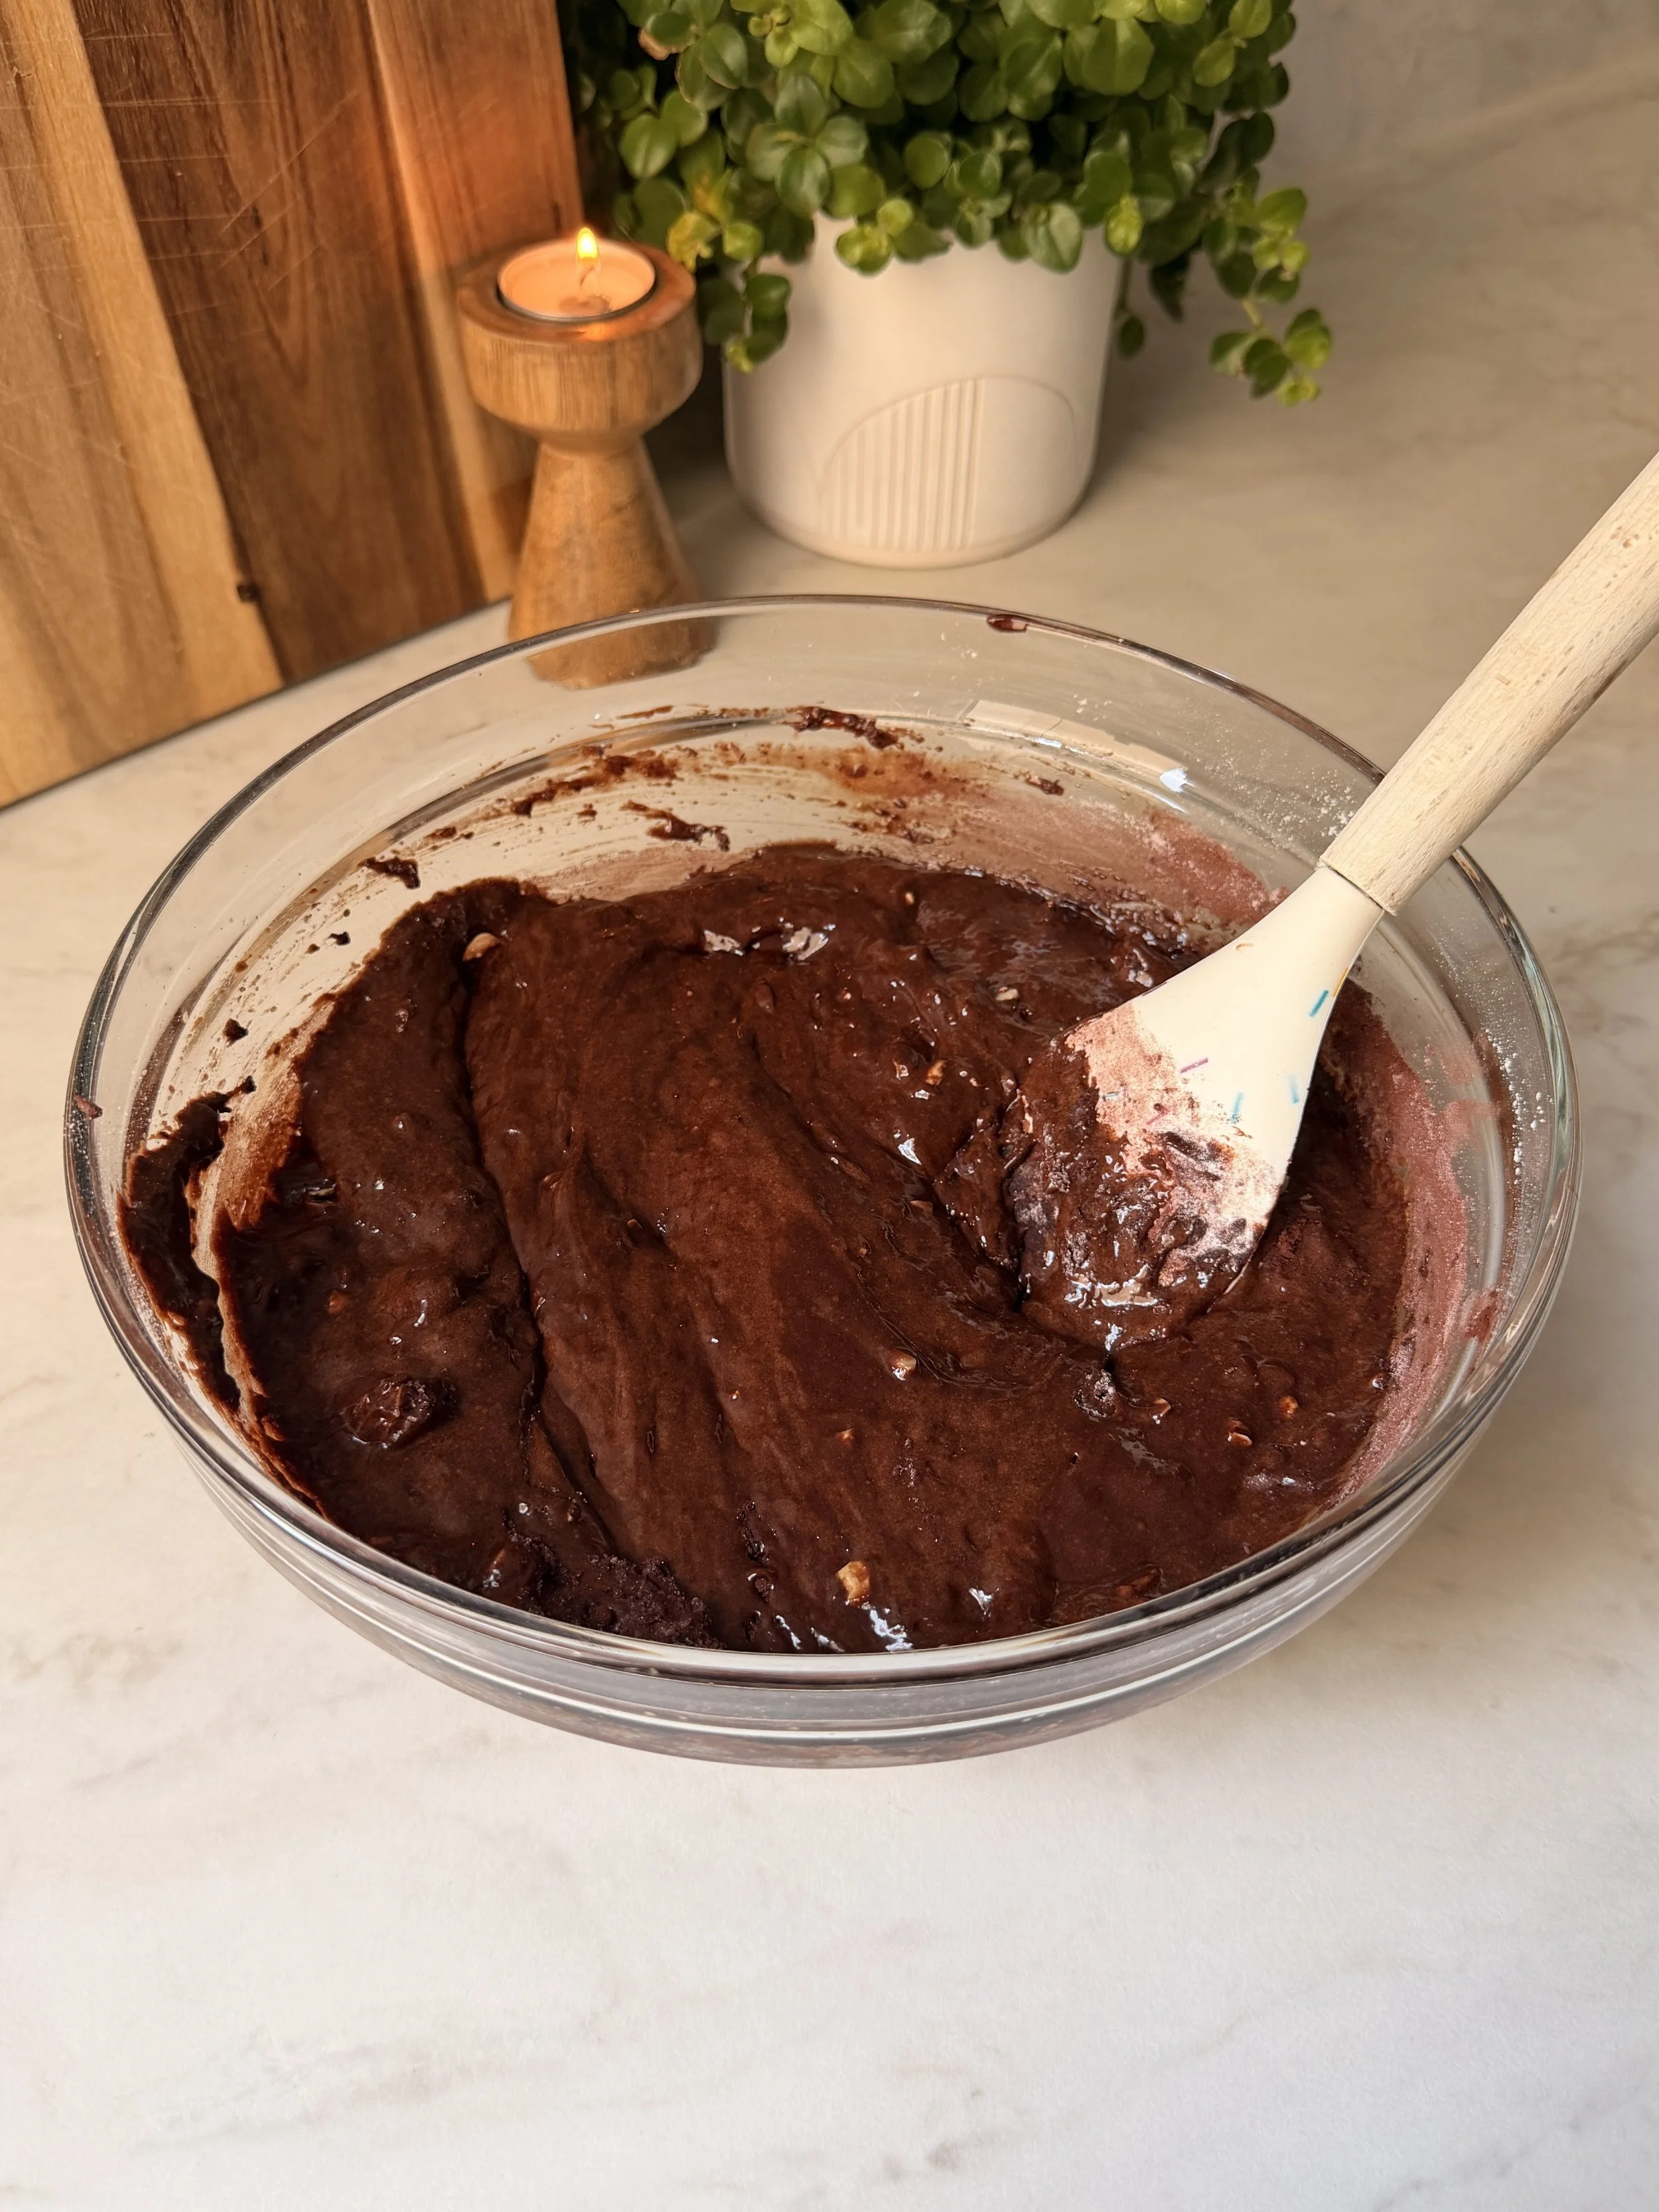
9. Lastly, add the chopped hazelnuts along with the chocolate chunks and fold them in.
10. Pour half of the batter into your prepared baking pan.
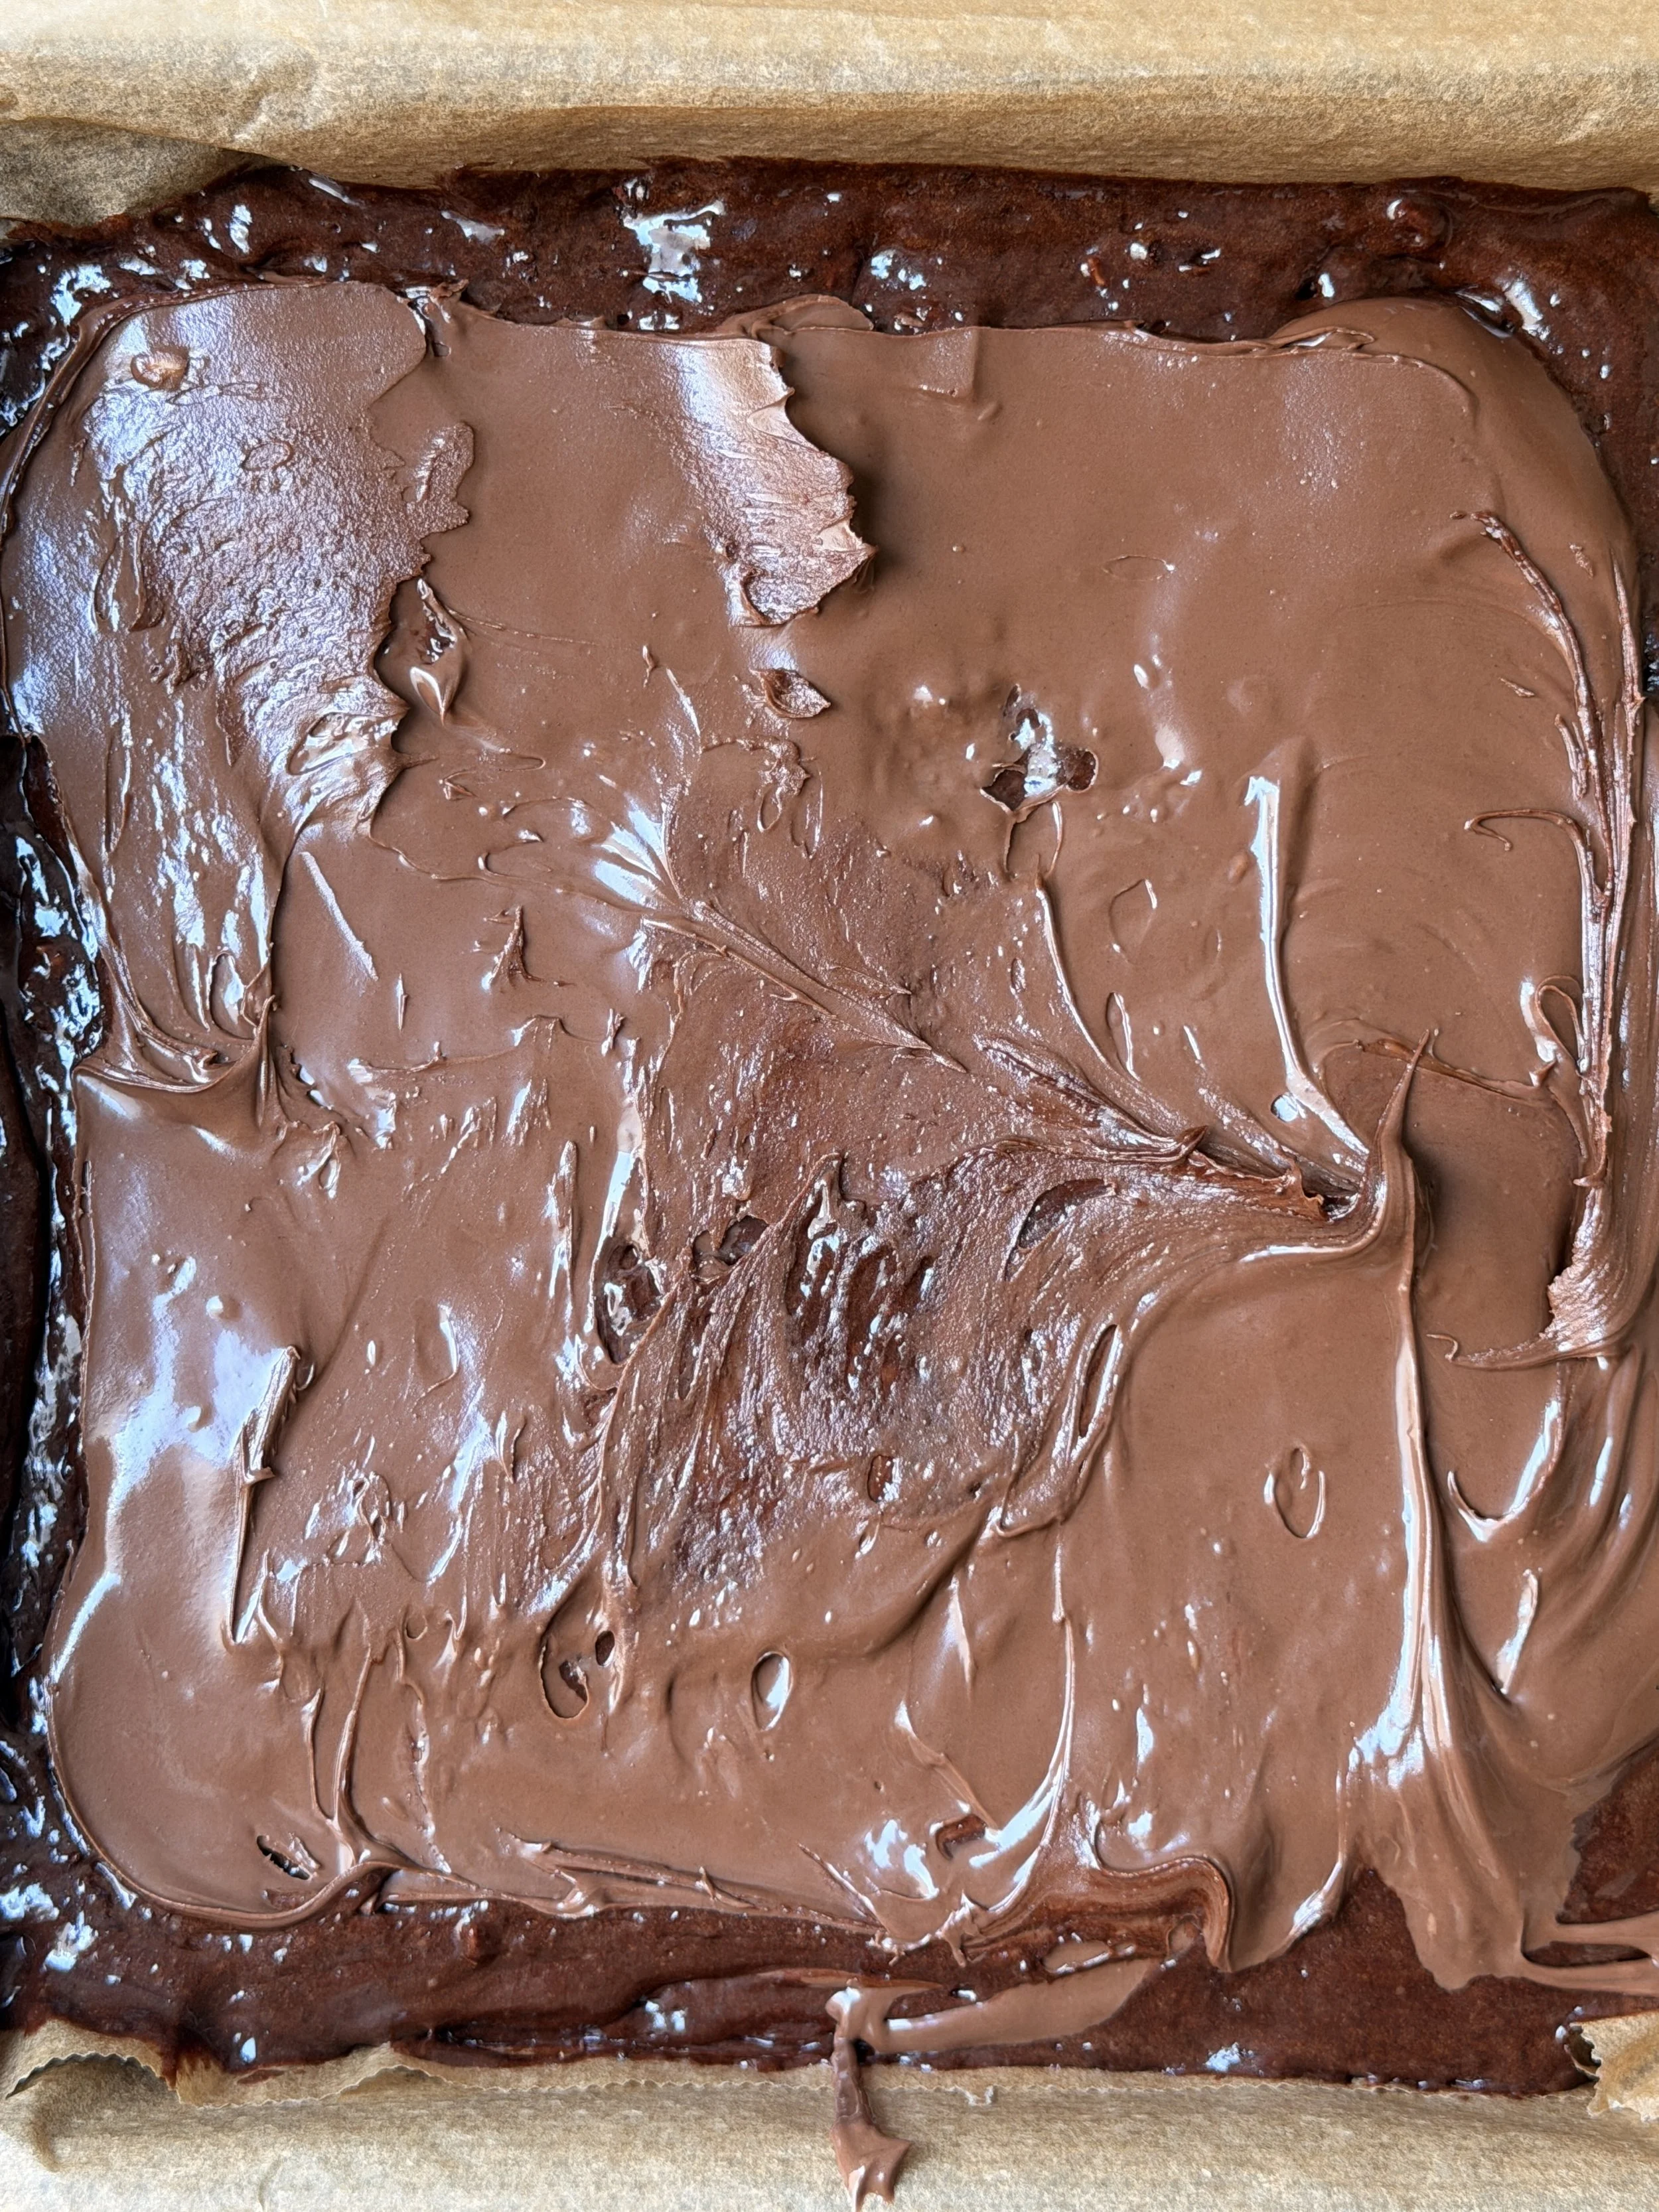
11. Scoop or pipe Nutella on top and gently spread it out.
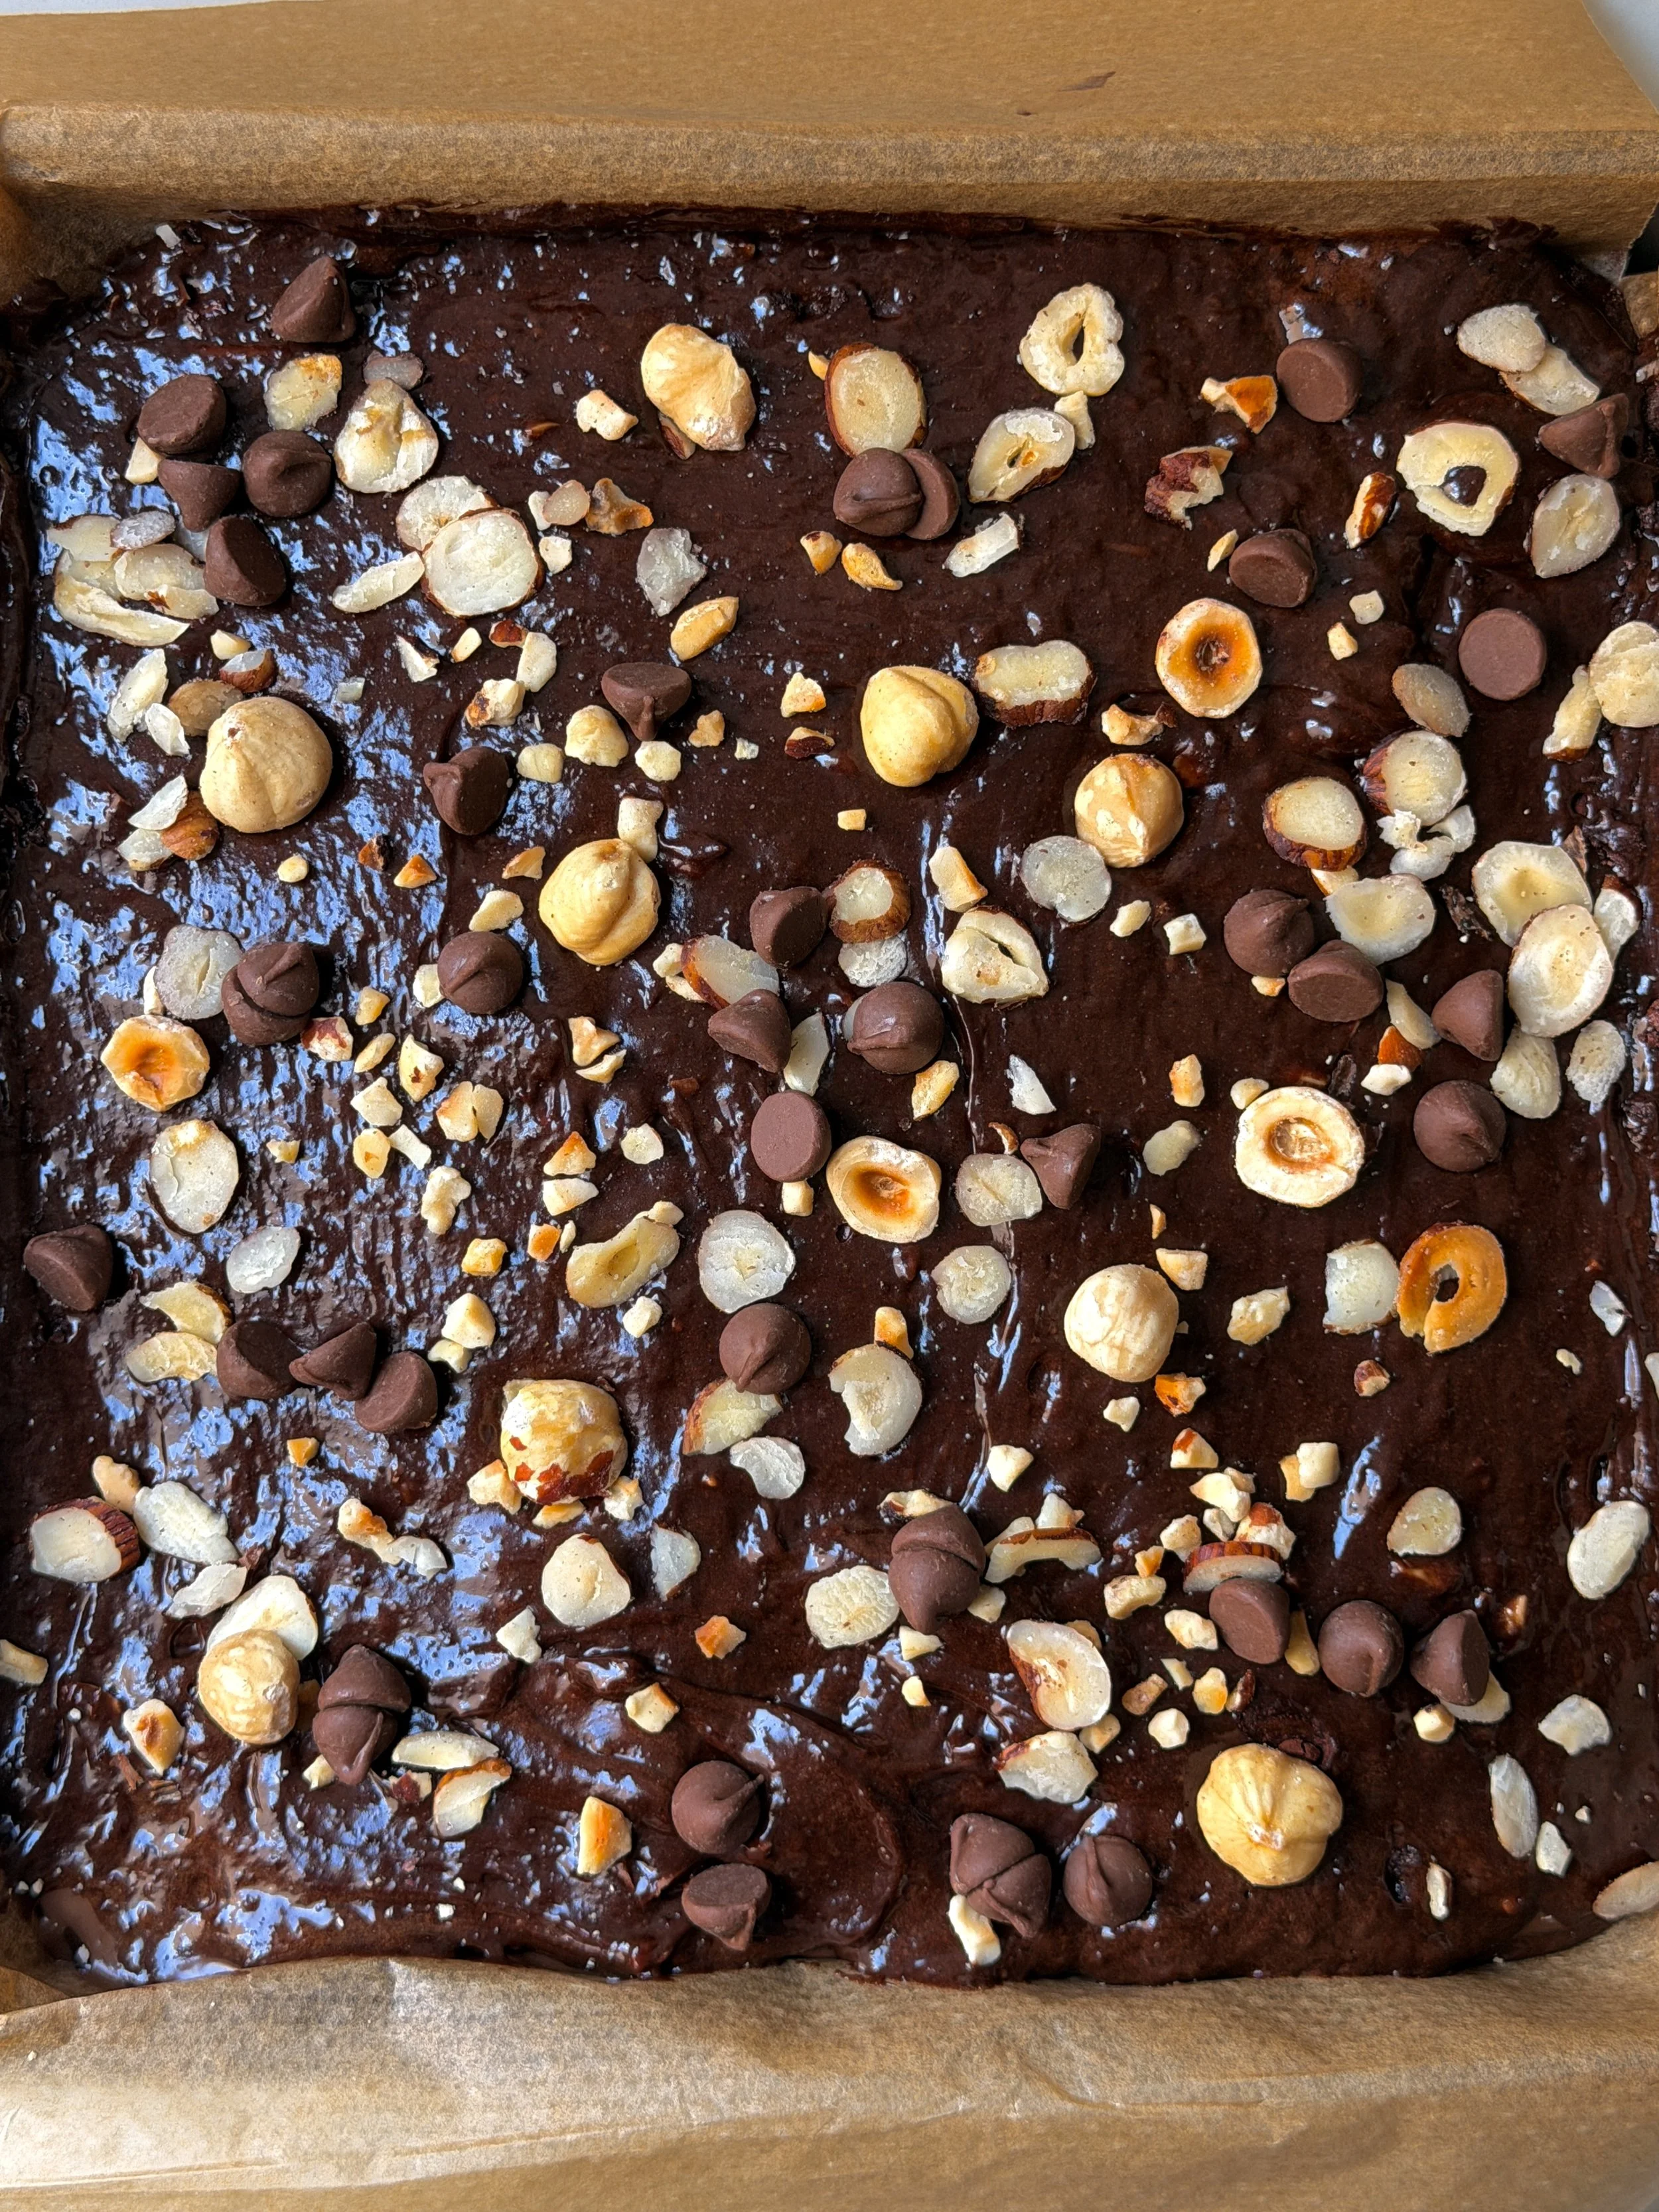
12. Top with the remaining batter.
13. Sprinkle with more chopped hazelnuts and chocolate chunks.
14. Bake in the preheated oven for about 25 minutes.
15. Once ready, remove from the oven and let it cool for 30 minutes on the counter. Then, cover the pan tightly with plastic wrap and let it cool overnight (about 12 hours).
16. The next day, slice and enjoy!

Nutella Hazelnut Brownies
These Nutella Hazelnut Brownies are rich, fudgy and layered with a generous layer of creamy Nutella in the center. They're filled with toasted hazelnuts for the perfect crunch and have that signature crackly top every great Brownie should have. If you're a fan of chocolate and hazelnut desserts, you need to give these a try.
Ingredients
- 200g dark chocolate, chopped up (60%) (1 cup + 3 tablespoons)
- 150g unsalted butter (2/3 cup)
- 100g granulated sugar (1/2 cup)
- 100g dark brown sugar (1/2 cup)
- 2 large eggs + 1 large egg yolk
- 1 teaspoon vanilla extract
- 65g all purpose flour (1/2 cup)
- 35g cocoa powder (1/3 cup + 2 tablespoons)
- 1 teaspoon fine sea salt
- 100g milk chocolate chunks (2/3 cup)
- 25g chopped hazelnuts (1/4 cup)
- 6 tablespoons of Nutella
- A handful of sliced hazelnuts, for topping
- A handful of chocolate chips, for topping
Instructions
- Add the butter to a saucepan along with the chopped chocolate.
- Over medium heat, melt the mixture, stirring continuously until fully melted and smooth.
- Once ready, let it cool for 10 minutes.
- Preheat the oven to 180°C and line an 20x20 cm square baking pan with parchment paper.
- In a large bowl, add the eggs, egg yolk, brown sugar and granulated sugar.
- Using an electric hand mixer, whip on high speed until fluffy and pale in color.
- Next, mix in the chocolate-butter mixture along with the vanilla extract.
- Add the flour, salt and cocoa powder, and gently fold until just combined.
- Lastly, add the chopped hazelnuts along with the chocolate chunks and fold them in.
- Pour half of the batter into your prepared baking pan.
- Scoop or pipe Nutella on top and gently spread it out.
- Top with the remaining batter.
- Sprinkle with more chopped hazelnuts and chocolate chunks.
- Bake in the preheated oven for about 25 minutes.
- Once ready, remove from the oven and let it cool for 30 minutes on the counter. Then, cover the pan tightly with plastic wrap and let it cool overnight (about 12 hours).
- The next day, slice and enjoy!