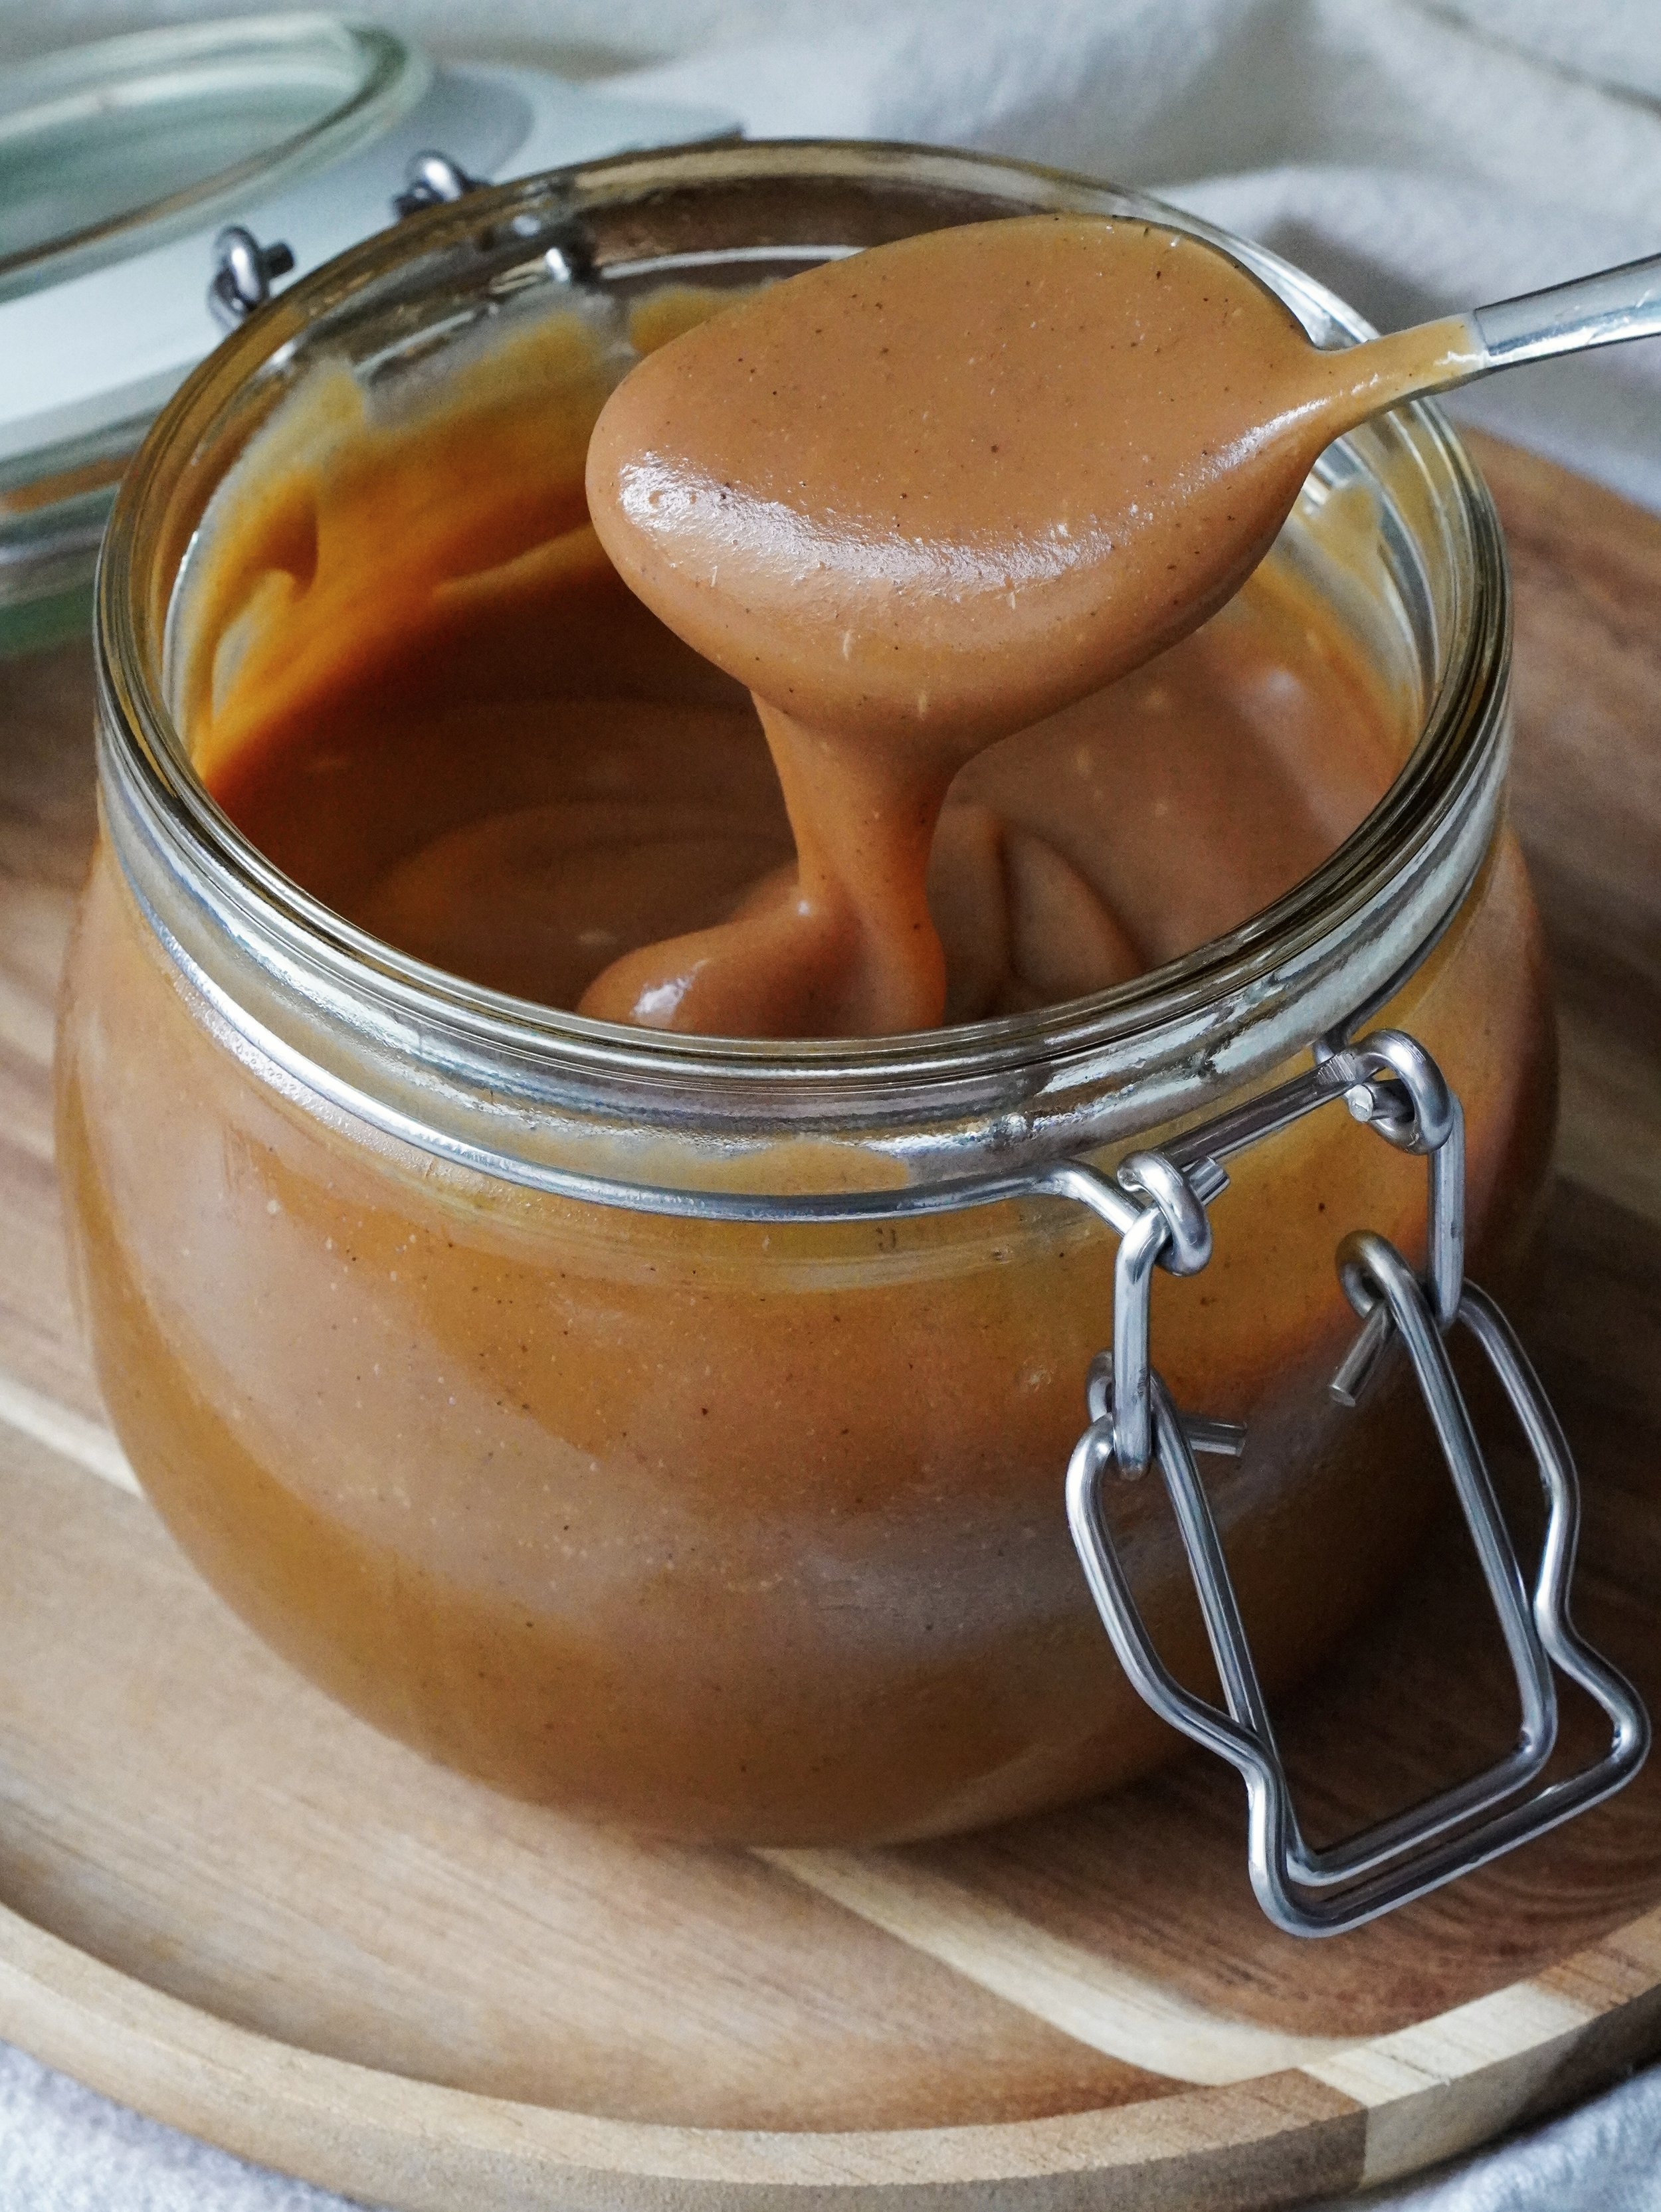
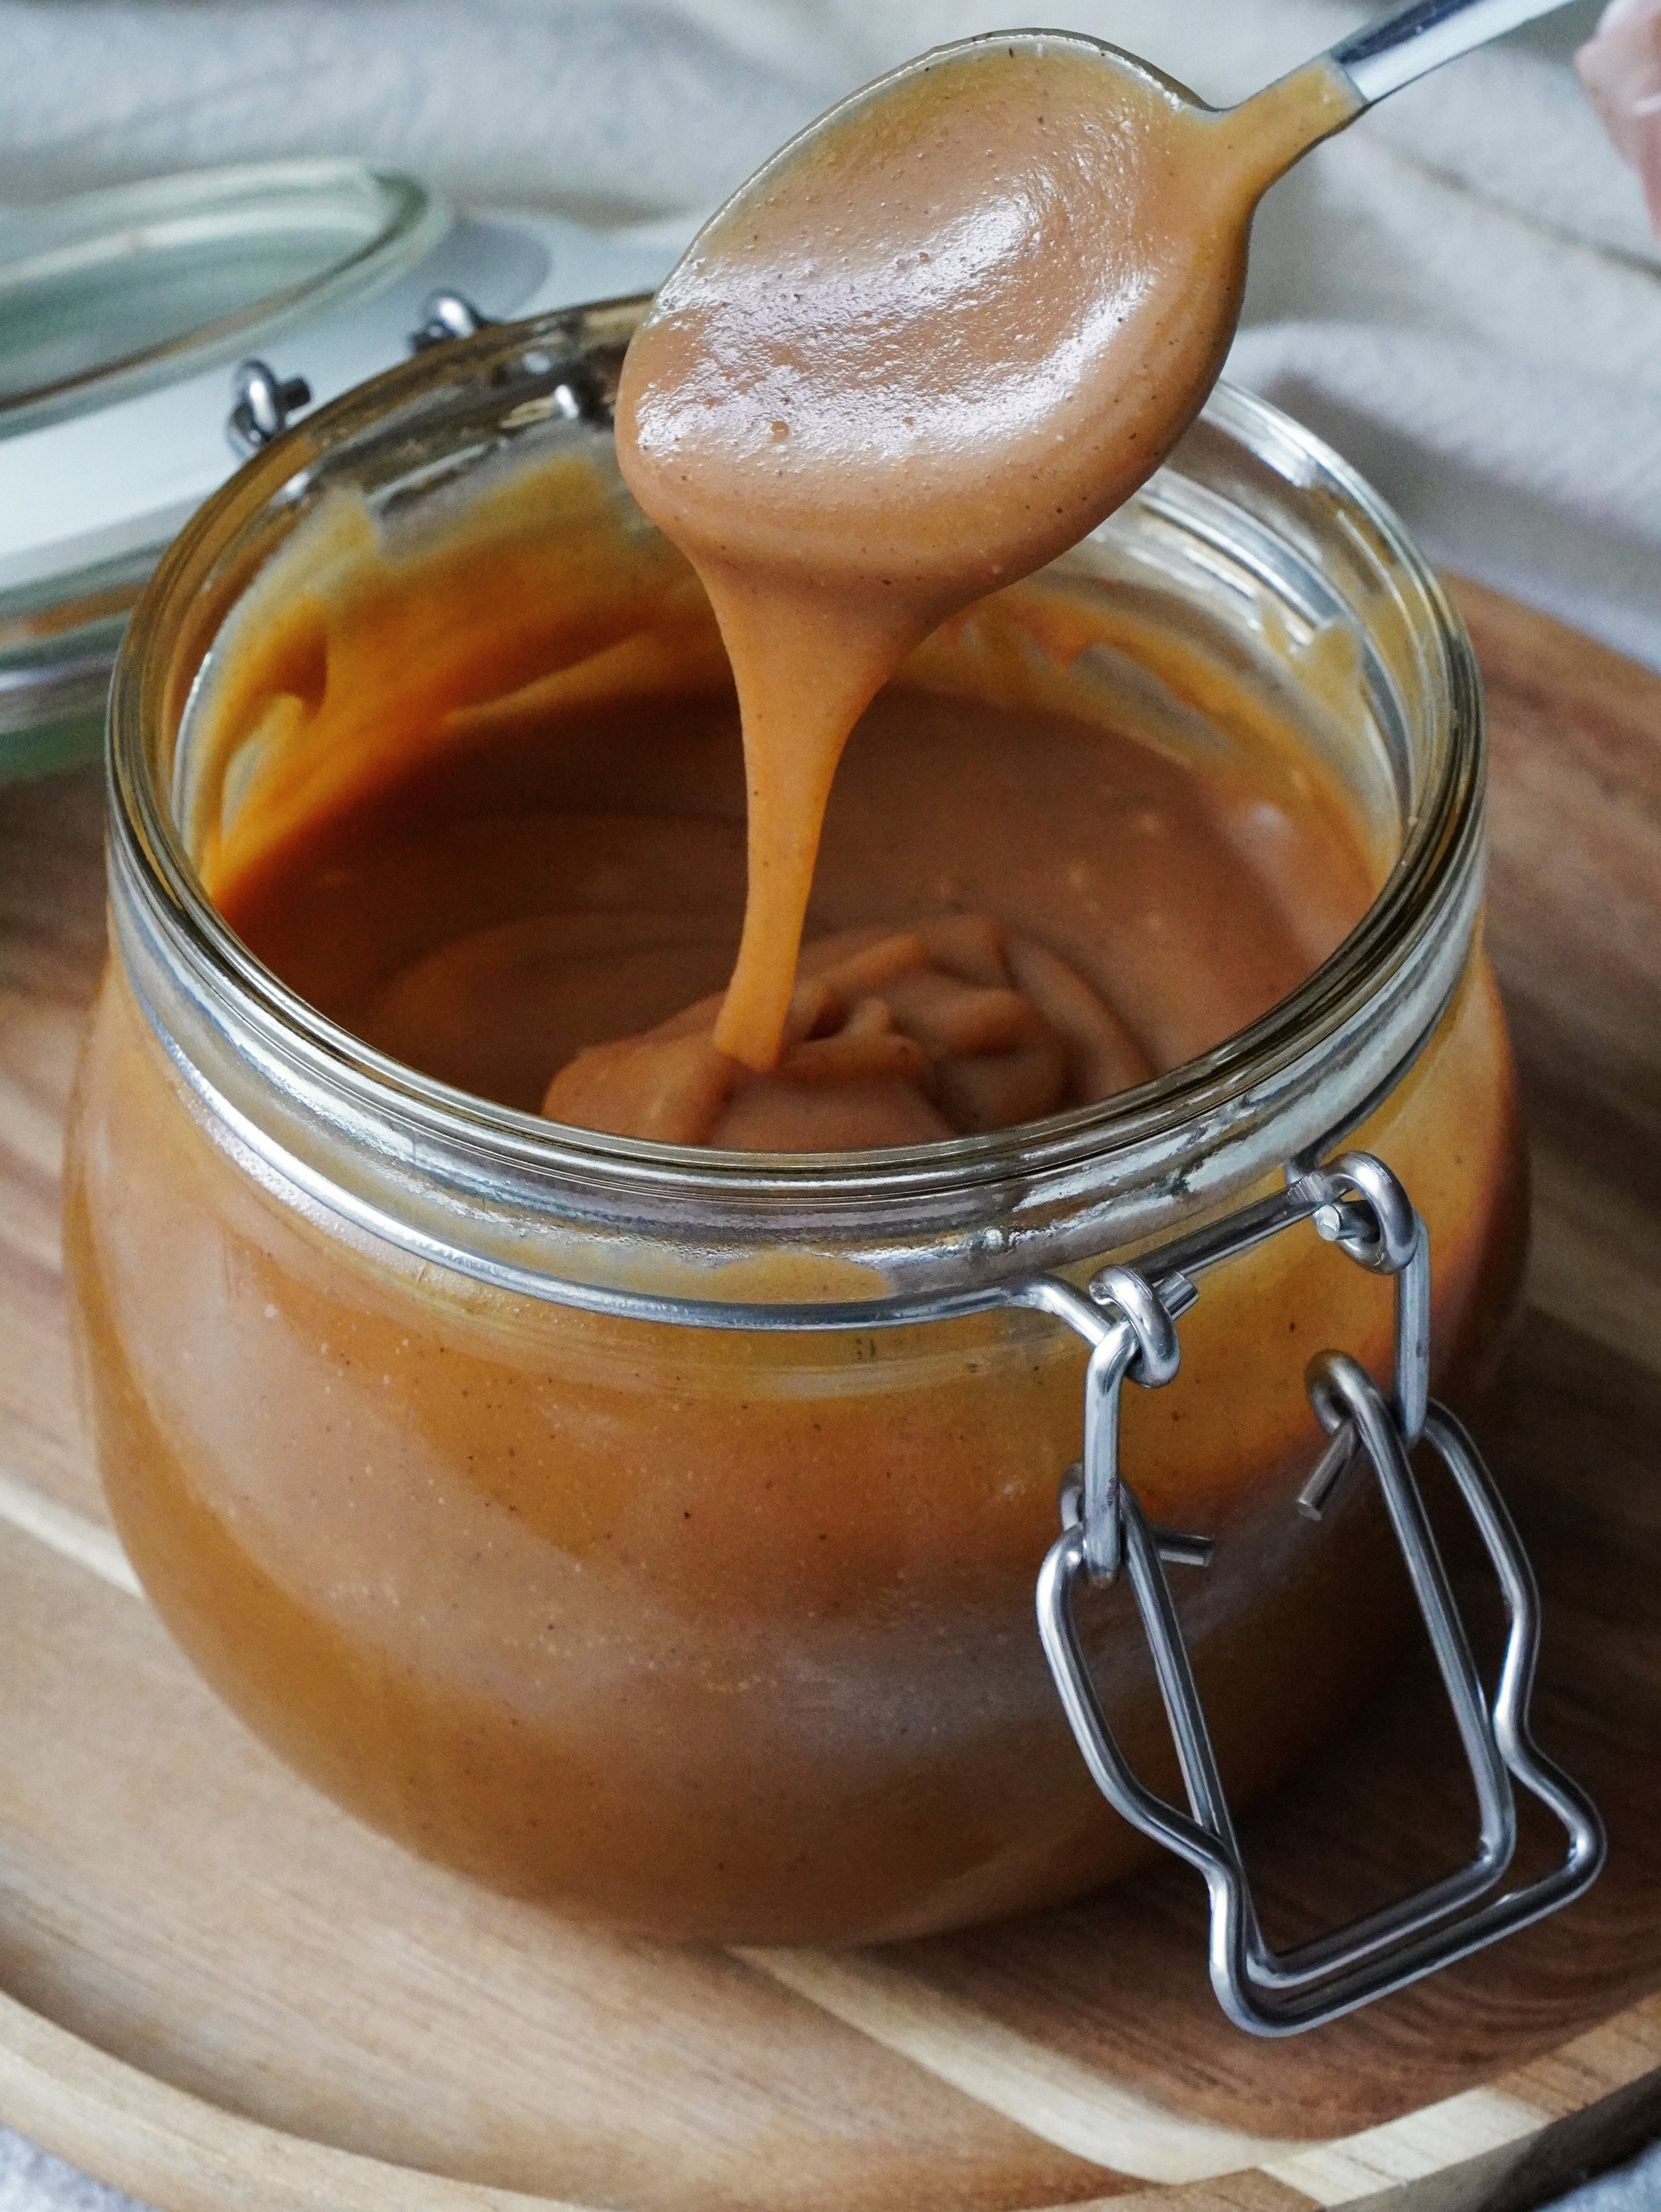
Salted Caramel Sauce
Published: March 13, 2026
If you love homemade Caramel, you’ll love this Vanilla Bean Salted Caramel Sauce. It’s smooth and rich; flavored with real vanilla bean and a touch of salt. A simple sauce that’s perfect for drizzling over cakes, ice cream or your favorite desserts.
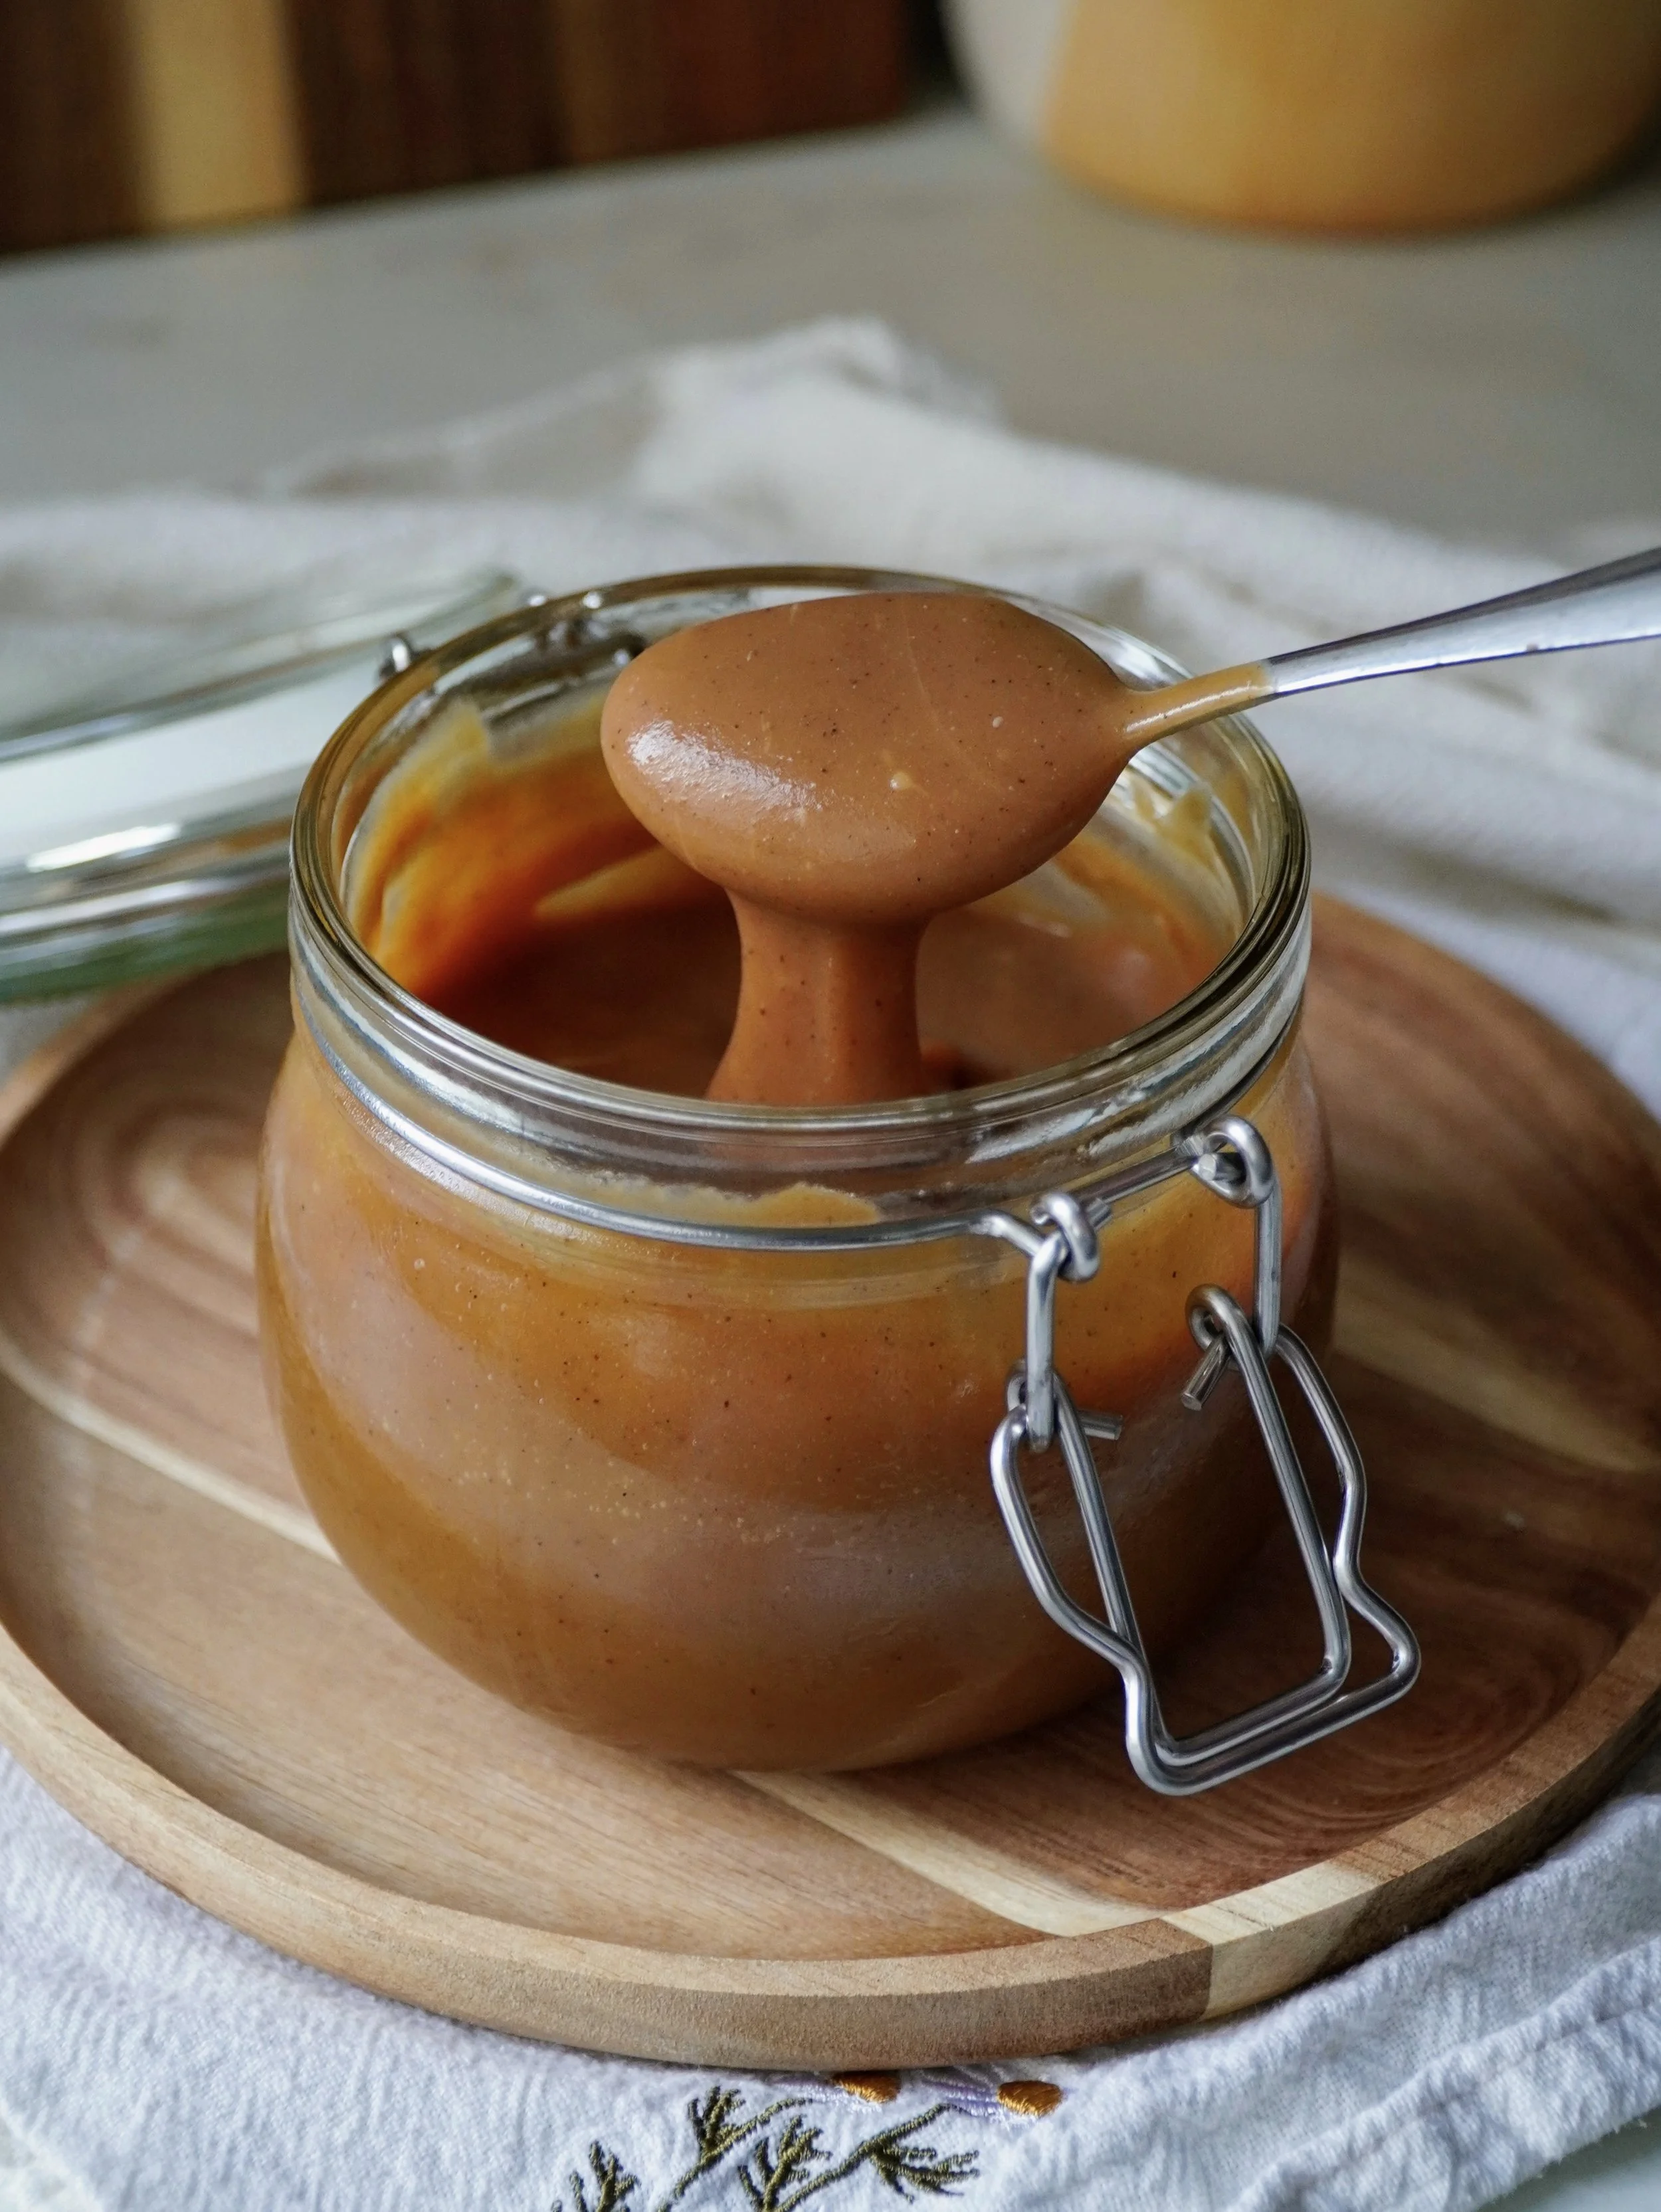
This Vanilla Bean Salted Caramel Sauce is one of my favorite recipes to keep on hand. The texture is just right, not too thick and not too runny, which makes it perfect for drizzling, filling cupcakes or spooning over desserts. Once you make it, you’ll probably find yourself adding it to everything.
I also think this is a great recipe for beginners. It’s a simple base recipe that I’ve tested many times until the texture and flavor felt just right. Once you’re comfortable making it, you can easily customize it with different add-ins or flavors depending on what you’re making.
If you’re new to making Caramel, don’t worry if it doesn’t turn out perfect the first time. I failed many times before I finally got comfortable with it. Once you understand the process, it actually becomes very easy and straightforward. Make sure to read the tips and tricks below before starting! :)
Wet Method vs Dry Method: What’s the difference?
The dry method of making caramel involves heating sugar in a saucepan without adding any water to it. As the sugar heats up, it melts and caramelizes. This method can be faster but it requires careful attention since the sugar can go from caramelized to burnt very quickly.
In contrast, the wet method starts by mixing sugar with water before heating. The water helps the sugar dissolve more evenly and slows down the caramelization process. As the mixture heats, the water gradually evaporates and the sugar begins to caramelize. This method takes longer but gives more control over the caramelization, reducing the risk of burning the sugar.
WHICH METHOD IS EASIER?
The wet method is generally easier for beginners because it offers more control. The added water dissolves the sugar and slows down the caramelization process, giving you more time to monitor the sugar as it cooks. This reduces the risk of burning the sugar, which can happen quickly with the dry method, where the sugar caramelizes faster and requires more precise timing. The wet method also helps the sugar melt more evenly.
Important tips and tricks 📌
⟶ Room temperature butter - It's important for the butter to be at room temperature when making caramel sauce because cold butter can cause the caramel to harden, which can lead to a lumpy texture. Room temperature butter melts more easily, ensuring a smooth and even consistency in the sauce.
⟶ Warm cream - If cold cream is added to hot caramel, the sudden temperature difference can cause the caramel to harden and form clumps, making it difficult to achieve a smooth sauce. Also cold cream can lead to violent bubbling and splattering, which is dangerous due to the high temperature of the caramel. Warm cream helps the ingredients blend more smoothly and safely, ensuring an even, creamy texture. For this, I recommend microwaving the cream for about 30 seconds before using.
⟶ Incorporating the cream slowly - By adding the cream slowly, you can manage the bubbling and give the caramel time to adjust to the cream without creating any lumps. This helps maintain a consistent, creamy texture in the final sauce.
⟶ Fixing lumpy caramel - If your caramel looks lumpy after adding the cream and butter, don’t worry. Just place the pan back on low heat and stir gently. The lumps will melt as it warms, leaving you with a smooth, silky caramel. Keep the heat low to avoid burning. You can do this step right after adding the cream or right after adding the butter, whichever part looks lumpy.
⟶ Do not stir - Once the sugar starts melting, it’s best to let it sit and avoid stirring.
⟶ Keep an eye on the color - The deeper the color, the more bitter. Make sure to take it off the heat once it turns into a nice amber color.
⟶ Be patient - As I said before, it took me many fails until I figured out how to make caramel sauce. So if you fail, just keep practicing and don’t give up.
Frequently asked questions
1. How should I store the Caramel Cauce?
Store in an airtight jar in the refrigerator. It will keep well for about 1-2 weeks.
2. Why did my caramel turn grainy or crystallize?
Crystallization usually happens when sugar crystals form during cooking. This can happen if the sugar is stirred too much or if sugar sticks to the sides of the pan. Using the wet method and avoiding unnecessary stirring helps prevent this.
3. Why did my caramel burn?
Caramel can burn quickly once it starts turning amber. Make sure to watch it closely and remove it from the heat once it reaches a deep golden color.
4. My caramel seized when I added the cream. What happened?
This is normal and happens because the caramel is very hot. When cold cream is added, the caramel may bubble and temporarily harden. Make sure to use warm cream and room temperature butter in order to avoid hardening!
5. Can I make this caramel sauce without vanilla bean?
Yes, you can substitute vanilla bean with vanilla extract or vanilla bean paste.
6. Can I make this caramel sauce less salty?
Since the salt is added at the end, you can easily adjust it to your taste or leave it out entirely if you prefer a classic Caramel Sauce.
7. Why is my Caramel Sauce too thick?
Caramel naturally thickens as it cools, especially in the refrigerator. If you’re looking for thin, pourable Caramel Sauce, simply warm it slightly in the microwave before using.
Ingredients you will need for this recipe
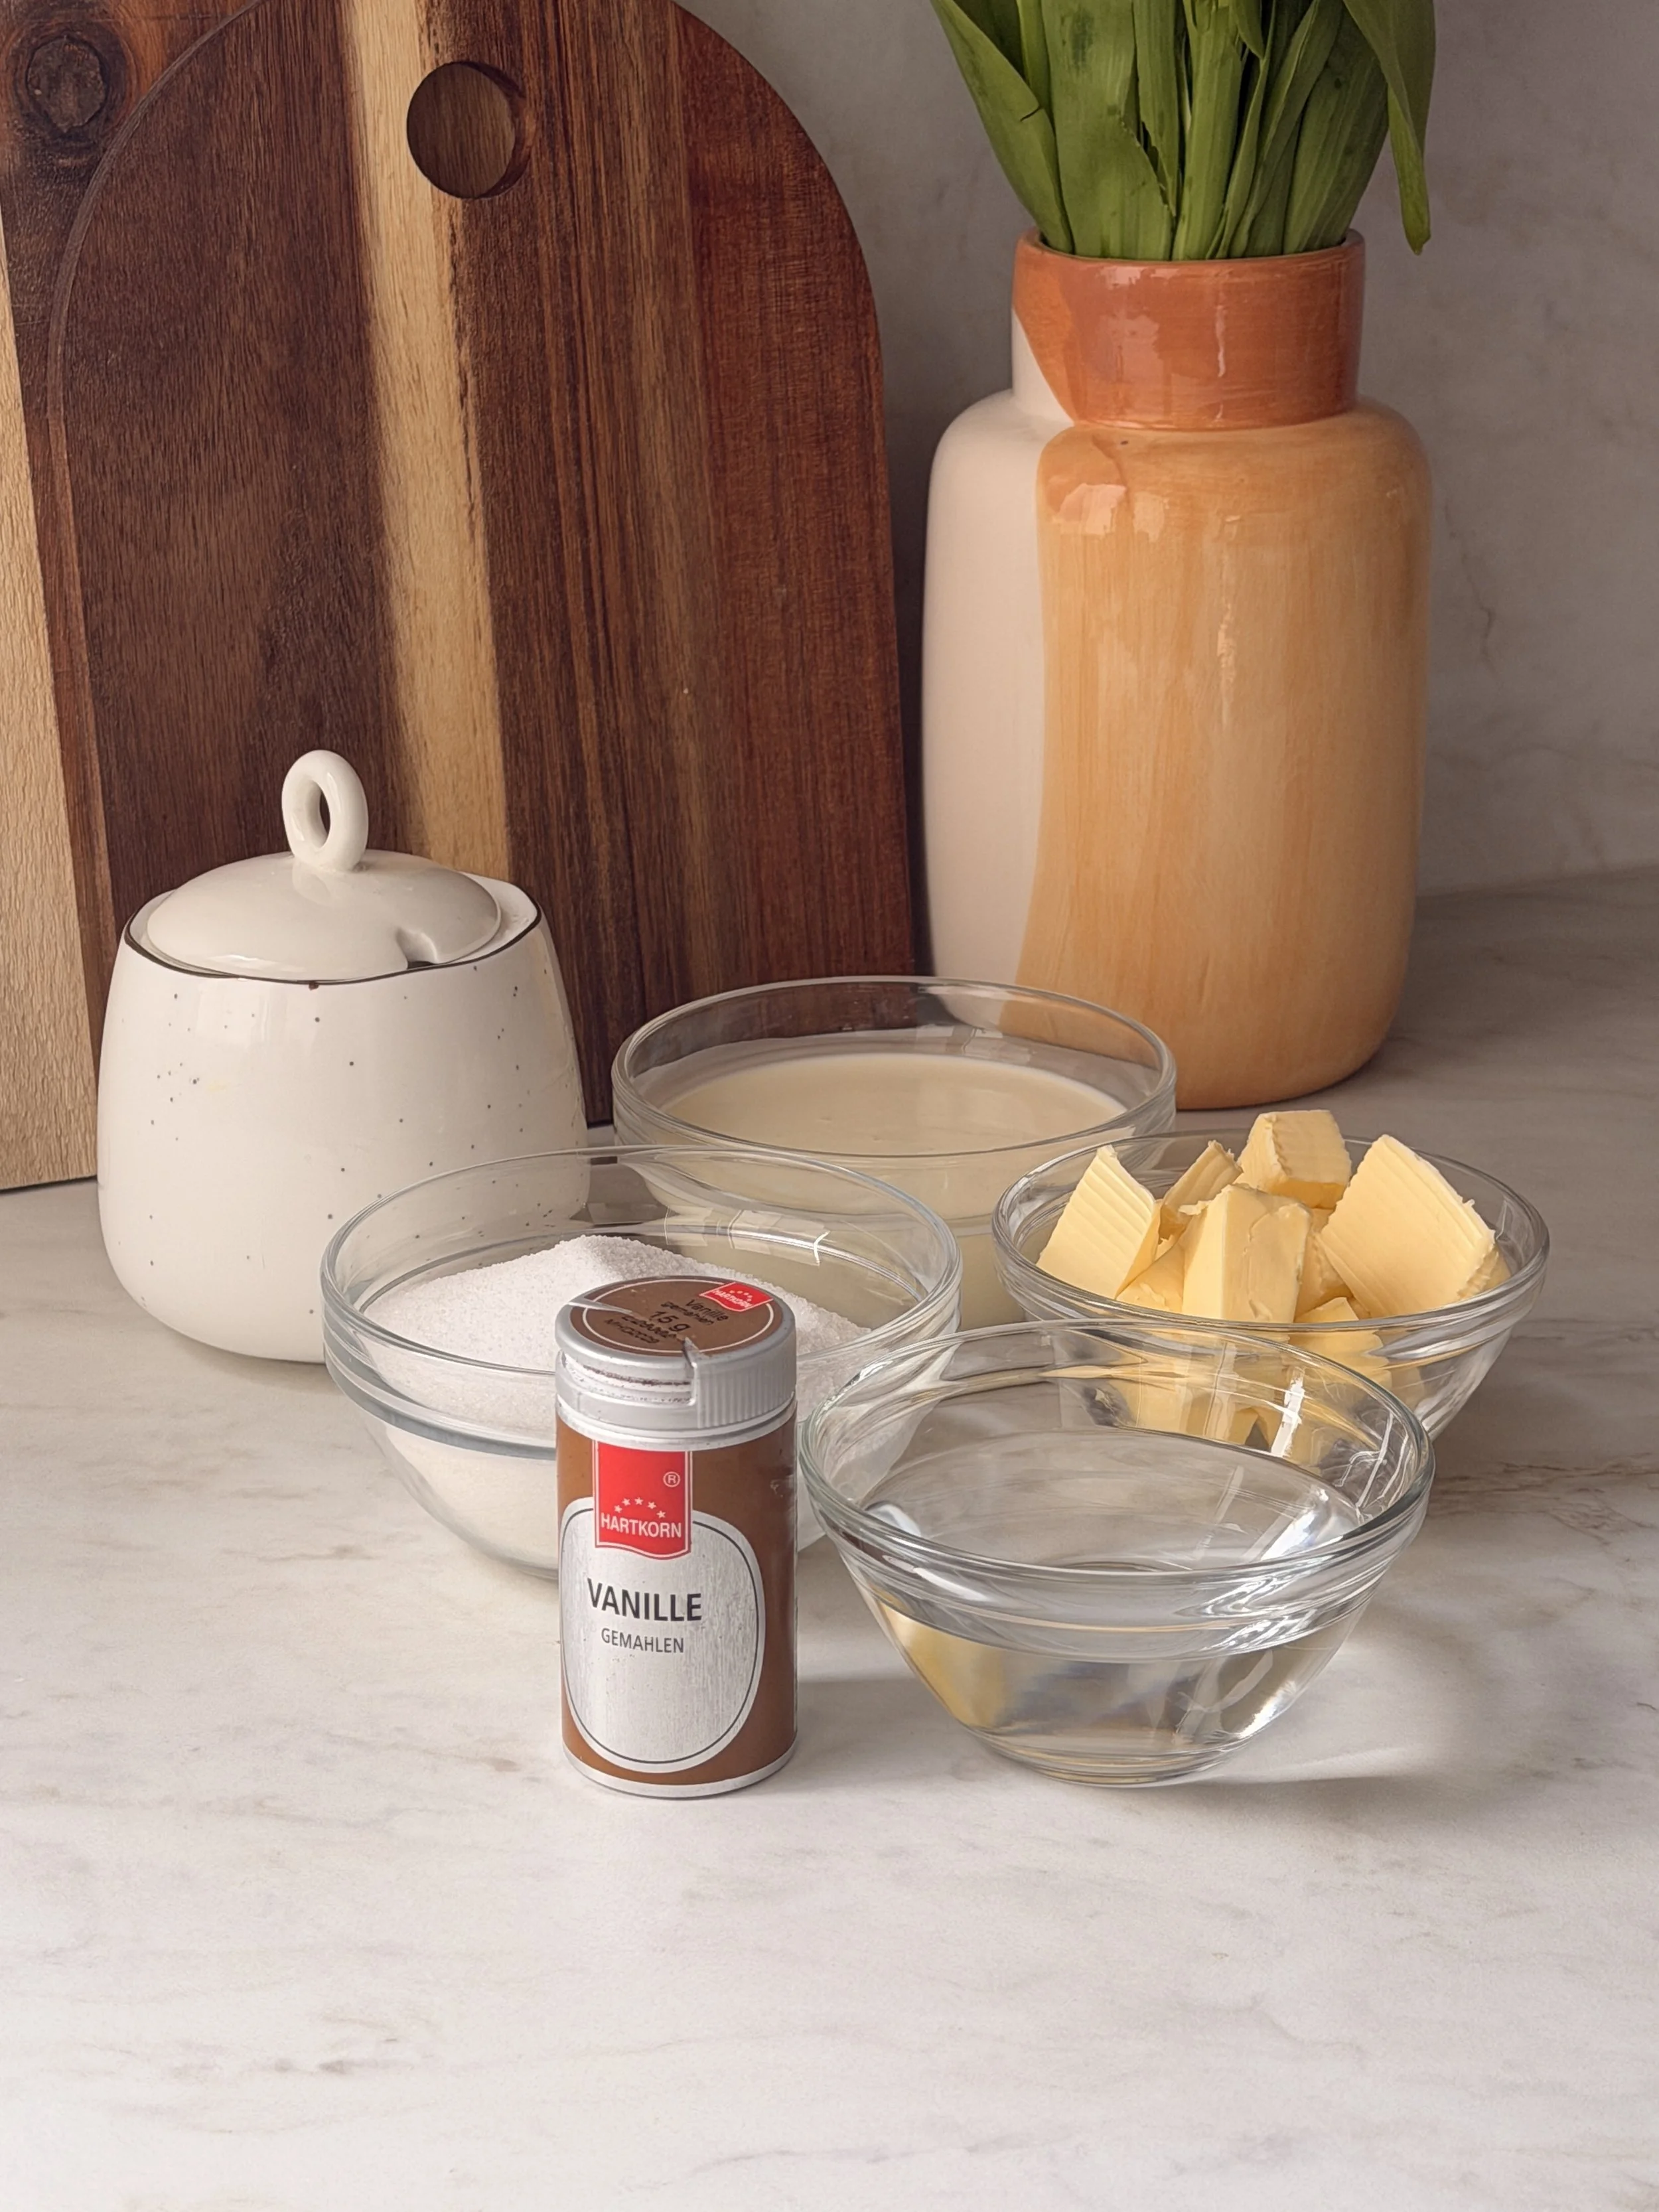
Granulated sugar: This is the base of your caramel.
Water: Helps the sugar dissolve evenly and prevents it from crystallizing too quickly.
Butter: Adds creaminess to the caramel.
Heavy cream: Makes the caramel silky. Warming it slightly prevents shocking the hot sugar and helps it mix smoothly.
Vanilla powder: Adds a subtle vanilla flavor.
Salt: Balances the sweetness and enhances the Caramel’s flavor.
Step by step instructions with photos
1. In a small saucepan combine the sugar and the water.
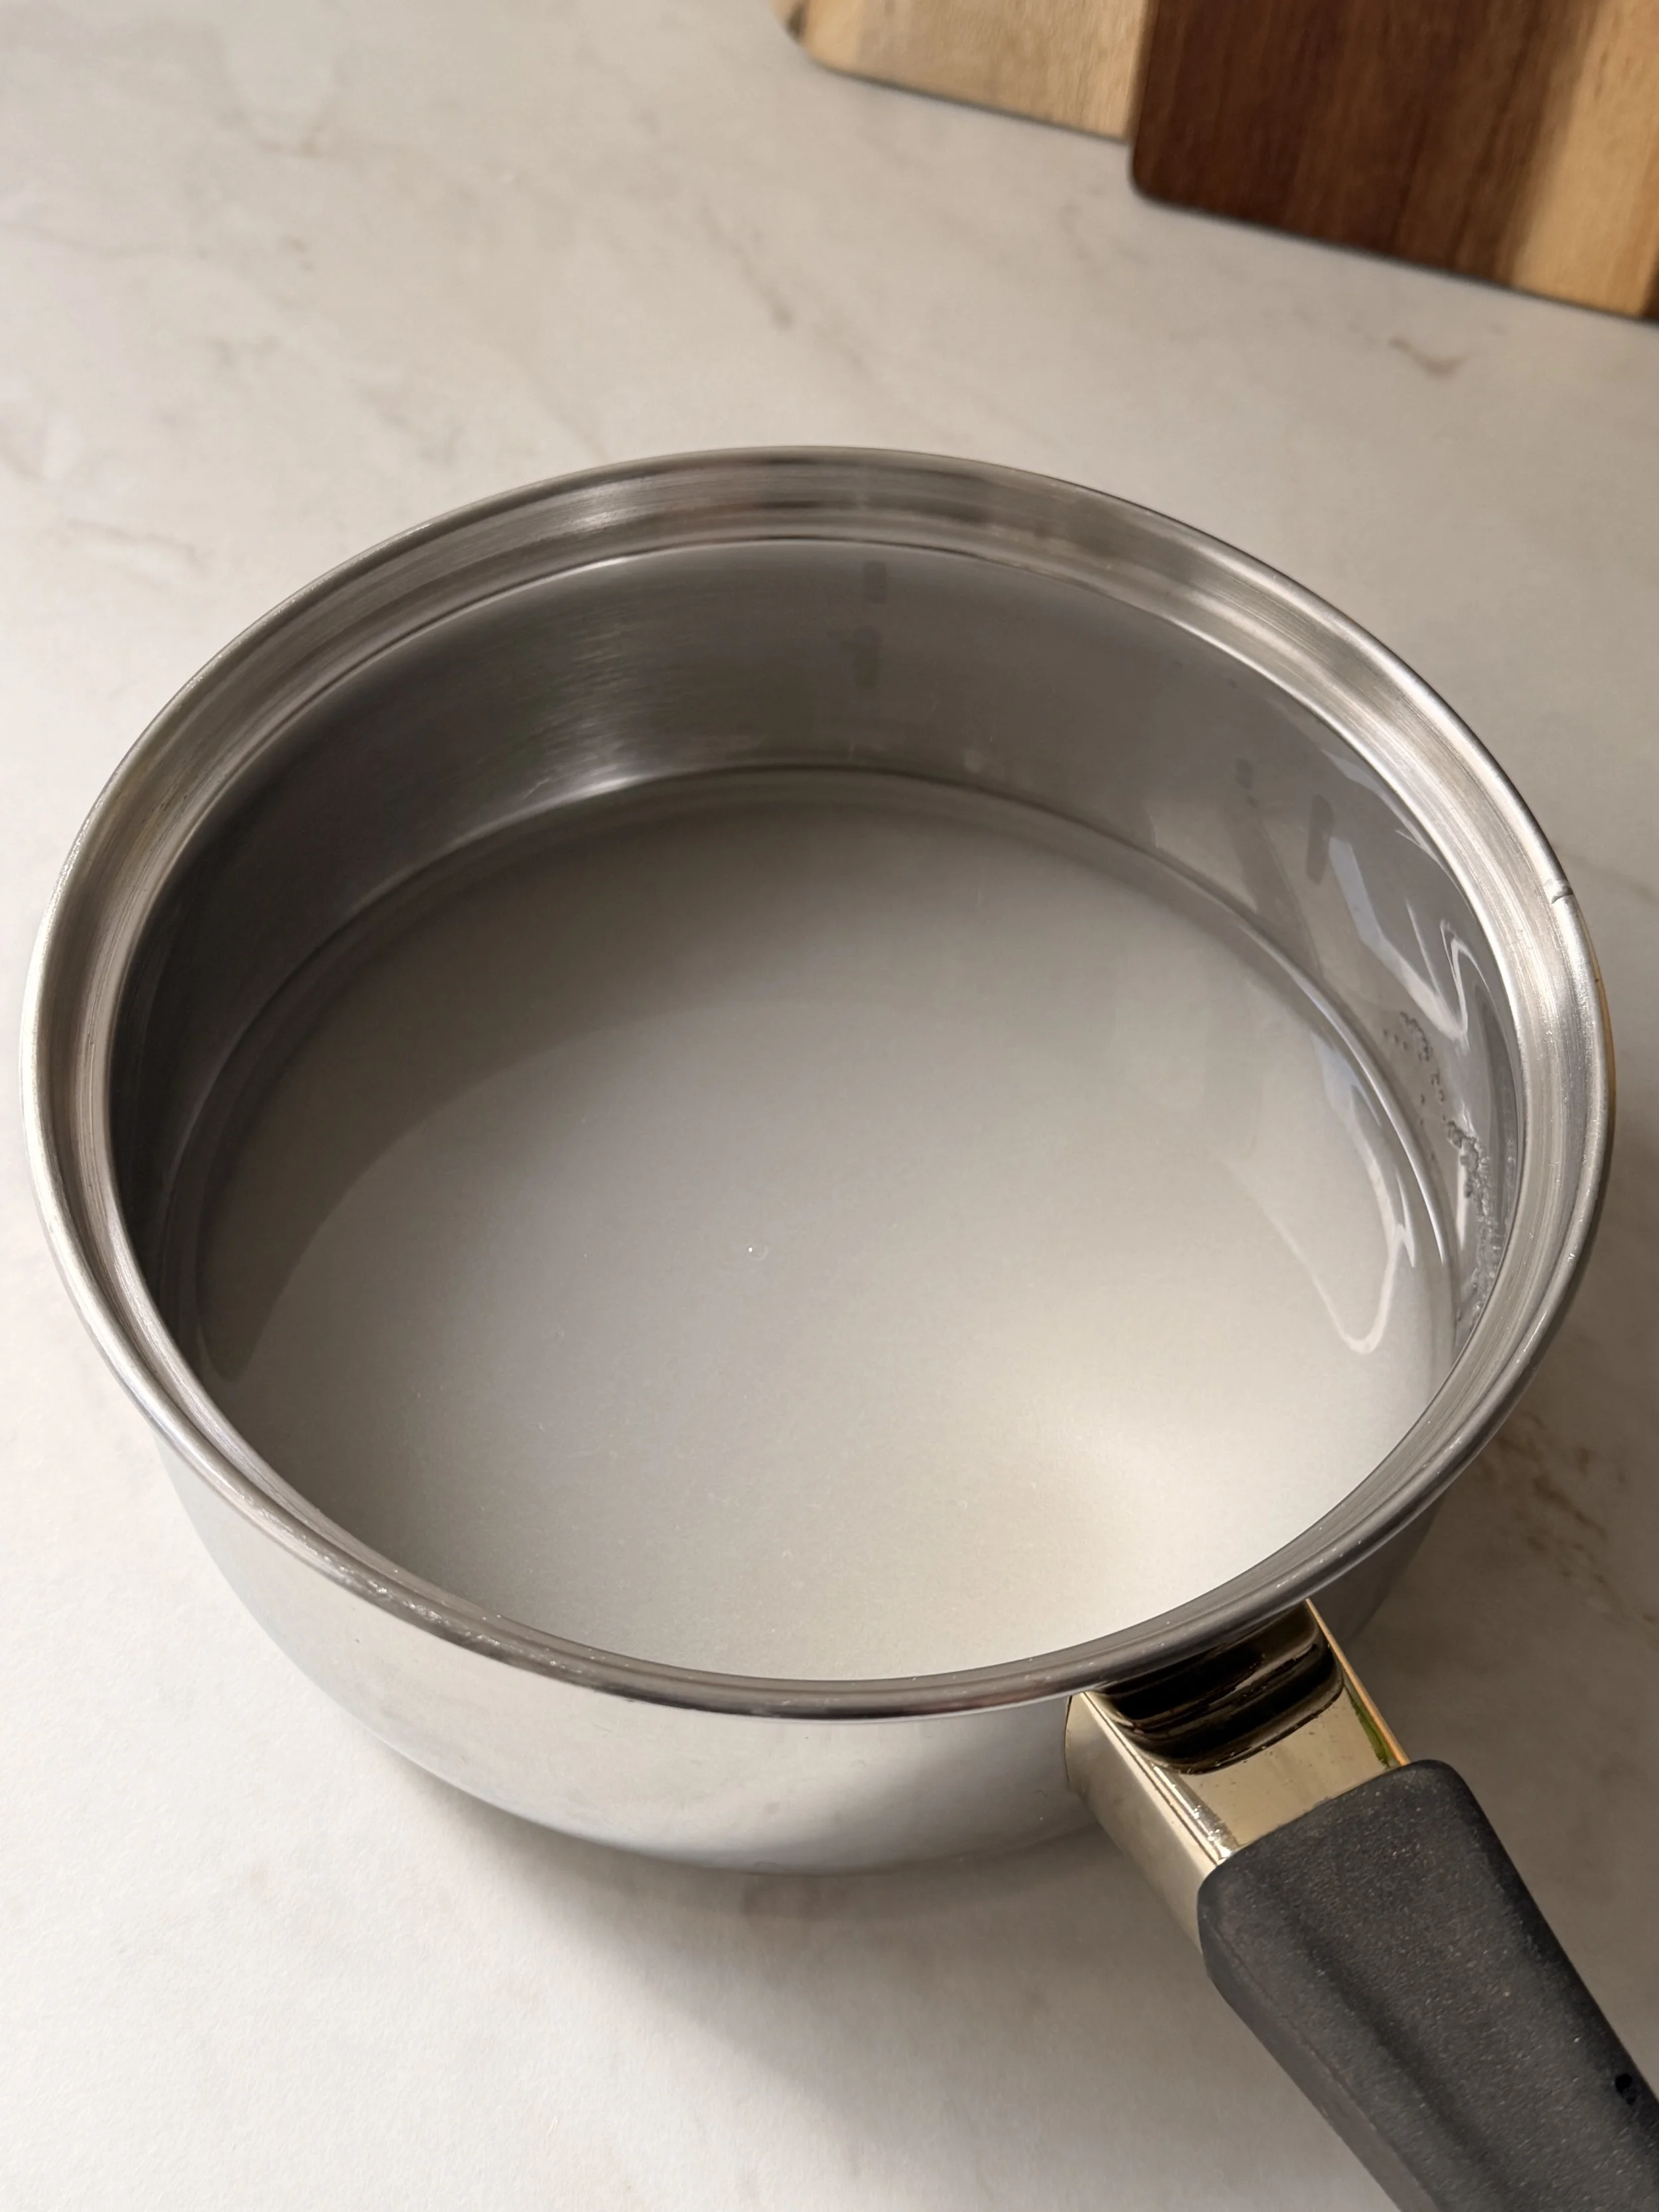
2. Over medium-high heat, let the sugar fully dissolve without stirring.
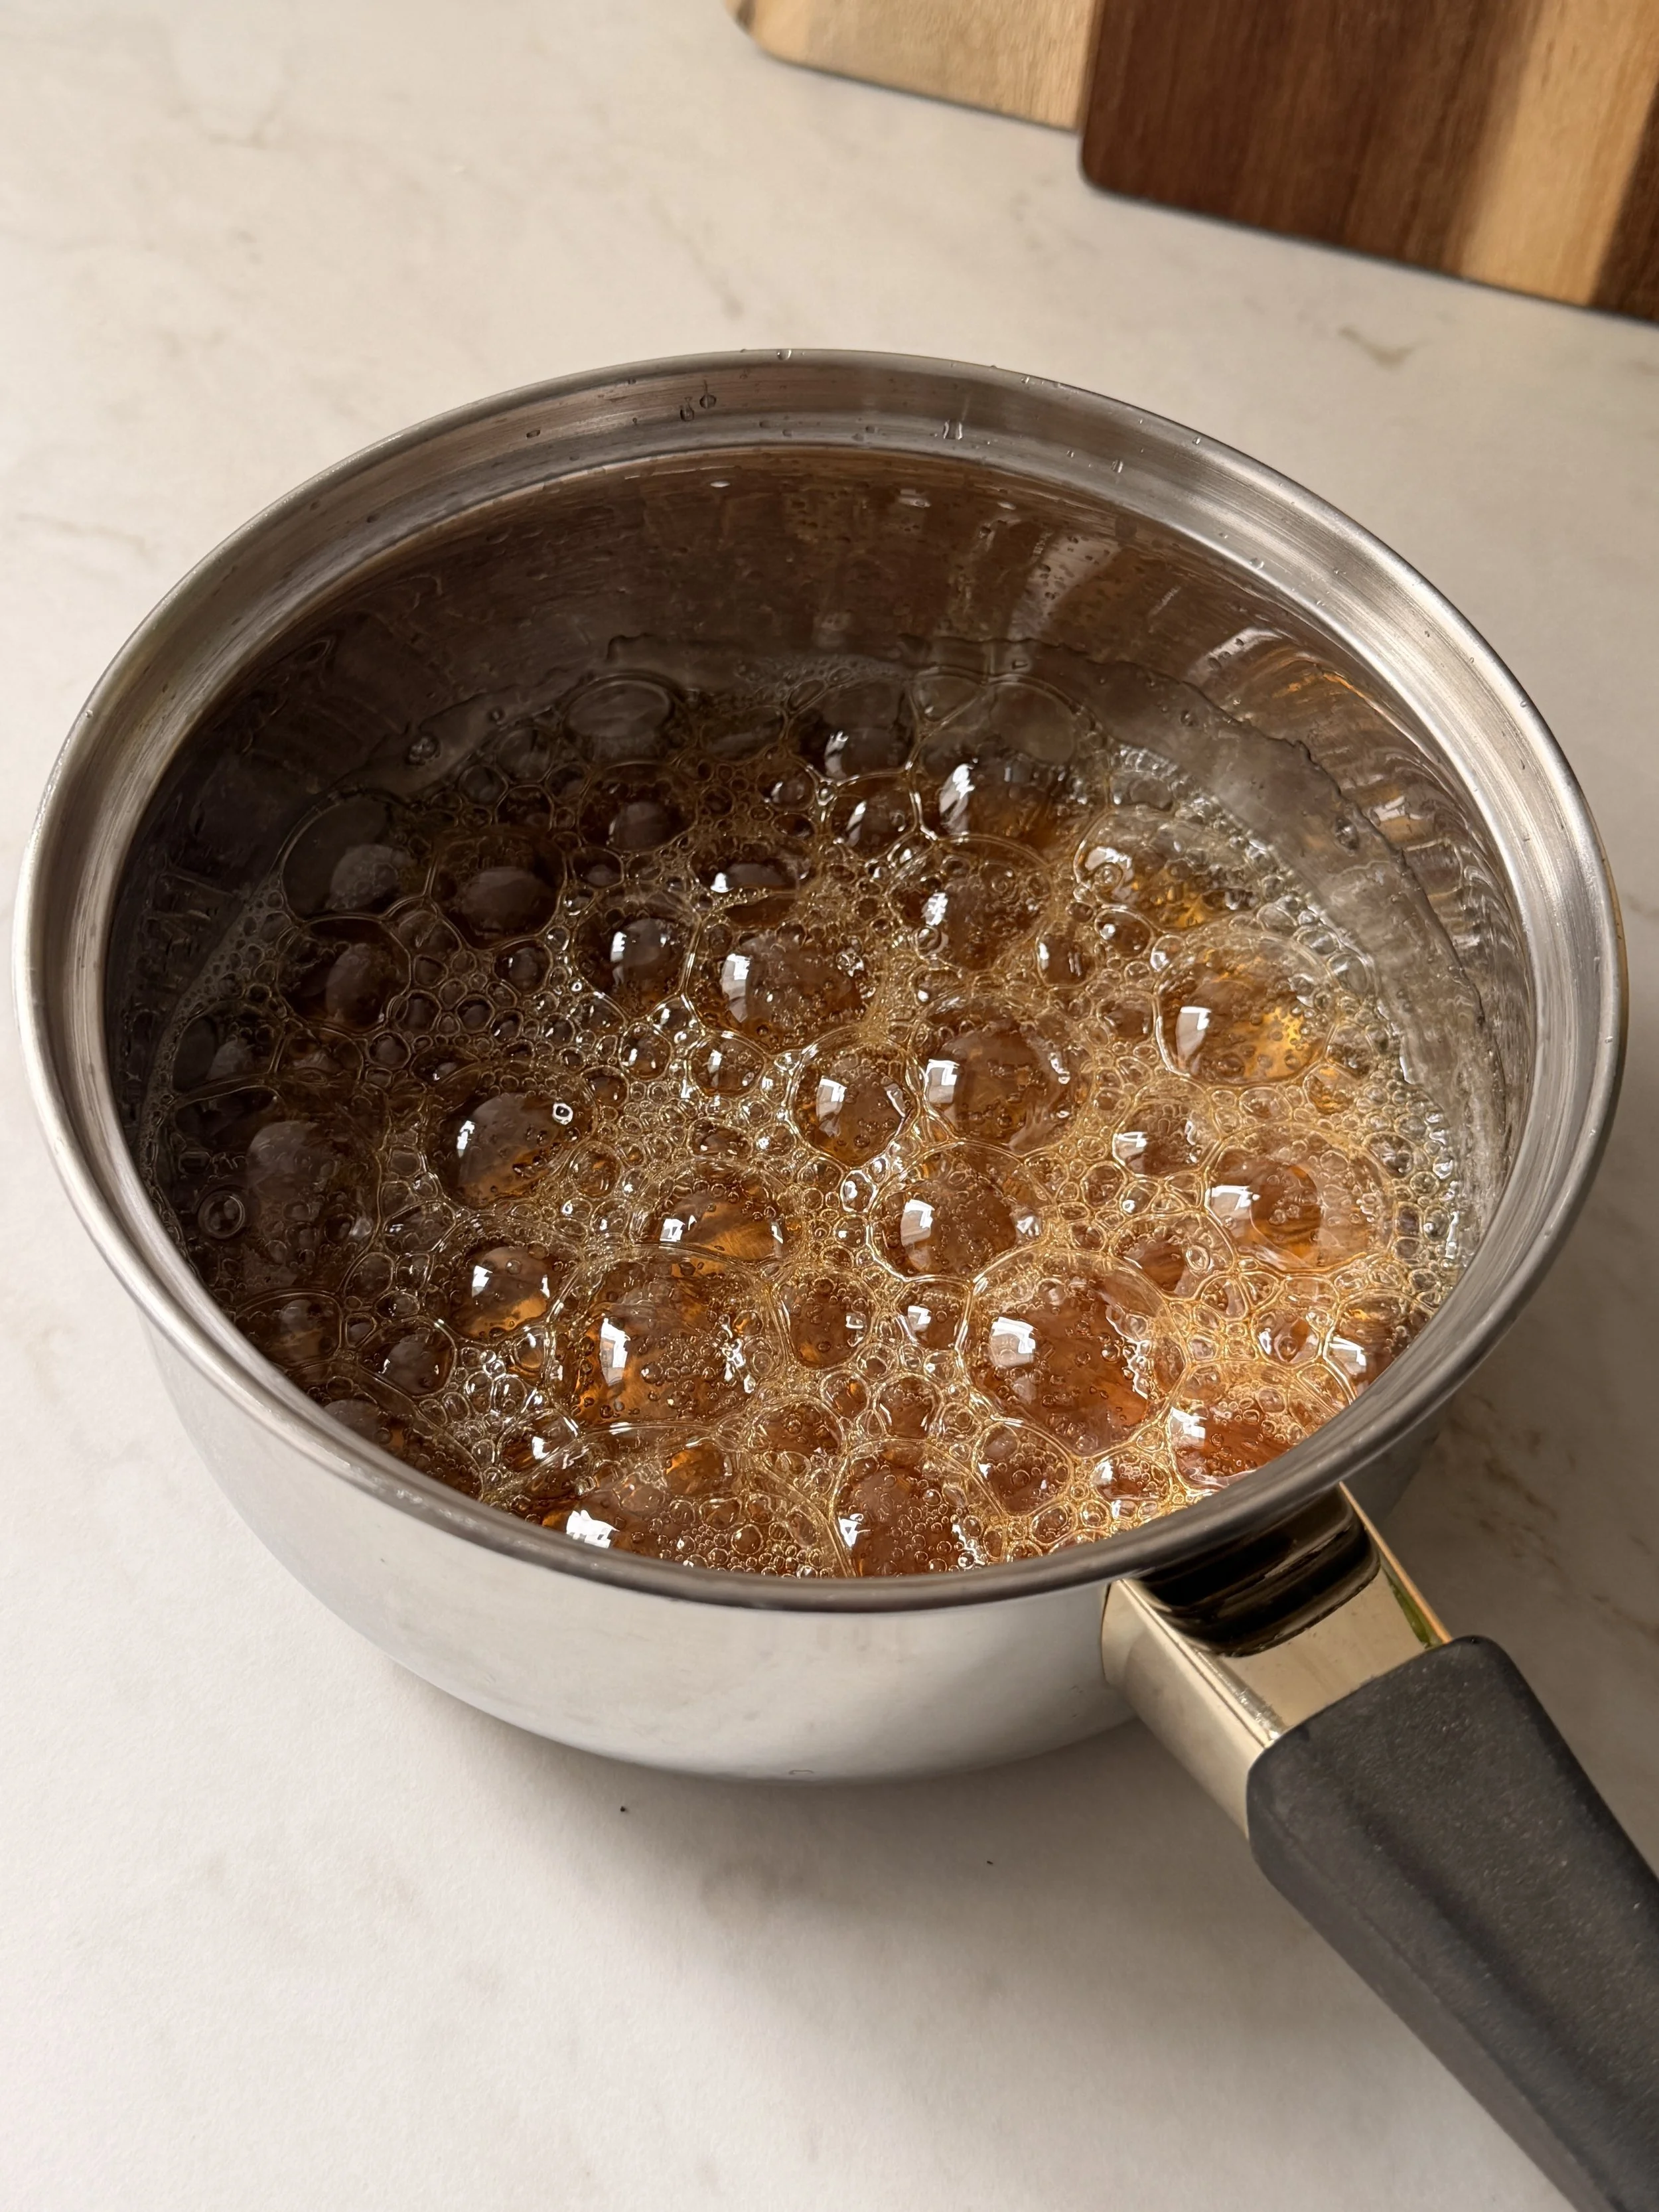
3. Once the sugar has dissolved, let the mixture simmer without stirring, until it turns into an nice dark (but not too dark) amber color.
4. As soon as the caramel reaches a nice amber color, remove it from the heat.
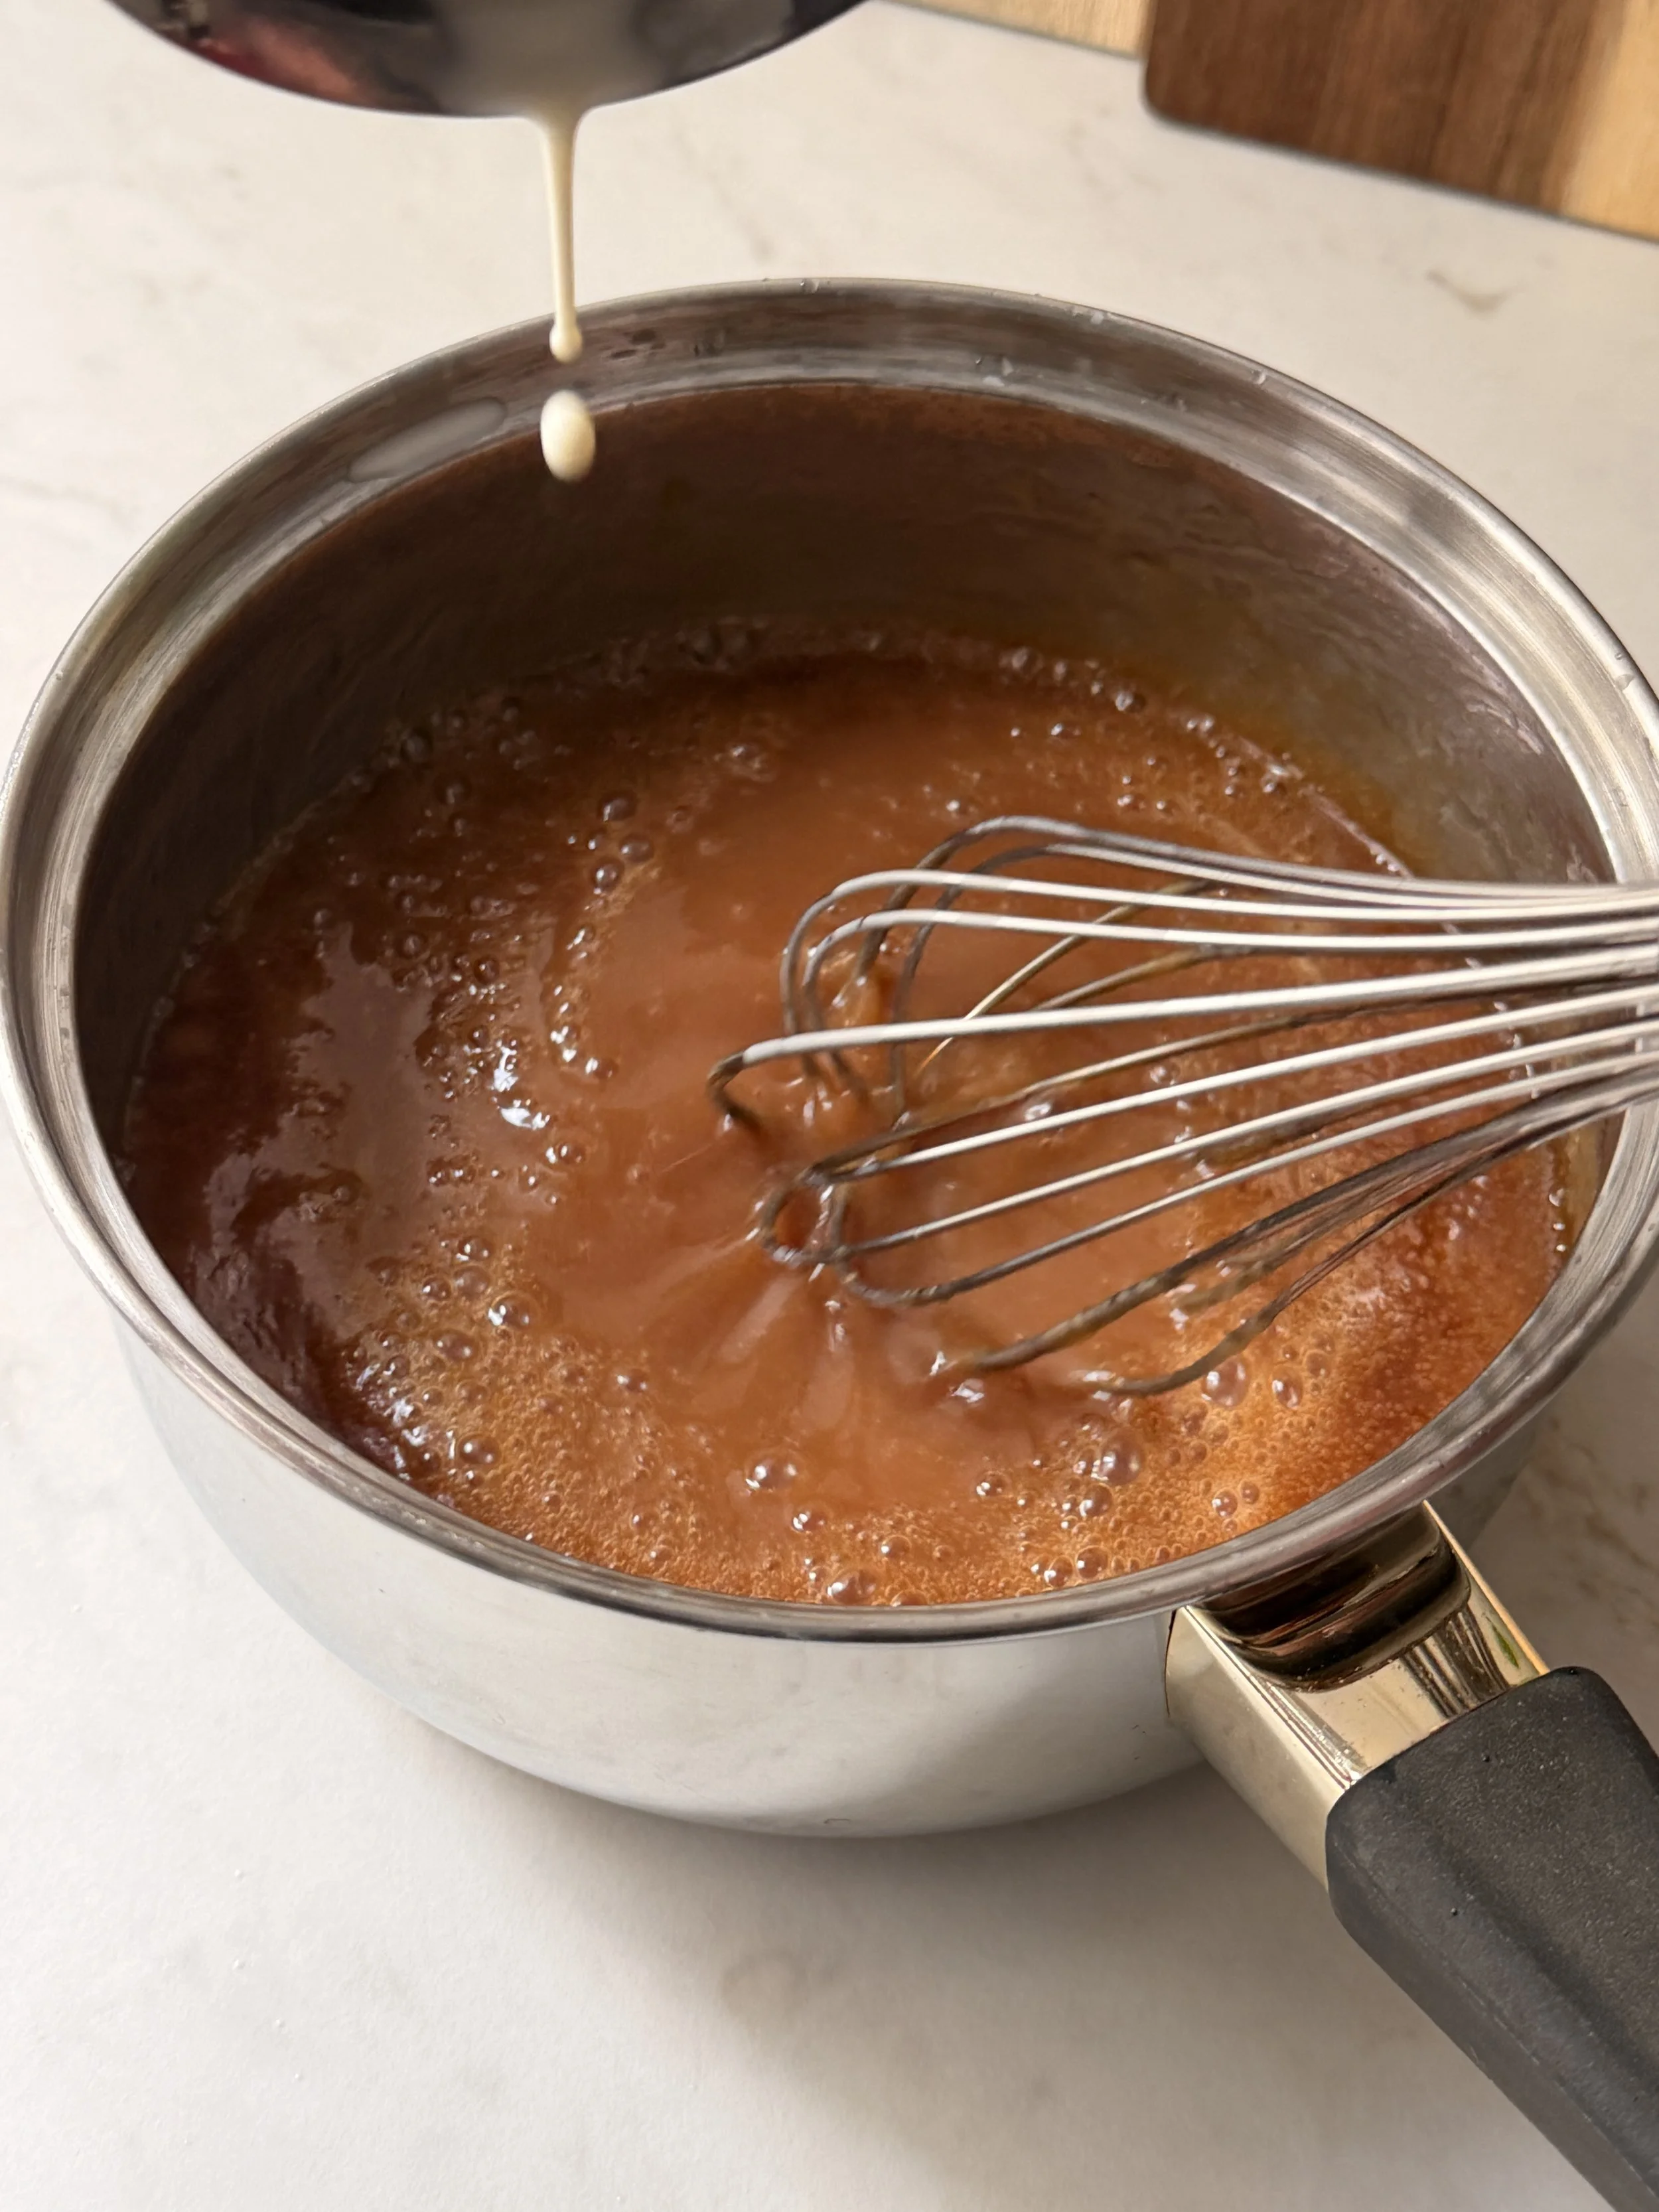
5. Gradually whisk in the warmed cream, a little at a time, to prevent the caramel from seizing or becoming lumpy. If the caramel hardens, return it to low heat on the stove and stir constantly until it melts and comes to a gentle boil.
6. Once the cream is fully incorporated, whisk in the butter. If the butter doesn’t mix smoothly, gently reheat the caramel on the stove while stirring until it becomes silky.
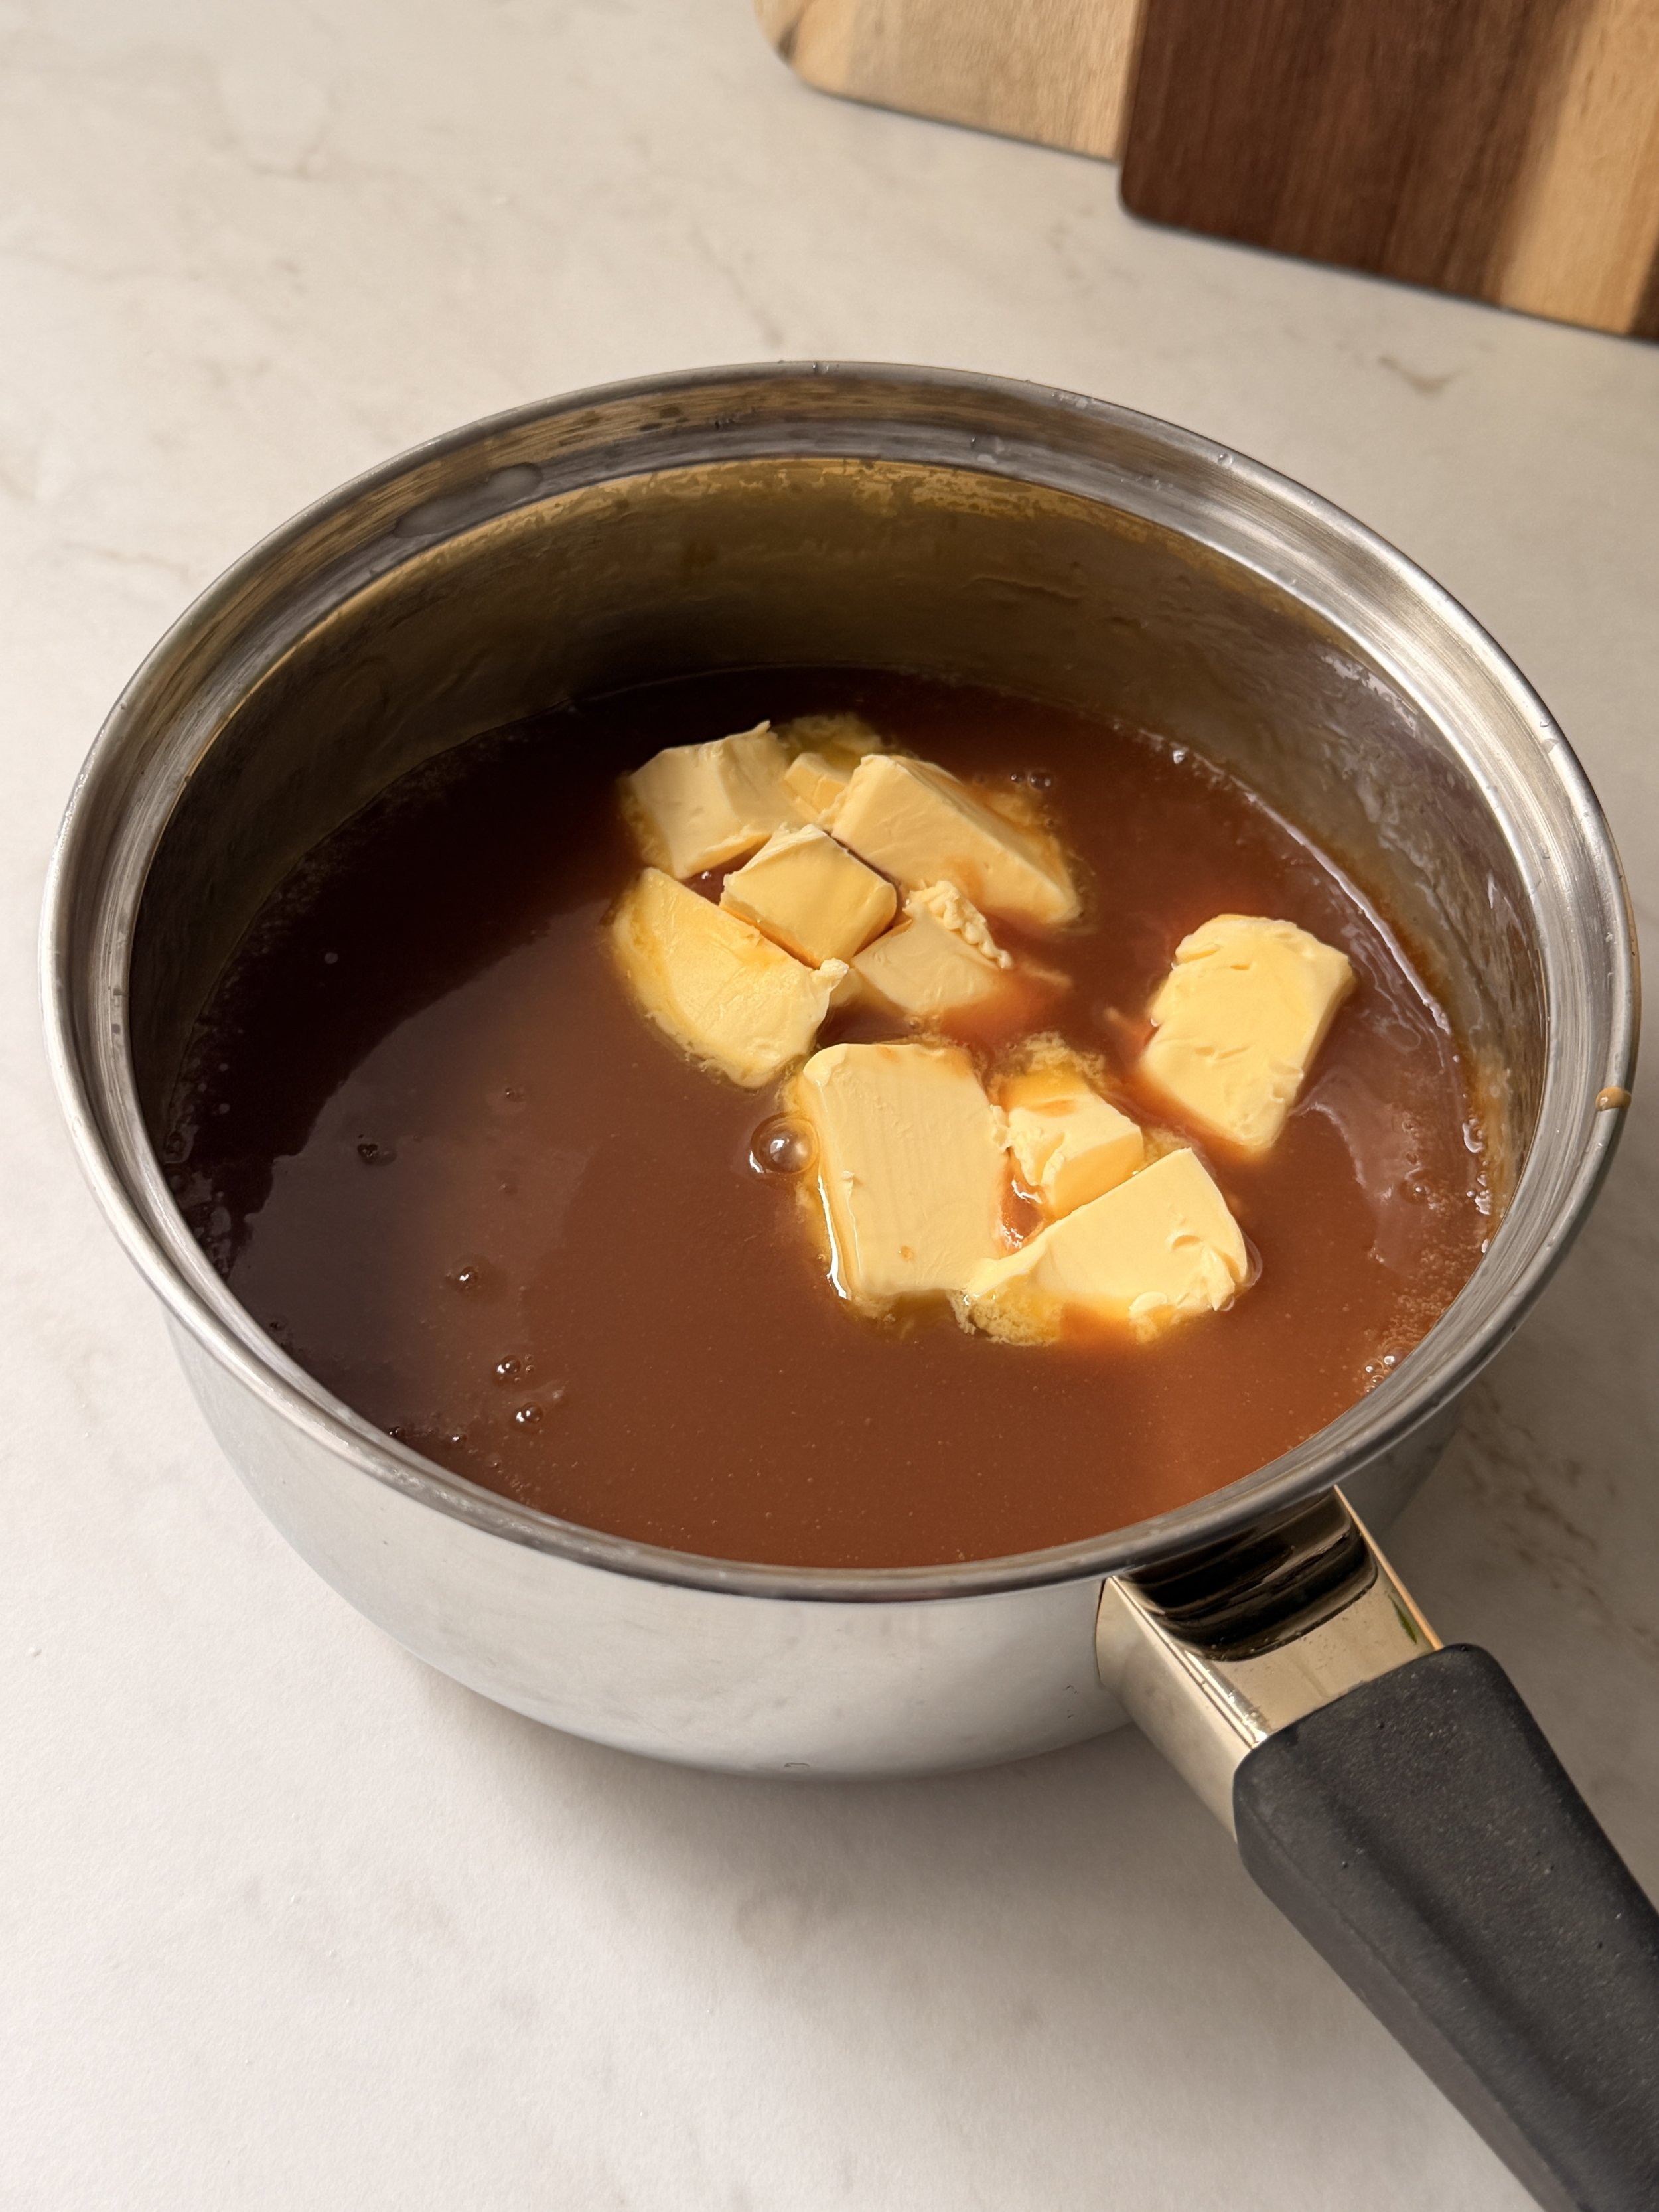
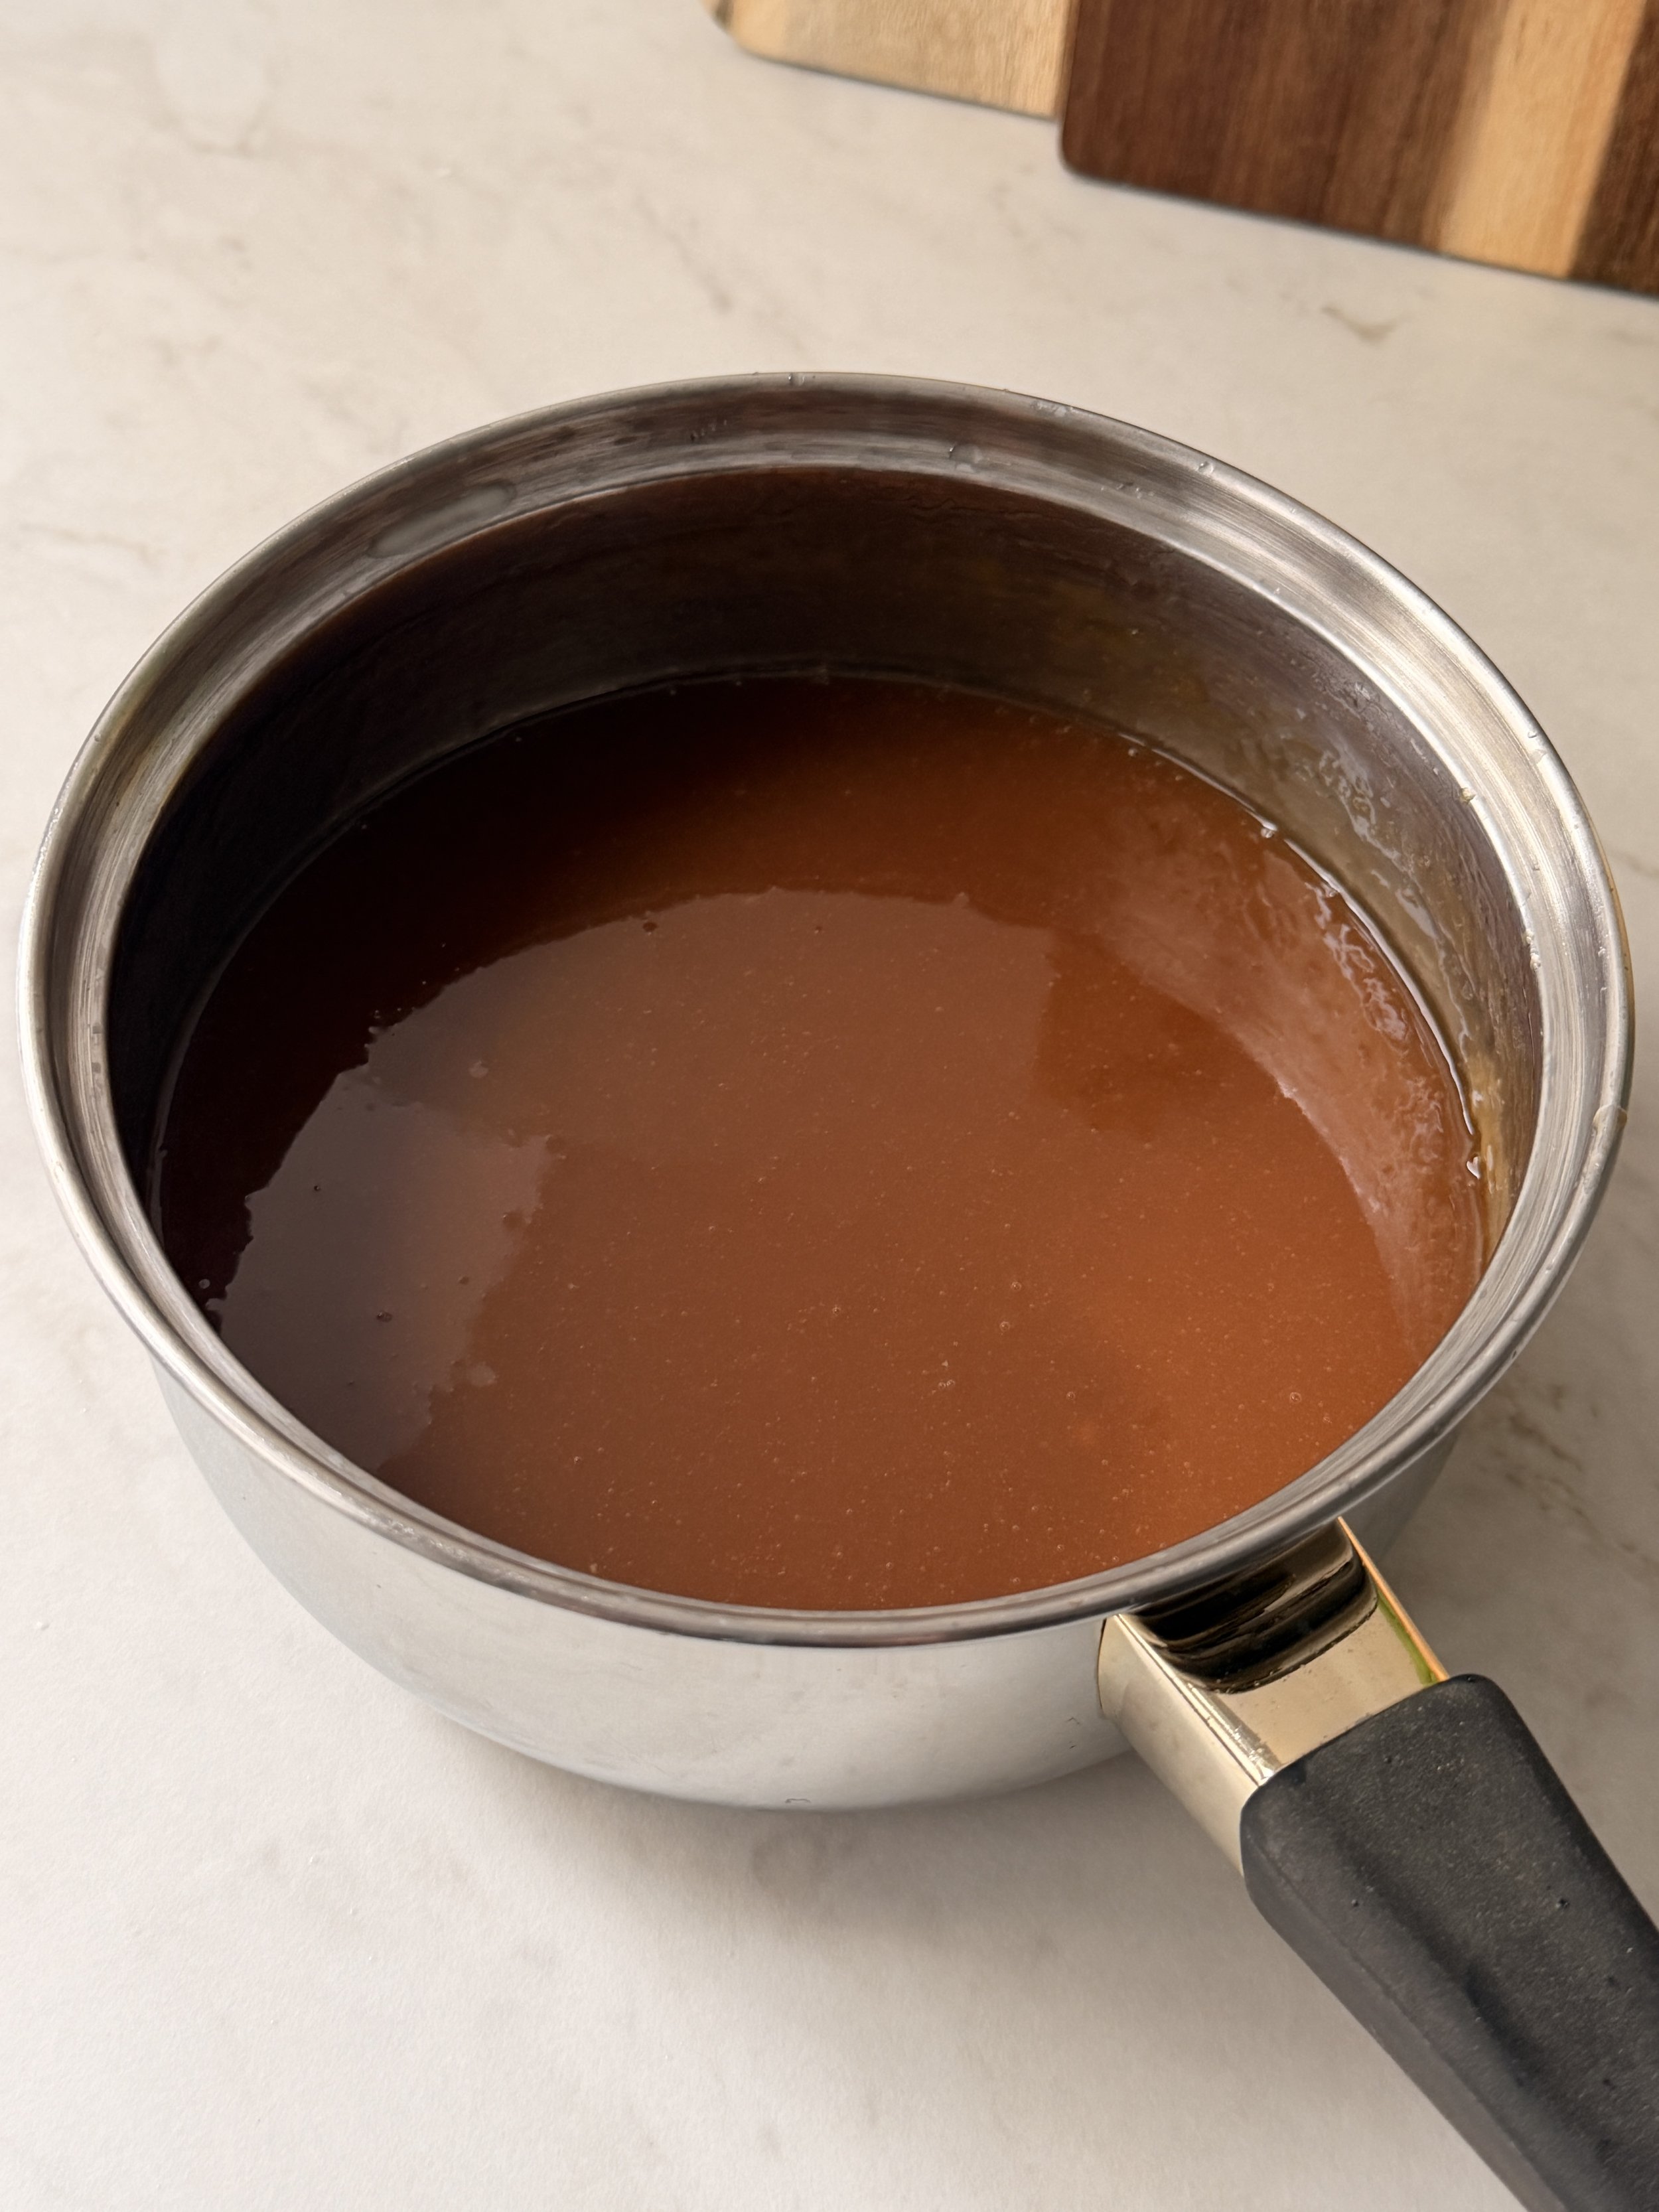
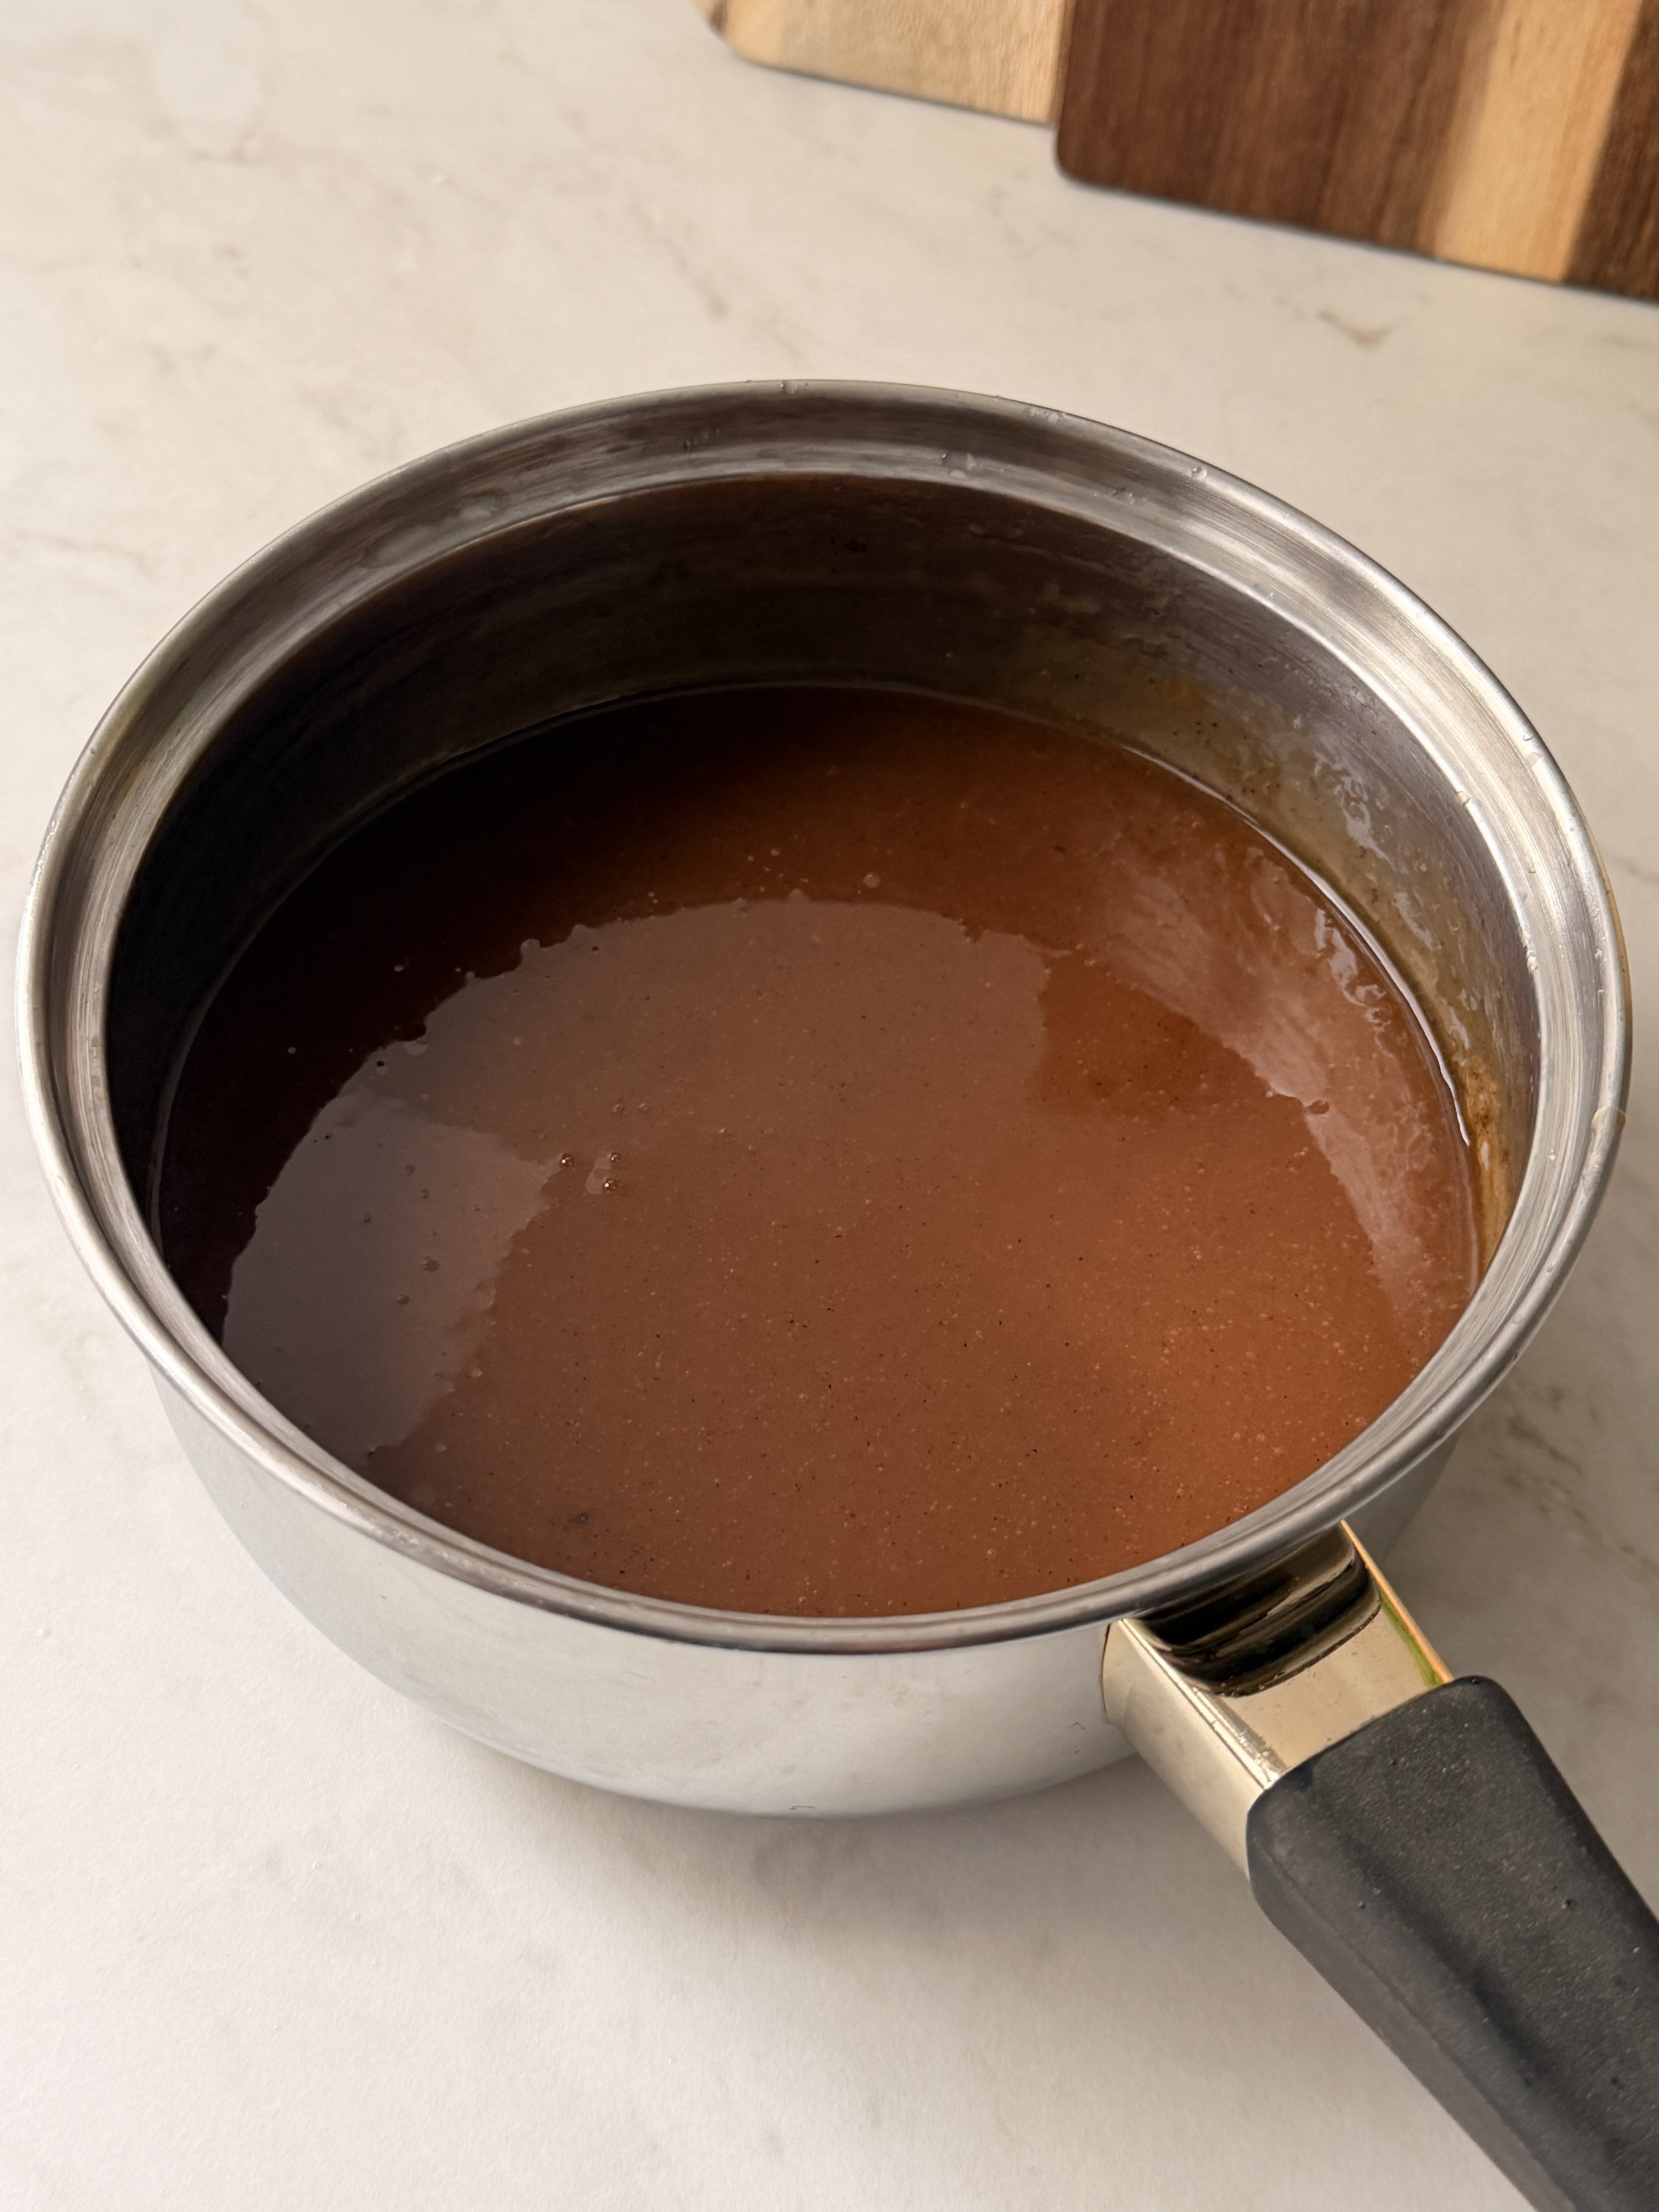
7. Lastly mix in the salt and vanilla.

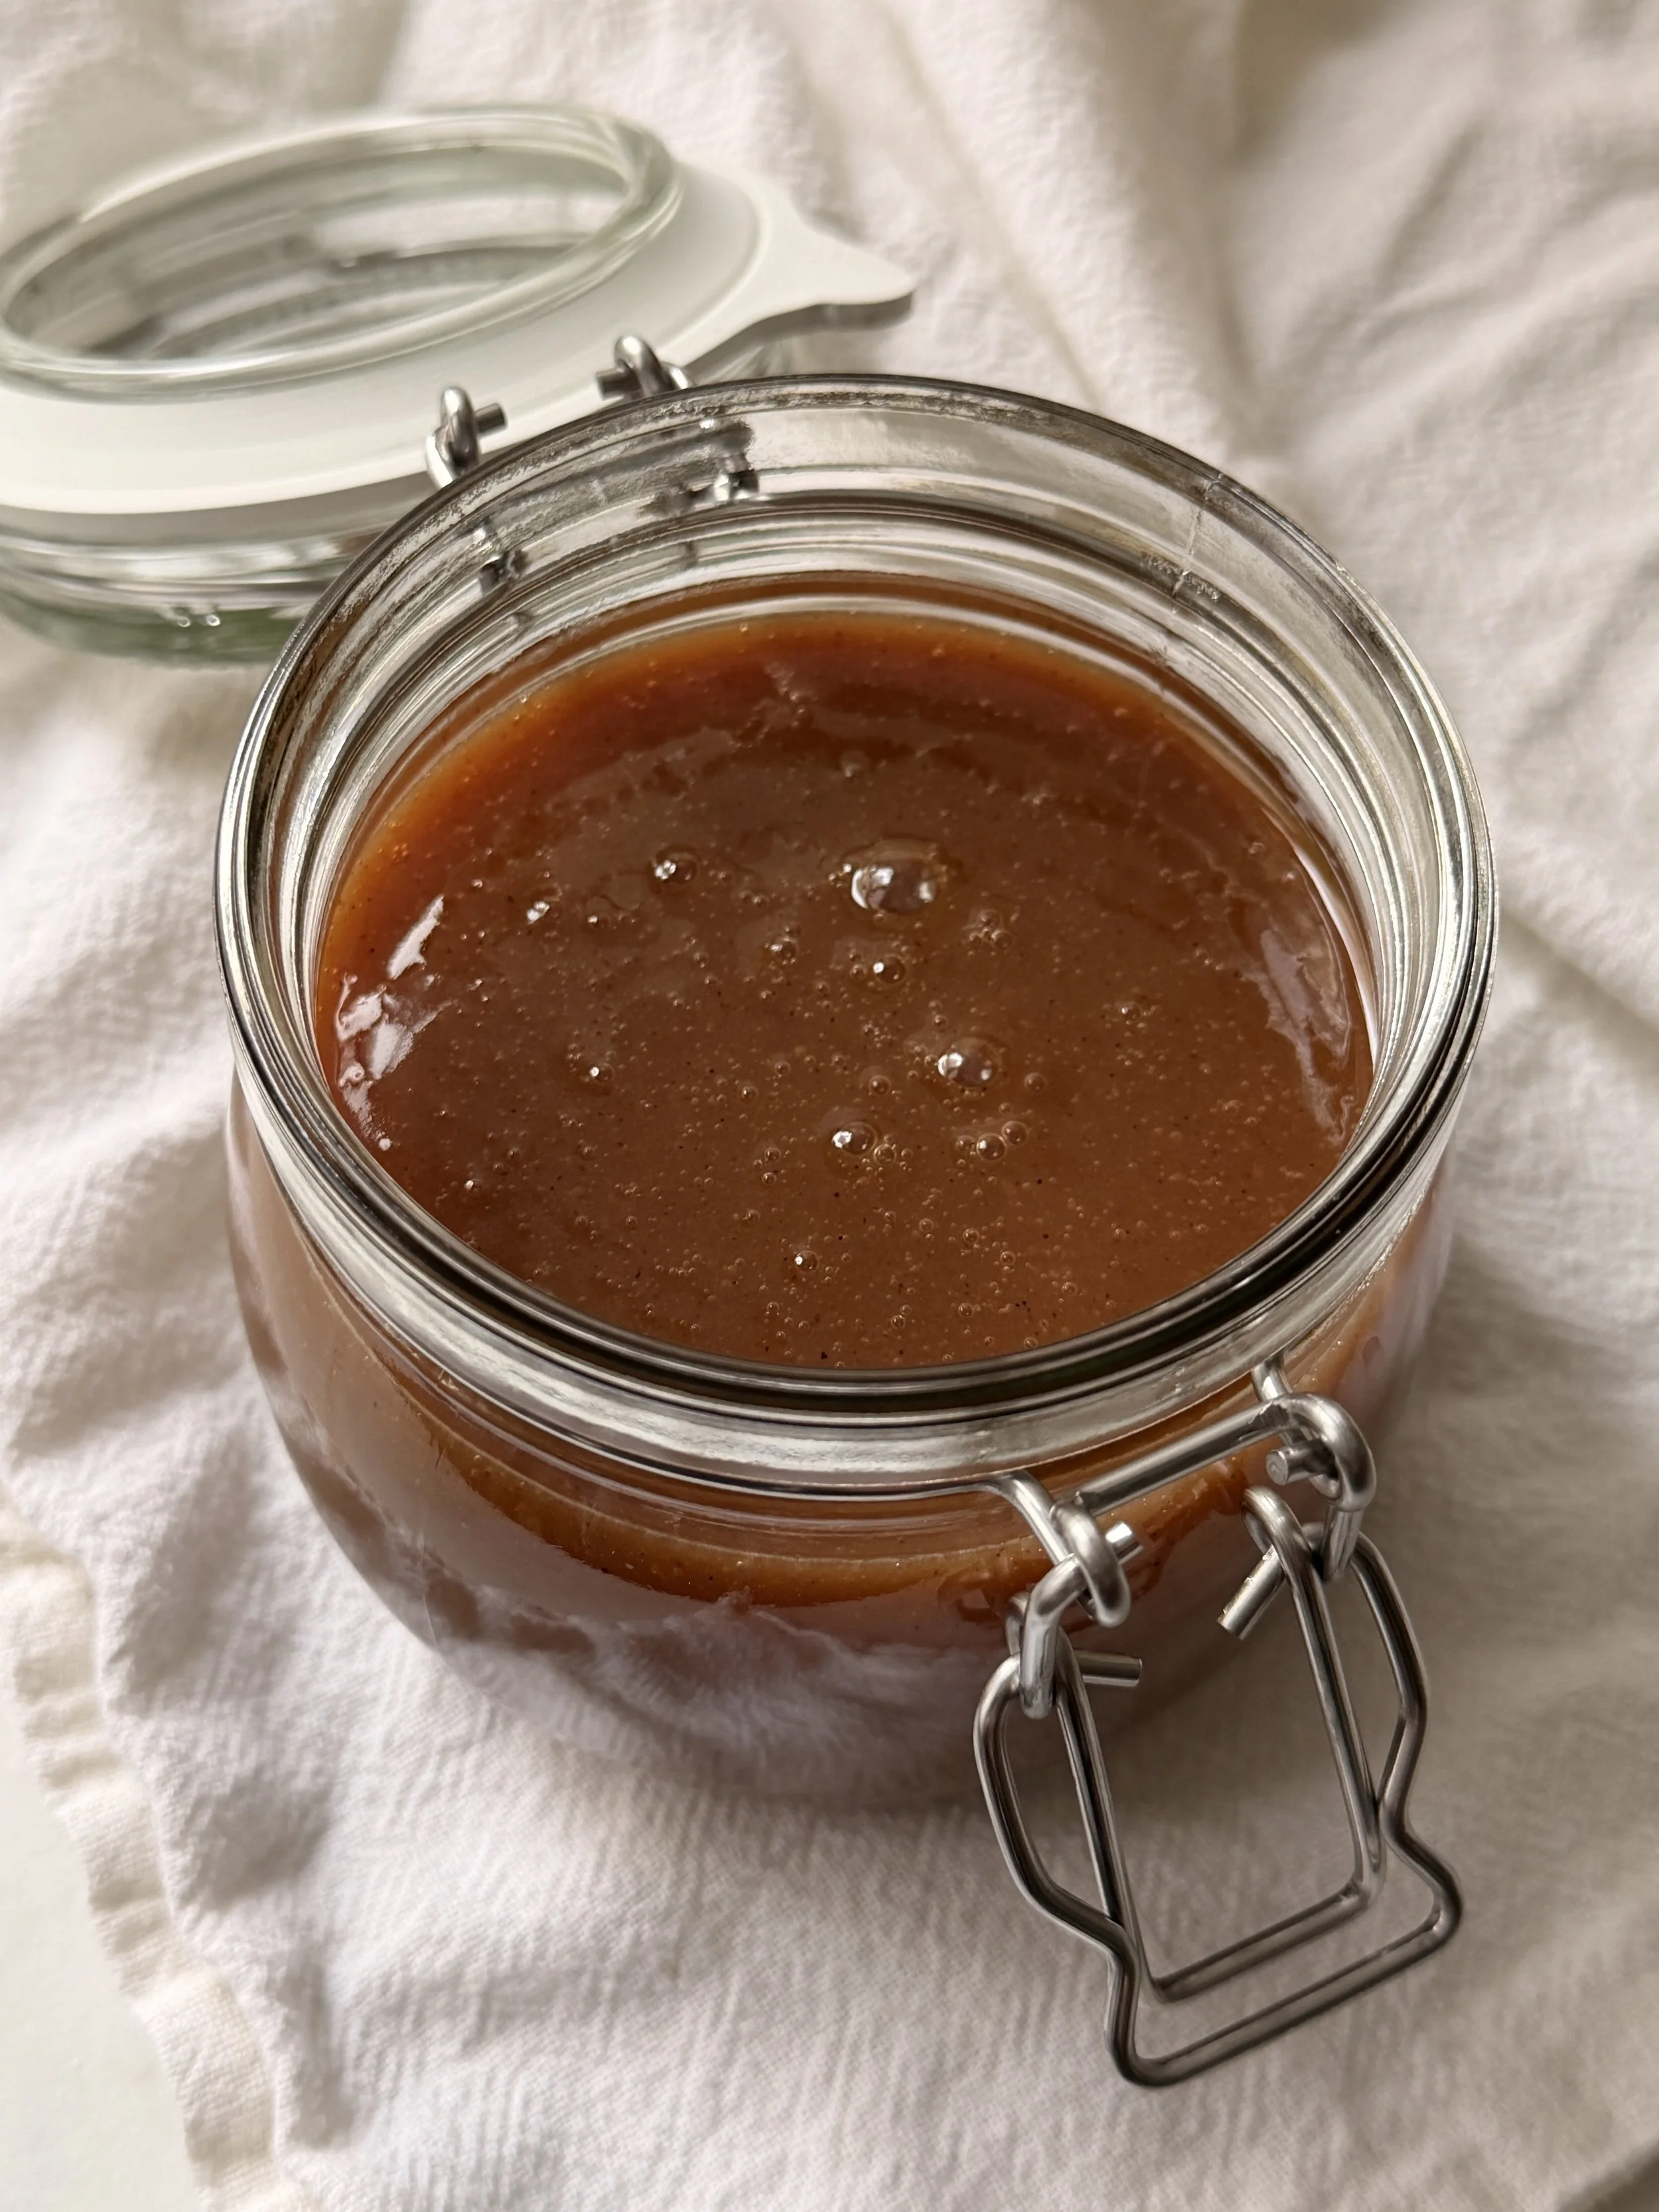
8. Pour the caramel in a heat resistant jar and let it completely come to room temperature, then place it in the fridge preferably overnight to set!

Salted Caramel Sauce
If you love homemade Caramel, you’ll love this Vanilla Bean Salted Caramel Sauce. It’s smooth and rich; flavored with real vanilla bean and a touch of salt. A simple sauce that’s perfect for drizzling over cakes, ice cream or your favorite desserts.
Ingredients
- 200g granulated sugar
- 100g water
- 85g softened butter, cut into cubes
- 200g heavy cream, warmed up
- 1/2 teaspoon vanilla bean powder
- A big pinch of flakey sea salt
Instructions
- In a small saucepan combine the sugar and the water.
- Over medium-high heat, let the sugar fully dissolve without stirring.
- Once the sugar has dissolved, let the mixture simmer without stirring, until it turns into an nice dark (but not too dark) amber color.
- As soon as the caramel reaches a nice amber color, remove it from the heat.
- Gradually whisk in the warmed cream, a little at a time, to prevent the caramel from seizing or becoming lumpy. If the caramel hardens, return it to low heat on the stove and stir constantly until it melts and comes to a gentle boil.
- Once the cream is fully incorporated, whisk in the butter. If the butter doesn’t mix smoothly, gently reheat the caramel on the stove while stirring until it becomes silky.
- Lastly mix in the salt and vanilla.
- Pour the caramel in a heat resistant jar and let it completely come to room temperature, then place it in the fridge preferably overnight to set!