The Viral “Scoopable Cookies”
Published: April 9, 2026
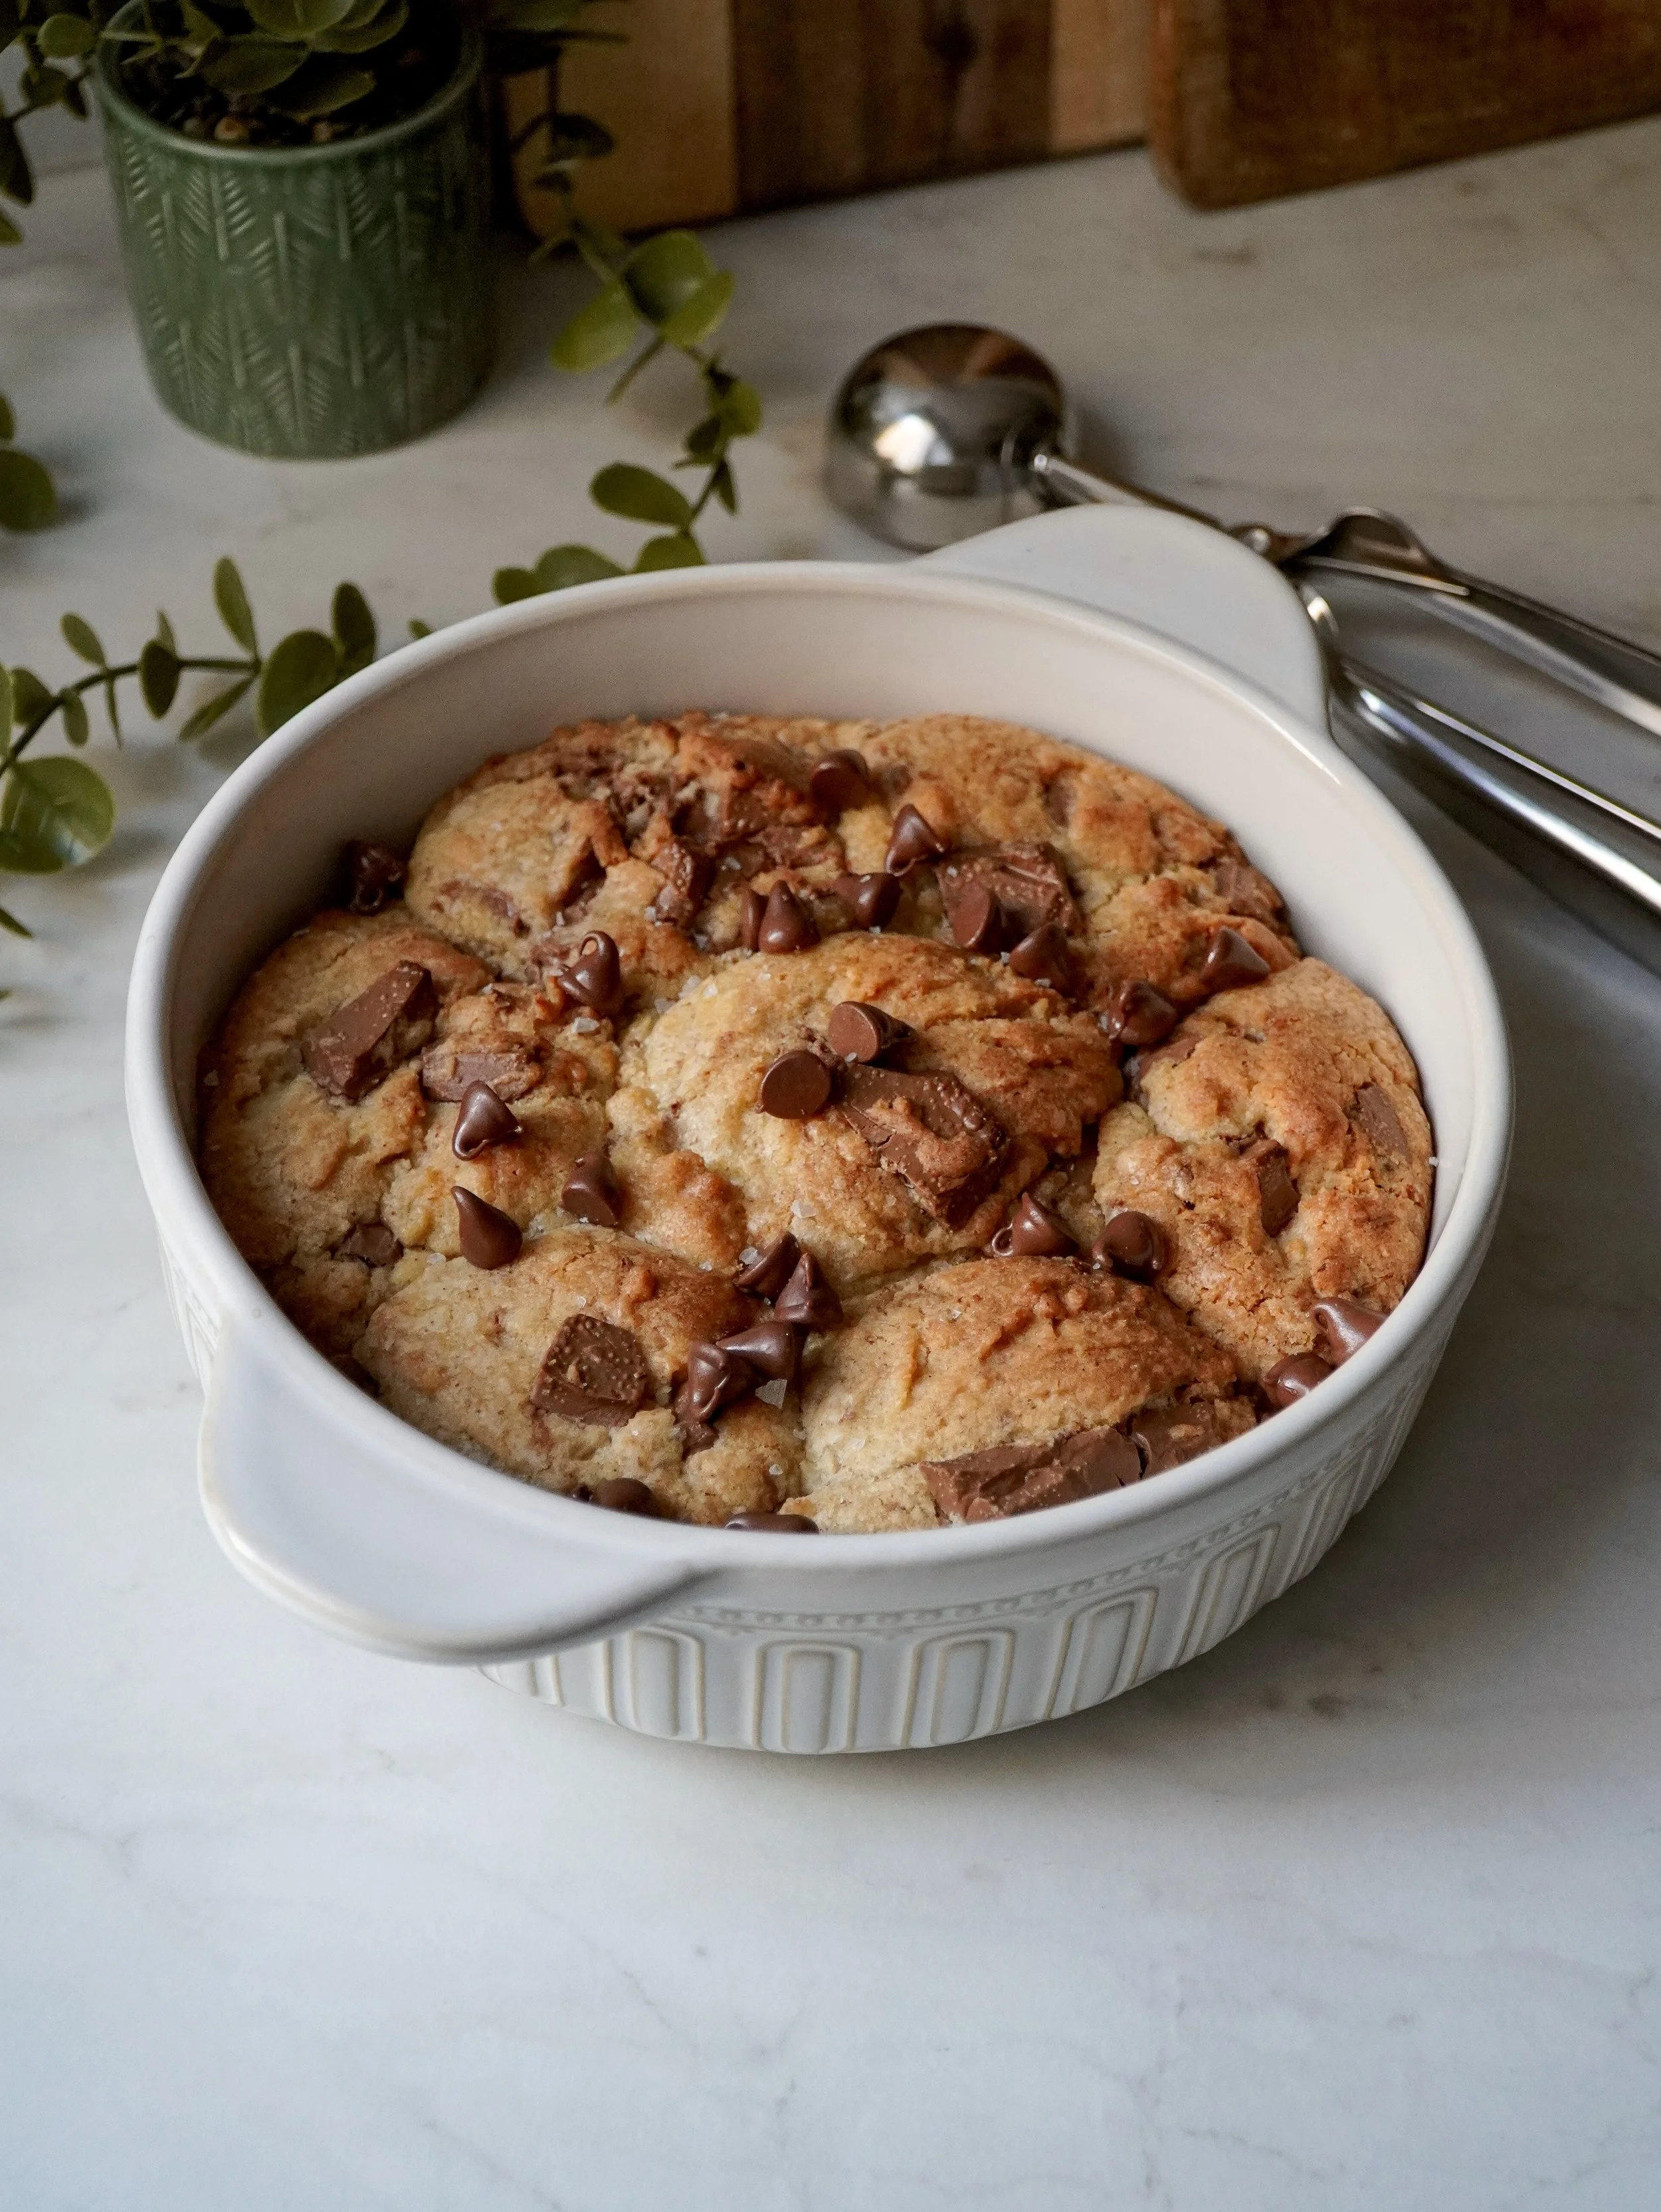
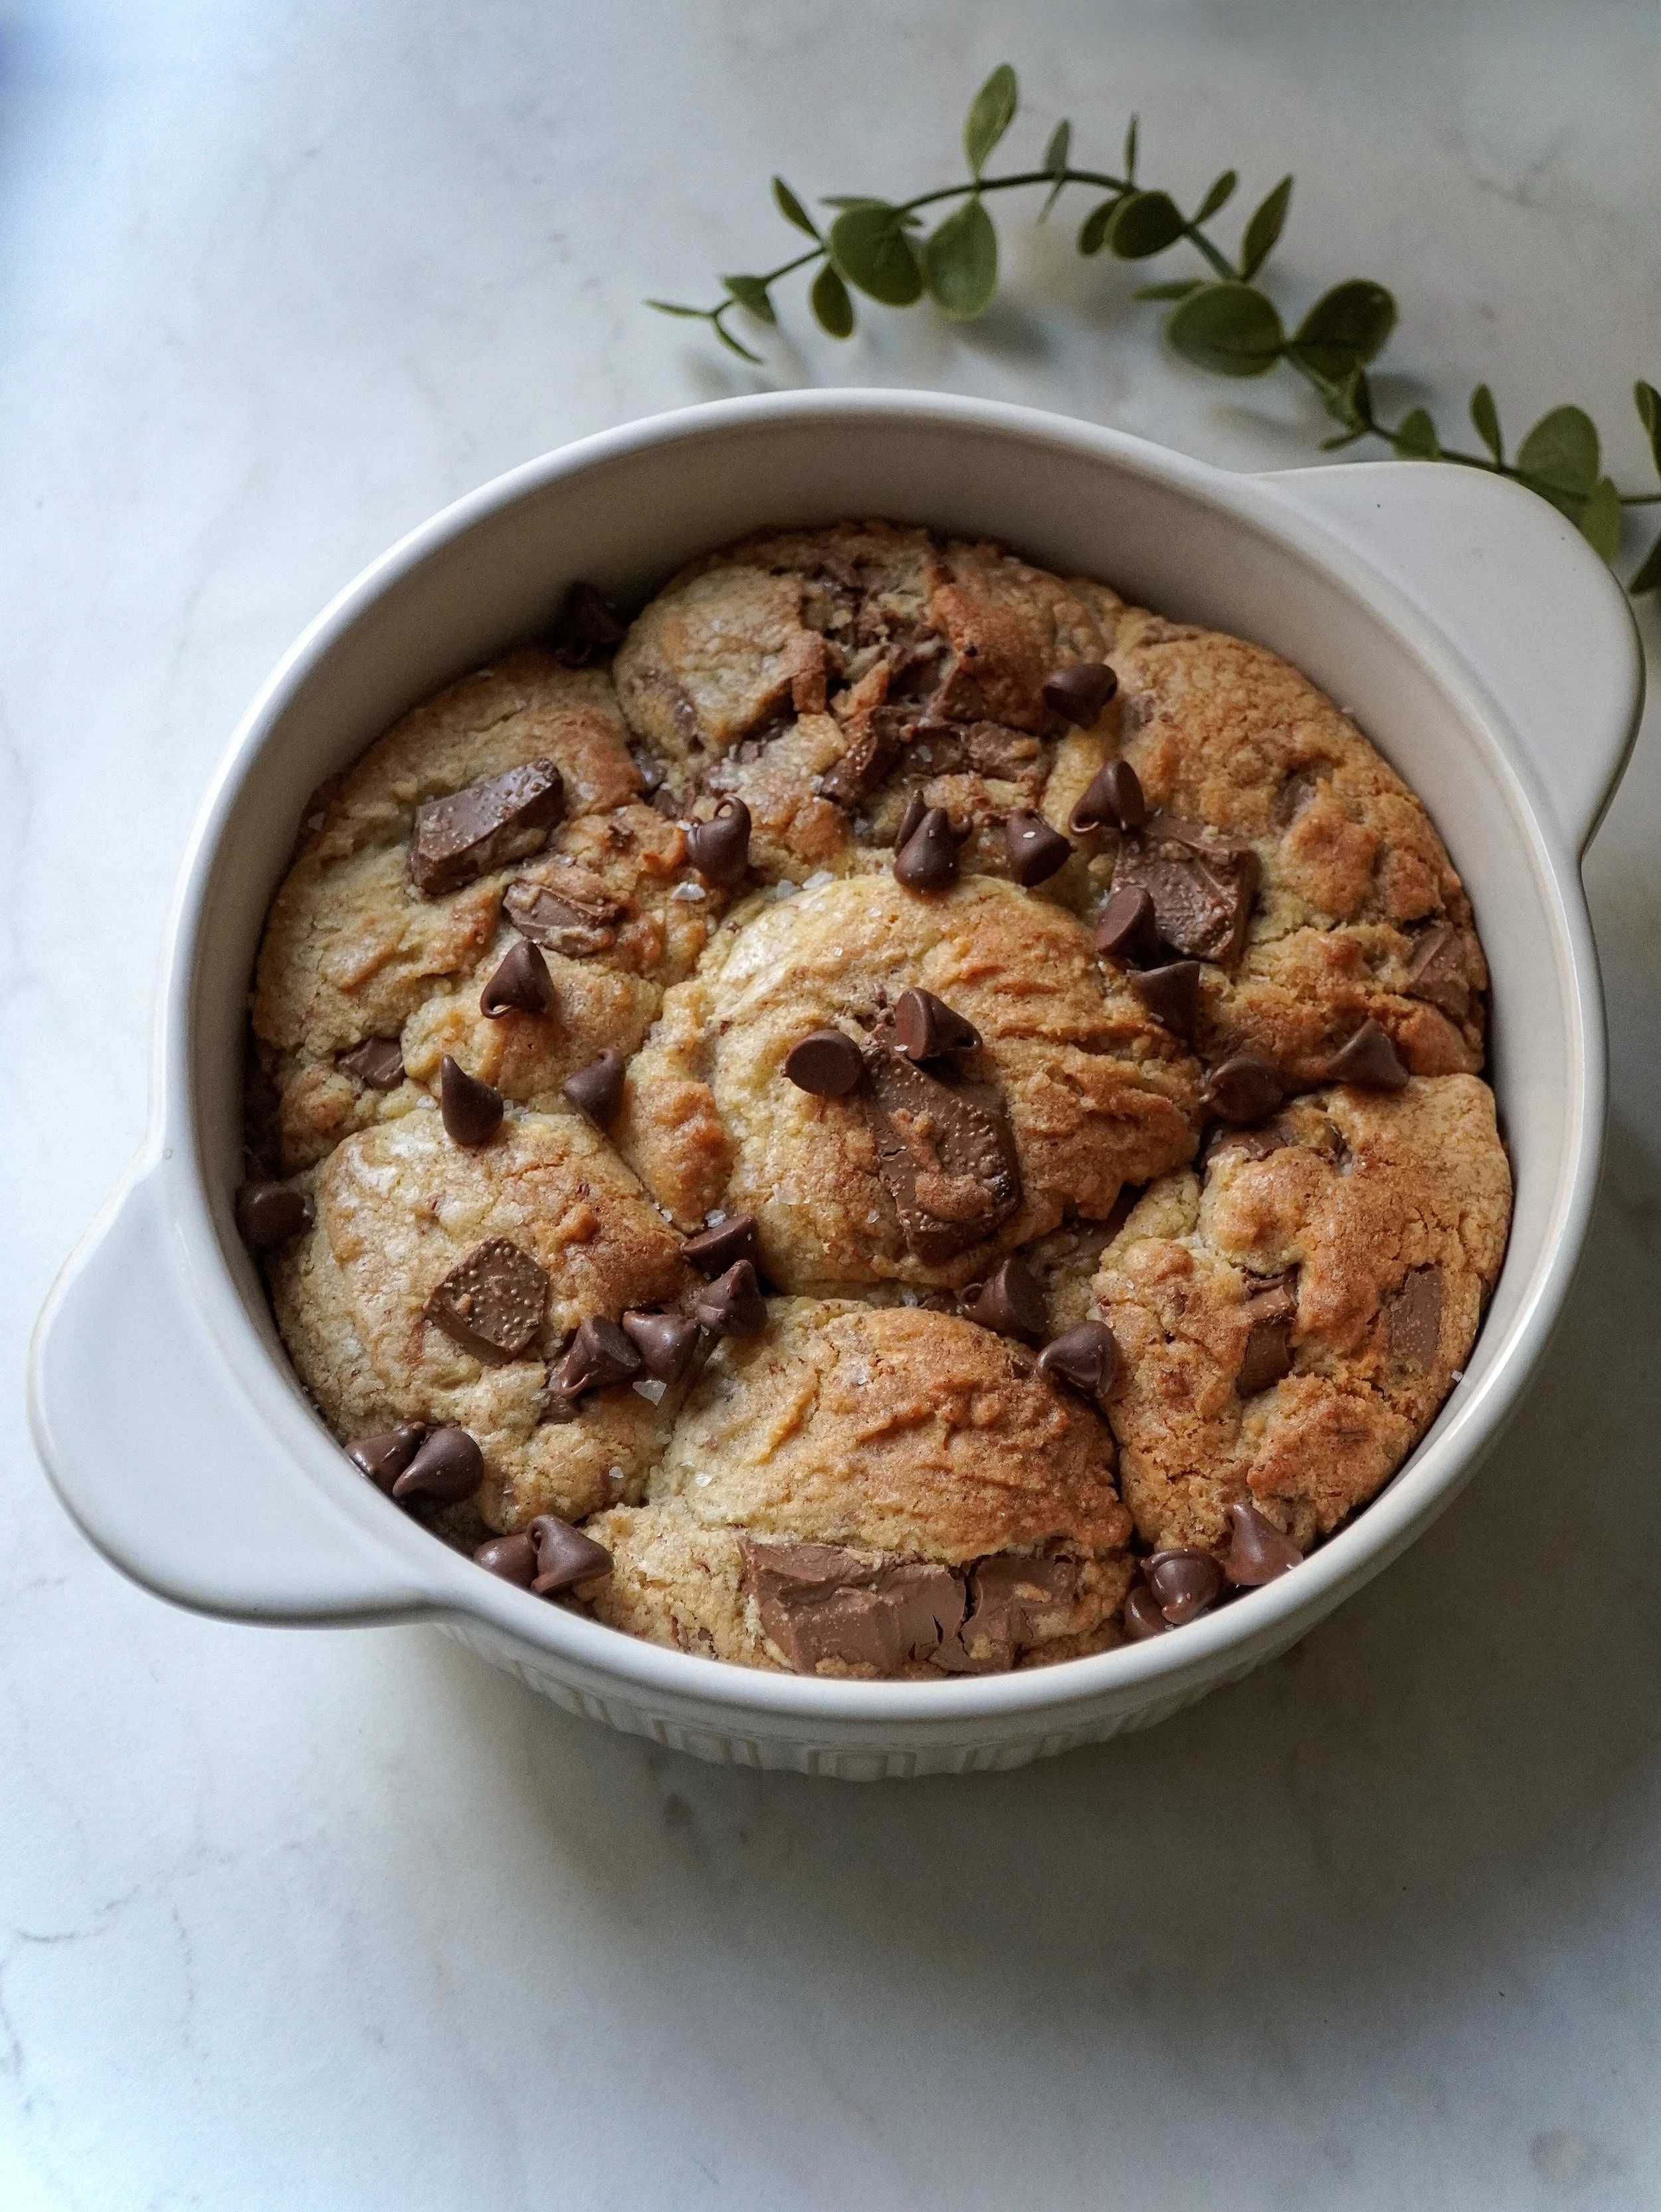
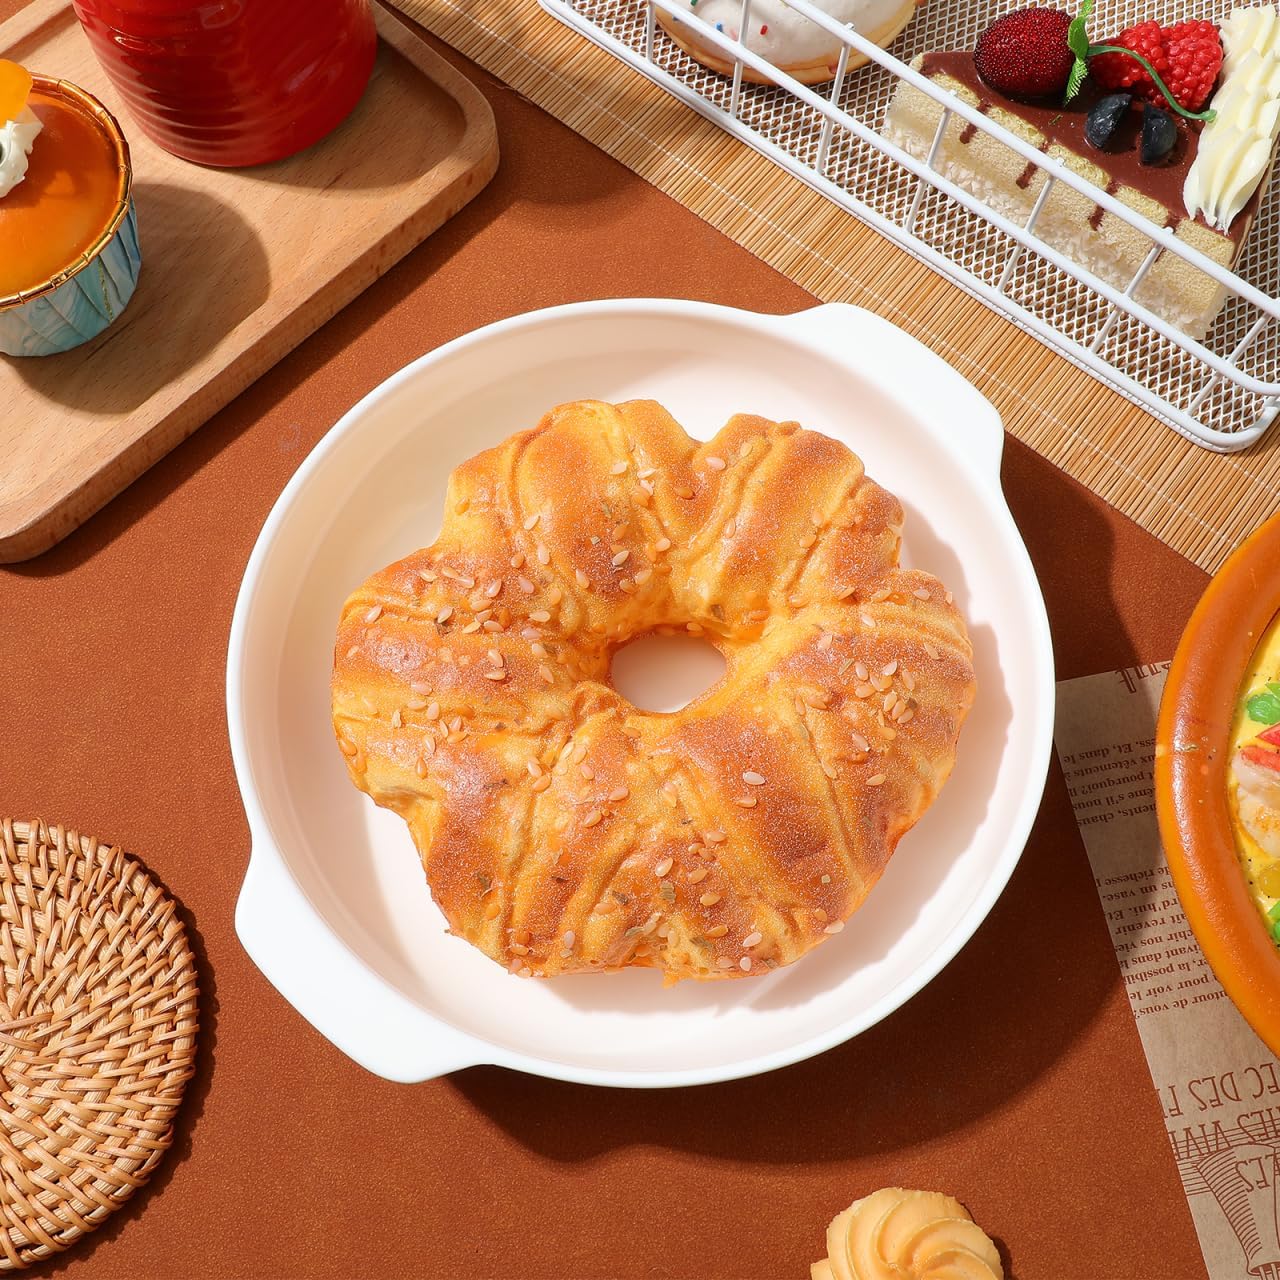
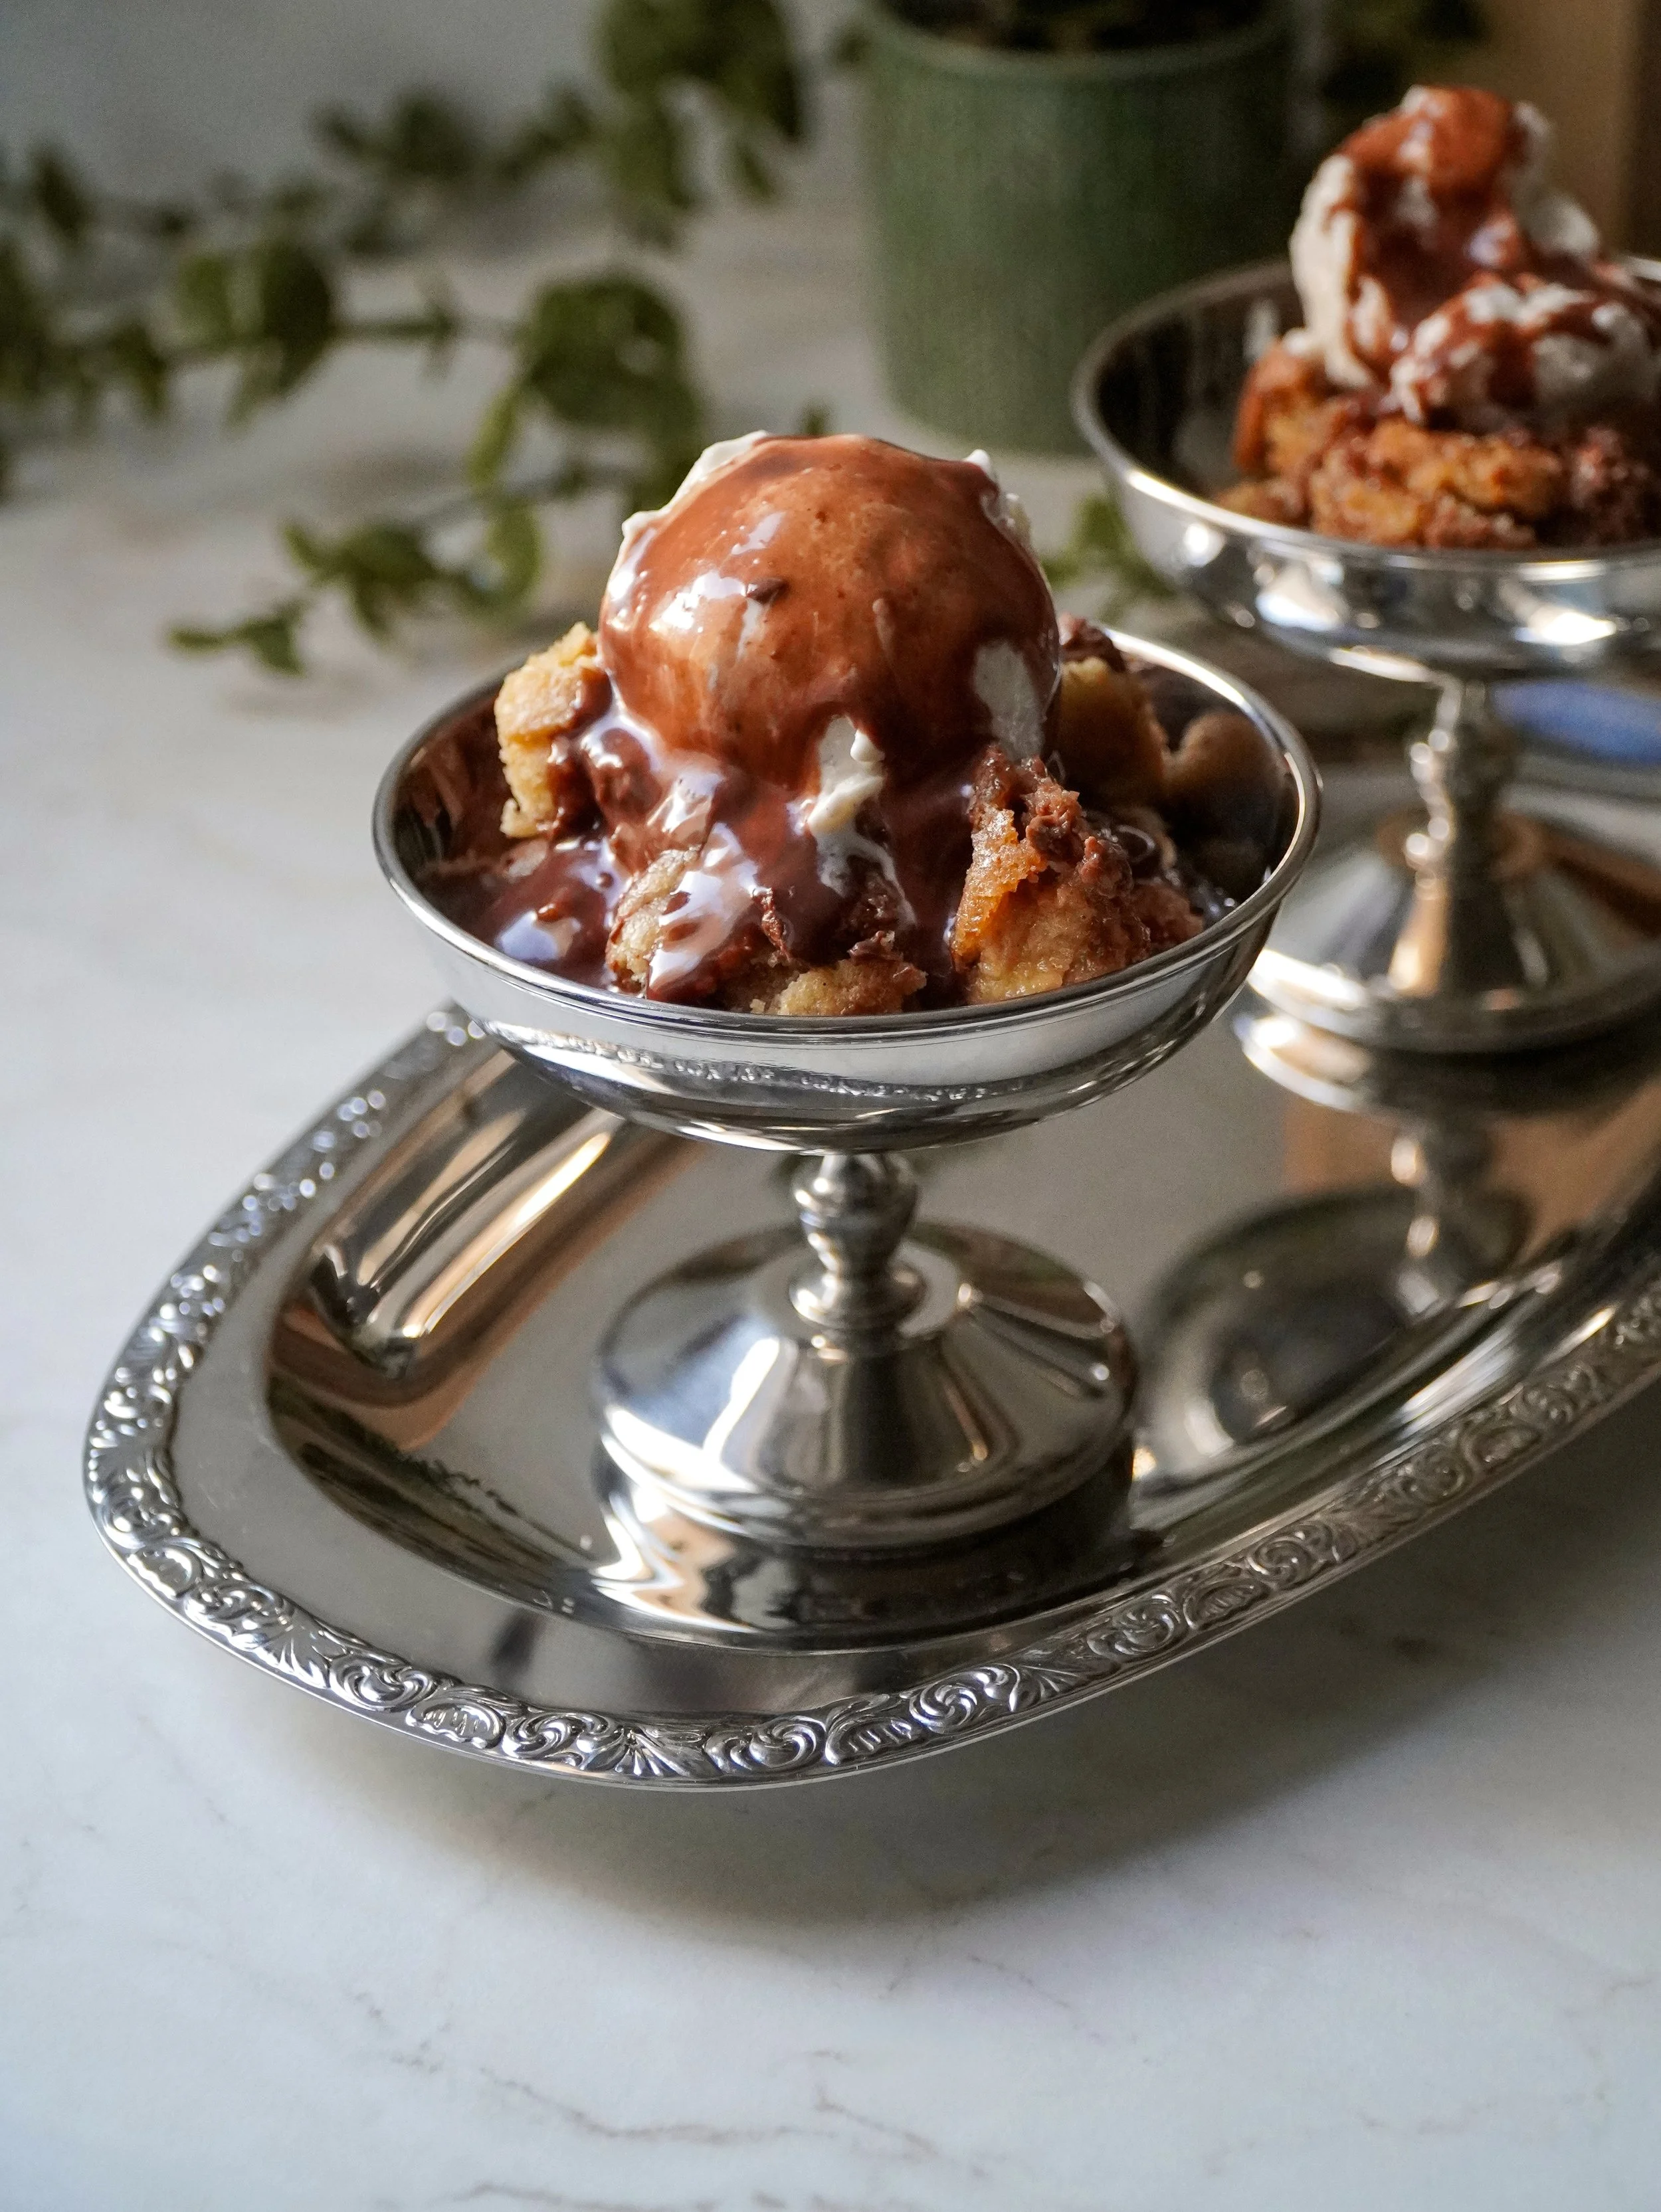
These viral “Scoopable Cookies” are a small batch treat made with rich brown butter and melty milk chocolate chunks. They’re best served warm, straight from the oven, with a scoop of vanilla ice cream on top. :)
I know I’m a bit late to the trend, as these “Scoopable Cookies” have been viral since January. But I honestly have to wonder who comes up with these trend names?! I mean this is basically just a warm cookie skillet, but I went with the “Scoopable Cookie” name anyway (🙄) because I guess it makes it easier for people to find the recipe?! Sometimes these trends make my eyes roll, but don’t get me wrong, I’m not about doing every single trend.
This is a smaller batch, perfect for about 4 people (depending on how much you love cookies lol) and it’s amazing served straight out of the oven with vanilla ice cream. I really hope you give these a try! They’re rich, buttery, chocolatey and just so satisfying.

WHY YOU’LL LOVE THIS RECIPE
🤎Rich brown butter flavor makes these cookies deeply aromatic and irresistible.
🤎Soft and chewy texture.
🤎Loaded with melty milk chocolate chunks in every scoop.
🤎Small batch recipe, so it’s easy to make without feeling overwhelmed.
🤎Quick and simple to prepare, perfect for when you want a cozy treat.
🤎Served warm, they’re extra comforting, especially with vanilla ice cream.
🤎Ideal for spontaneous baking.
🤎Fun trend to try without being overwhelmed by large quantities or complicated steps.
Tips and Tricks
→ Let the brown butter slightly cool (around 15 minutes) - This prevents the eggs from cooking when you mix them in.
→ Chill the cookie dough in the fridge (minimum 45 minutes, up to 48 hours) - Chilling helps the cookies hold their shape during baking and enhances the flavor as the ingredients meld together.
→ Measure ingredients accurately - Accurate measurements ensure the texture comes out just right. Too much flour can make the cookies dry, too little can make them spread too much.
→ Do not overmix the flour - Overmixing develops gluten, which can make cookies cakey instead of soft and chewy. Mix just until combined for the perfect texture.
→ Add other add-ins - Feel free to customize! Chocolate chunks, nuts or even a teaspoon of Nutella in the center can take these cookies to the next level.
→ Use a small 20 cm round pan for a thick, scoopable cookie - Baking in a smaller pan gives you that thick, gooey cookie texture.
→ Serve warm, straight out of the oven - This is the ultimate way to enjoy them! The chocolate chunks are melty, the cookie is soft and it’s perfect with a scoop of vanilla ice cream.


Frequently asked questions
1. Can I freeze the cookie dough?
Yes! Freeze the scooped dough balls individually on a tray, then transfer to a freezer bag. They freeze well for up to 1 month.
2. Why are my cookies cakey instead of gooey?
Overmixing or using too much flour. For the signature scoopable texture, chill the dough, handle gently and don’t overbake.
3. How can I make them extra thick and scoopable?
Use a small pan and chill the dough before baking.
4. Can I add other mix-ins?
Yes! Anything you like!
5. How do I serve them?
These cookies are best served warm, straight from the pan.
6. Can I use different types of chocolate?
Absolutely!
Ingredients you will need for this recipe
Unsalted butter: The butter is browned to develop a deep, nutty flavor. You can use salted butter if that’s all you have, just reduce or skip the added pinch of salt.
Granulated sugar: Adds sweetness and helps the cookie structure. Granulated sugar also contributes to a slight crisp on the edges.
Light brown sugar: Provides moisture and chewiness thanks to its molasses content, which is crucial for that scoopable, gooey texture. Dark brown sugar works too for an even richer flavor.
Egg: Egg adds structure, moisture, and richness.
Vanilla bean paste: Vanilla extract can be used as a substitute, though paste gives a more intense flavor.
All-purpose flour: Forms the structure of the cookies. Be sure to measure carefully and don’t overmix to keep the texture soft and scoopable.
Salt:Enhances all the flavors, balancing the sweetness and intensifying the chocolate notes.
Baking powder + baking soda: Both leavening agents help the cookies rise just enough to get that thick, scoopable texture without making them cakey.
Chocolate chips or chunks: Provide melty pockets of chocolate throughout the cookie. You can use milk, dark or even a mix of both.
Step by step instructions with photos
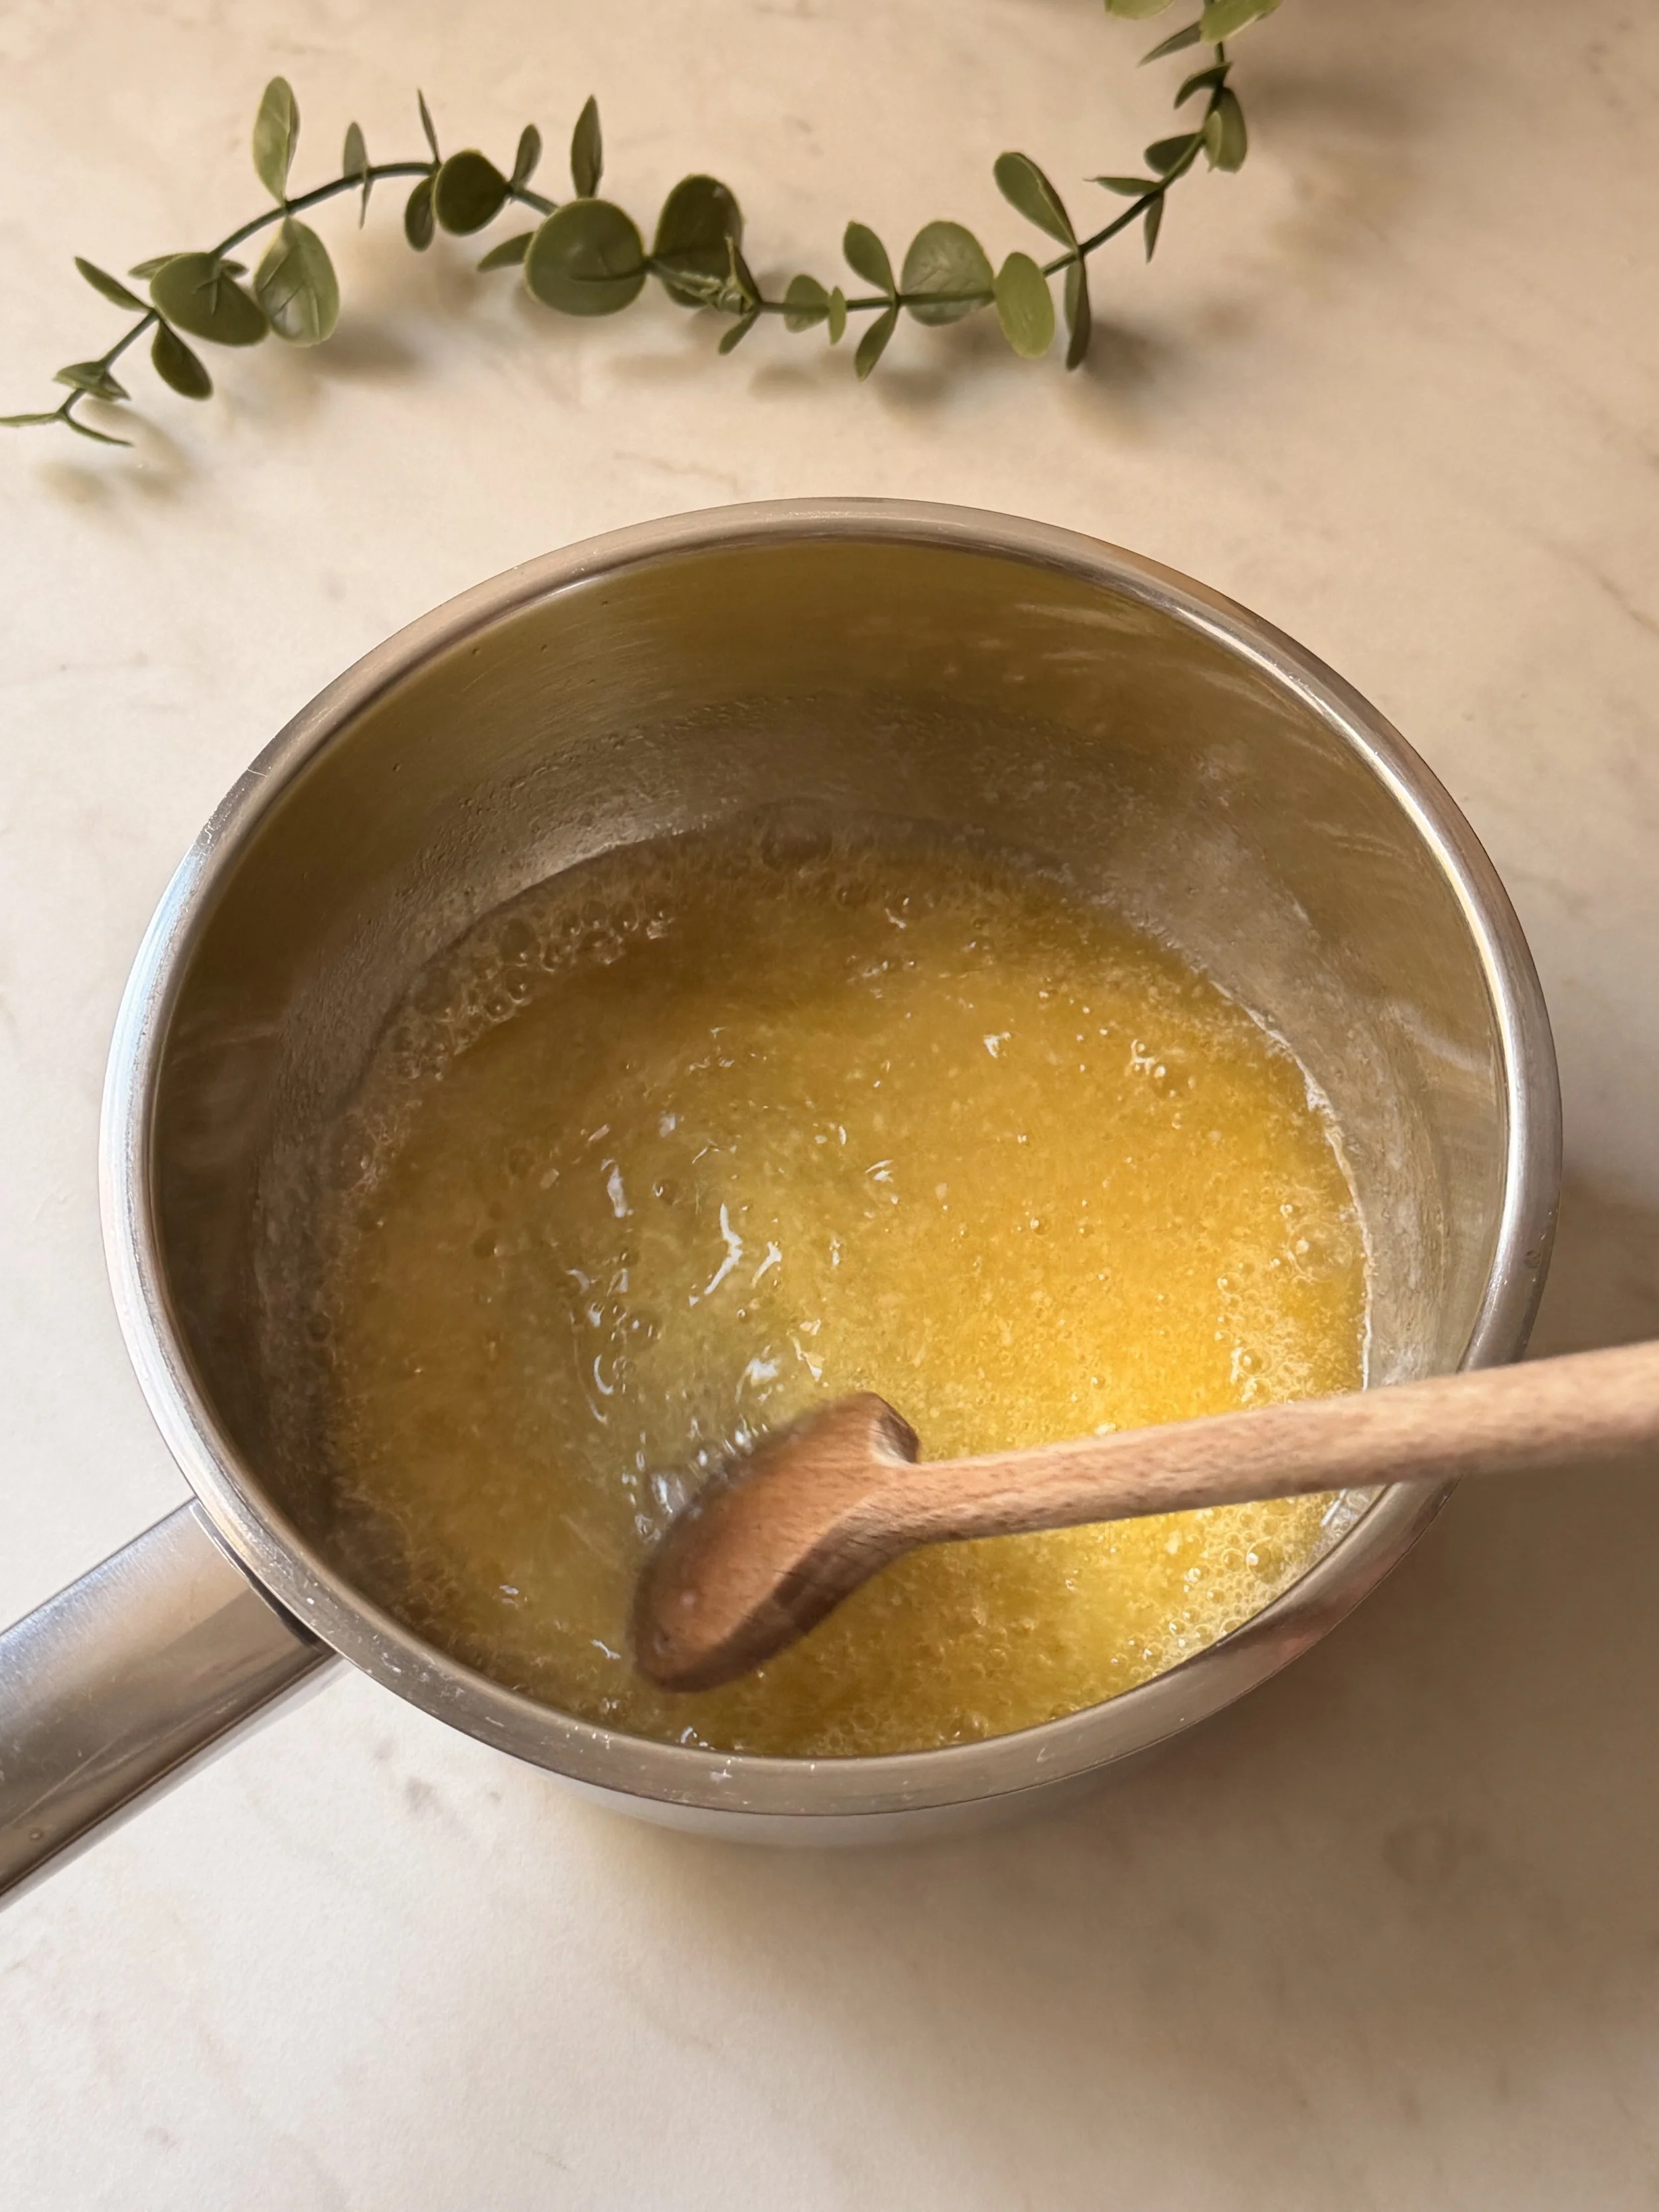
1. First, brown the butter.
2. Add the cubed butter to a saucepan and let it melt over medium heat.
3. Once melted, let it simmer, stirring constantly, until it turns golden and the milk solids turn brown. Be careful not to burn it!
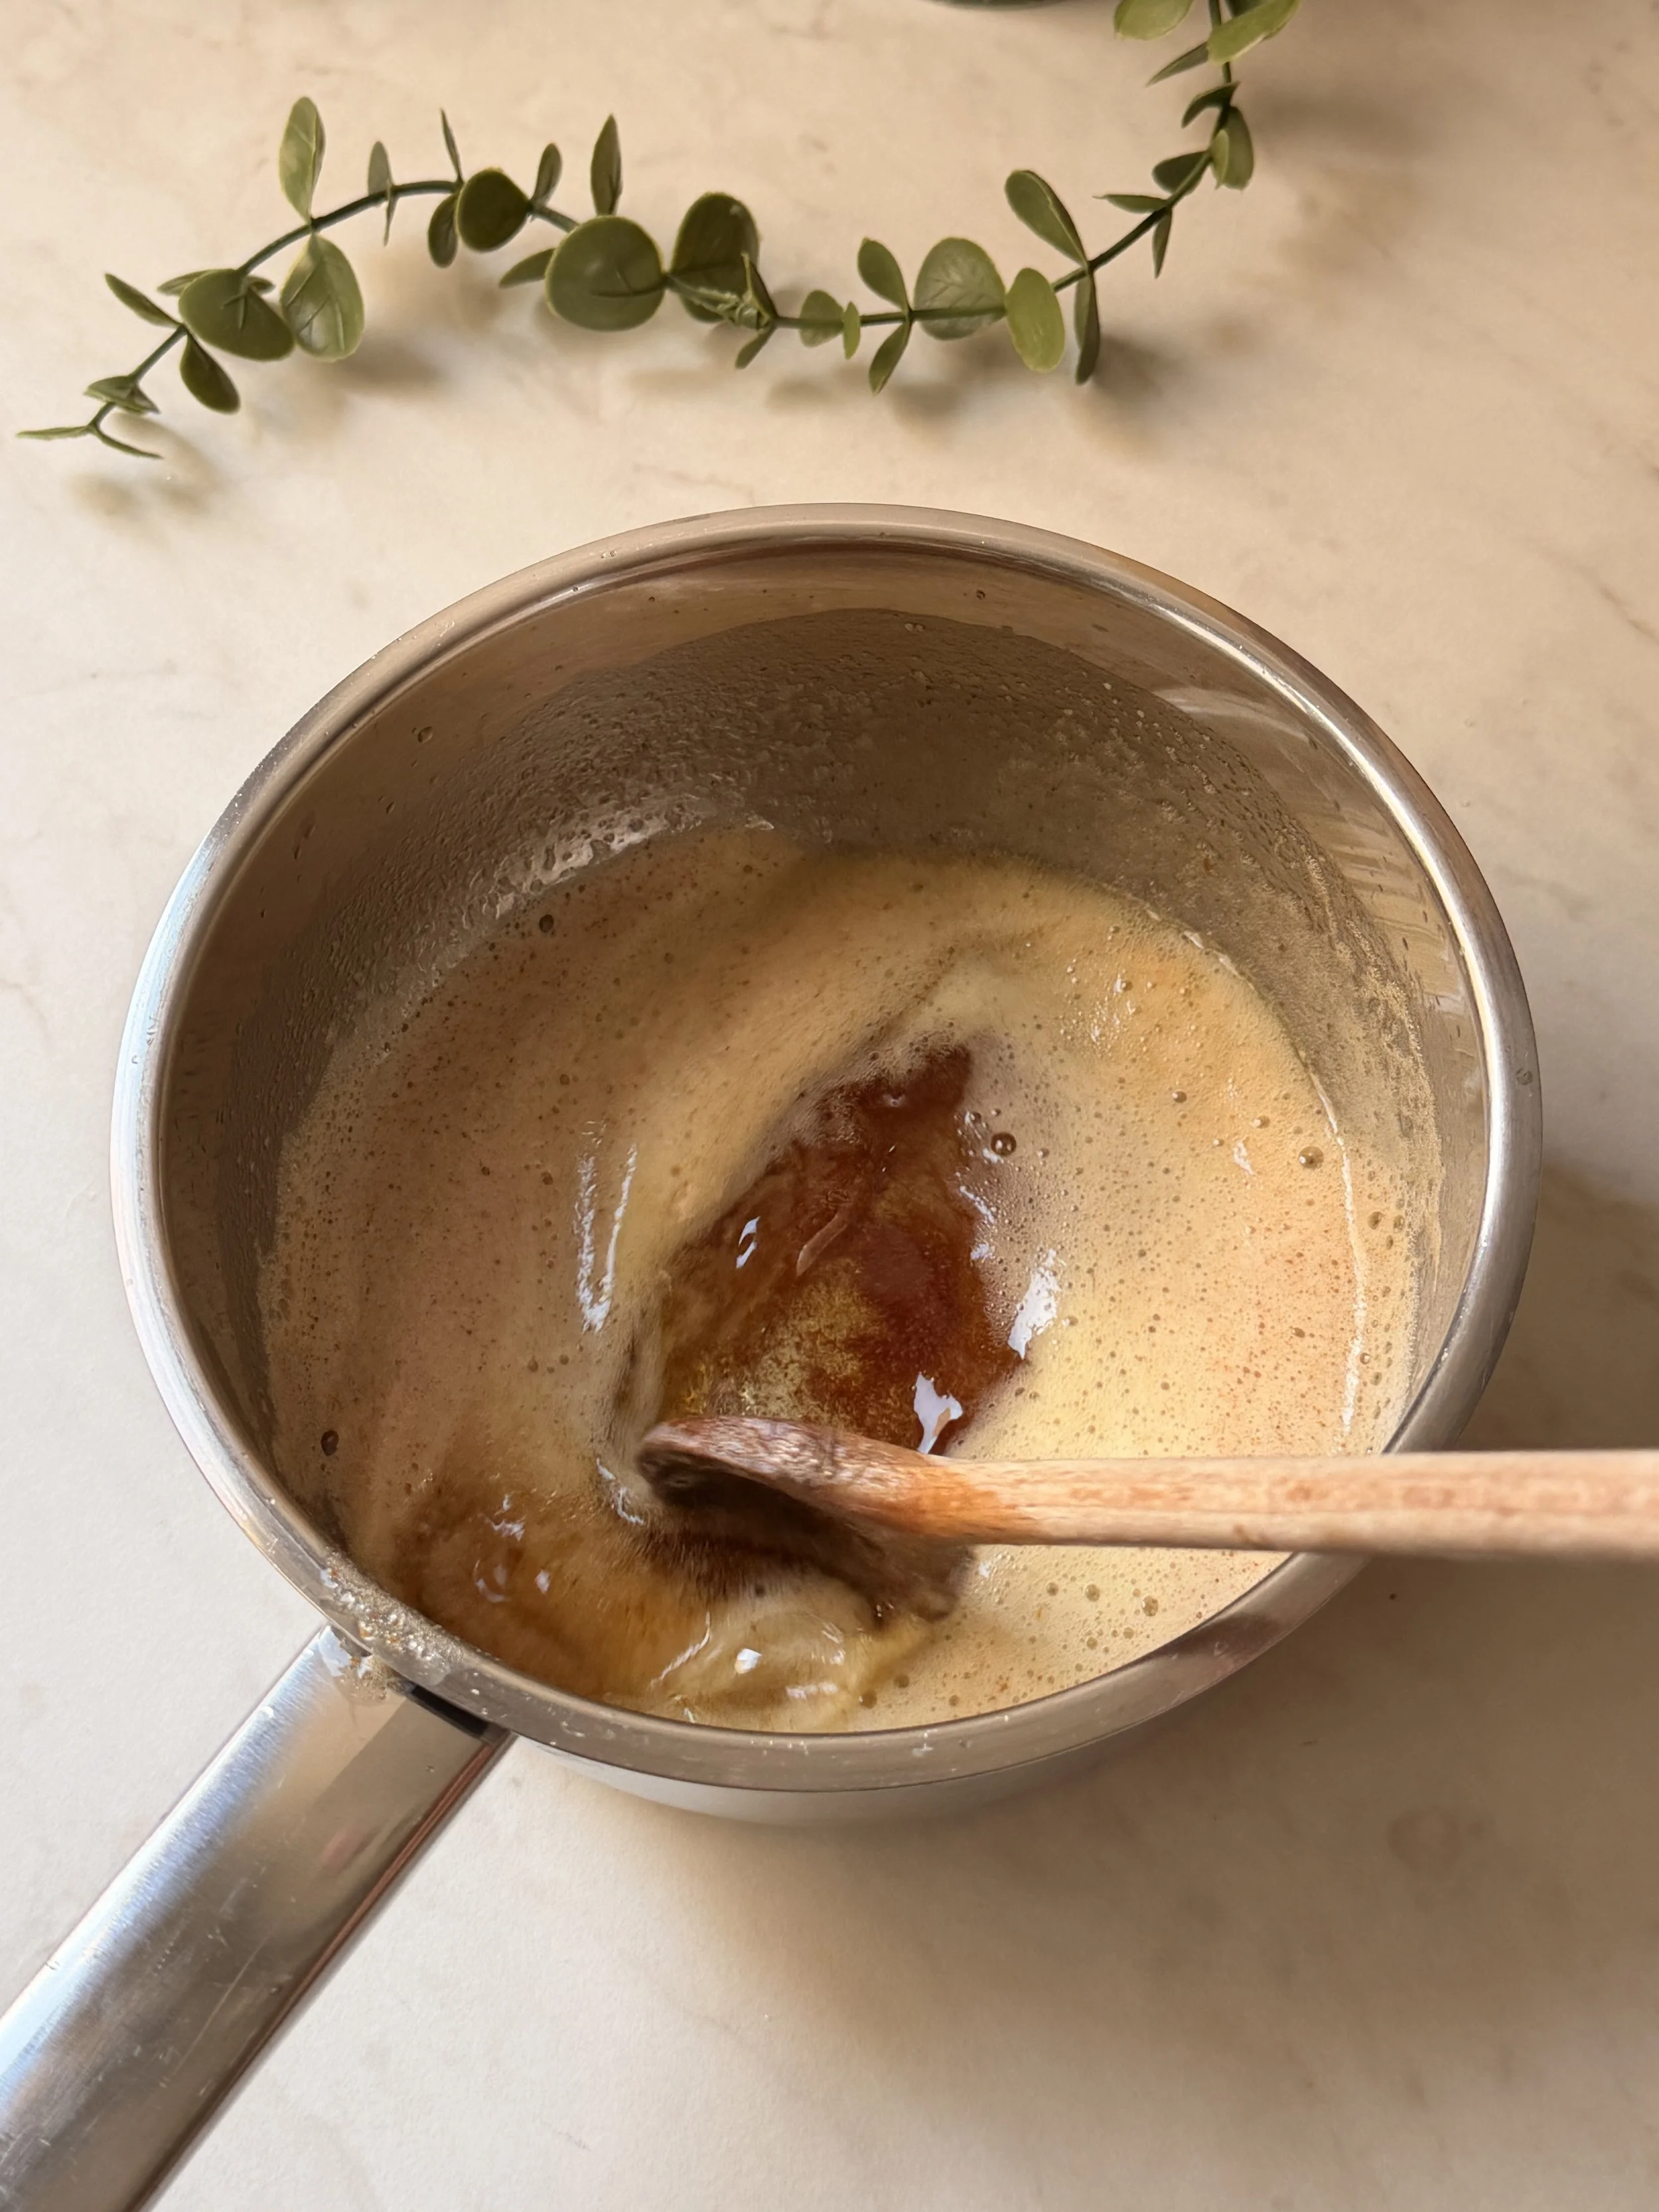
4. Once ready, pour it into a large bowl and let it cool for 15 minutes.
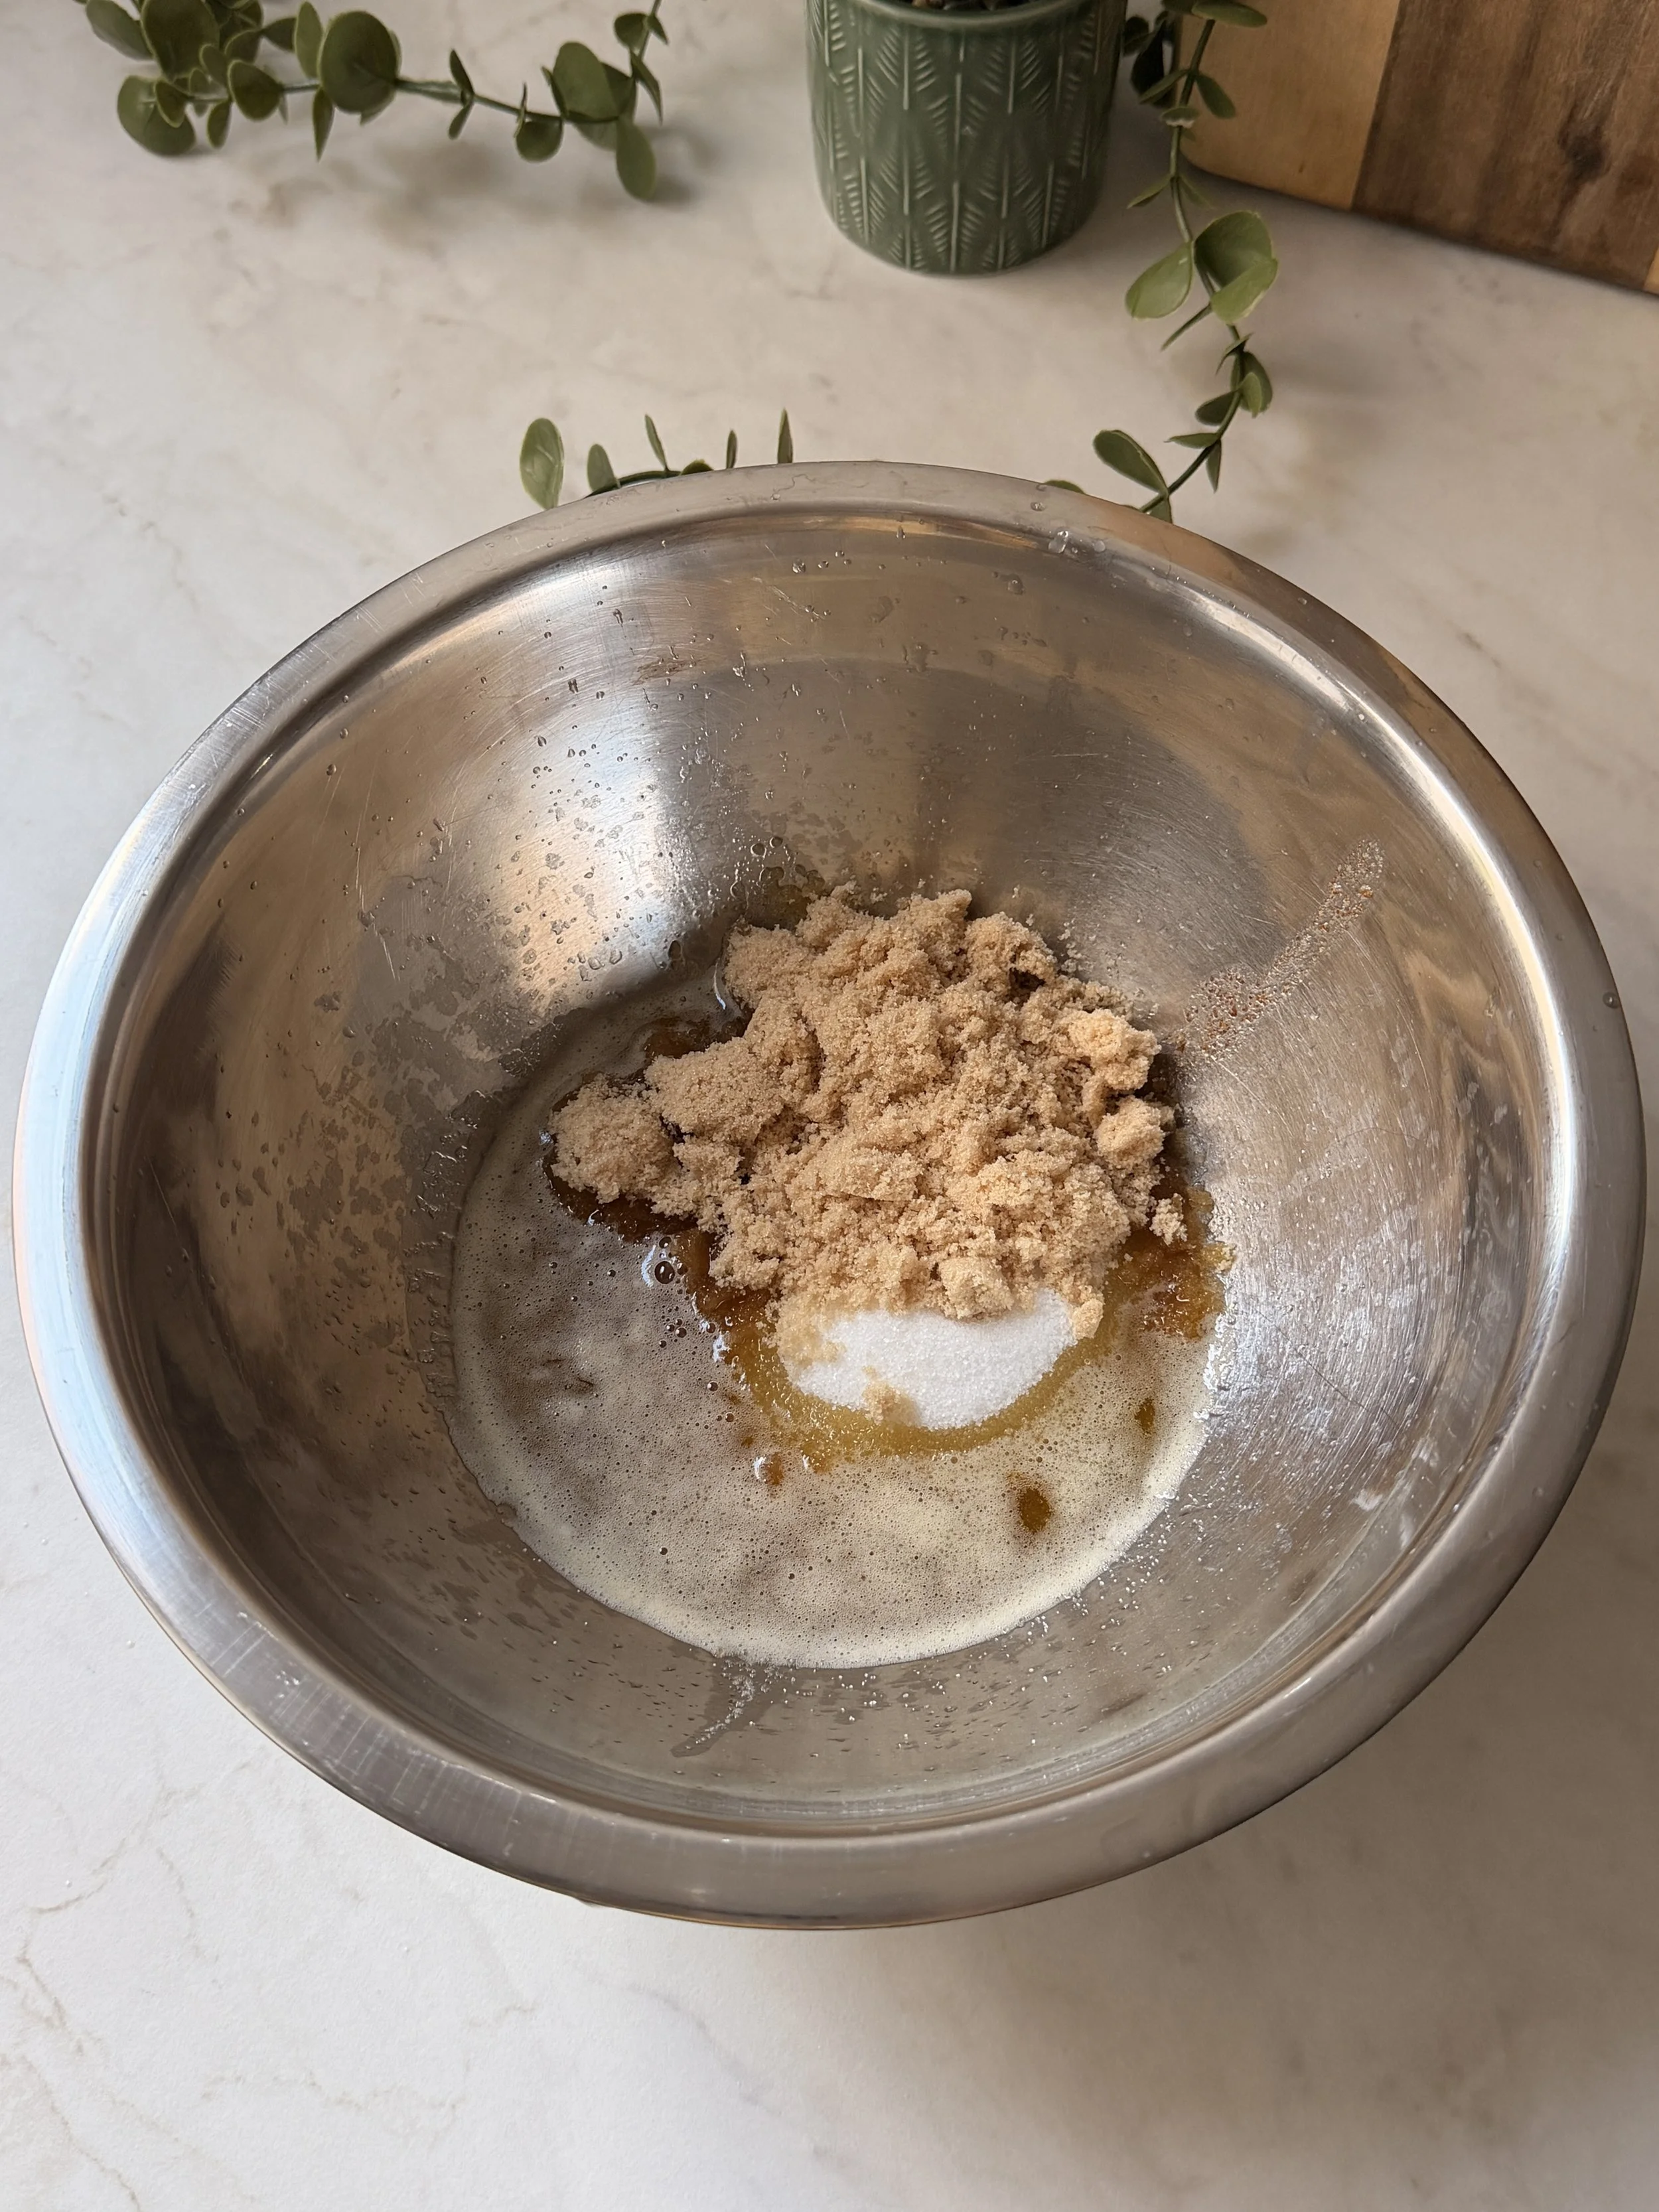
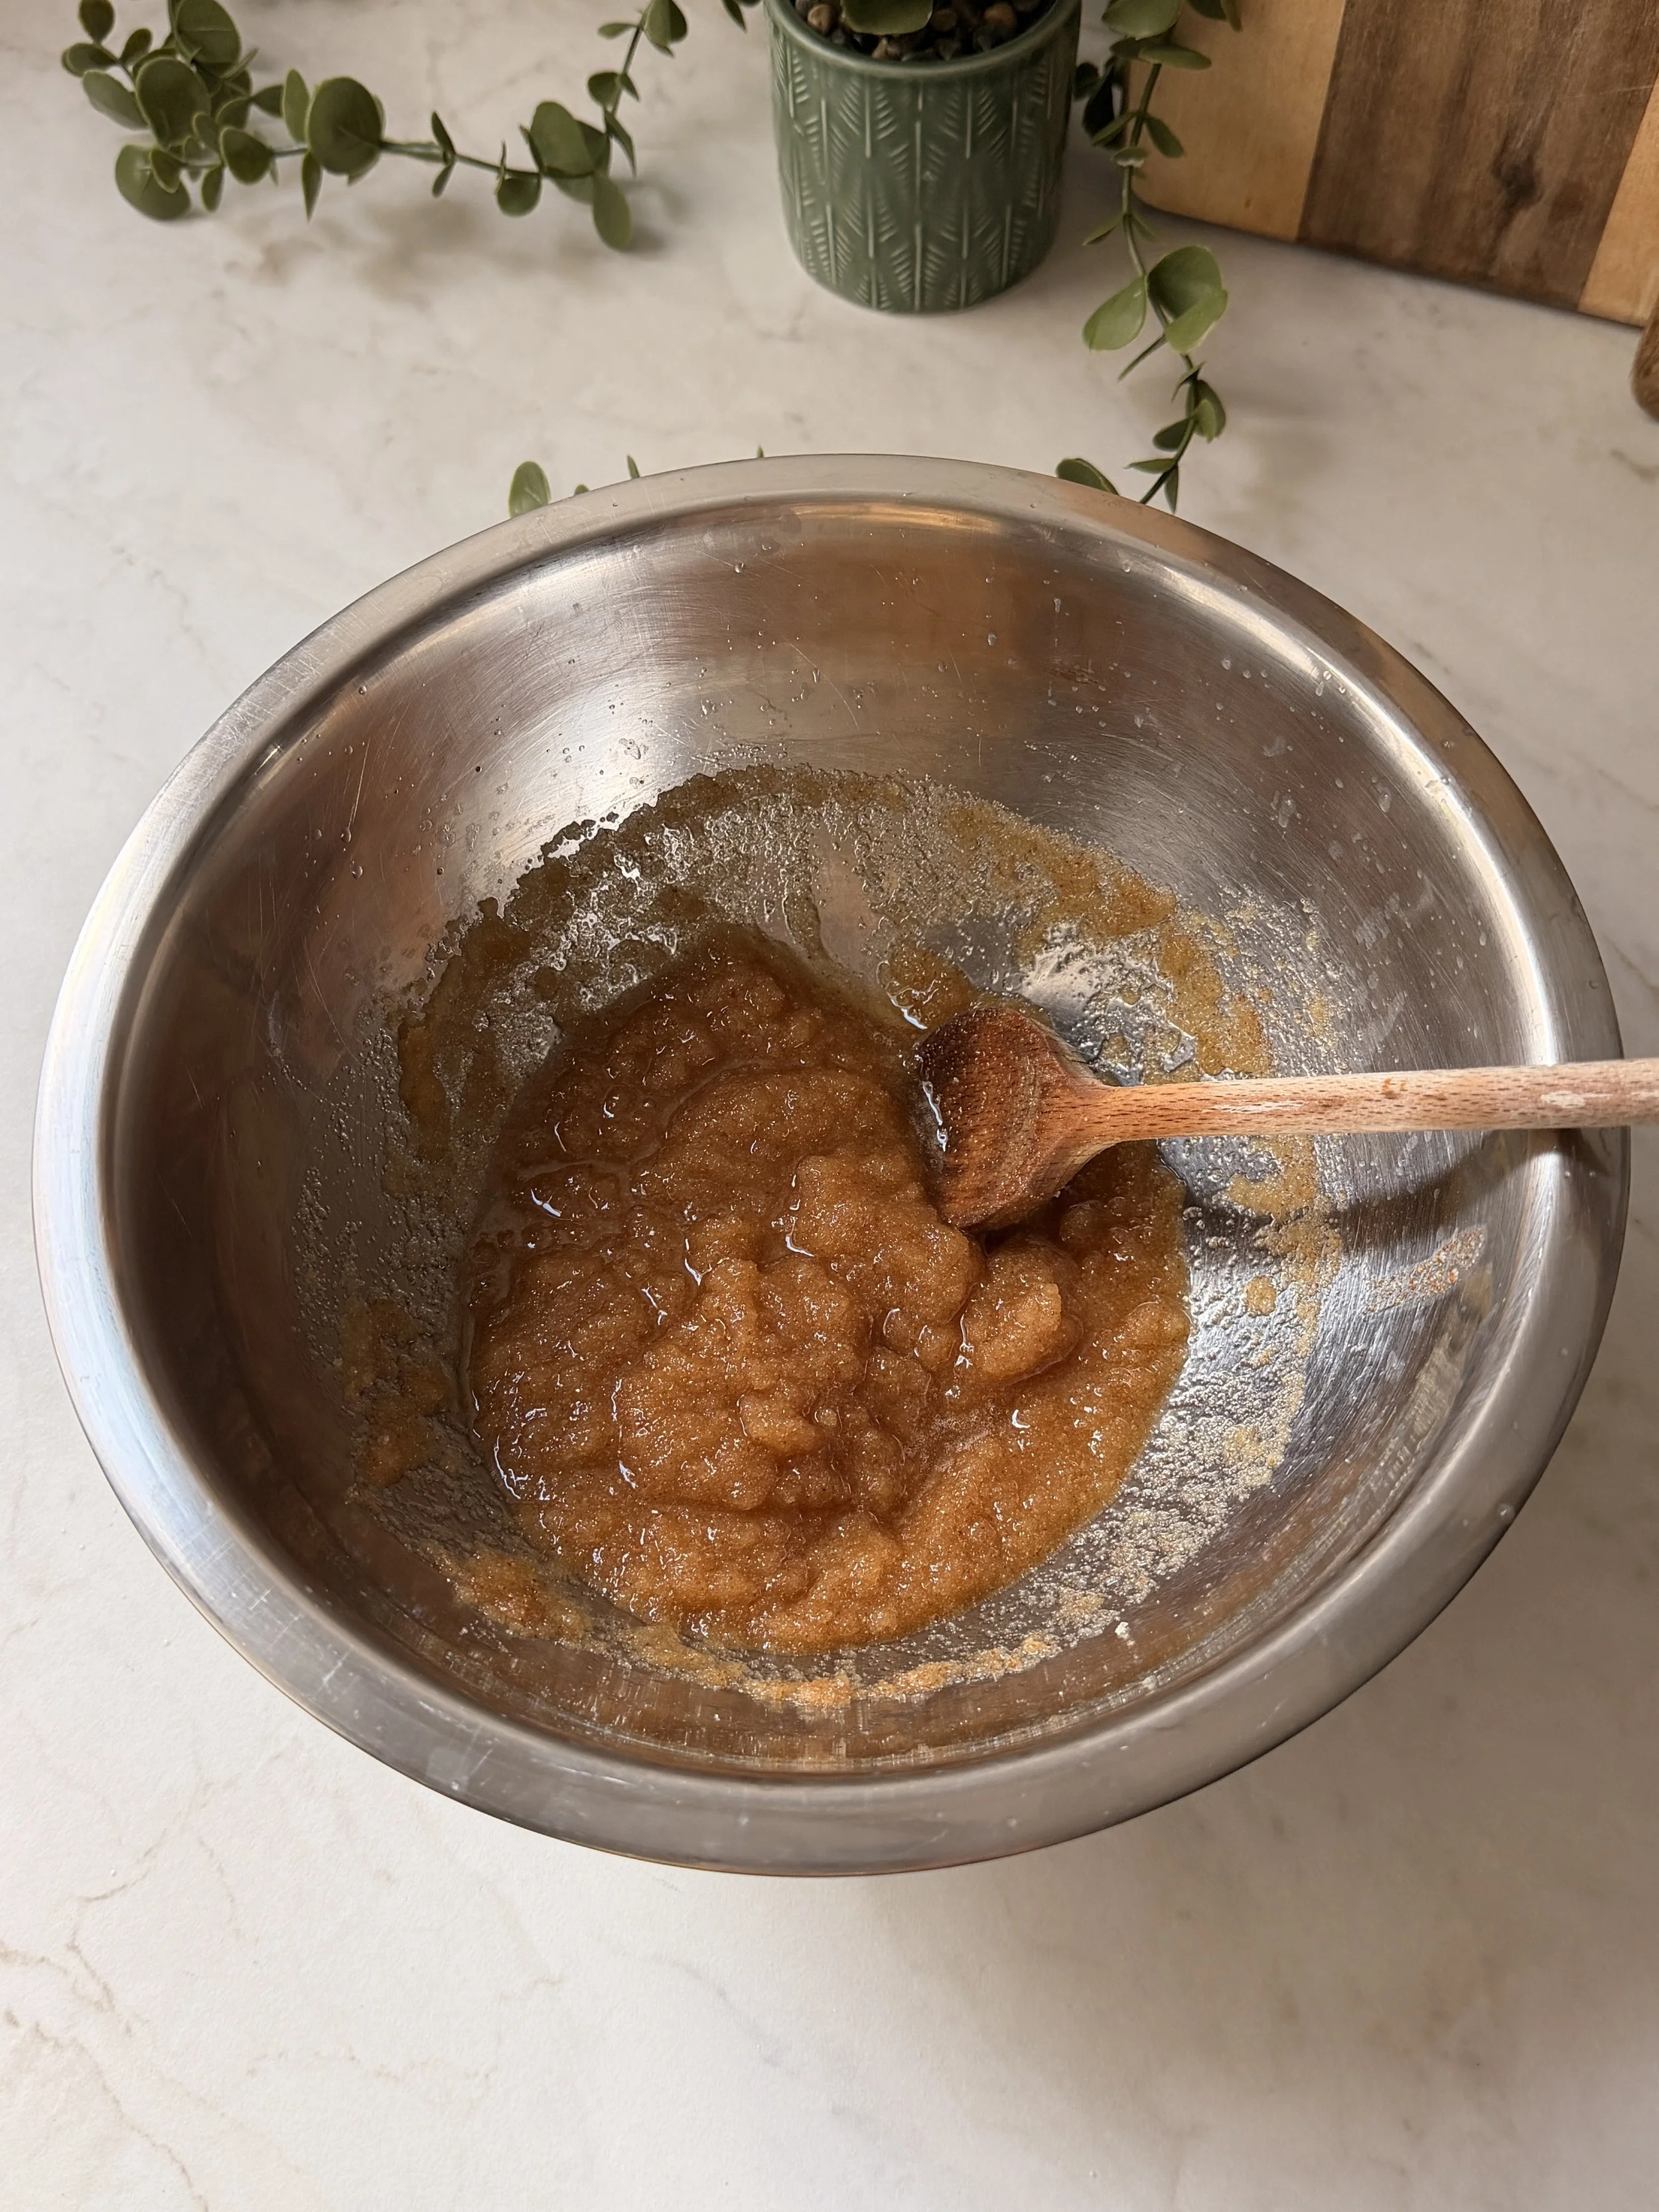
5. Once the brown butter has slightly cooled, mix in the granulated sugar and brown sugar.
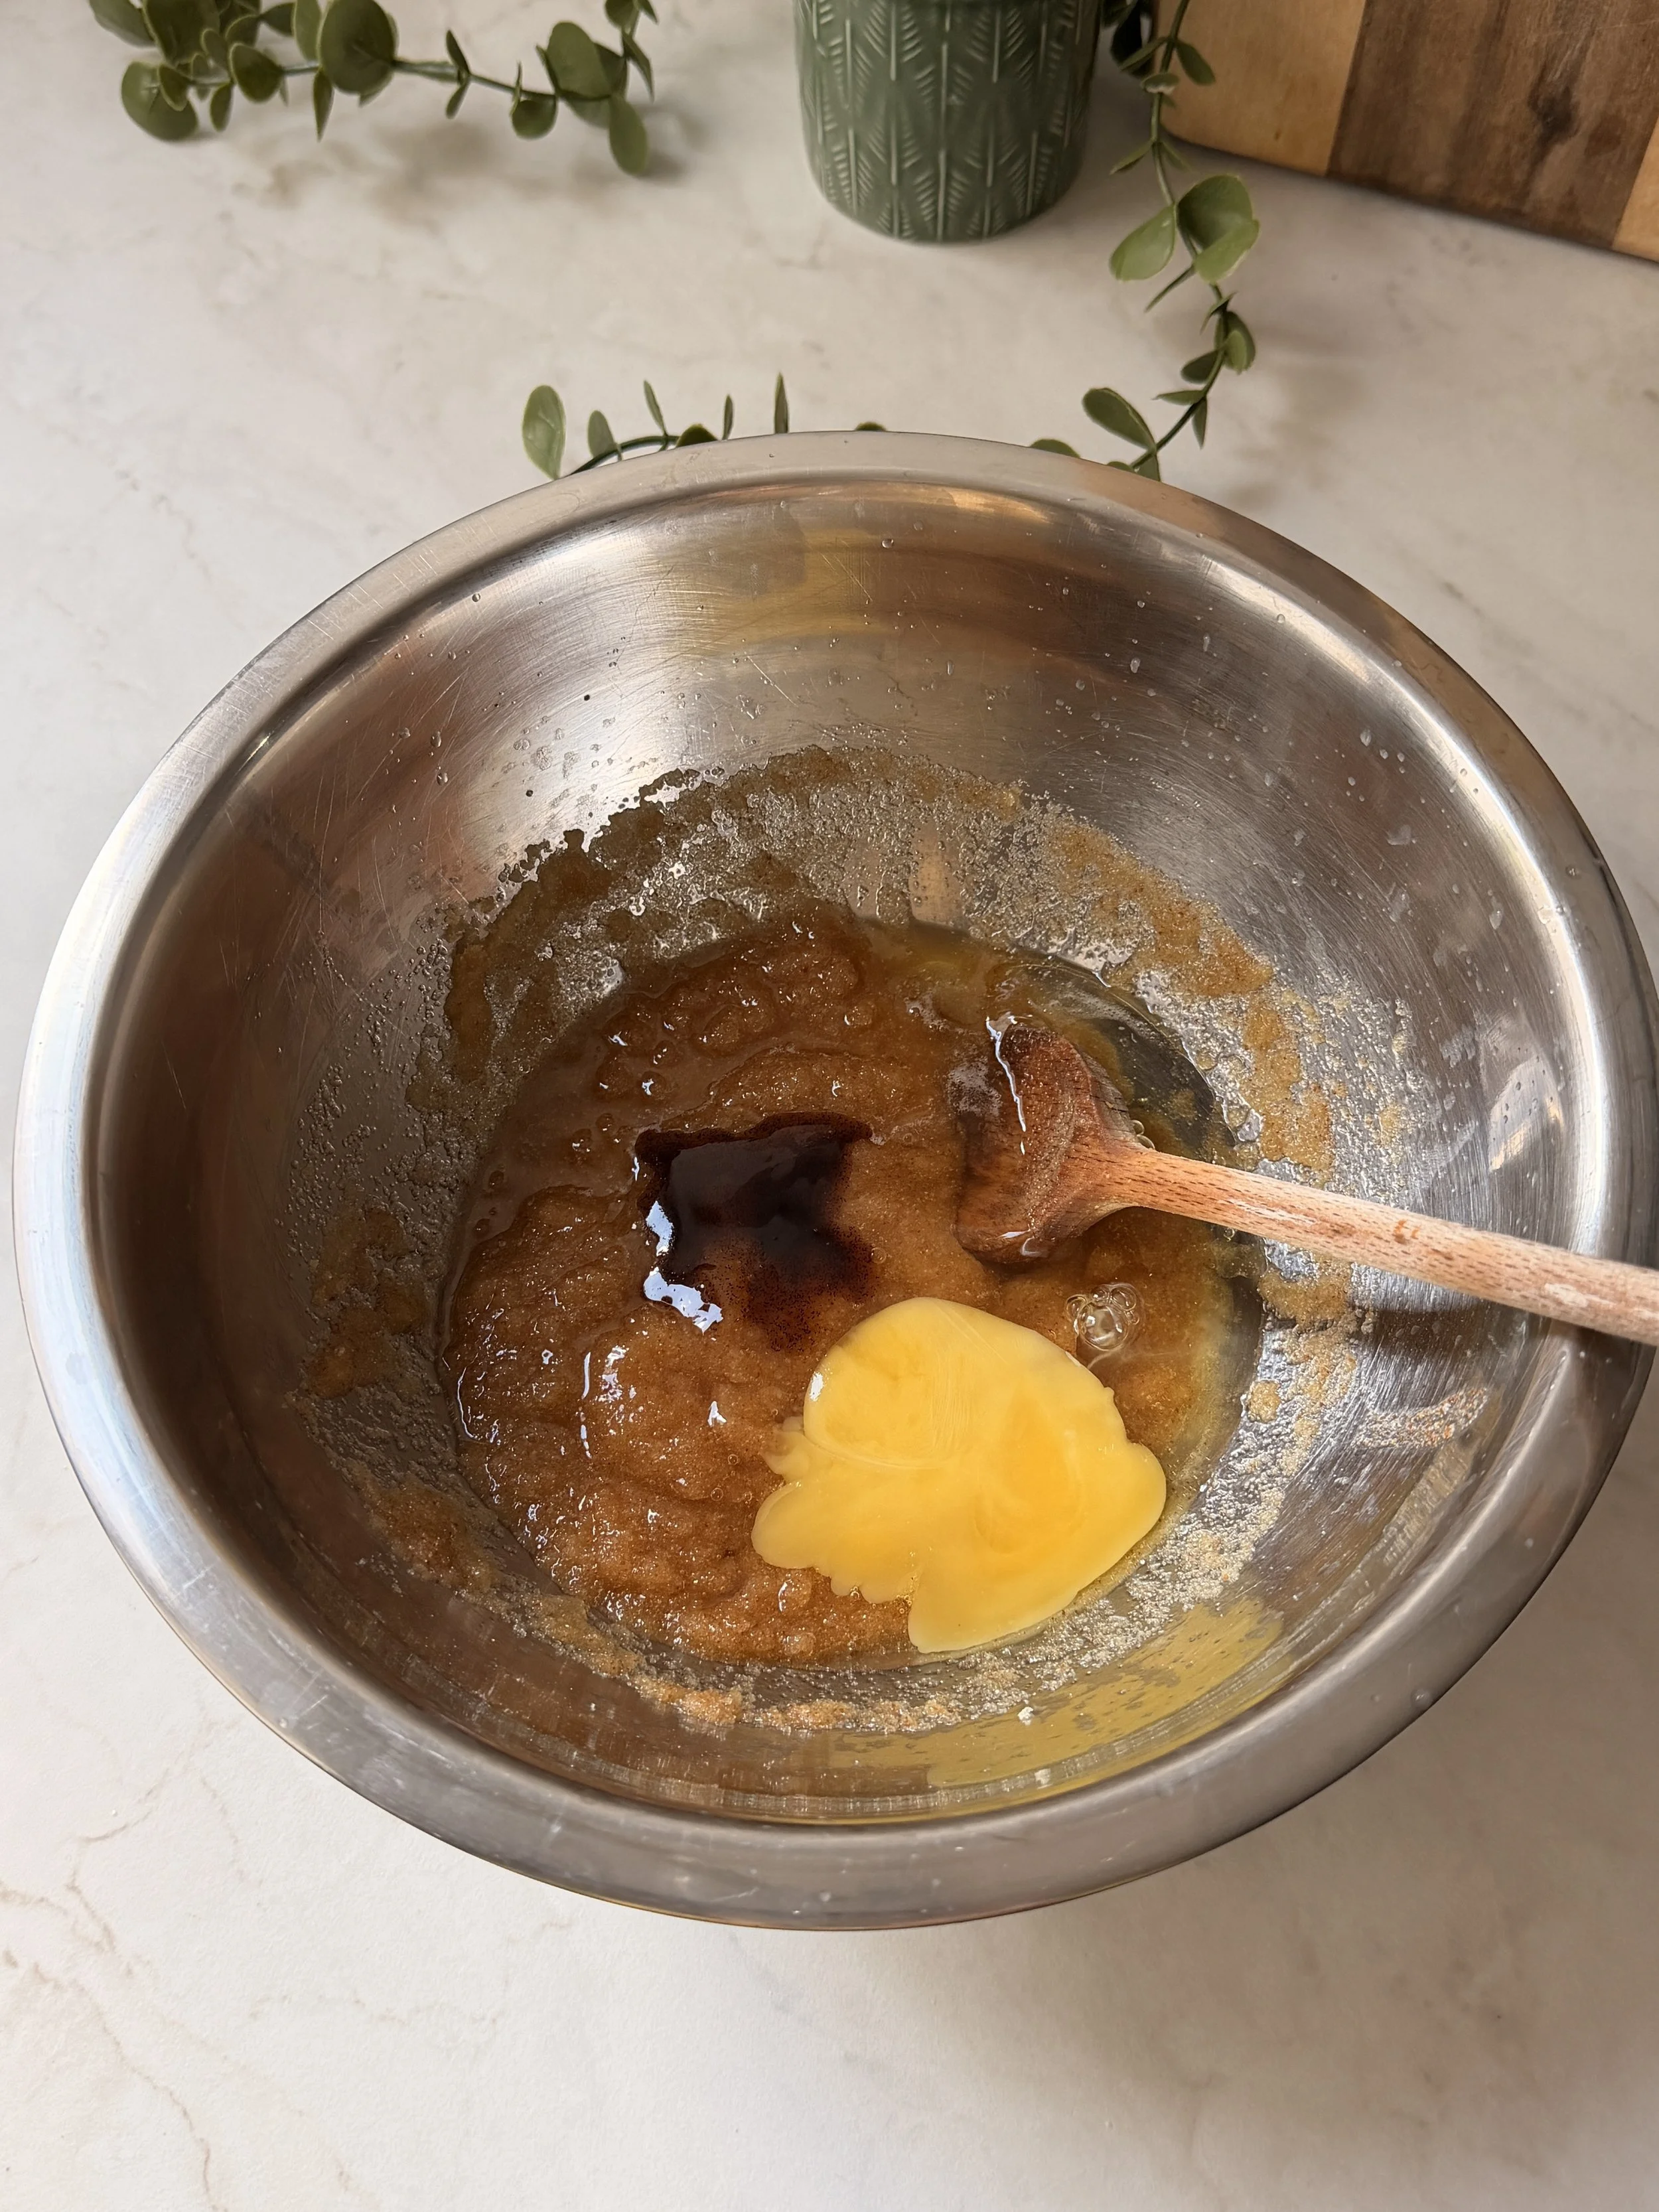
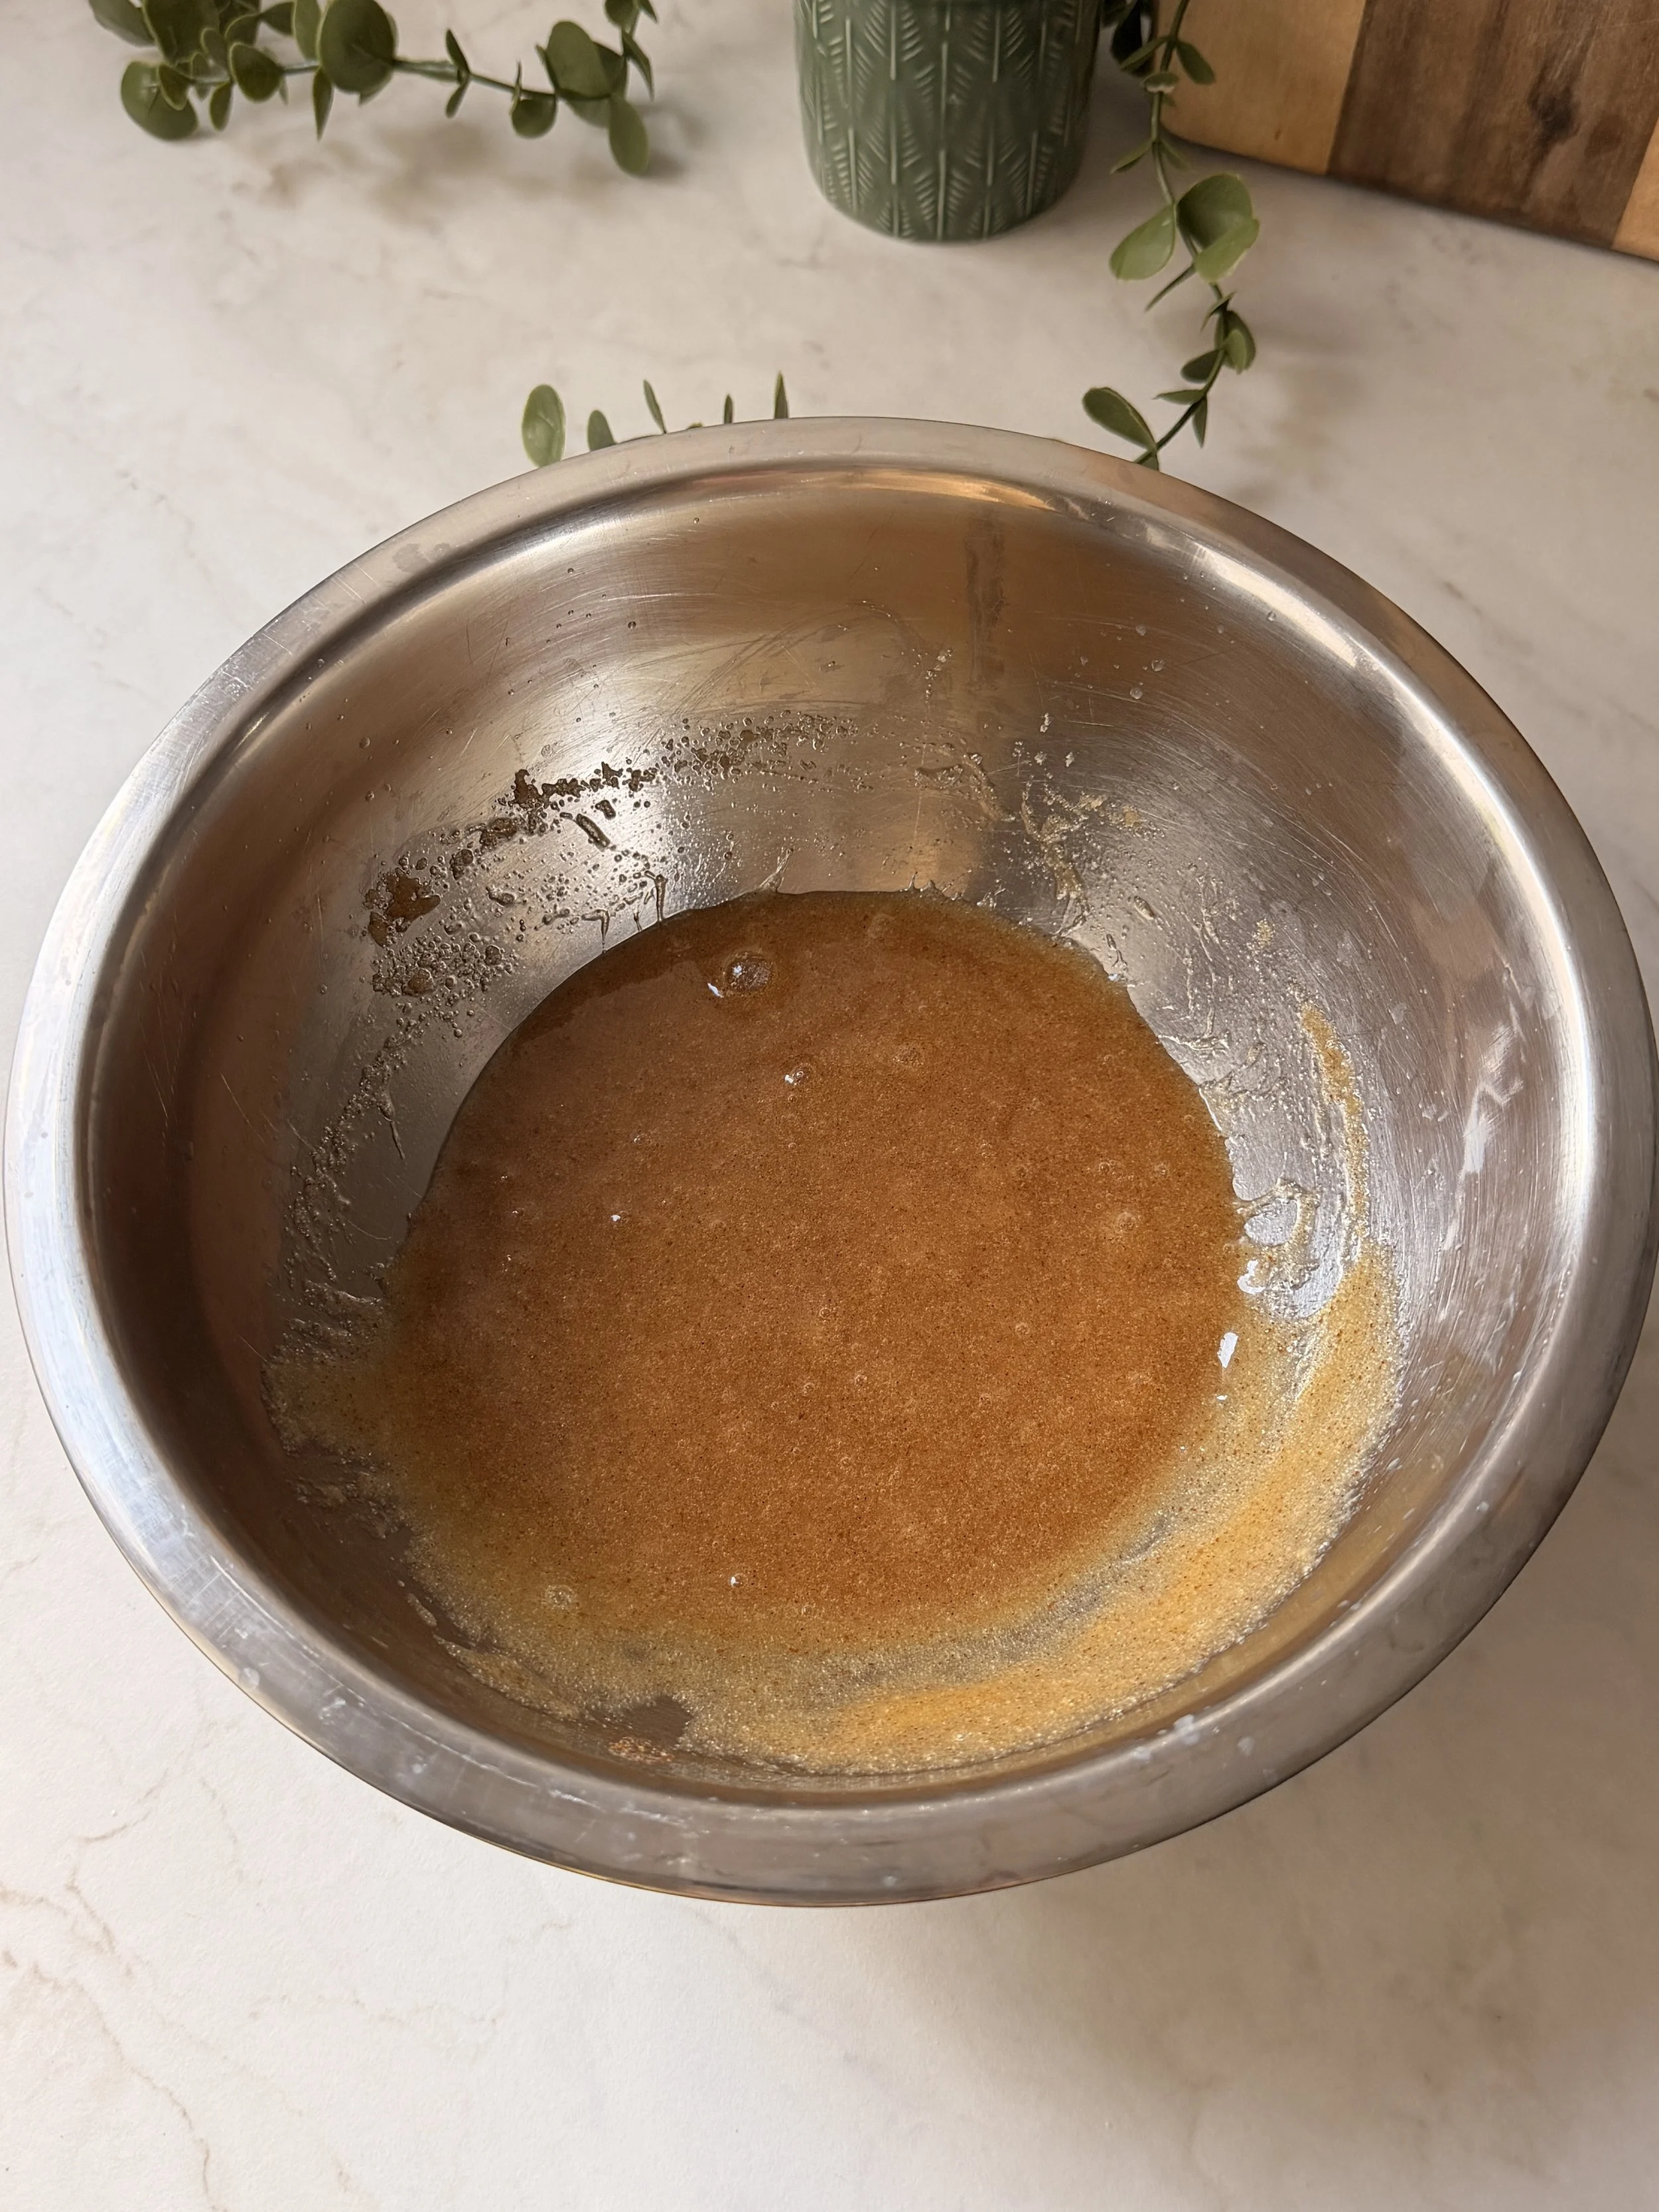
6. Next, mix in the egg and vanilla bean paste.
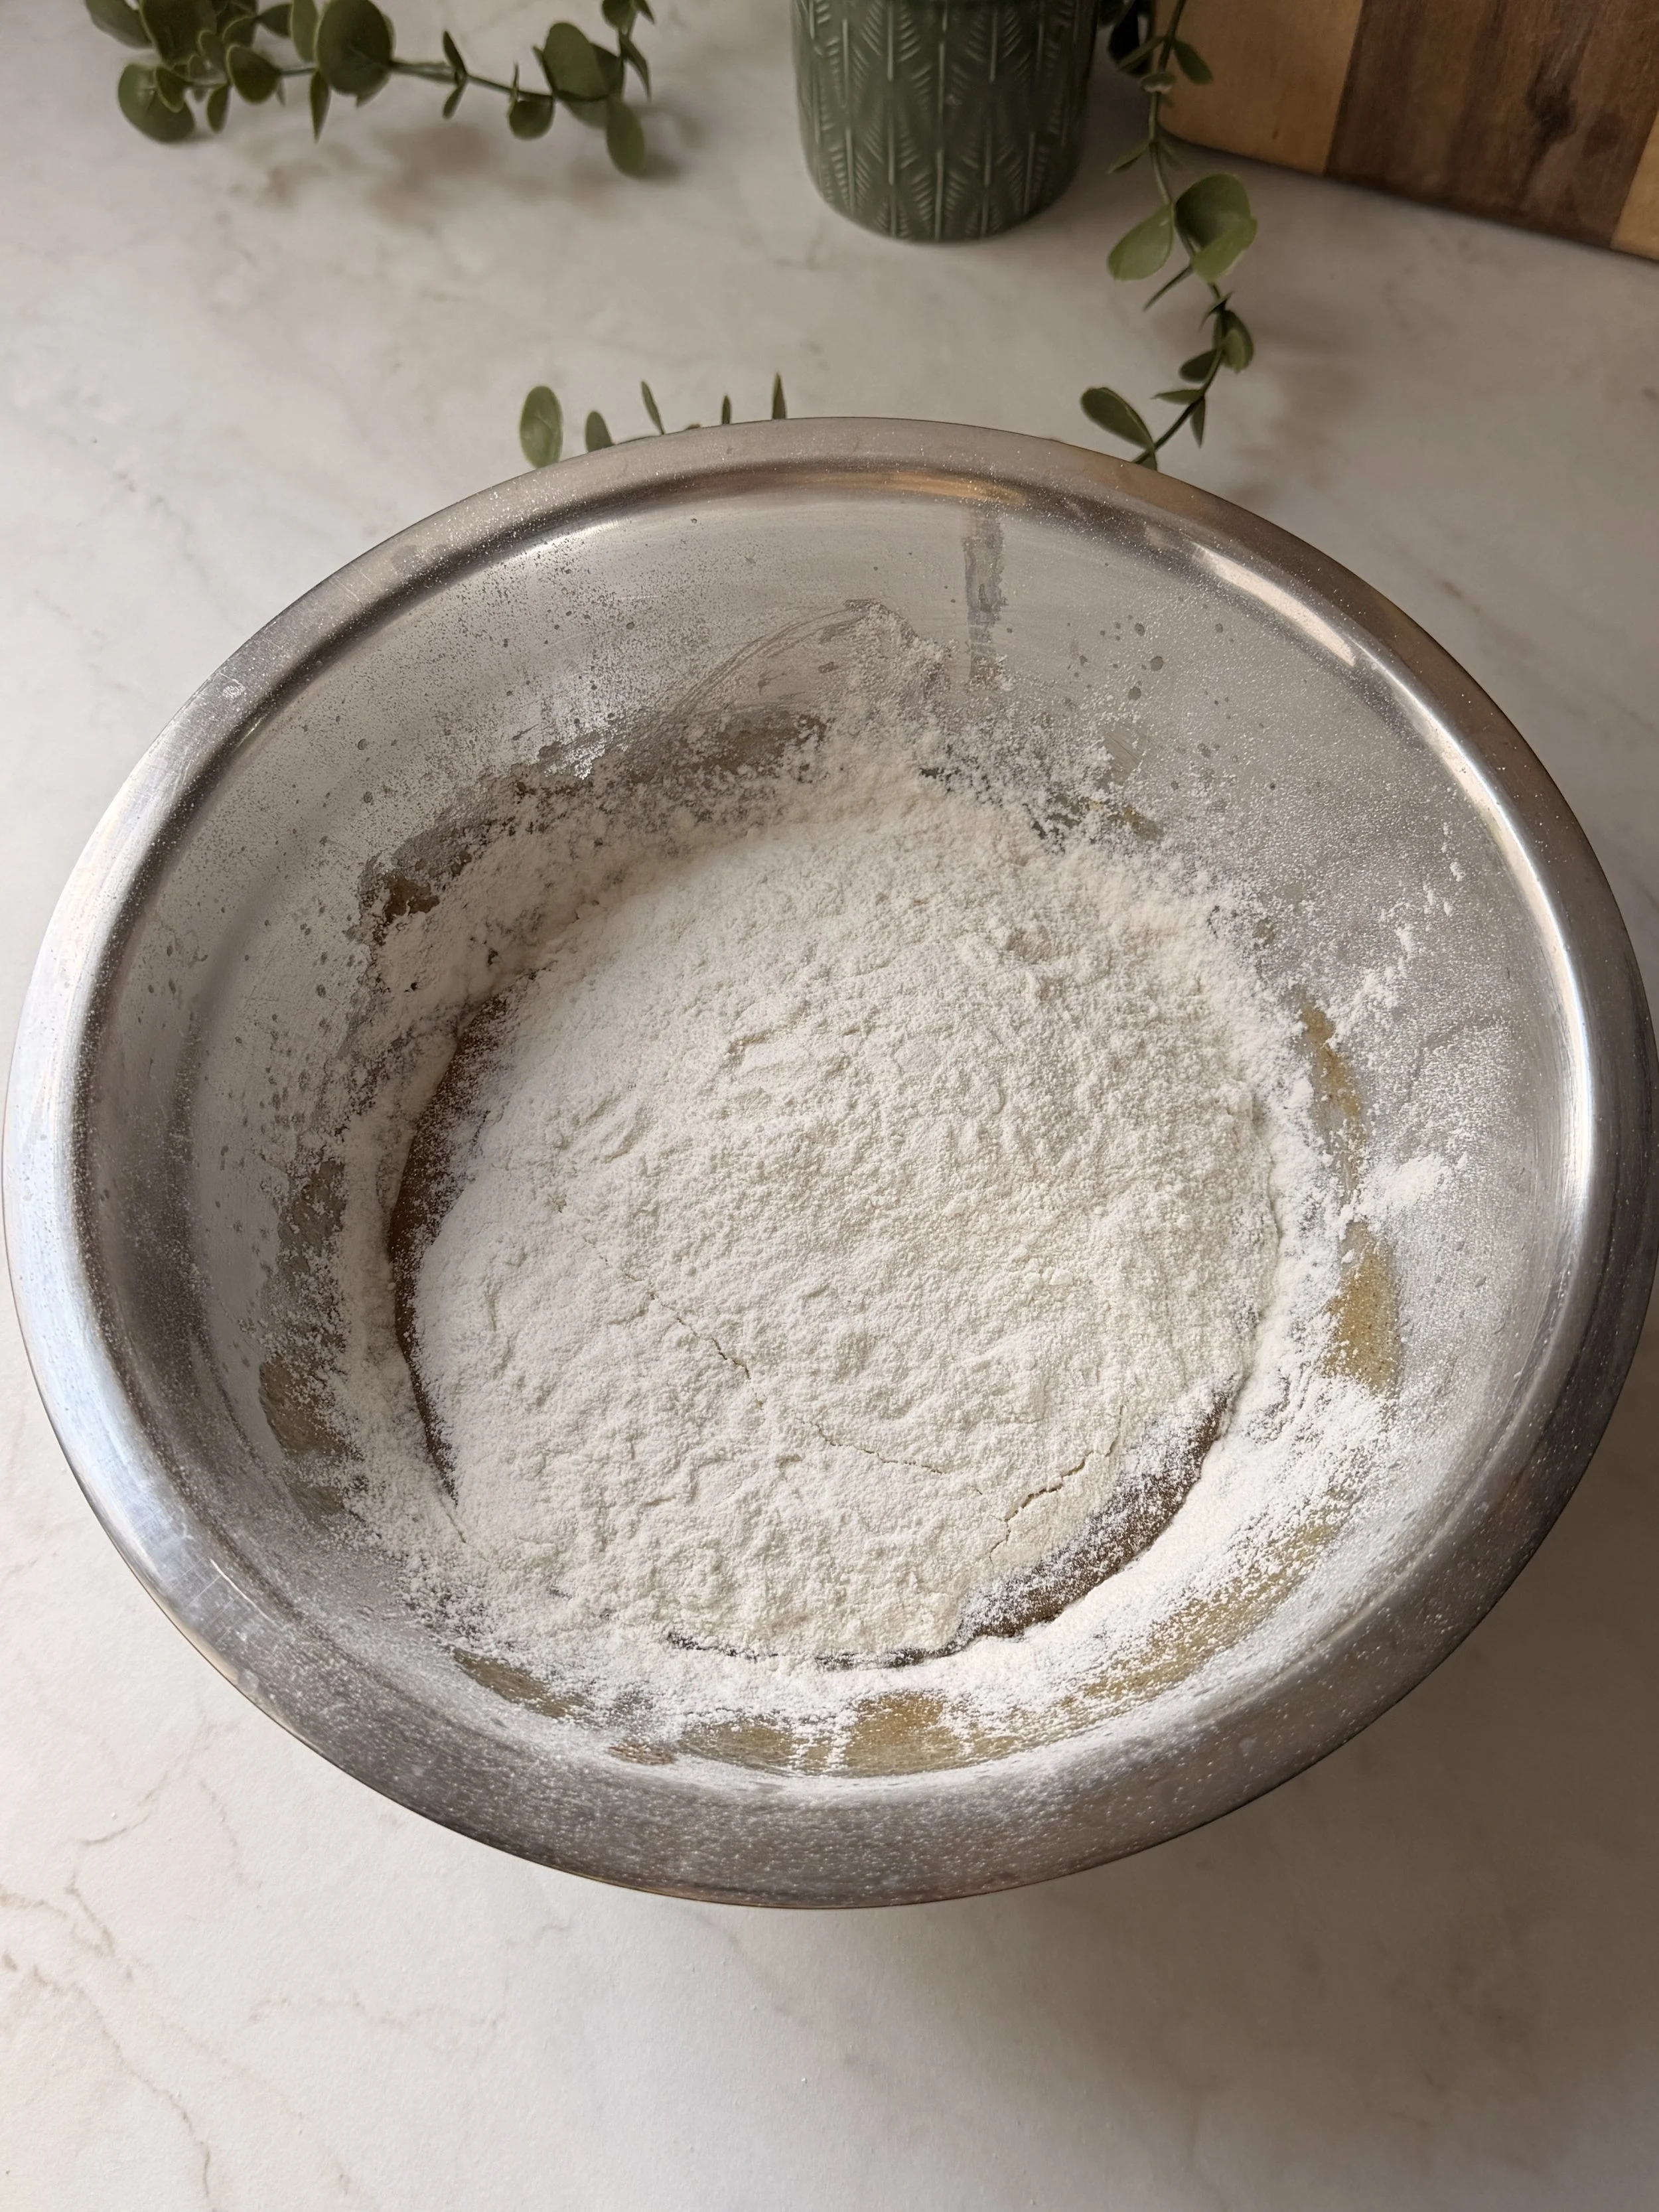
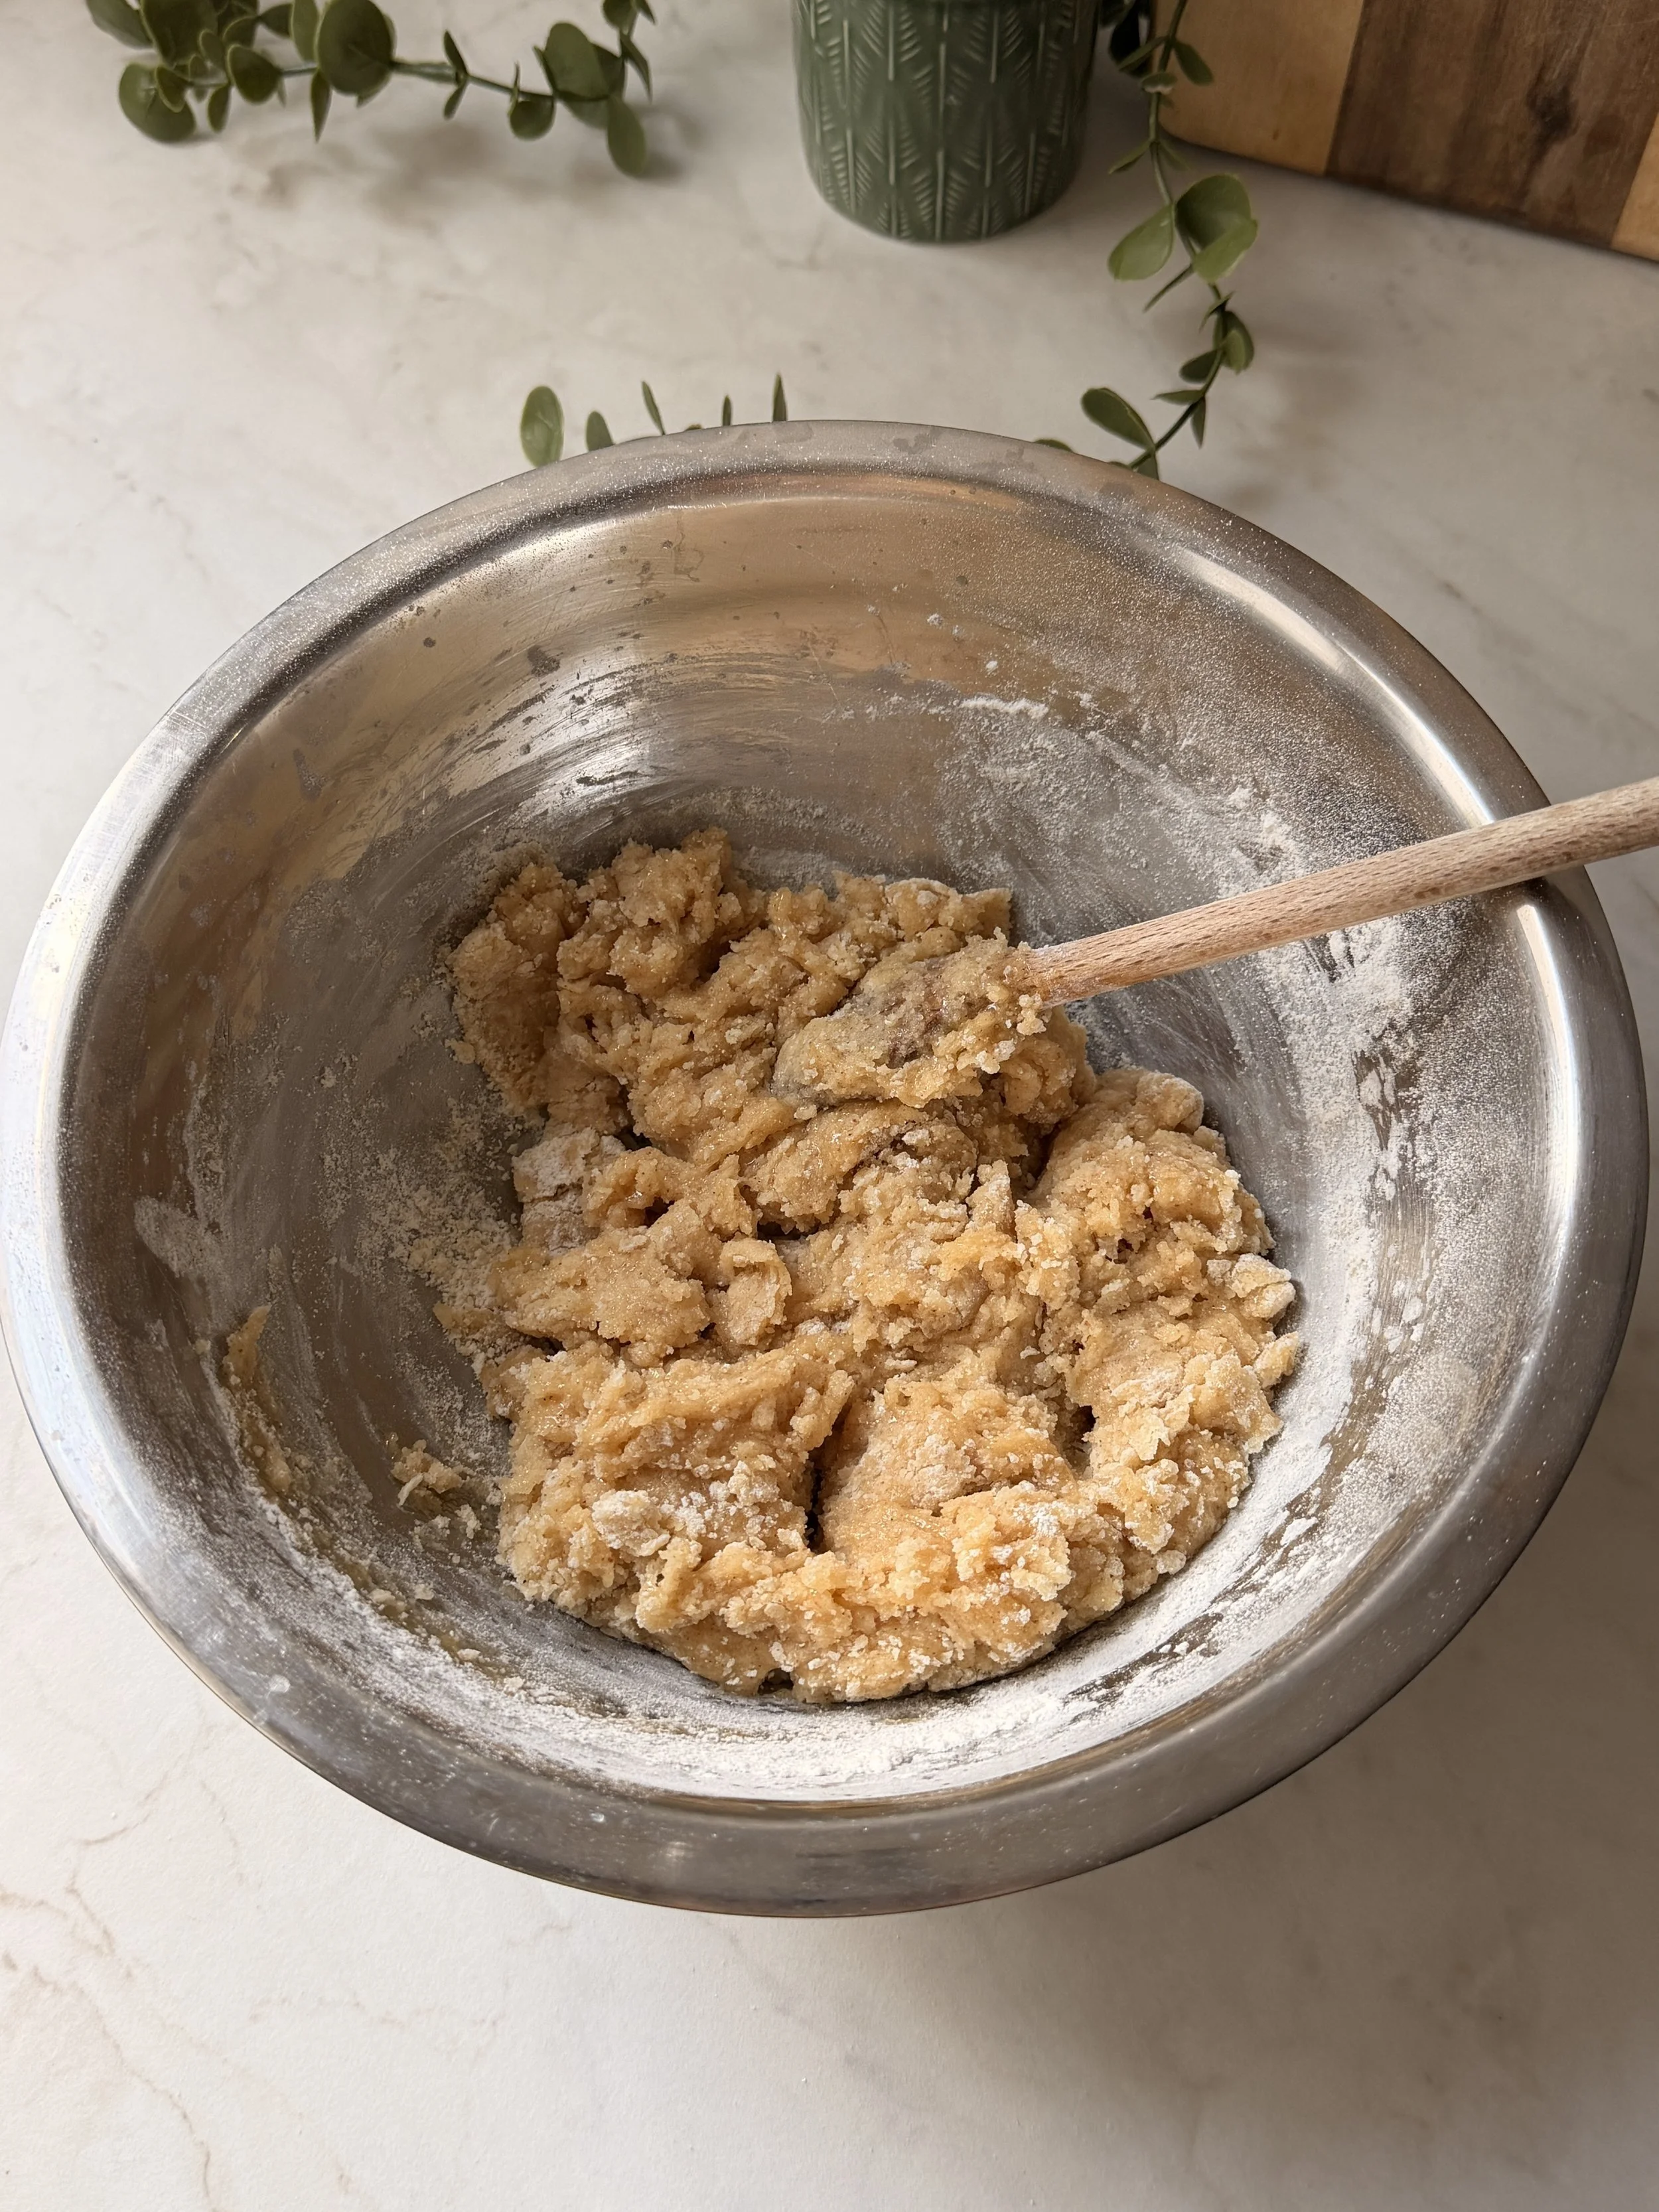
7. Add the baking powder, baking soda, salt and flour. Fold until just combined.
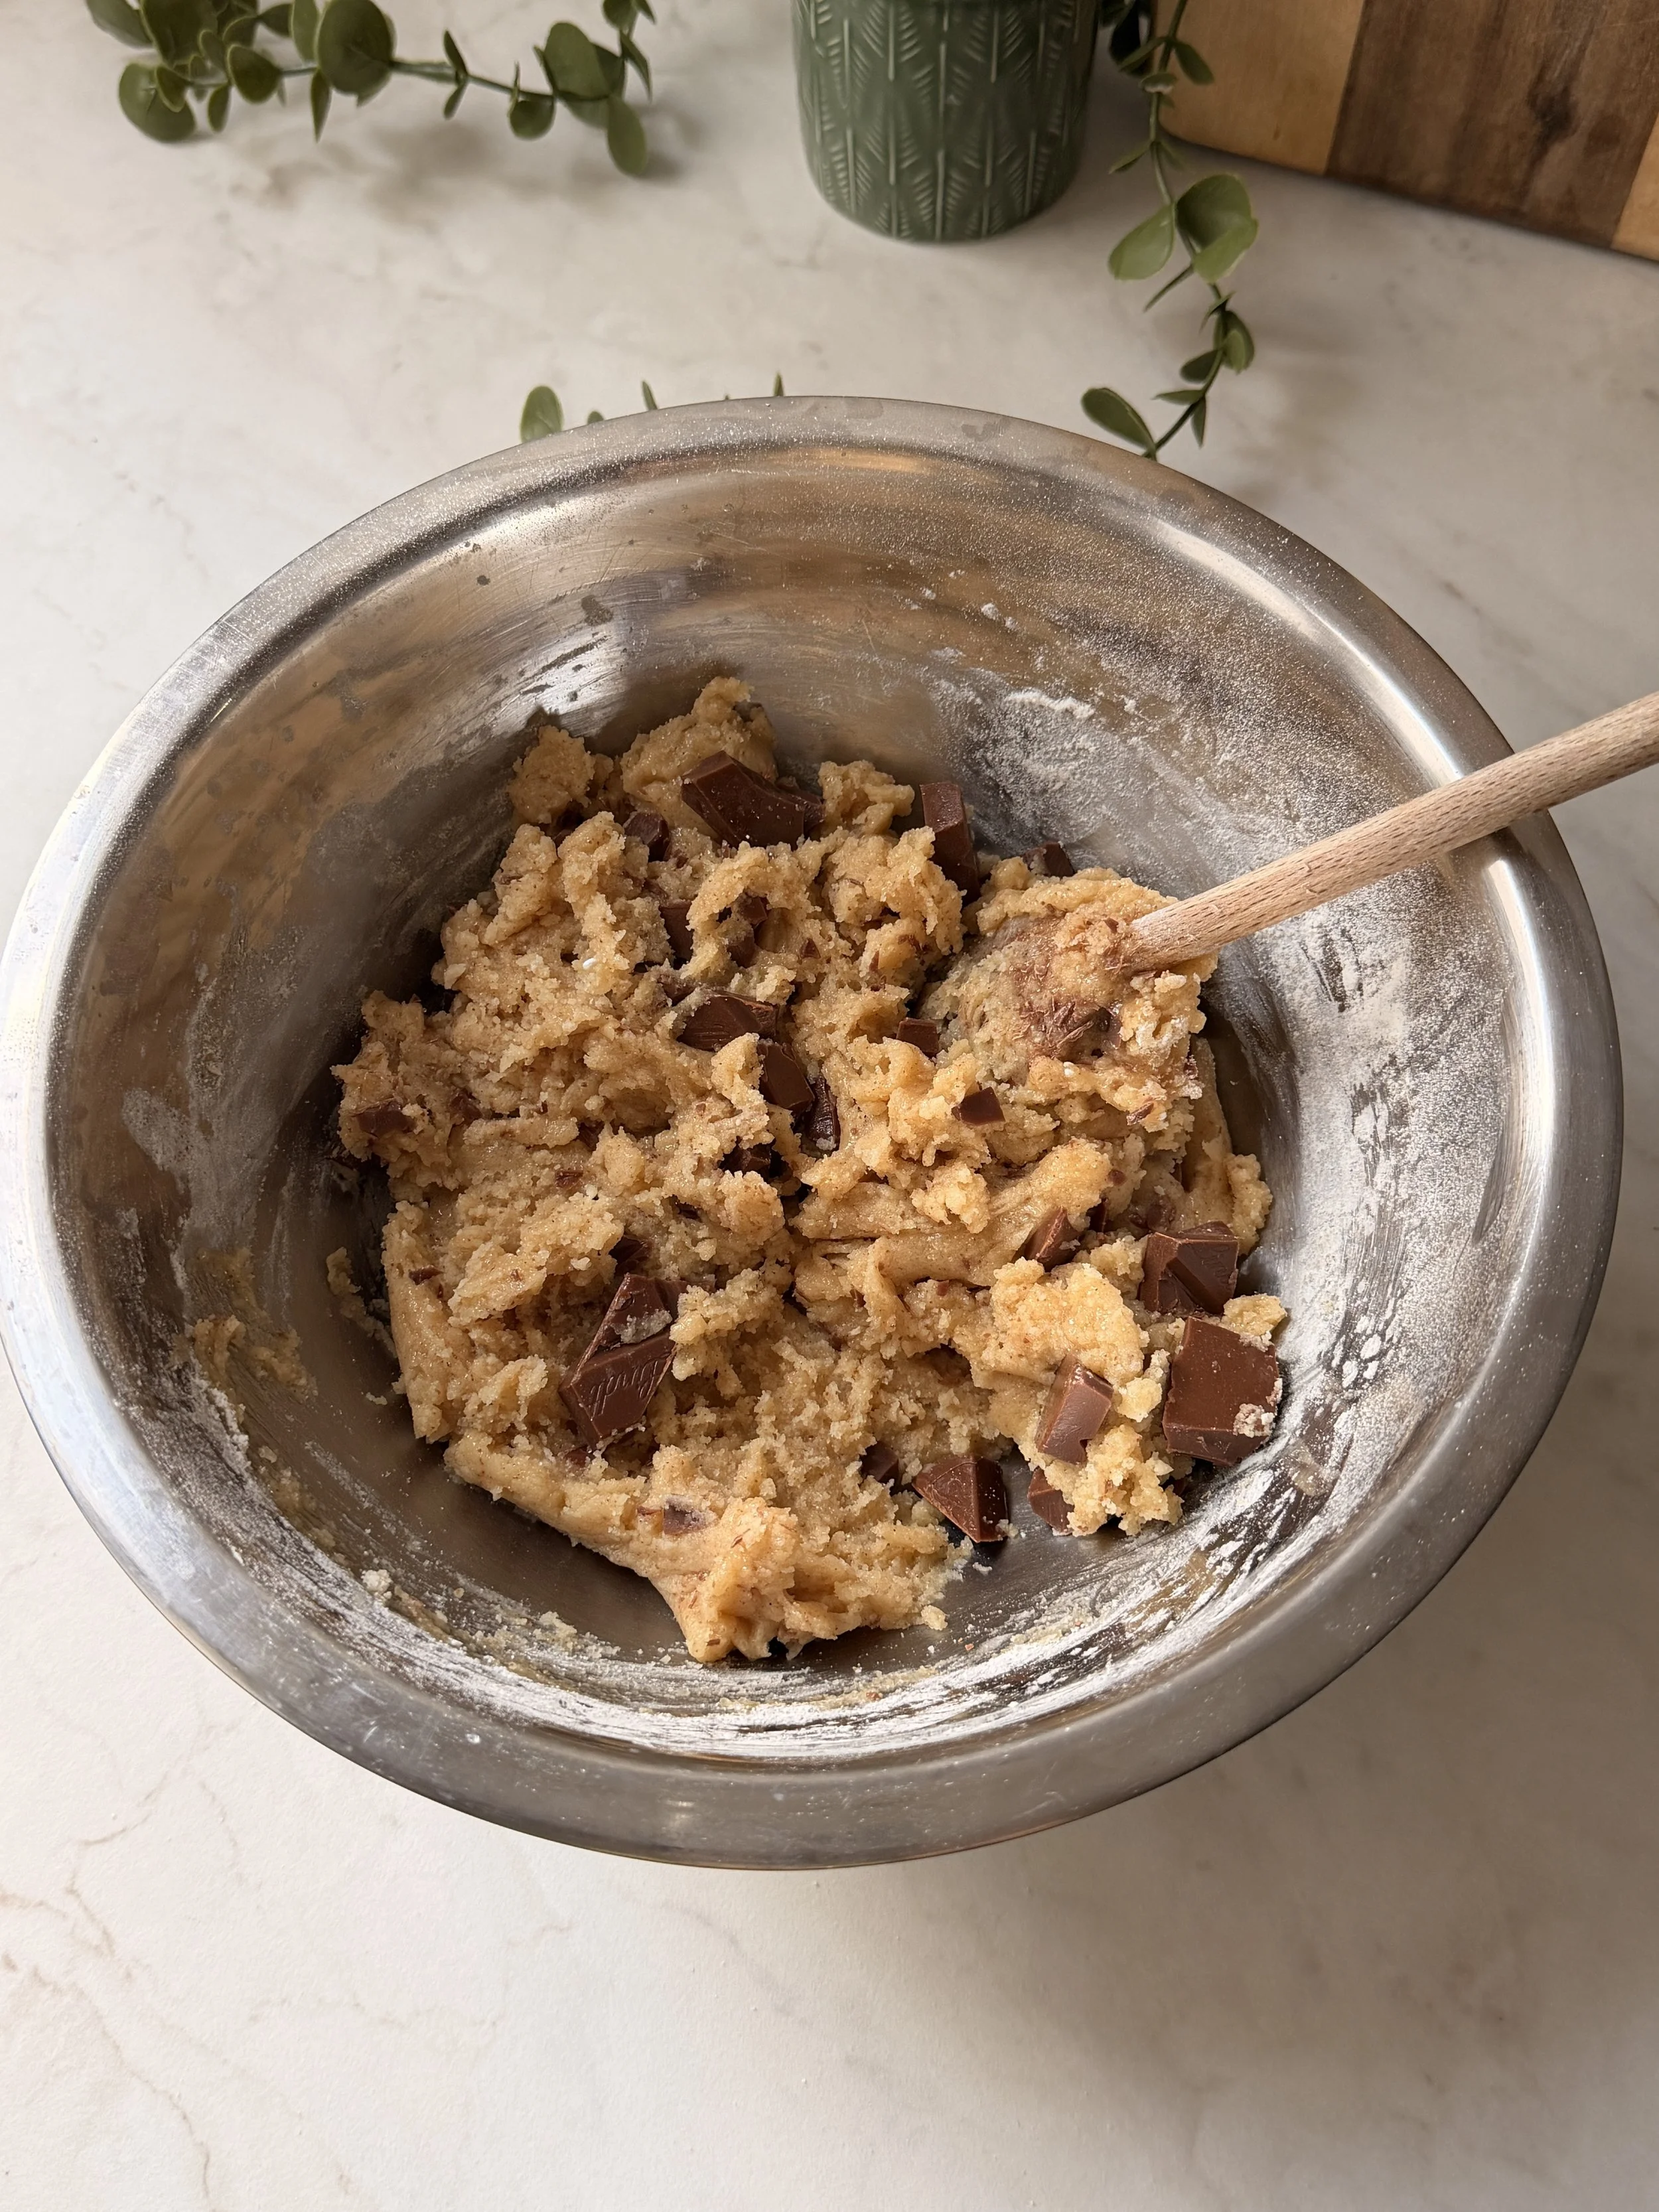
8. Lastly, fold in the chocolate chunks.
9. Cover the bowl with plastic wrap and refrigerate for 45 minutes.
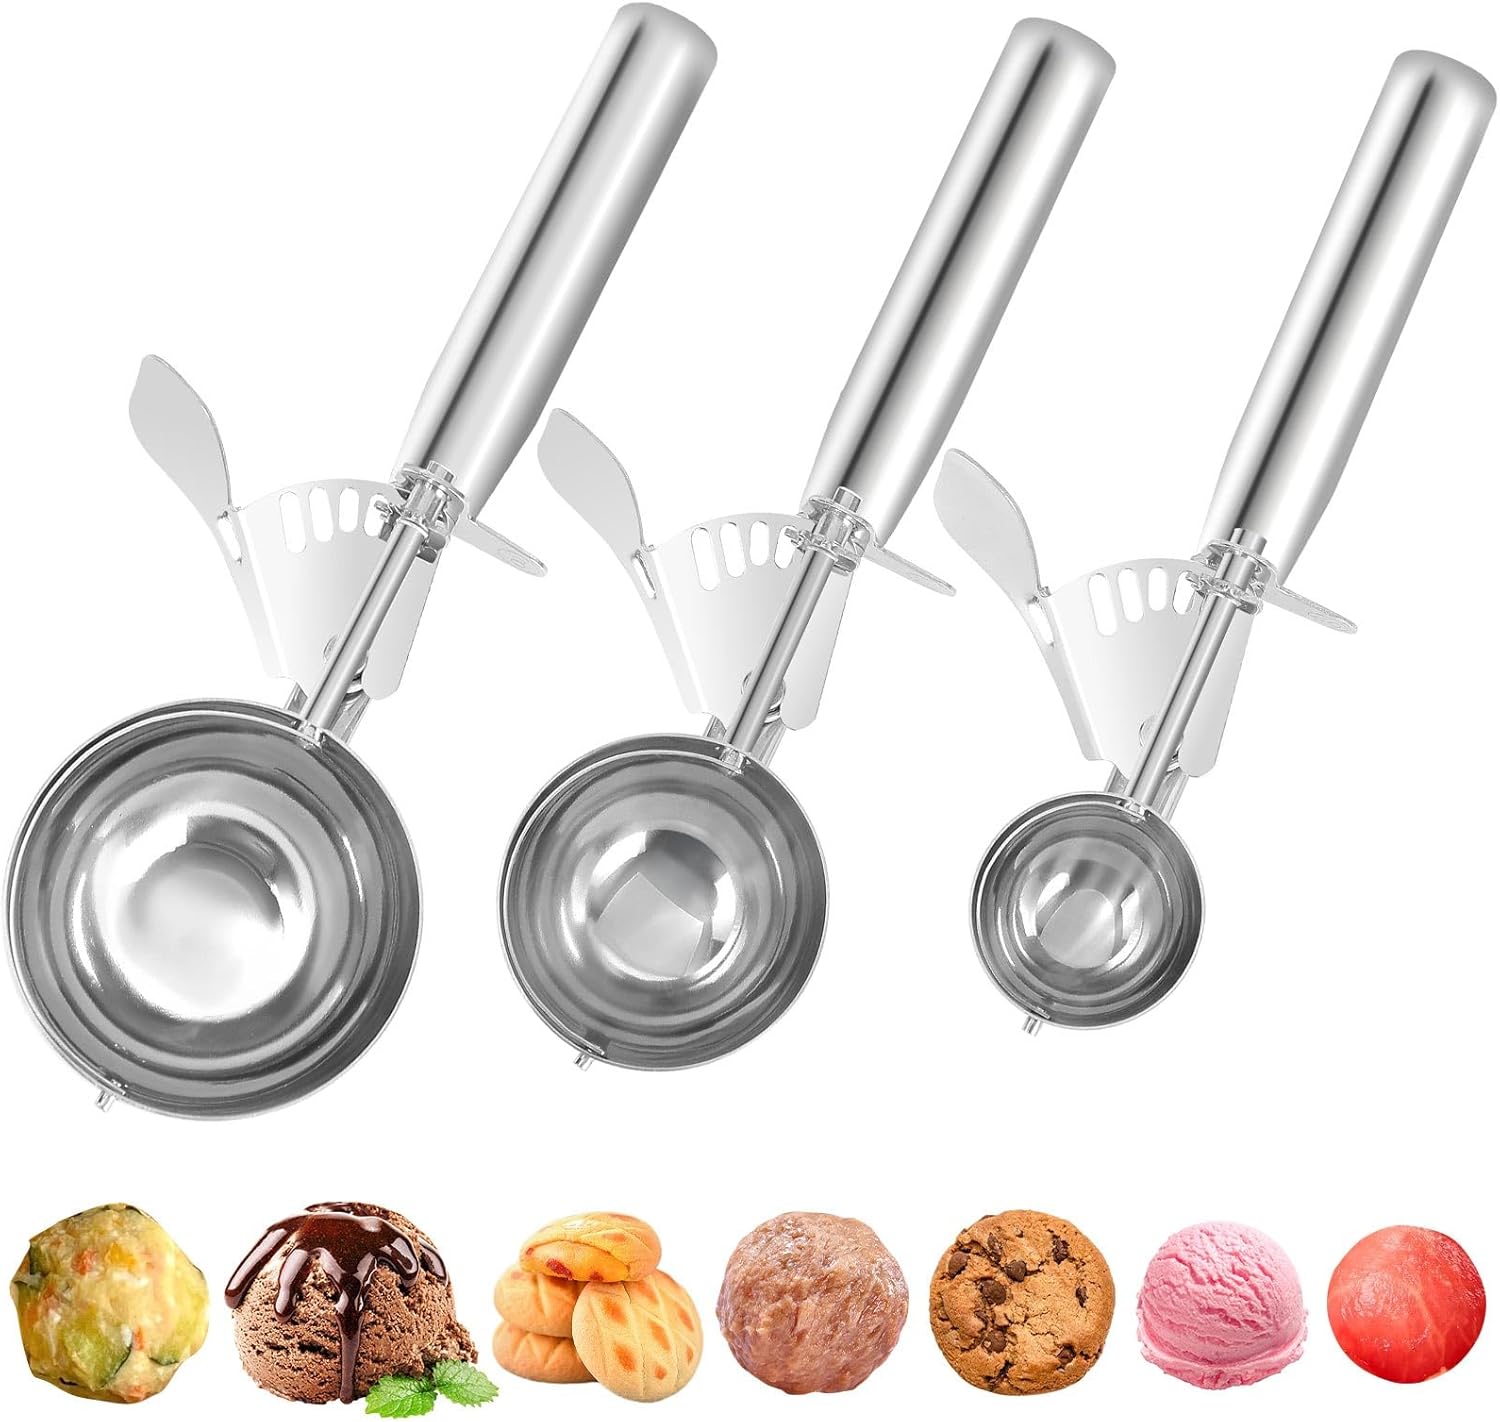
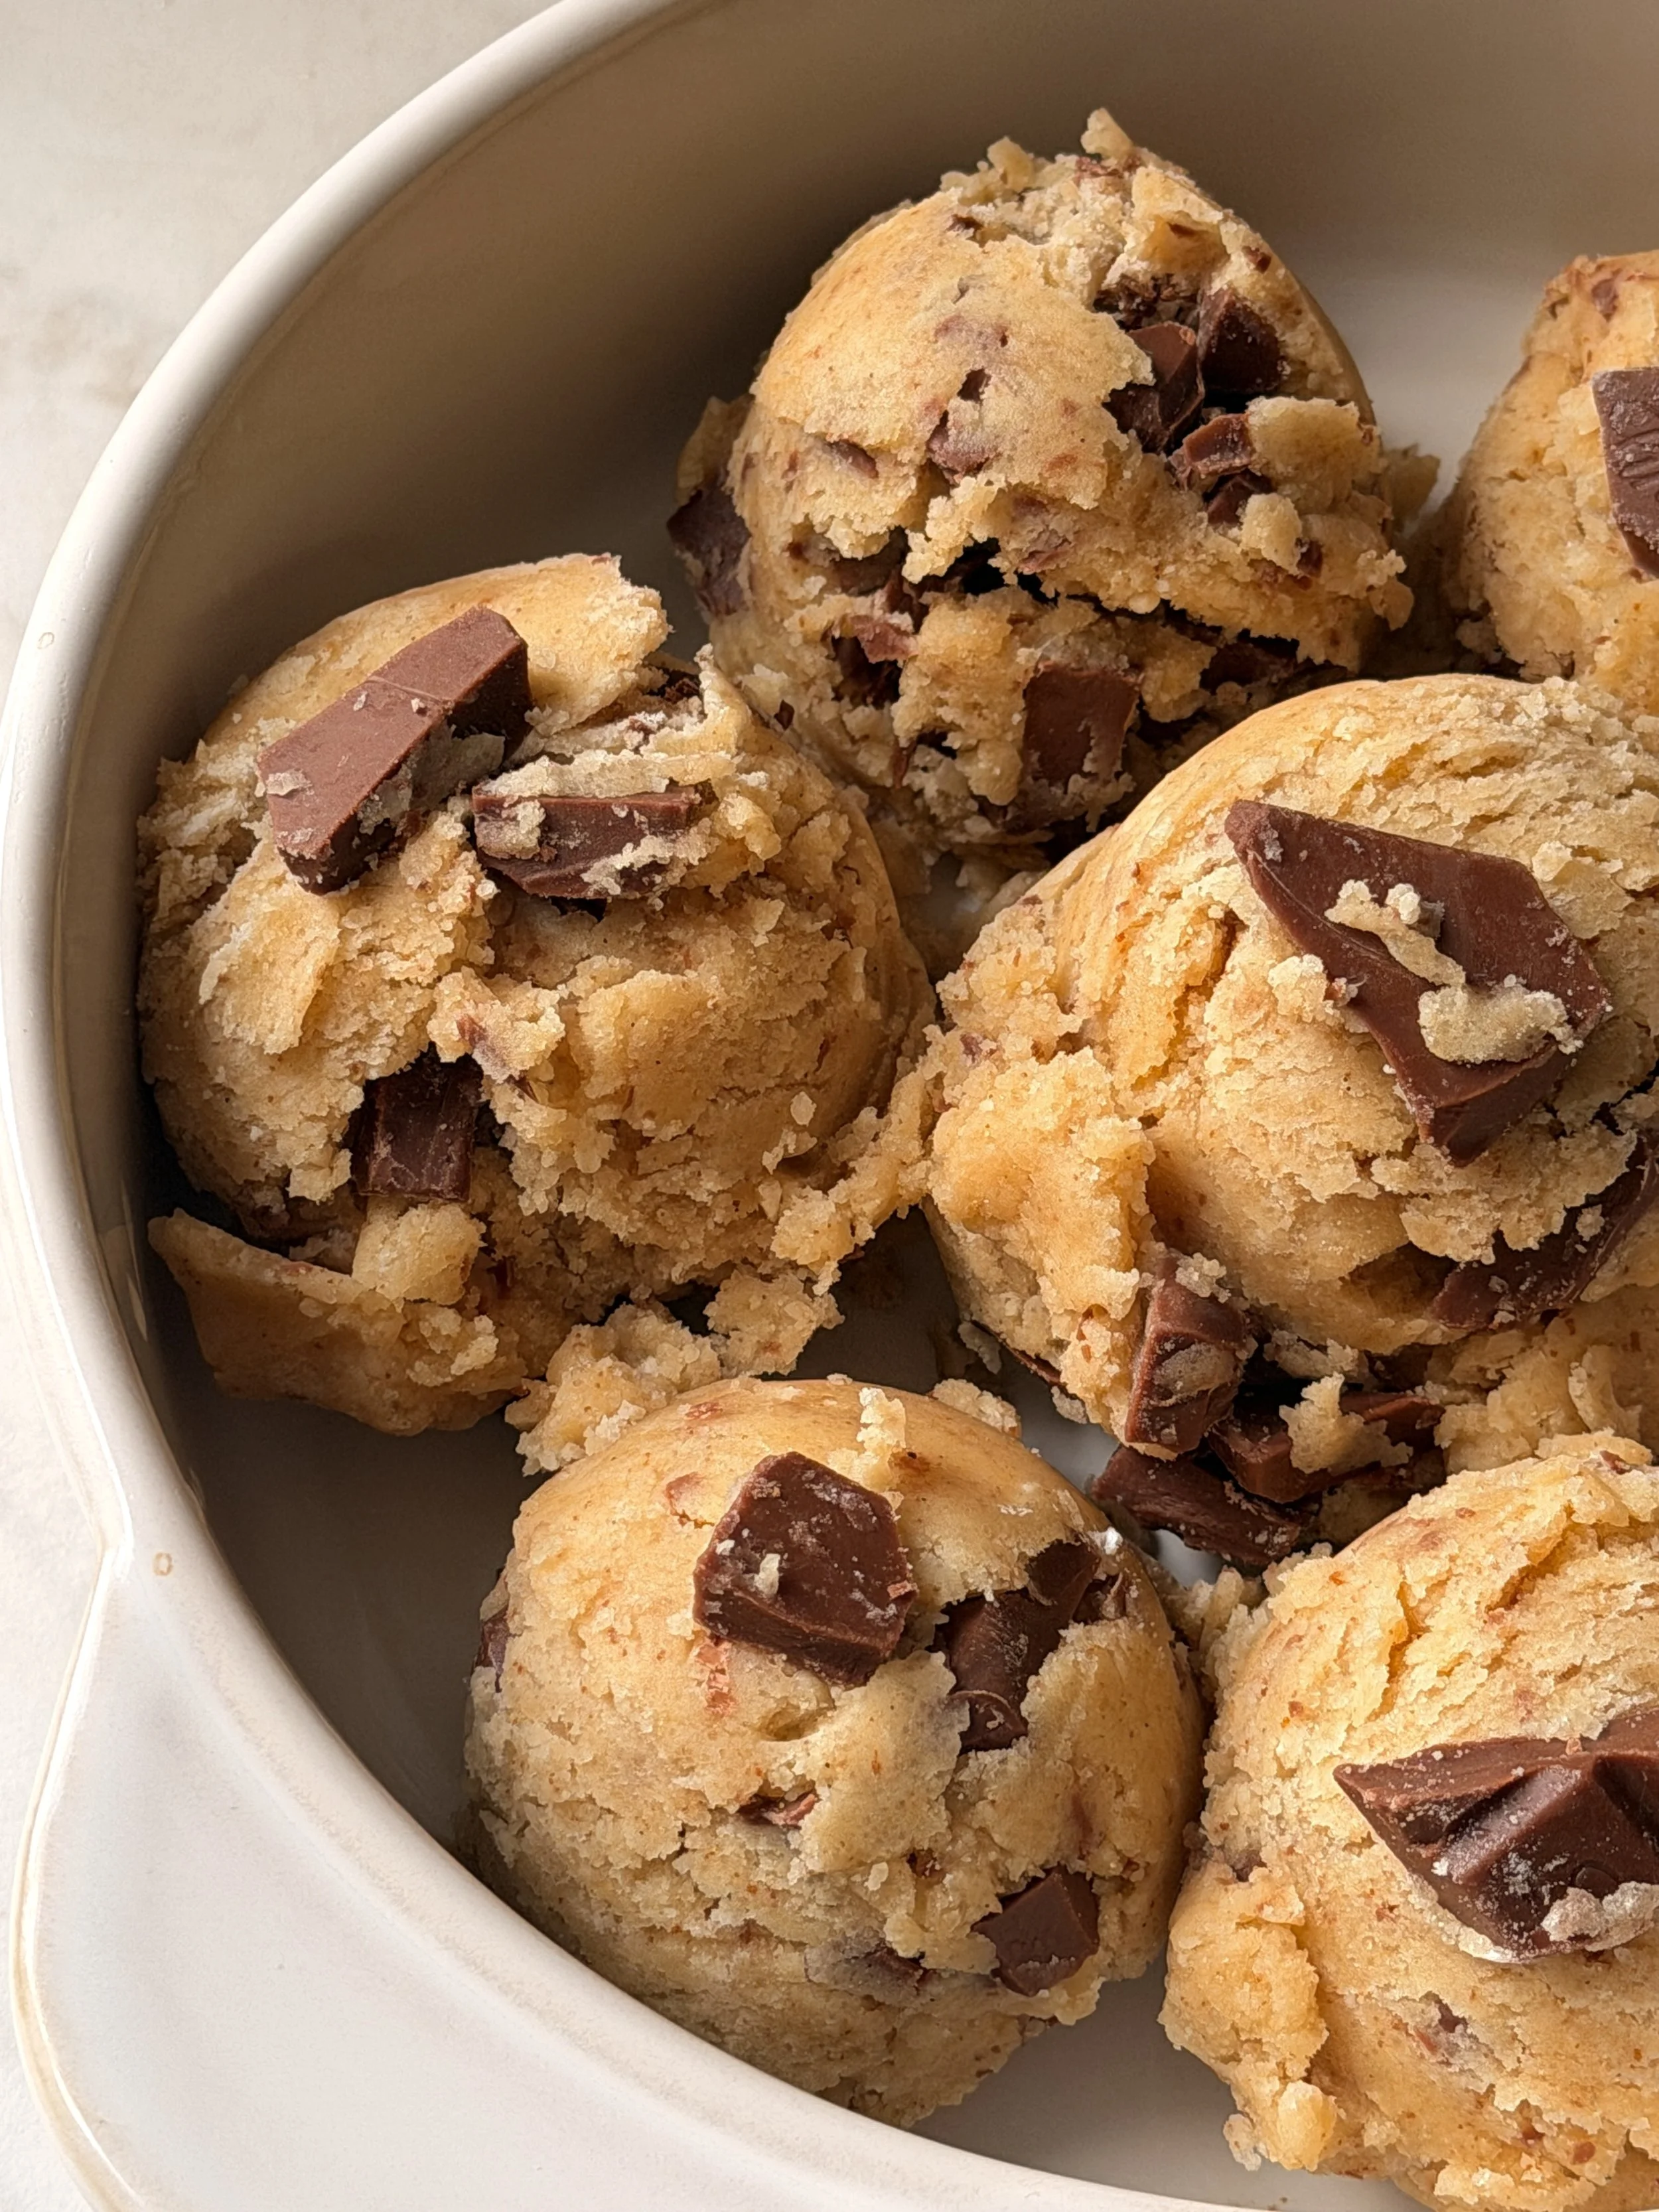
10. After 45 minutes, scoop 7 equal portions into a small (20 cm) round ceramic pan.
11. Top with more chocolate and place it back in the fridge for another 15 minutes.
12. In the meantime, preheat your oven to 180°C.
13. Once the chill time is up, it’s time to bake!
14. Bake in the preheated oven for about 20-22 minutes.
15. Serve warm with ice cream and chocolate ganache.

The Viral Scoopable Cookies
These viral “Scoopable Cookies” are a small batch treat made with rich brown butter and melty milk chocolate chunks. They’re best served warm, straight from the oven, with a scoop of vanilla ice cream on top. :)
Ingredients
- 120g unsalted butter, cubed up (9 tablespoons)
- 75g granulated sugar (1/3 cup + 2 teaspoons)
- 75g light brown sugar (1/3 cup + 1 teaspoon)
- 1 large egg
- 1 teaspoon vanilla bean paste
- 200g all purpose flour (1 cup + 1/2 cup + 1 tablespoon)
- A pinch of salt
- 1/2 teaspoon baking powder + 1/4 teaspoon baking soda
- 120g chocolate chips + more for topping (3/4 cup)
Instructions
- First, brown the butter.
- Add the cubed butter to a saucepan and let it melt over medium heat.
- Once melted, let it simmer, stirring constantly, until it turns golden and the milk solids turn brown. Be careful not to burn it!
- Once ready, pour it into a large bowl and let it cool for 15 minutes.
- Once the brown butter has slightly cooled, mix in the granulated sugar and brown sugar.
- Next, mix in the egg and vanilla bean paste.
- Add the baking powder, baking soda, salt and flour. Fold until just combined.
- Lastly, fold in the chocolate chunks.
- Cover the bowl with plastic wrap and refrigerate for 45 minutes.
- After 45 minutes, scoop 7 equal portions into a small (20 cm) round ceramic pan.
- Top with more chocolate and place it back in the fridge for another 15 minutes.
- In the meantime, preheat your oven to 180°C.
- Once the chill time is up, it’s time to bake!
- Bake in the preheated oven for about 20-22 minutes.
- Serve warm with ice cream and chocolate ganache.