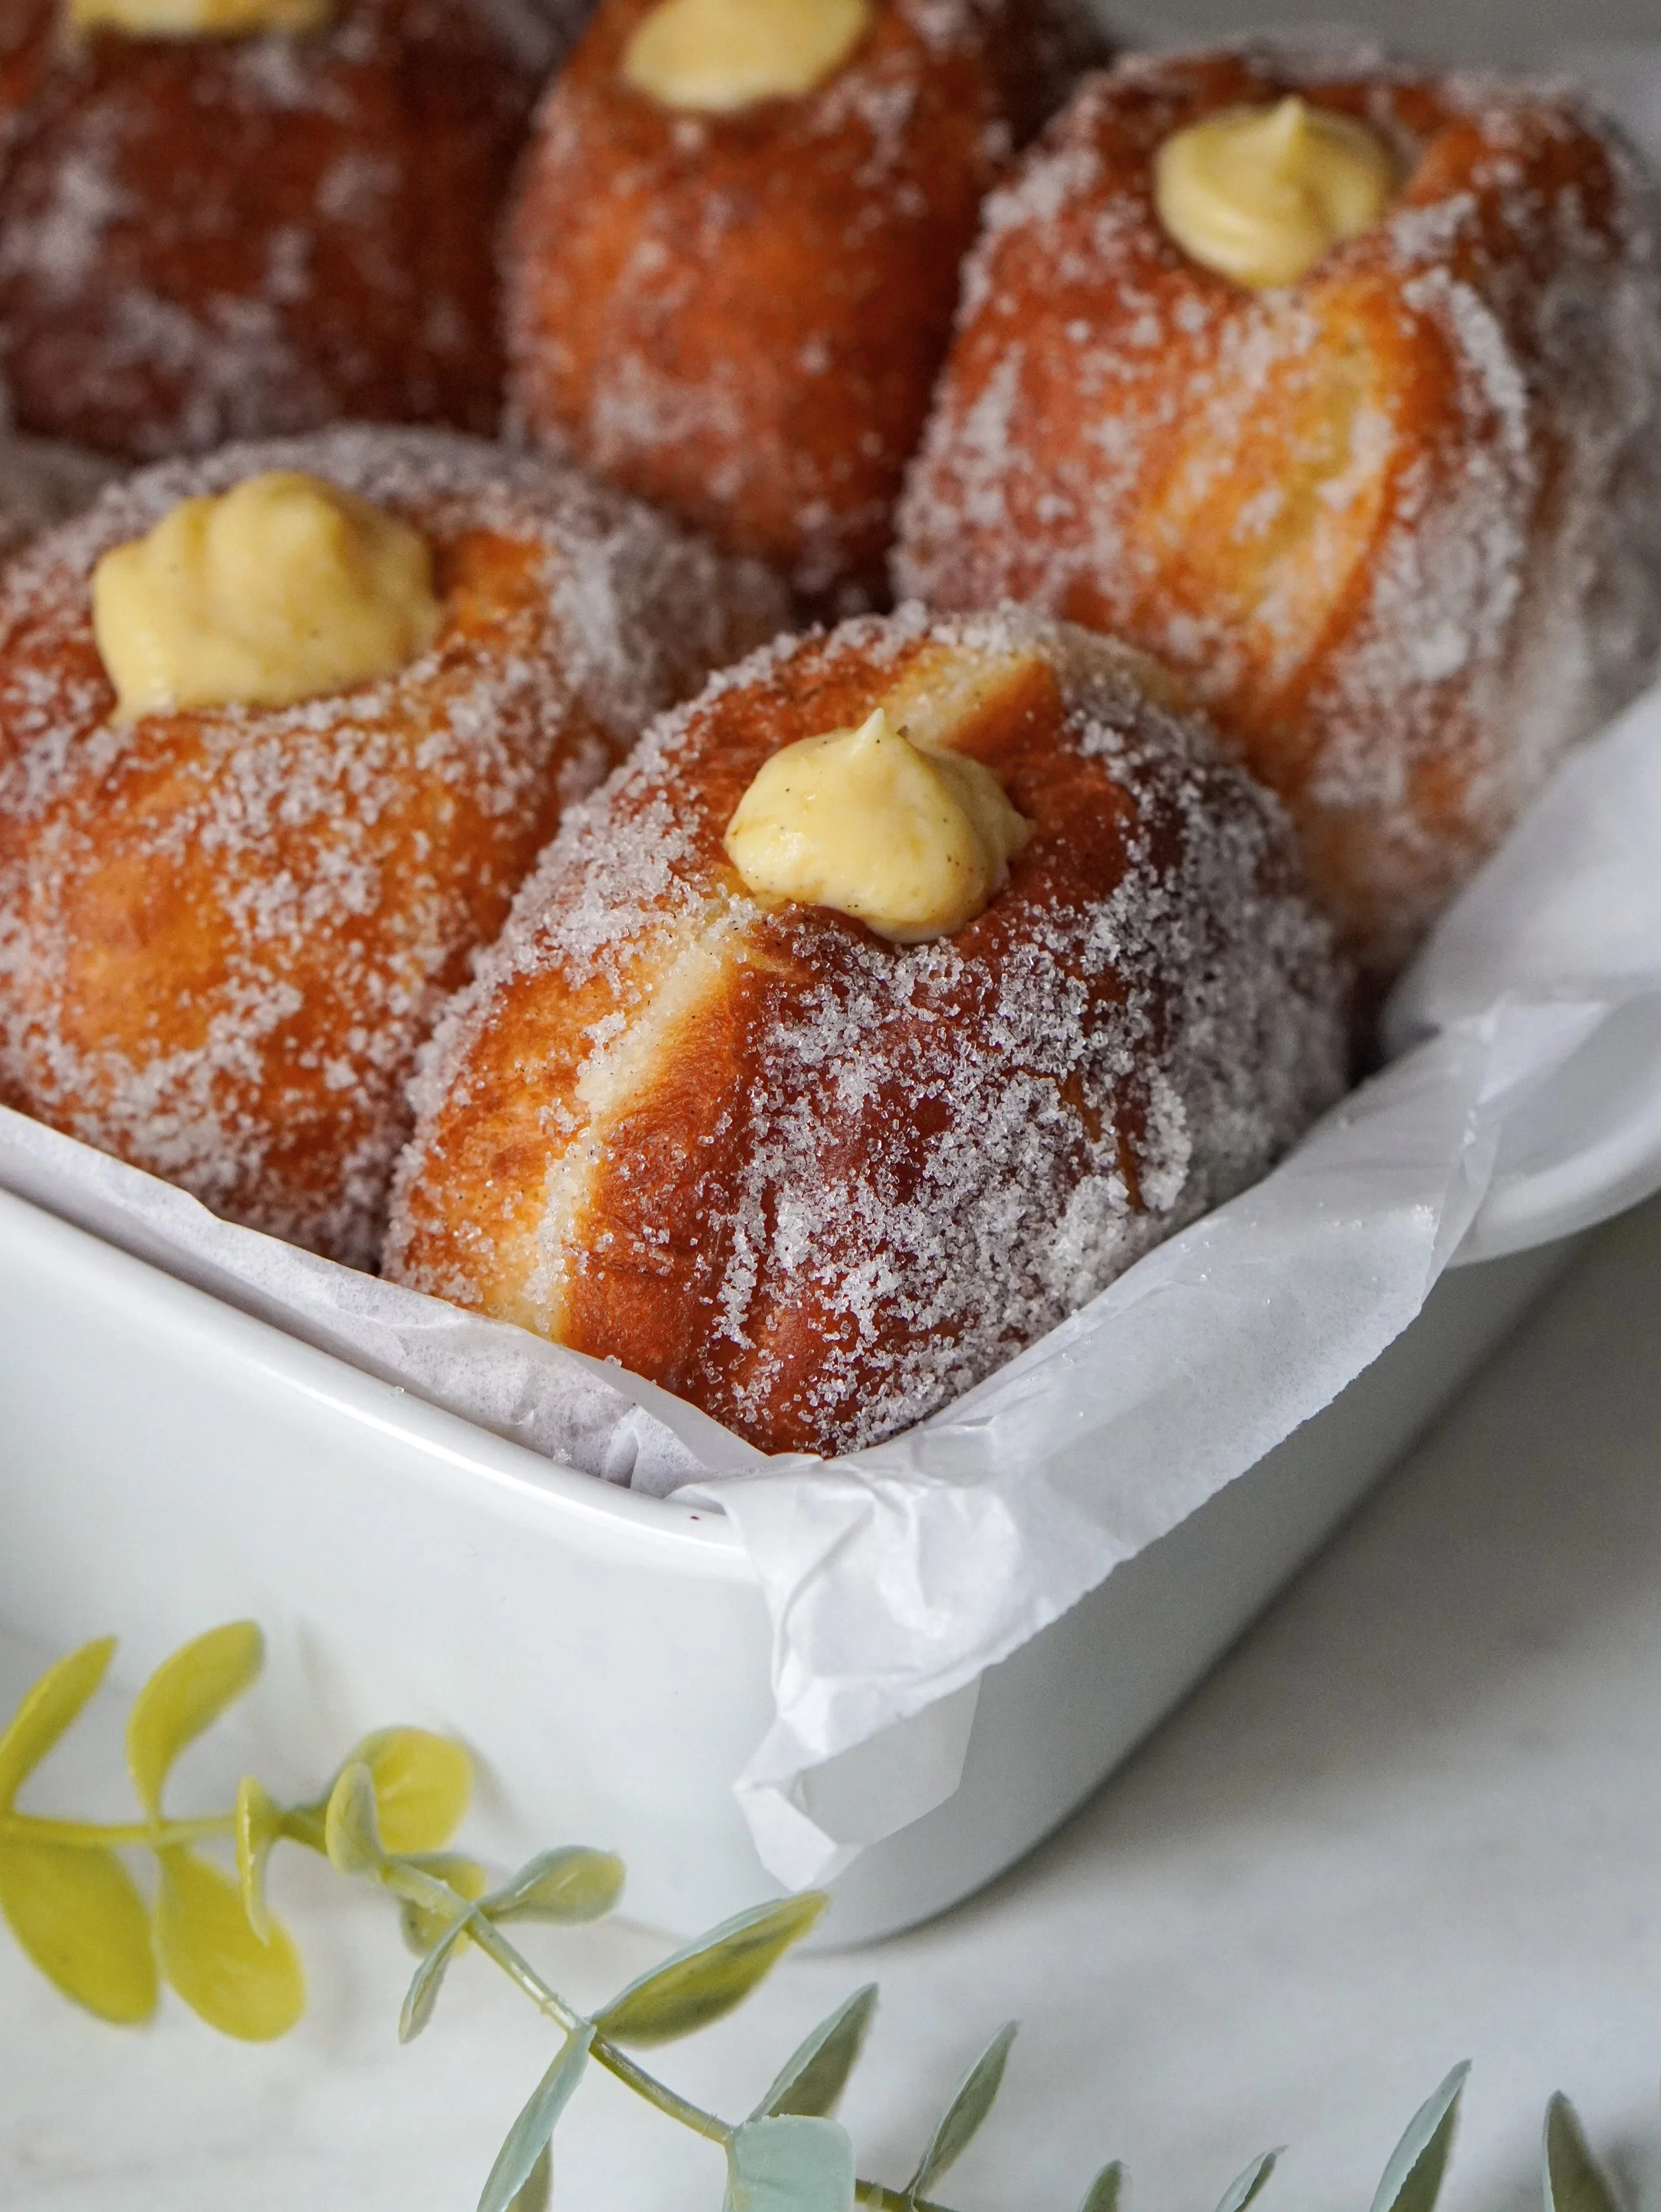
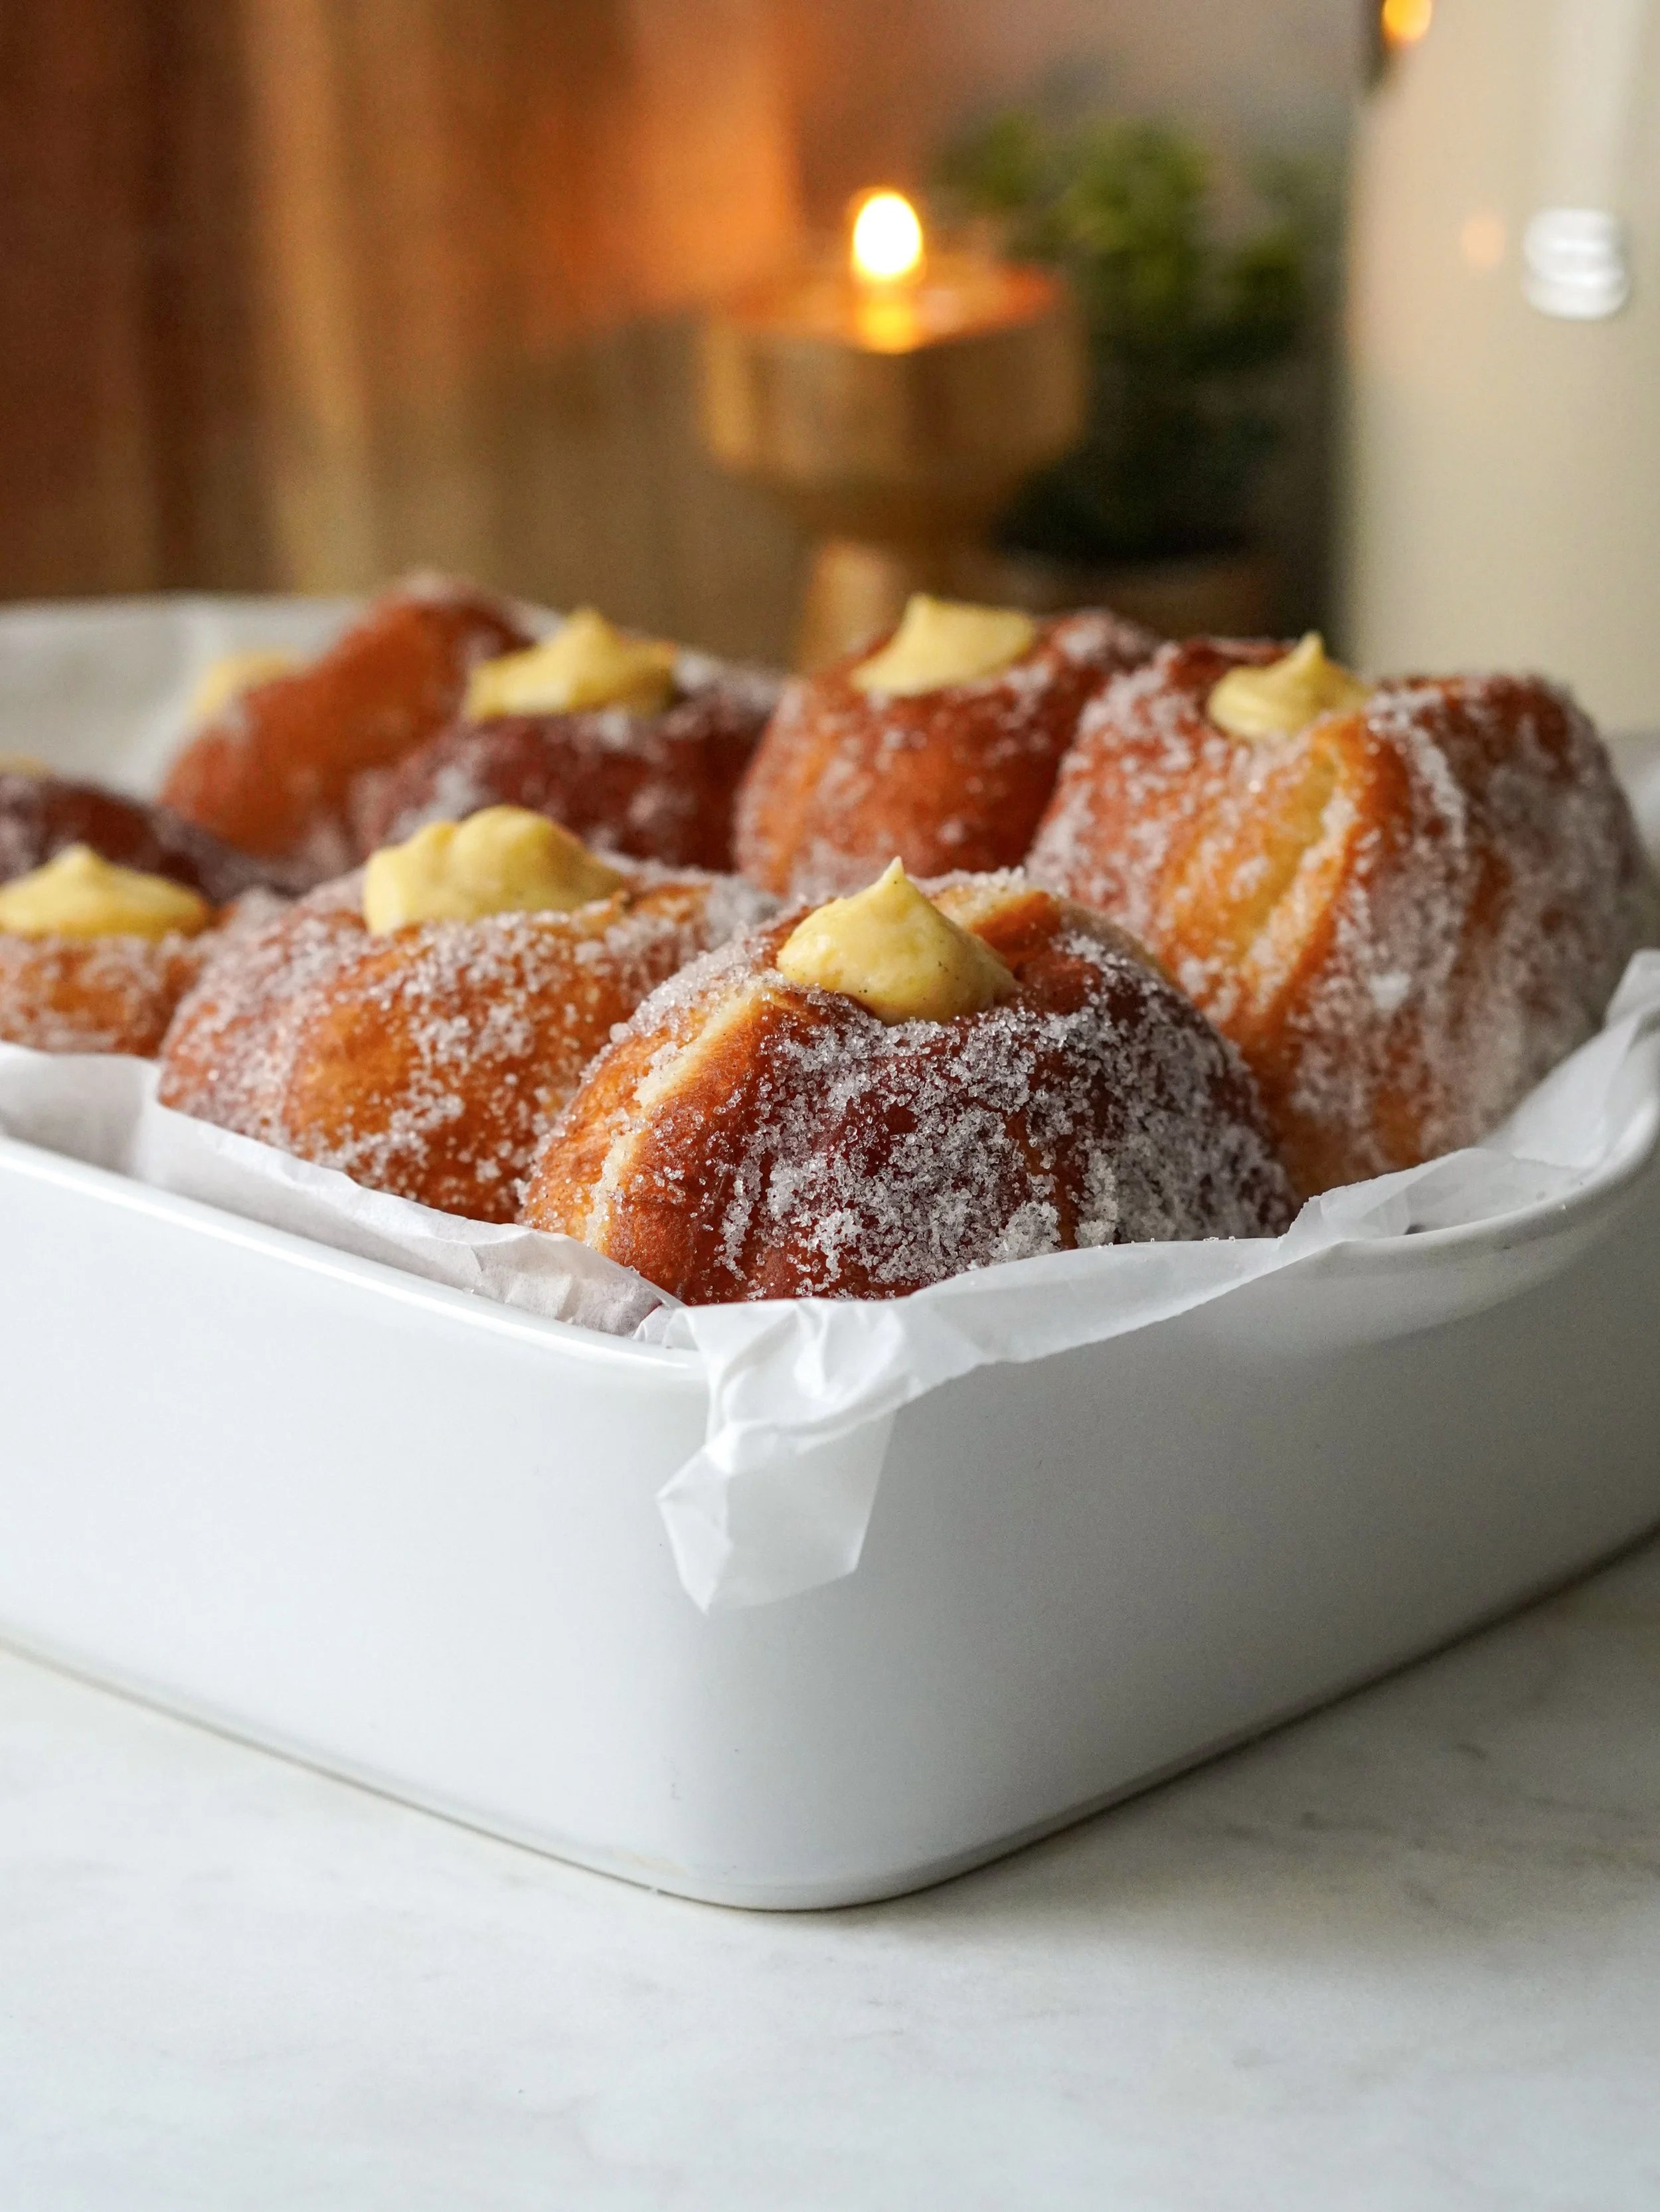
Vanilla Cream filled Bomboloni
Published: January 12, 2026
These Vanilla Cream filled Bomboloni are soft, fluffy and filled with a smooth homemade Vanilla Cream. They’re fried, coated in sugar and best enjoyed fresh. Once you try these, you’ll be obsessed!
Bomboloni vs Donuts
The most obvious difference between a Bomboloni and a classic Donut is that Bomboloni don’t have a hole in the middle. Instead they’re filled with pastry cream, chocolate or jam. Another difference is that American style Donuts are often lighter and can be either yeast raised or cake based.
But honestly, aside from the missing hole, they’re pretty much the same. I often call them Donuts out of habit. But since these are filled, hole free and inspired by the Italian version, calling them Bomboloni just feels more accurate and a little respectful to the Italians.
At the end of the day, both are fried, sugary and delicious. Whether you call them Donuts or Bomboloni, what really matters is how good they are!!!
WHY YOU’LL LOVE THIS RECIPE
💛 Soft and pillowy - The dough is rich and tender!
💛Homemade vanilla cream - Smooth, creamy and full of real vanilla flavor, made from scratch.
💛Sweet but not overwhelming - Light sugar coating keeps the sweetness balanced and satisfying.
💛Perfect for breakfast or dessert - They work equally well with your morning coffee or as a sweet treat after dinner.
💛Customizable fillings - Swap vanilla cream for chocolate, jam or Nutella if you want variety.
💛Satisfies your sweet tooth - Soft, creamy and sugary all in one bite.

Tools you will need for this recipe
• Rolling pin - Used to roll out the dough evenly.
• Cookie cutter - Helps create uniform Bomboloni.
• Saucepan for frying - A deep saucepan works best for frying.
• Piping bag - Makes filling the Bomboloni easy.
• Piping tip - A small round tip helps you inject the pastry cream smoothly into the center of each Bomboloni.
• Kitchen thermometer - Essential for frying. It helps you keep the oil at the right temperature.
• Kitchen scale - Great for accurate measurements.
• Stand mixer (optional) - Makes kneading easier and quicker, but the dough can absolutely be kneaded by hand if you prefer.


Notes, tips and tricks
⟶ Make the pastry cream ahead - It’s best to let it completely cool before filling the Bomboloni. Personally I like making it the day before and storing it in the fridge until the next day. This makes it thicker, easier to pipe and just perfect for filling.
⟶ Use real vanilla bean - Scrape out the seeds from a vanilla pod for the cream. It gives a richer, more natural flavor than vanilla extract and those little specks look so pretty inside the cream.
⟶ Don’t skip the second proofing - The second rise is absolutely crucial for fluffy, cloud-like Bomboloni. After shaping, let the dough rest and rise again before frying. If you skip it your Bomboloni might turn out dense and heavy.
⟶ Invest in a food thermometer - Frying at the right temperature makes all the difference. Too hot and the Bomboloni burn outside while staying raw inside; too cold and they soak up oil and get greasy.
⟶ Use a smaller cookie cutter to make more Bomboloni - I used a 10 cm round cutter, but if you want more treats, use a smaller cutter, like a 8 cm one for example. You’ll get more, slightly smaller Bomboloni.
Frequently asked questions
1. How should I store?
Bomboloni are best eaten the same day while they’re still soft and fresh. If you need to store them, keep them in an airtight container in the fridge for up to 2 days. Reheat gently for a few seconds before serving.
2. What size should I cut the Bomboloni?
I used a 10 cm round cookie cutter. This size makes them nice and fluffy, but you can definitely adjust depending on your preference.
3. Can I cut them smaller?
Yes! If you use a smaller cutter, you’ll end up with more Bomboloni. Just keep in mind that the smaller ones fry quicker, so keep a close eye on the cooking time.
4. What temperature should the oil be?
The ideal temperature is around 170-175°C (340-350F). A food thermometer really helps here. If too low and the donuts soak up oil, if too high and the outside burns before the inside cooks.
5. How do I get the sugar to stick to them?
Roll them in sugar while they’re still warm. The heat helps the sugar stick perfectly to the surface. If they cool down too much, the sugar won’t stick as well.
6. How long should I fry them?
Each takes about 2-3 minutes per side, depending on the size. They should be golden brown on the outside and cooked through in the middle.
7. Why are my Bomboloni dense?
Most likely the dough wasn’t proofed long enough or the yeast wasn’t active. Make sure your yeast is fresh and don’t skip the second proofing step.
8. Why are they raw inside?
This usually happens if the oil is too hot. The outside browns too quickly while the inside stays raw. Keep your oil temperature steady at 170-175°C.
9. Can I freeze the dough?
Yes! You can freeze the dough before cutting them for up to one month. When ready to use, thaw it in the fridge overnight, then continue with shaping and proofing.
Ingredients you will need for this recipe
For the dough
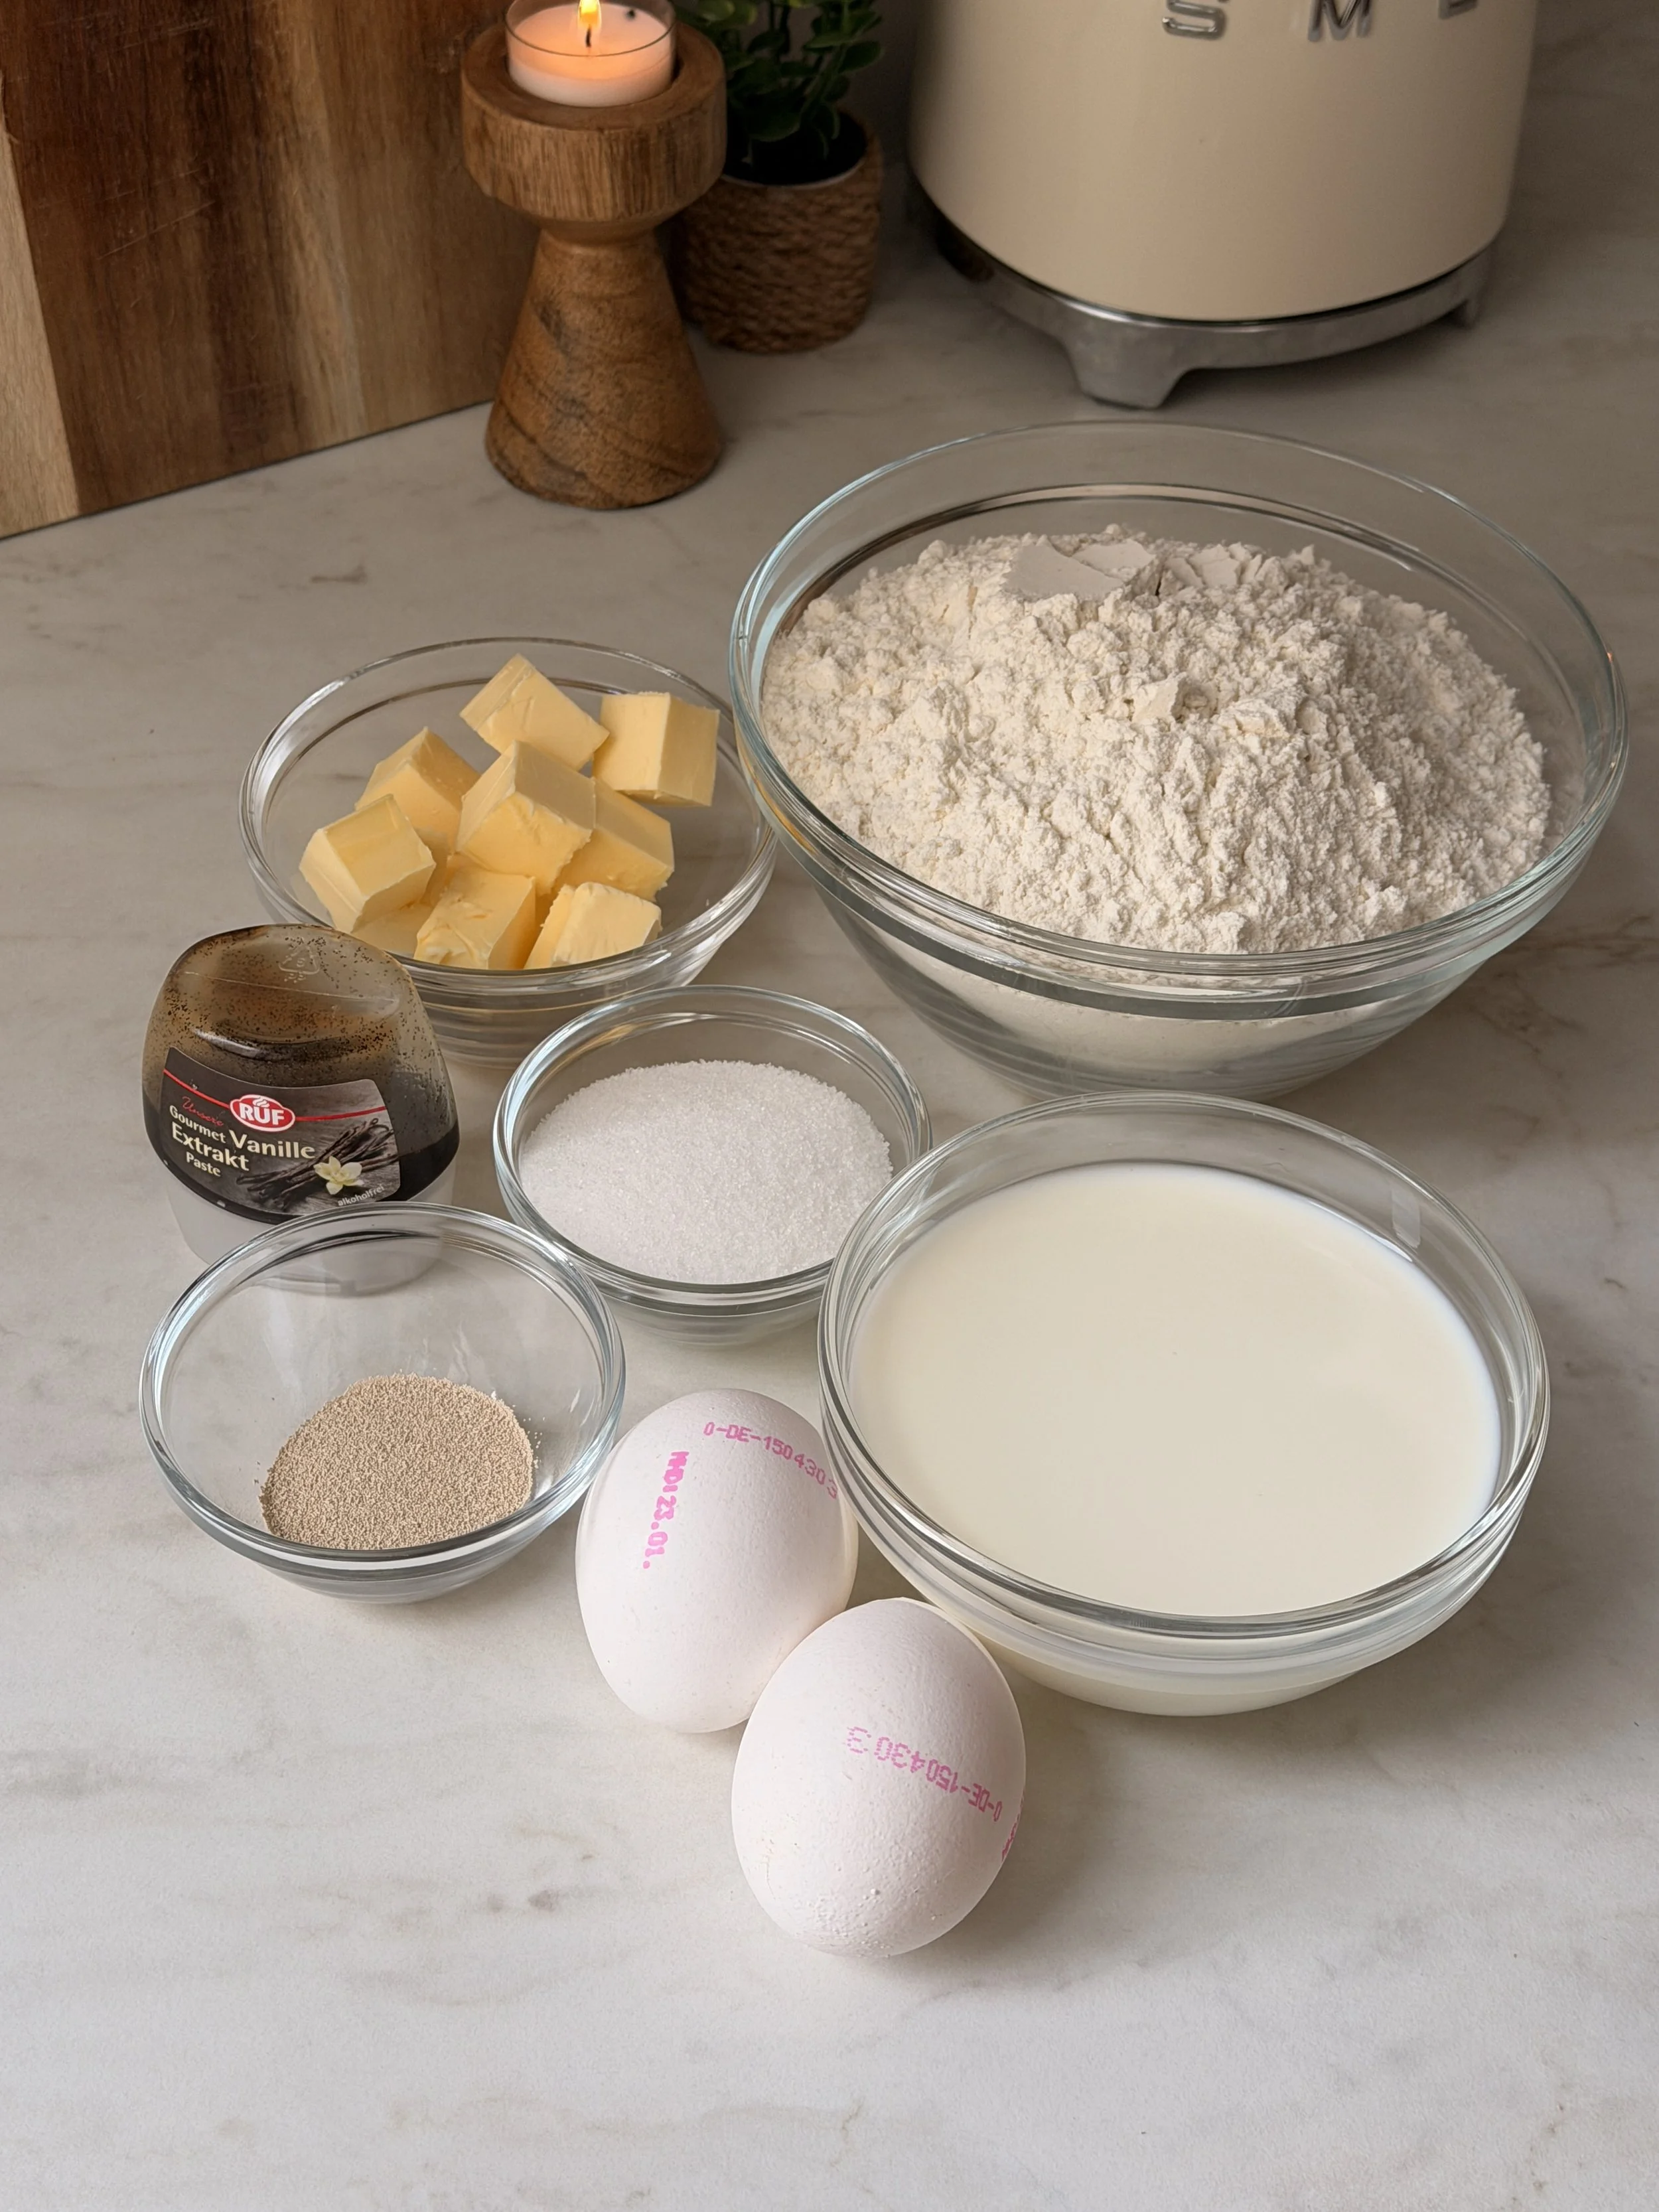
All purpose flour: The base of your Bomboloni. Bread flour works as a substitute.
Granulated sugar
Instant dry yeast: You can use active dry yeast or fresh yeast, but those need to be dissolved in milk first.
Salt: Enhances the flavors in the dough.
Warm milk: Activates the yeast and gives the dough a rich, tender crumb.
Vanilla bean paste: You can also use vanilla extract or ground vanilla powder instead.
Unsalted butter, softened
Egg + egg yolk: Large eggs are used in this recipe.
For the Pastry Cream
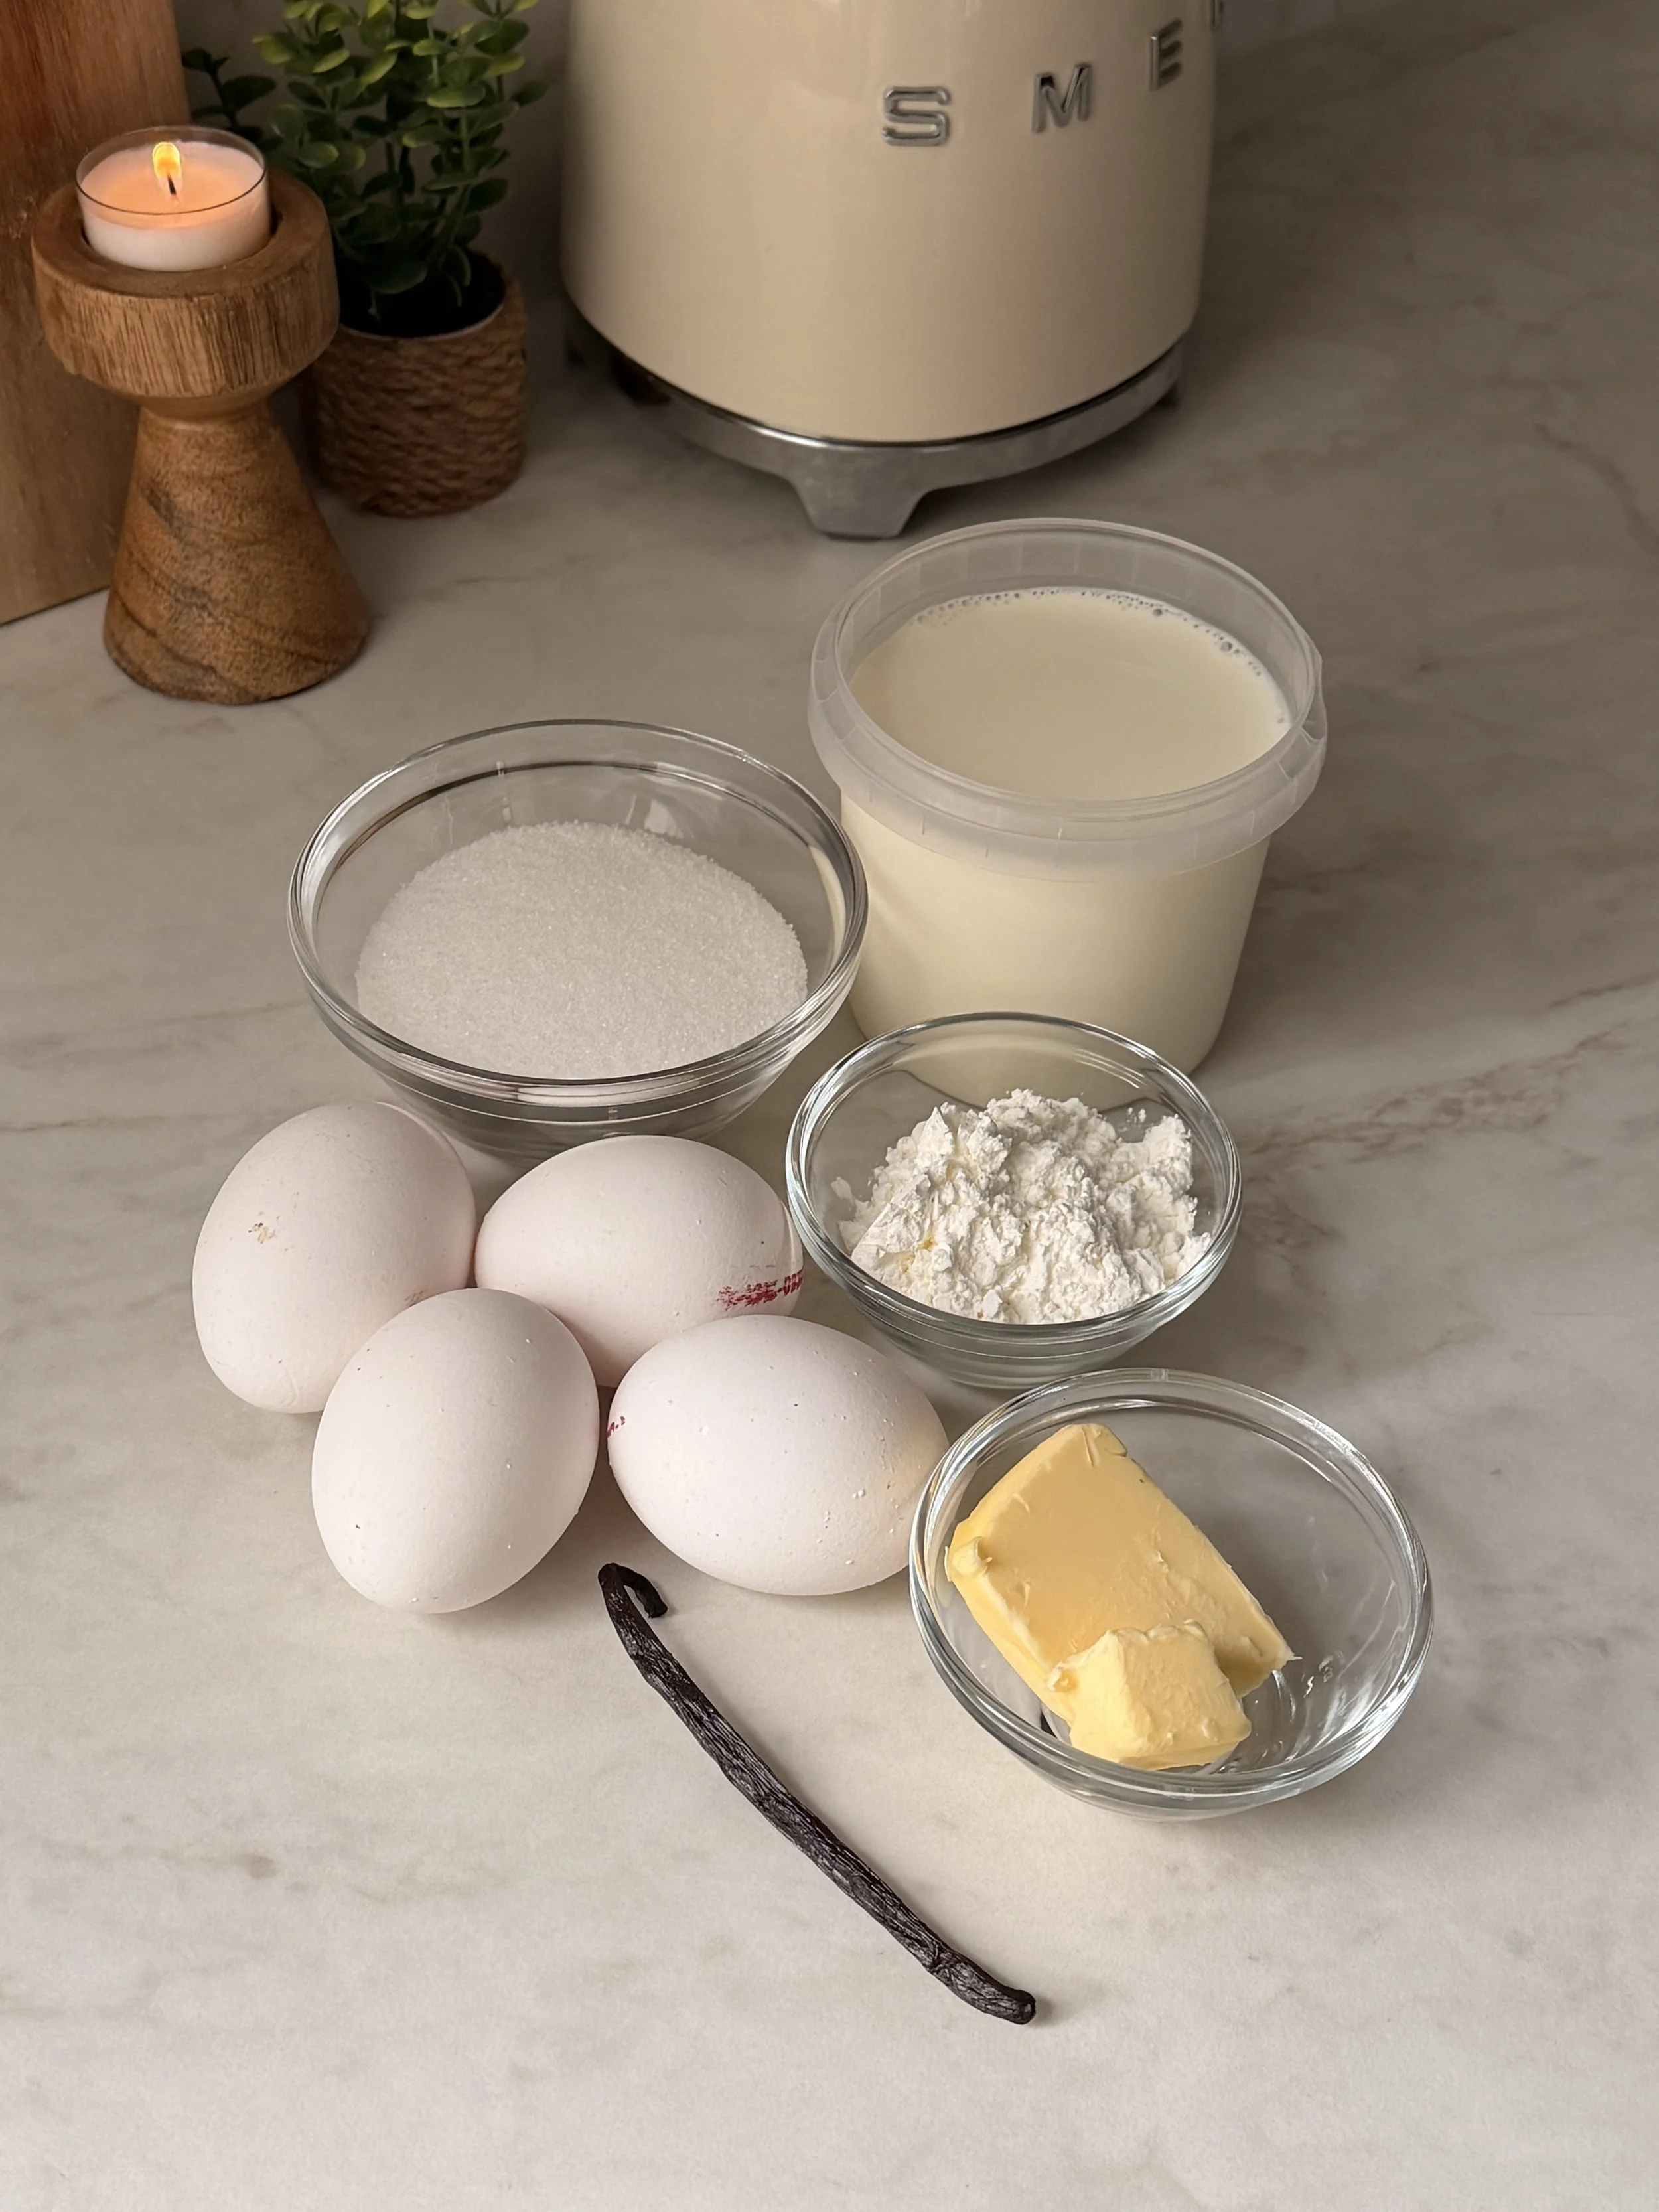
Egg yolks
Granulated sugar: Sweetens the cream.
Cornstarch: Thickens the cream.
Milk: The main liquid of the cream, making it soft and creamy.
Unsalted butter: Adds richness and glossy finish to the cream once it’s cooked.
Vanilla pod (scraped)
For the topping
Granulated sugar: Creates a sweet, slightly crunchy coating.
Ground vanilla bean powder: Infuses extra vanilla flavor into the sugar. Skip if you don’t have it.
Step by step instructions with photos
1. Prepare the Vanilla Pastry Cream first, because it needs to cool completely.
2. In a saucepan, whisk together the egg yolks and sugar until pale in color.
3. Add the cornstarch and the scraped vanilla bean, mixing until smooth.
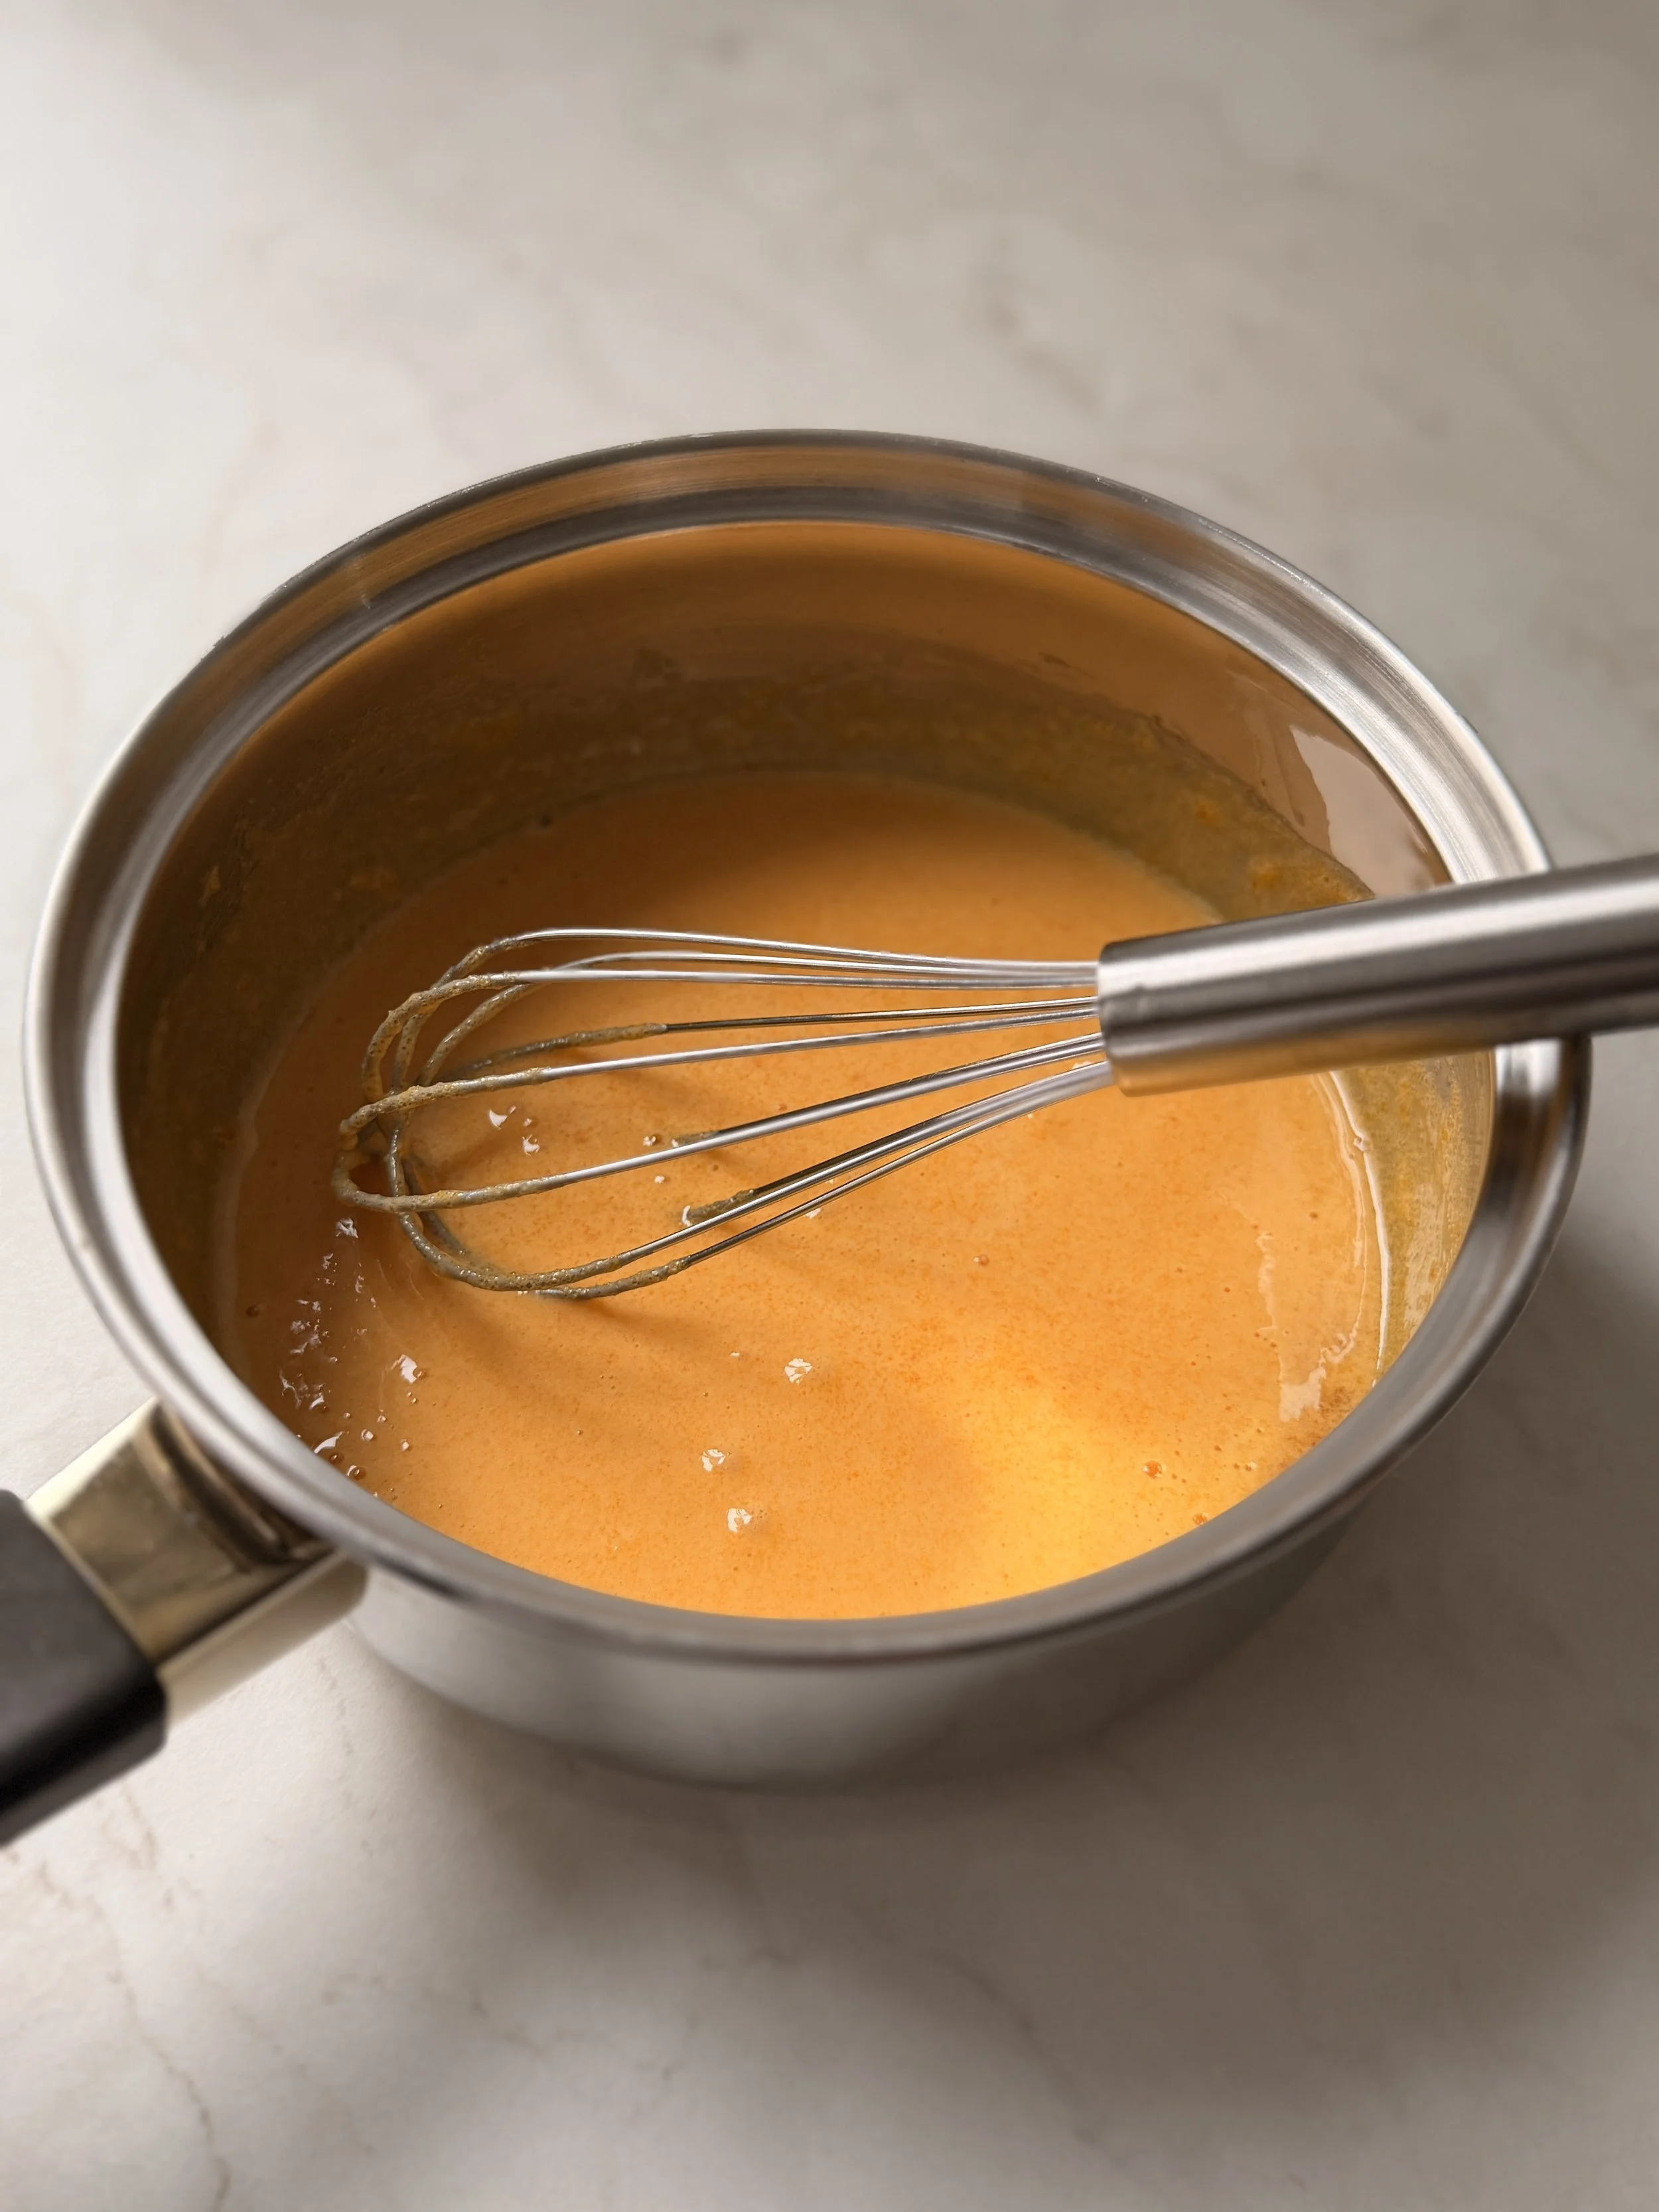
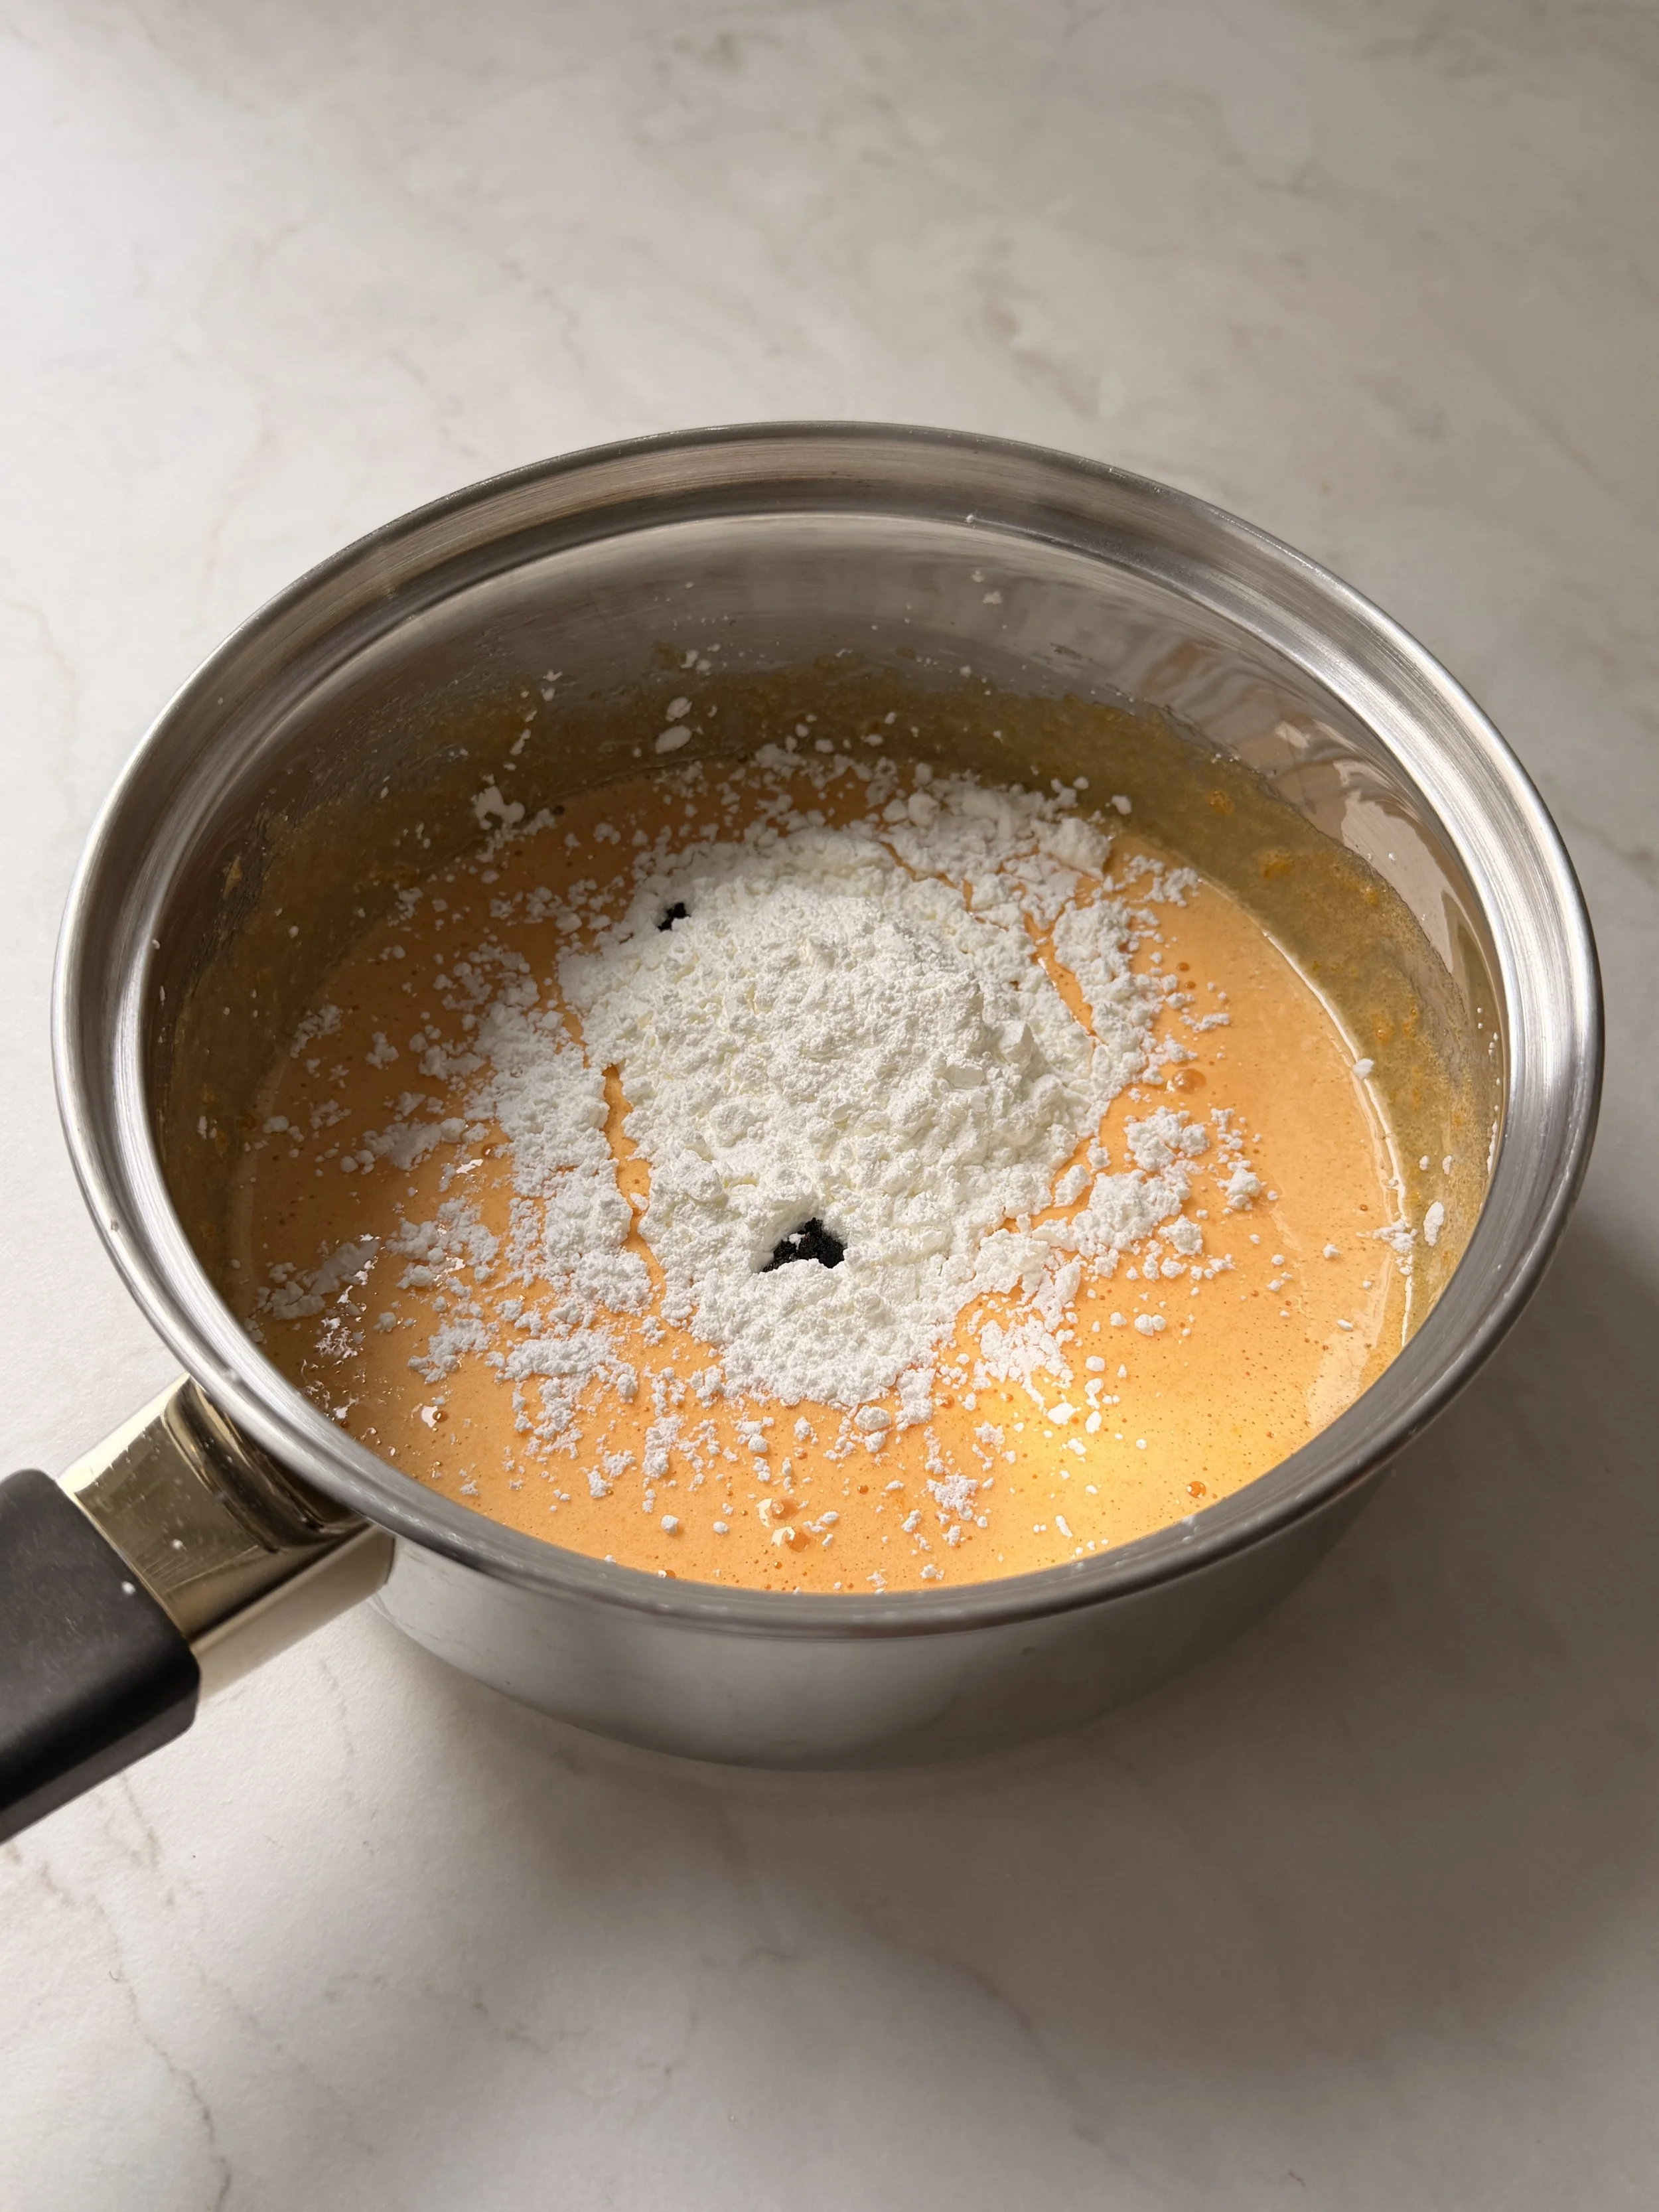
4. Gradually whisk in the milk.
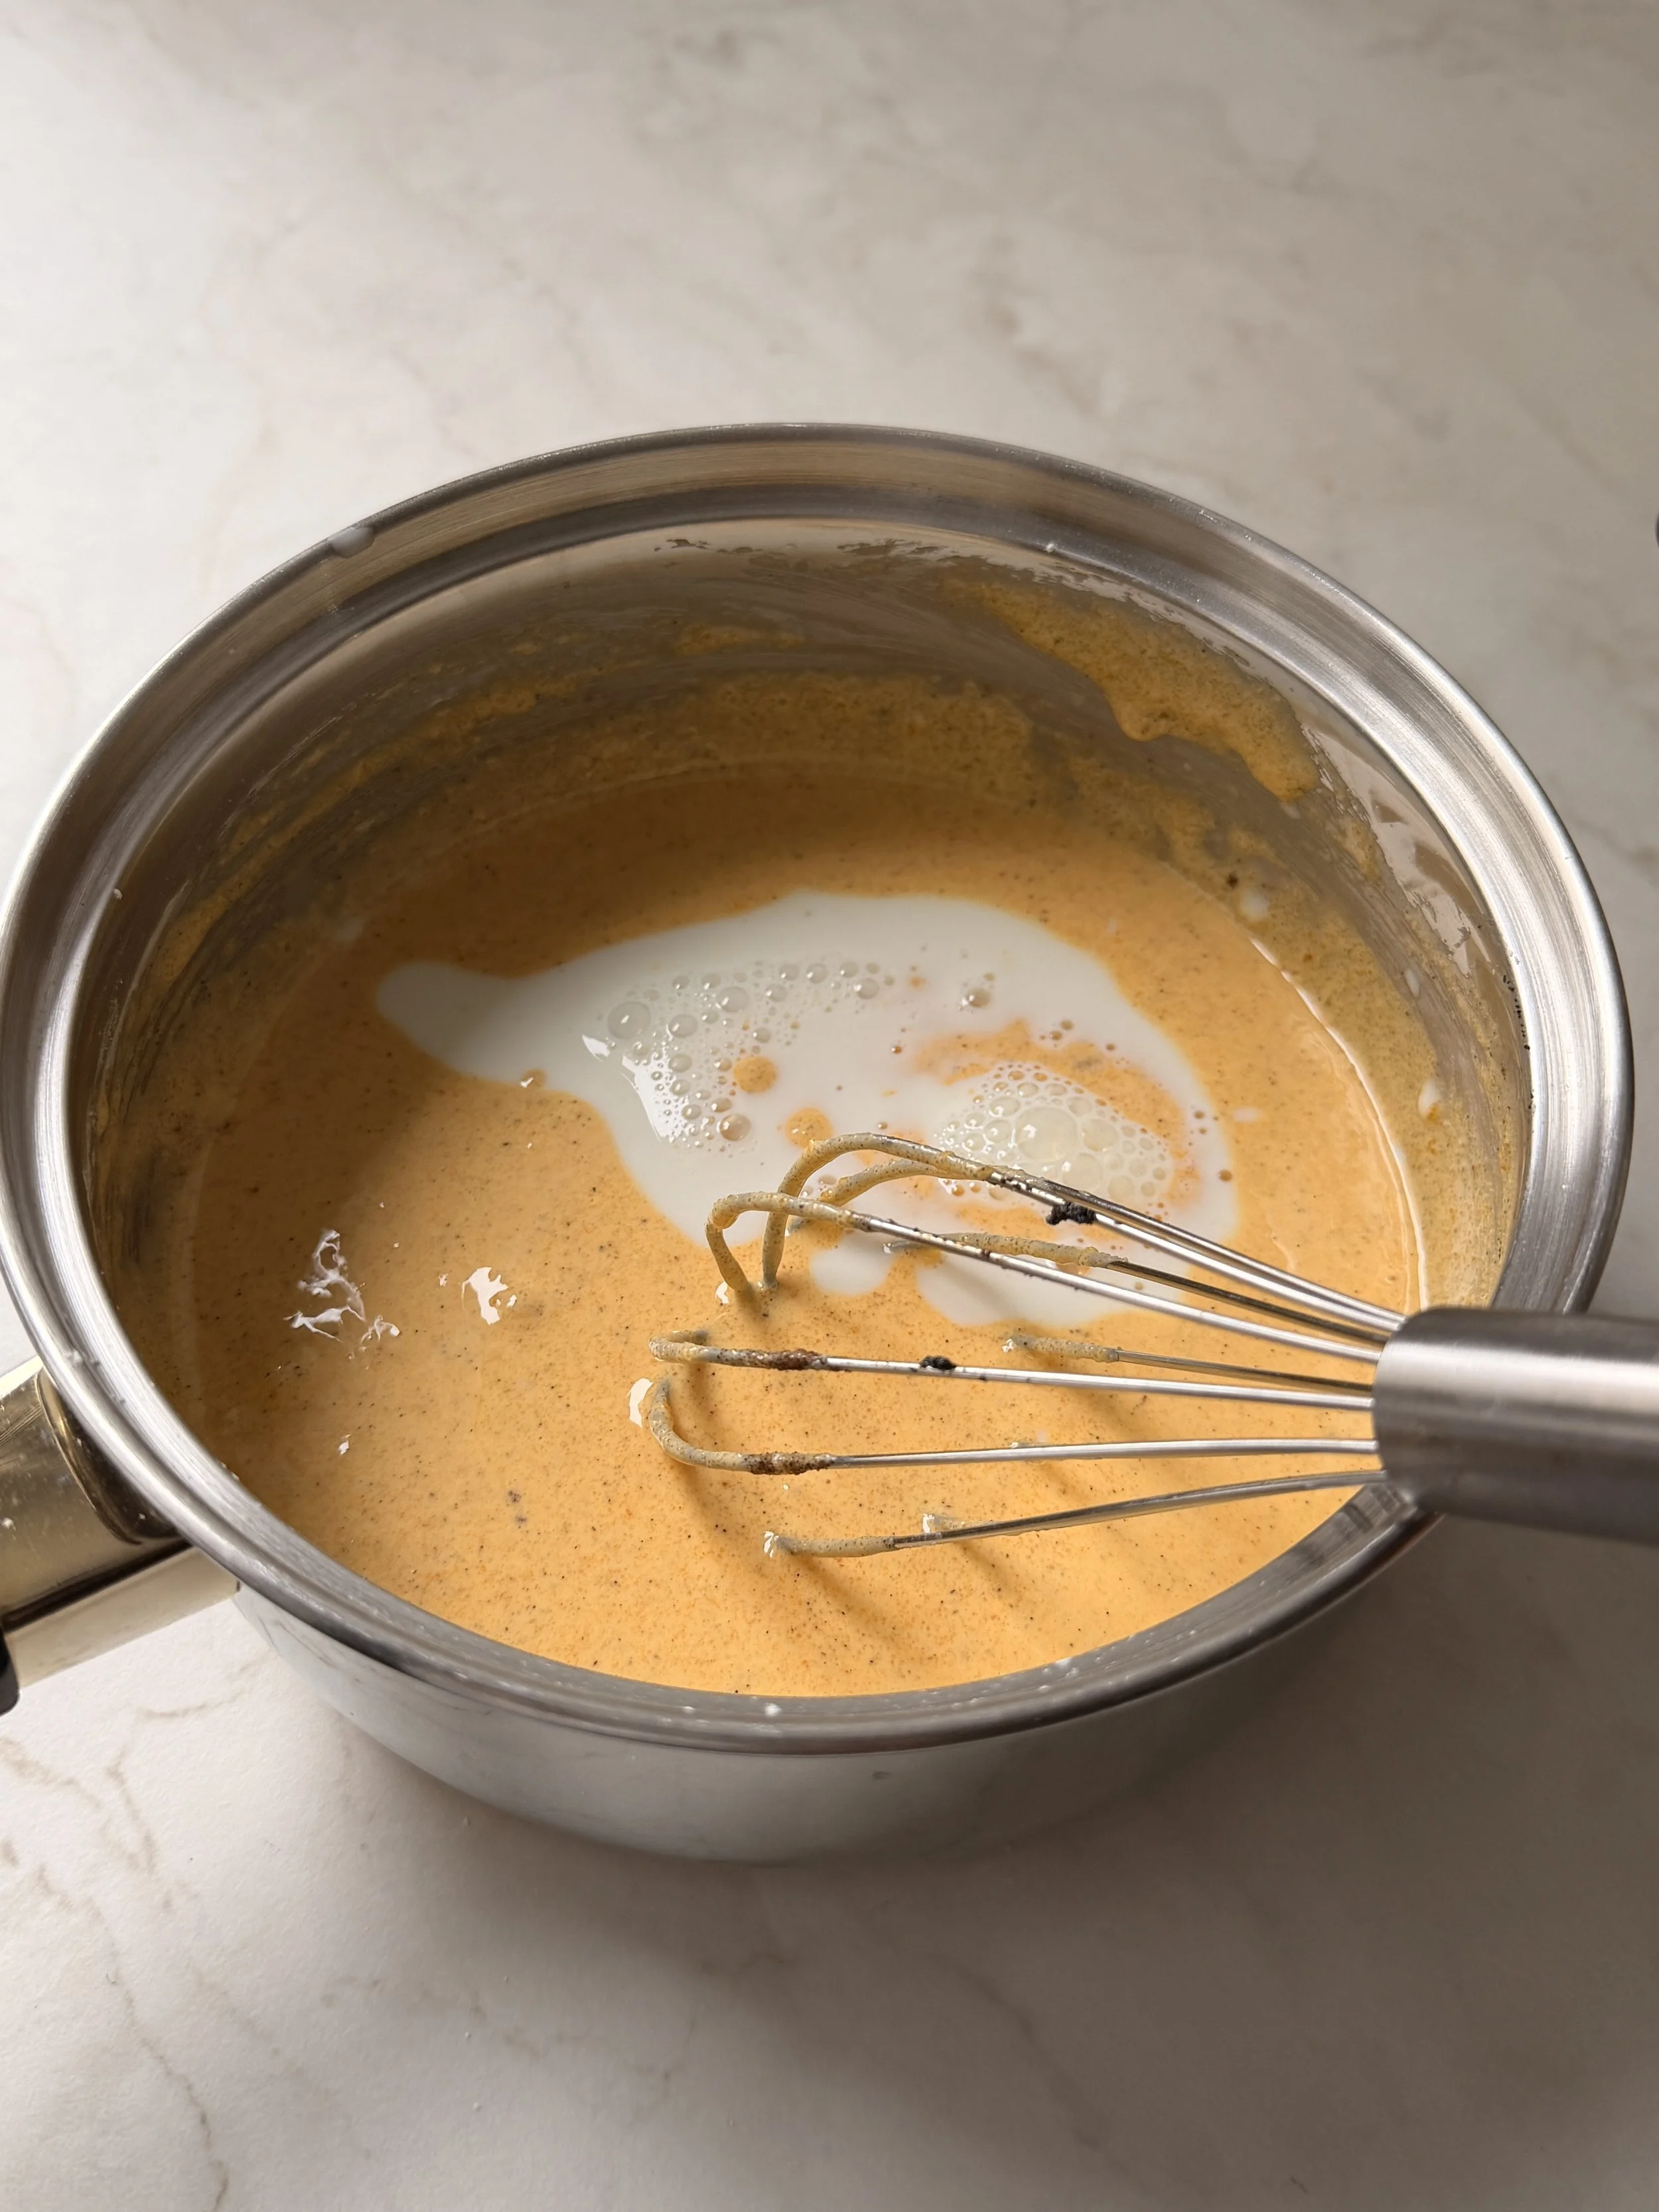
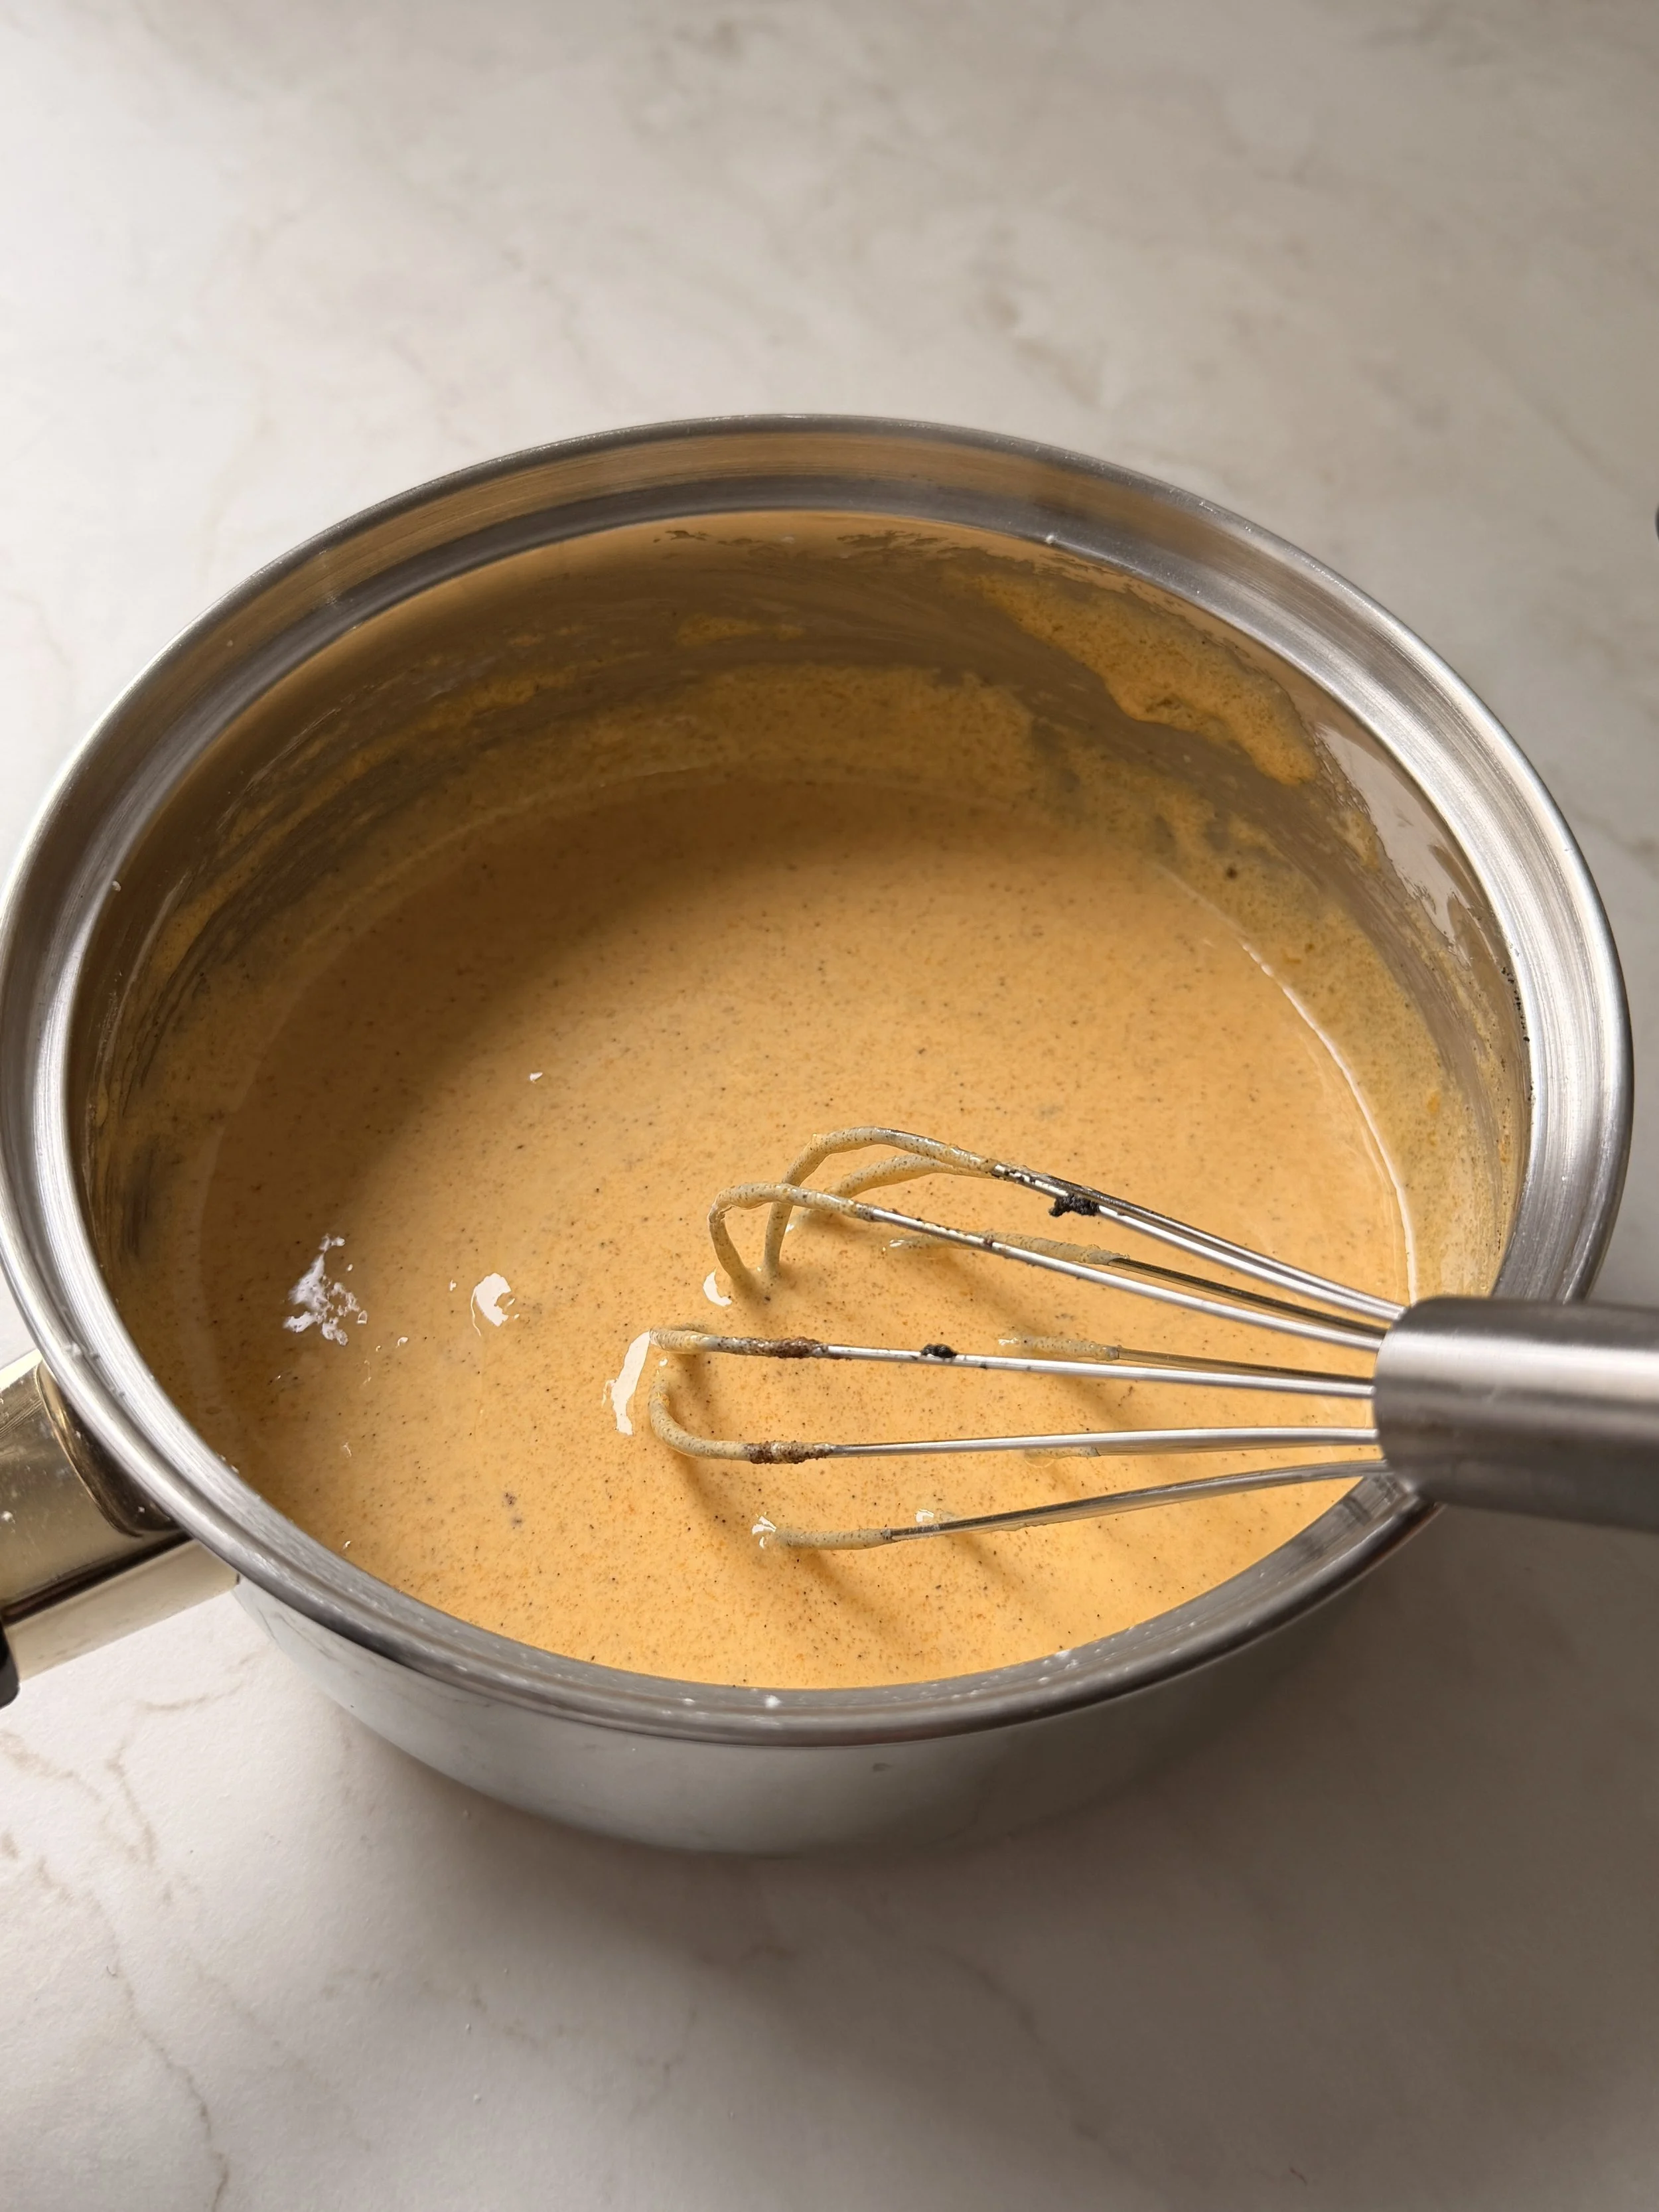
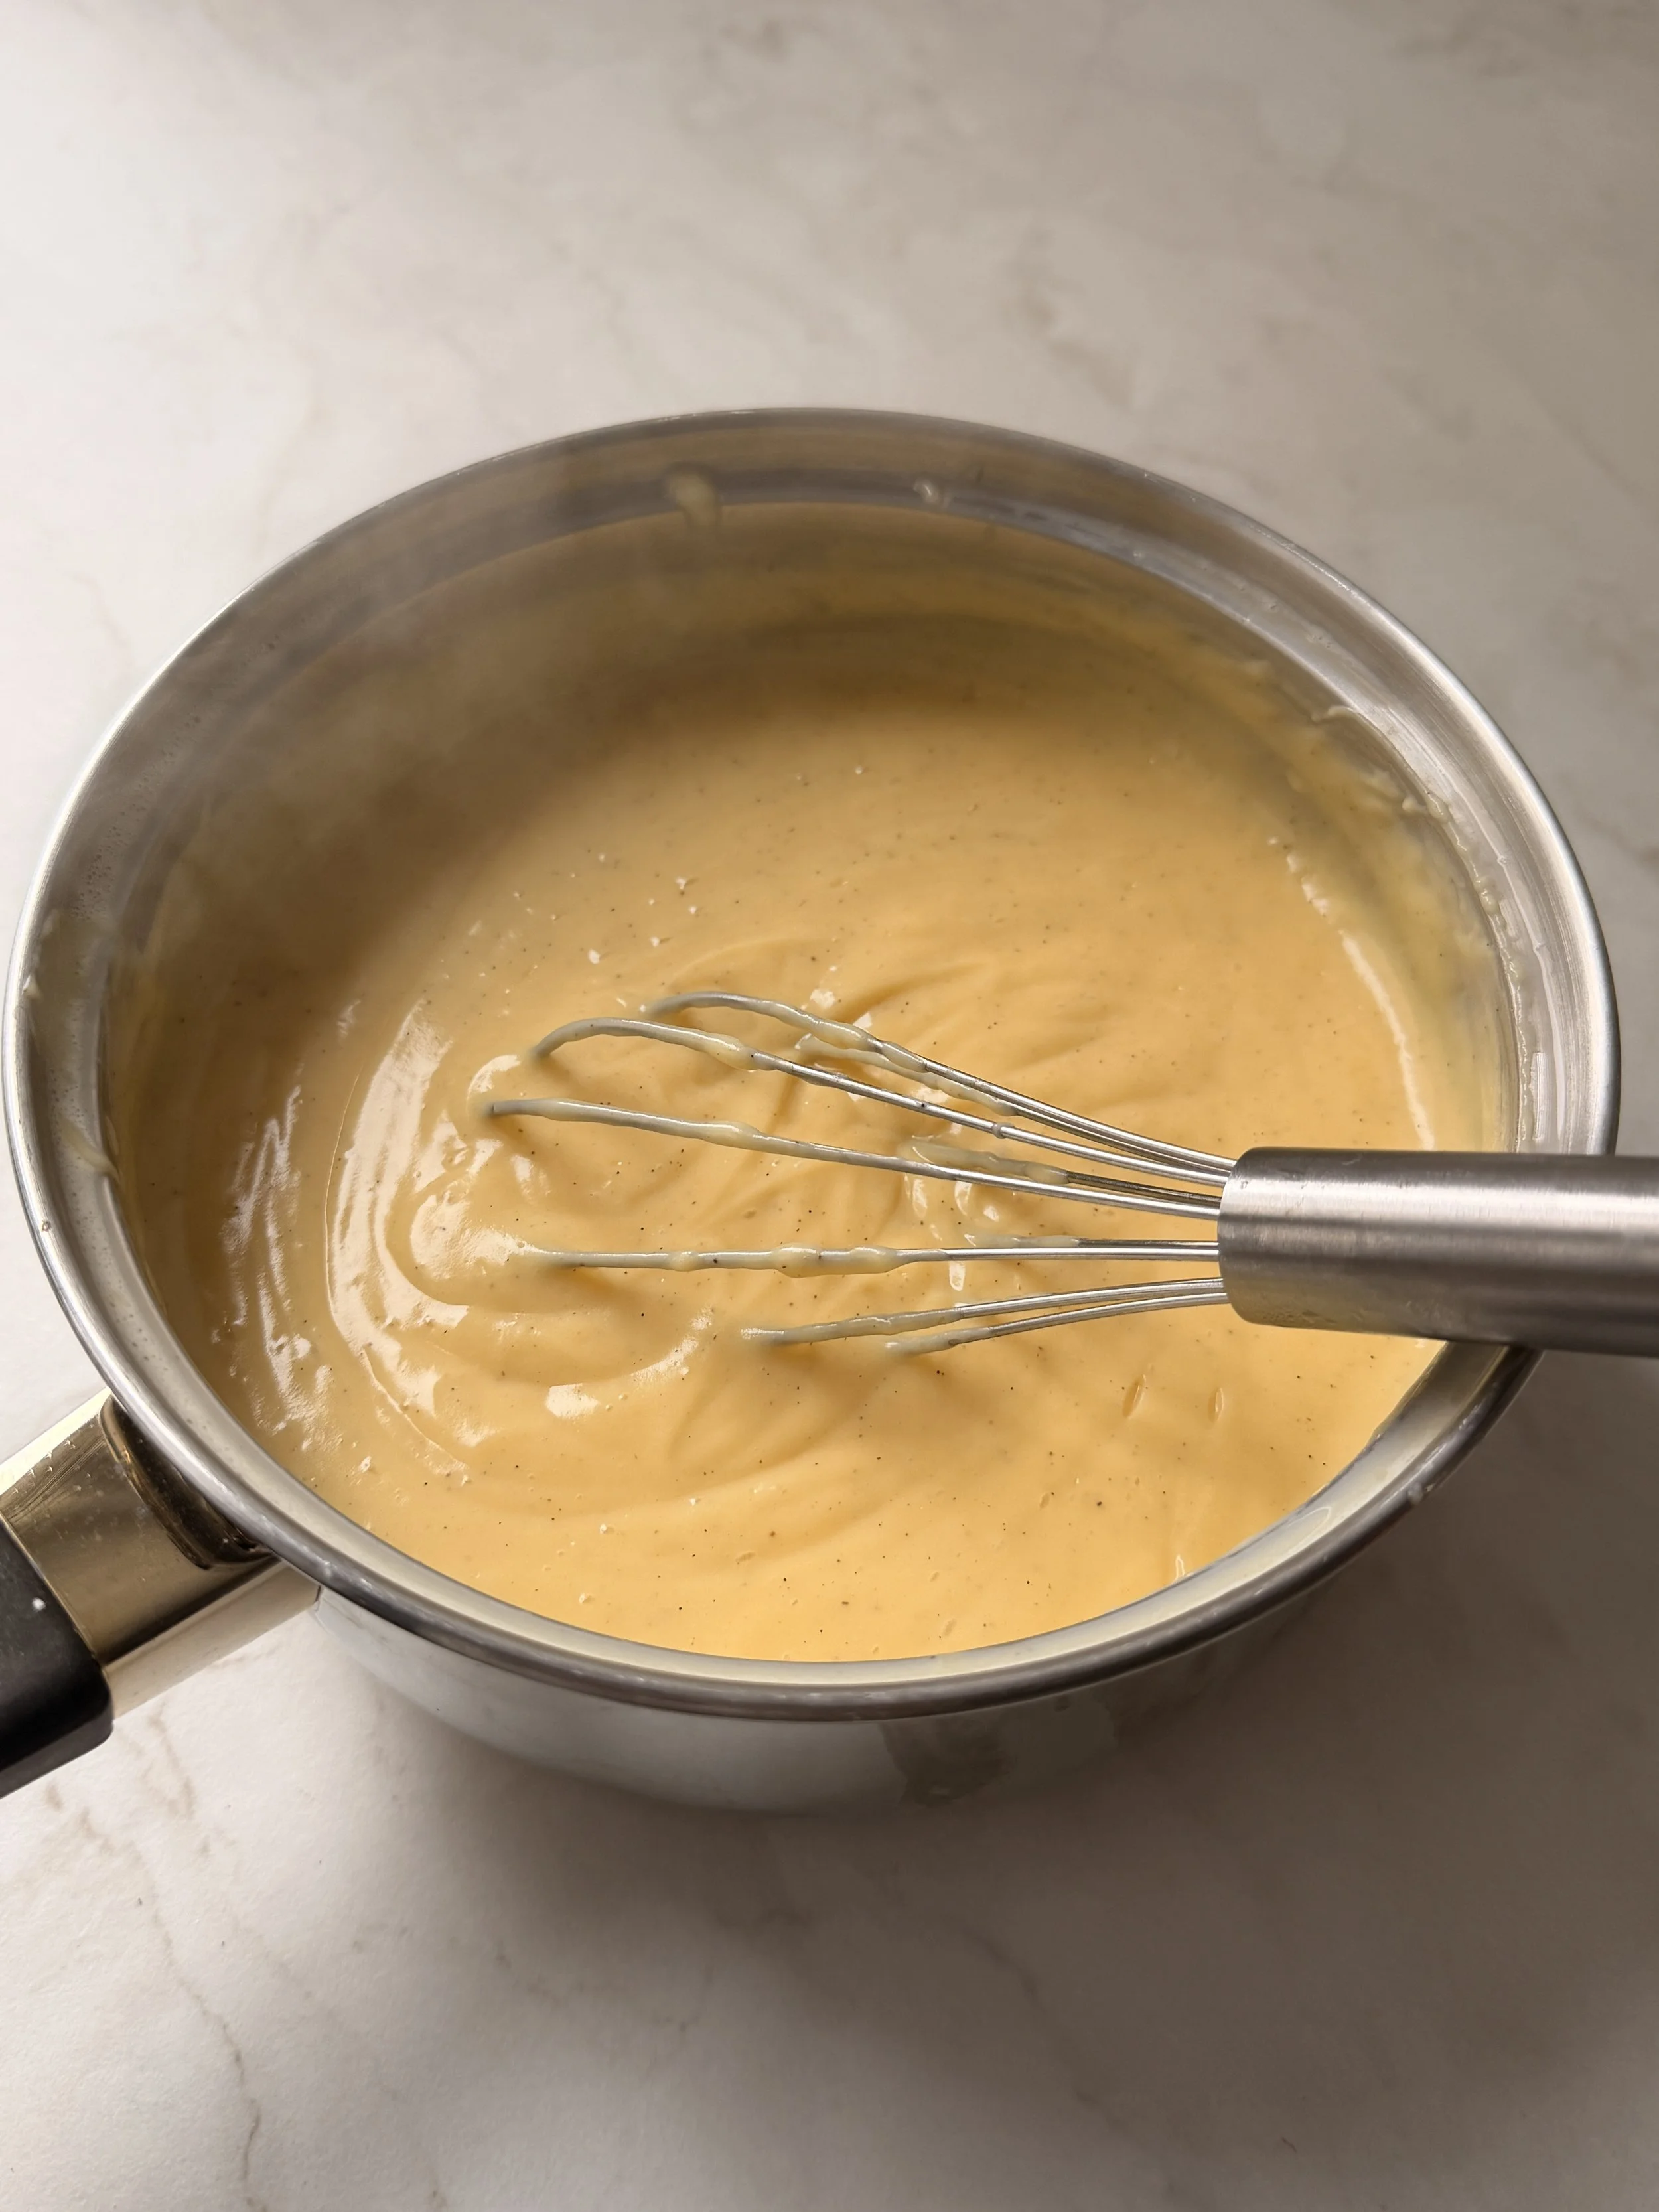
5. Cook over medium heat, stirring constantly until the mixture thickens.
6. Remove from heat and mix in the butter until fully incorporated.
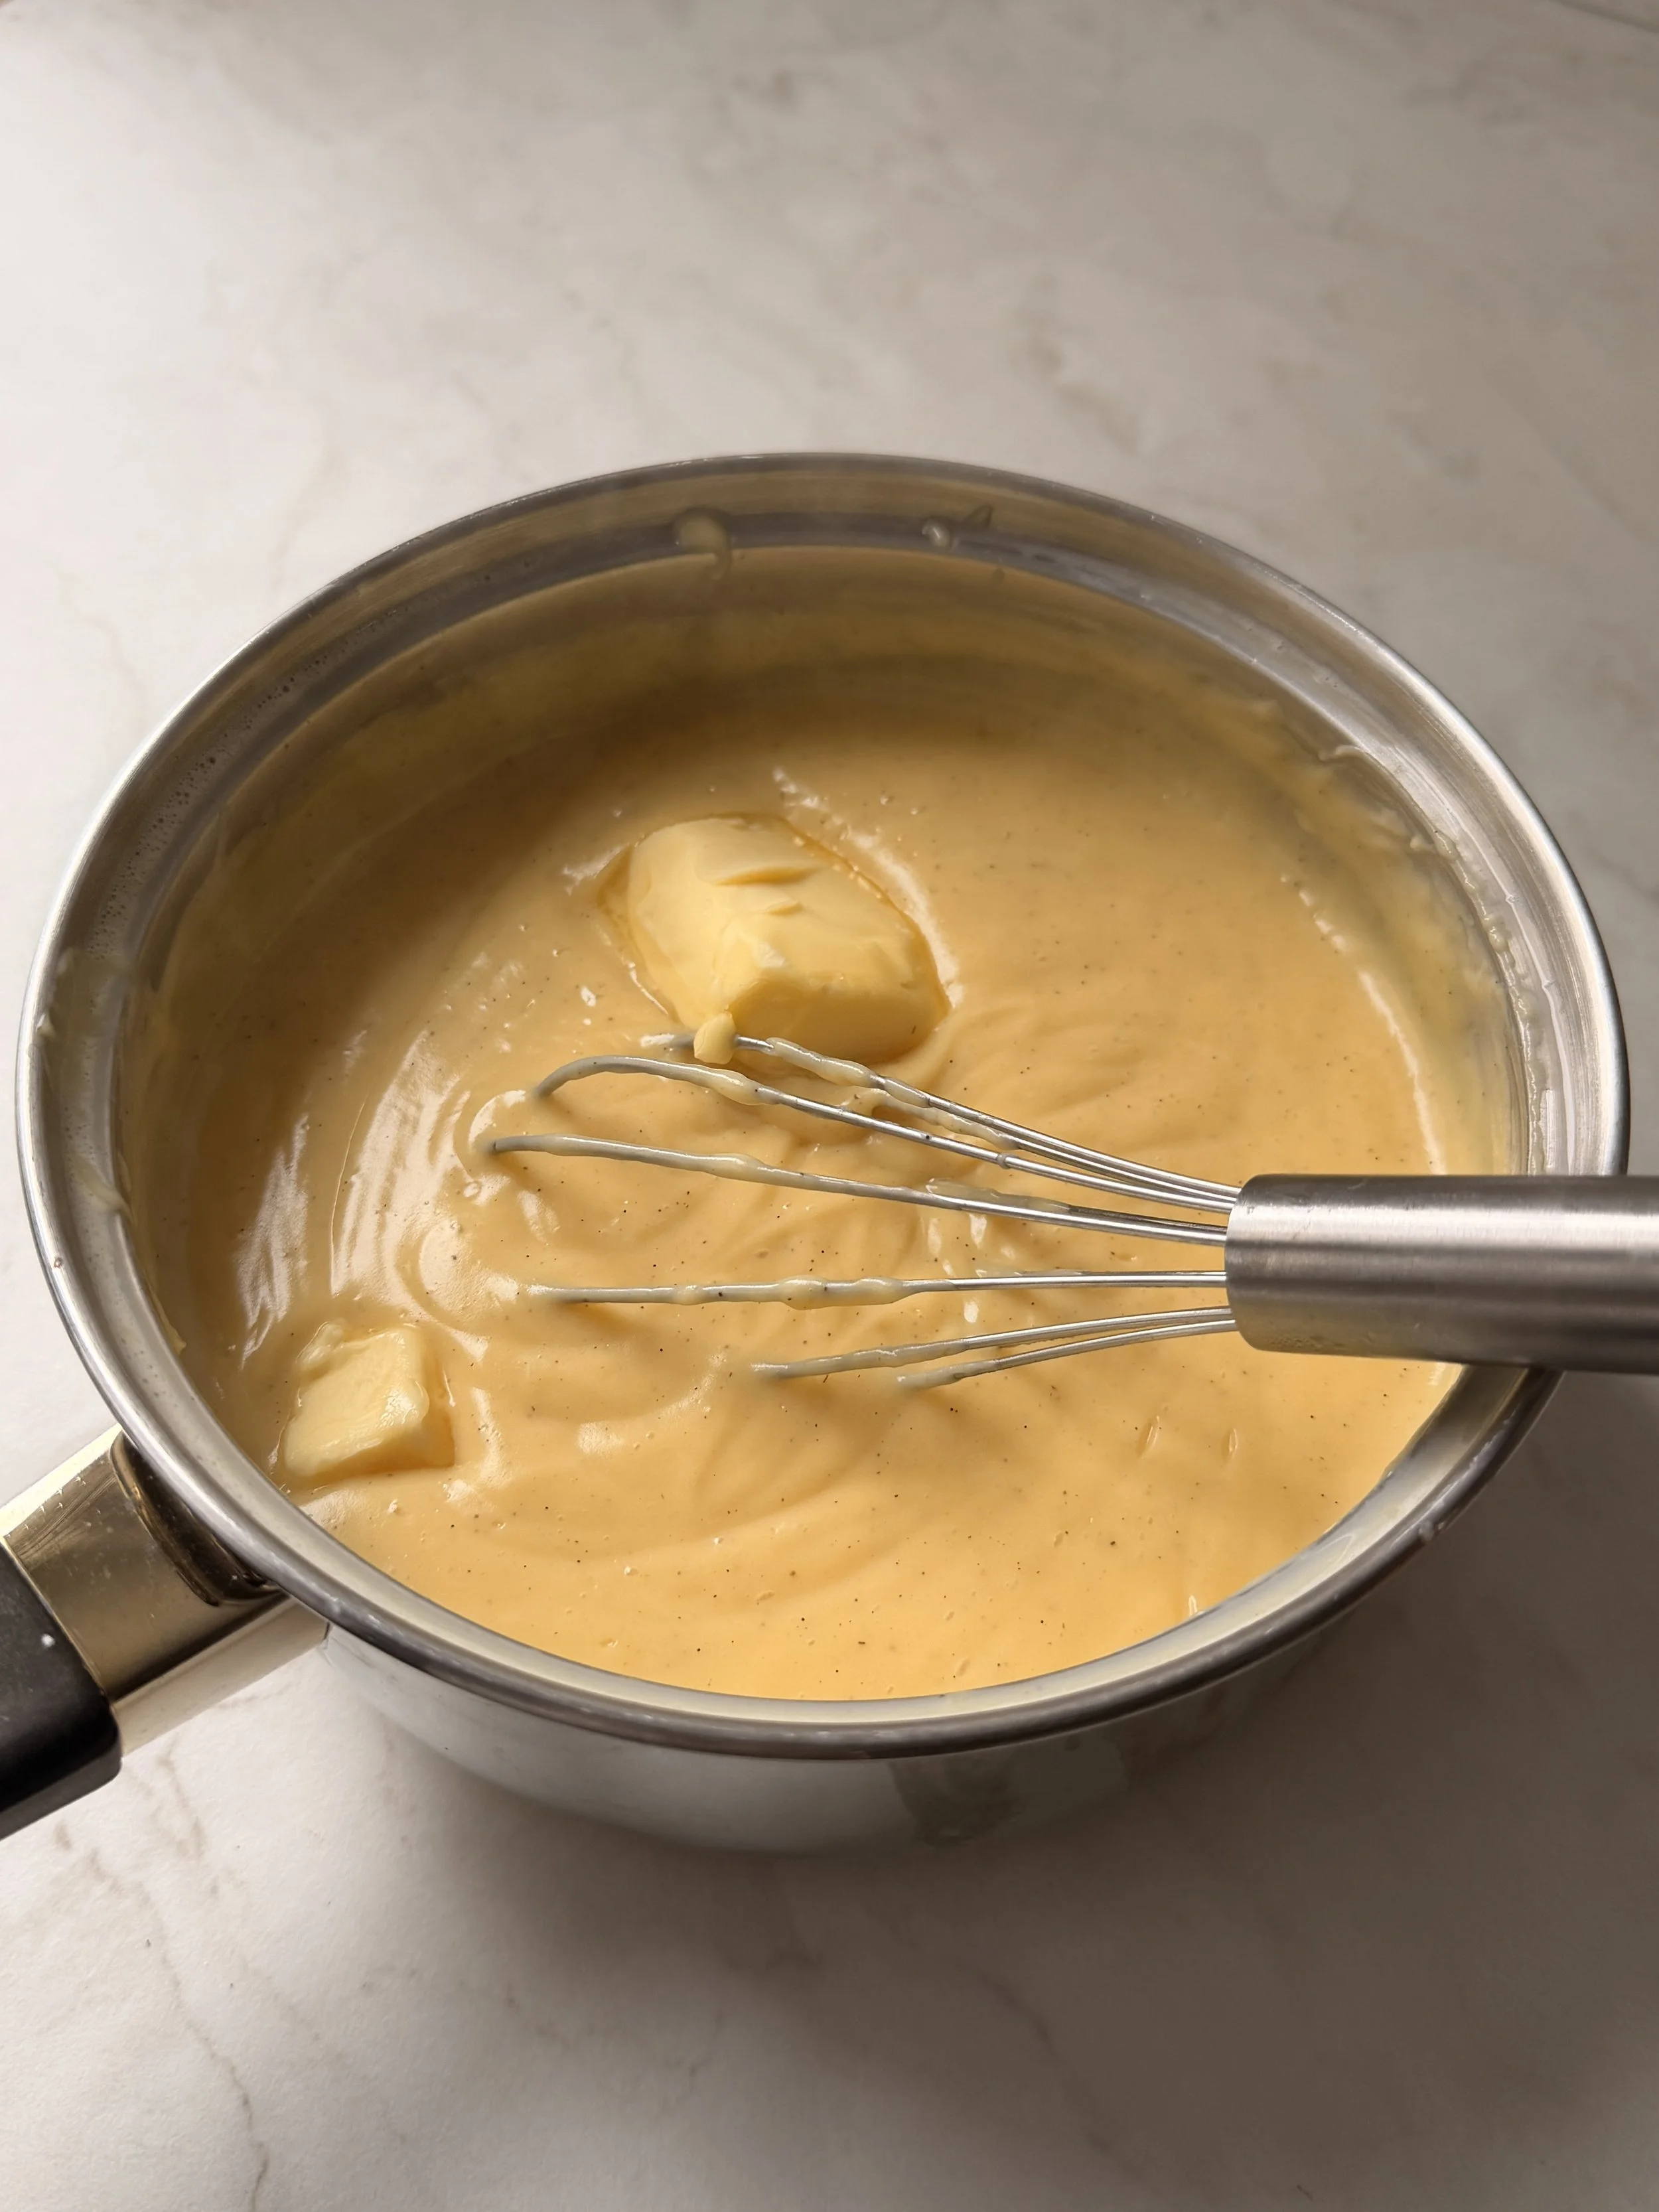
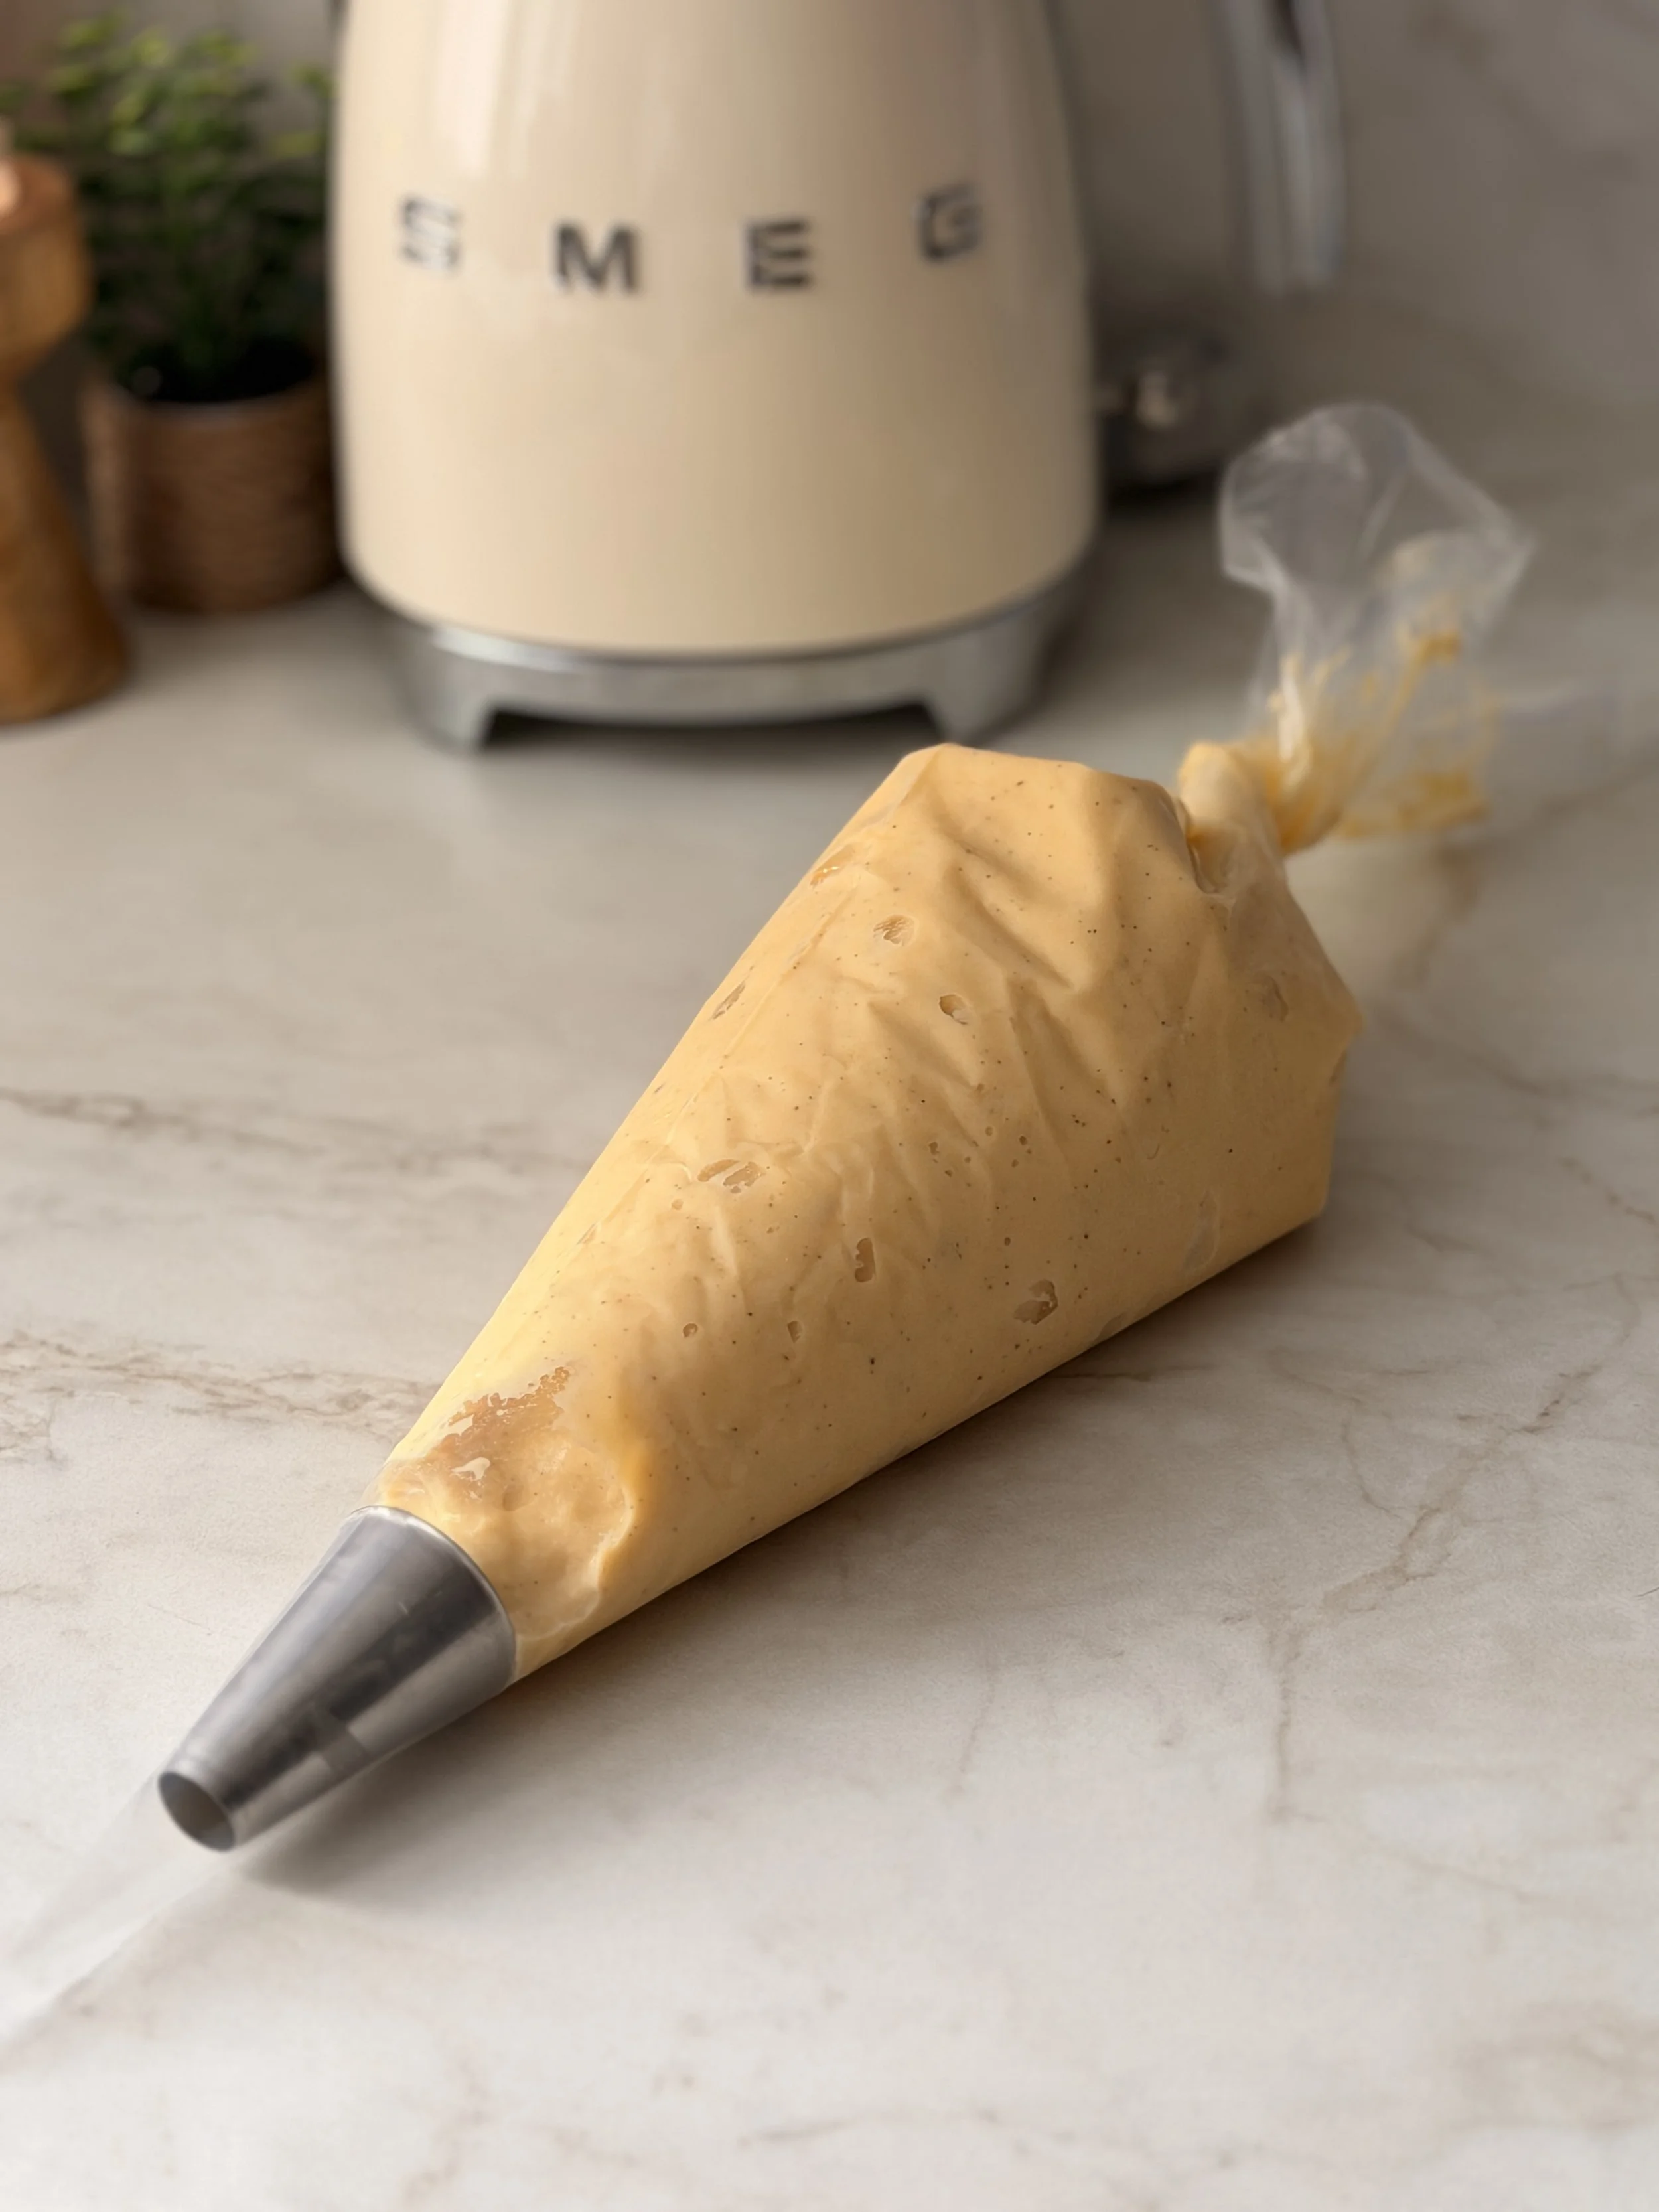
7. Cover with plastic wrap, pressing it directly onto the surface of the cream.
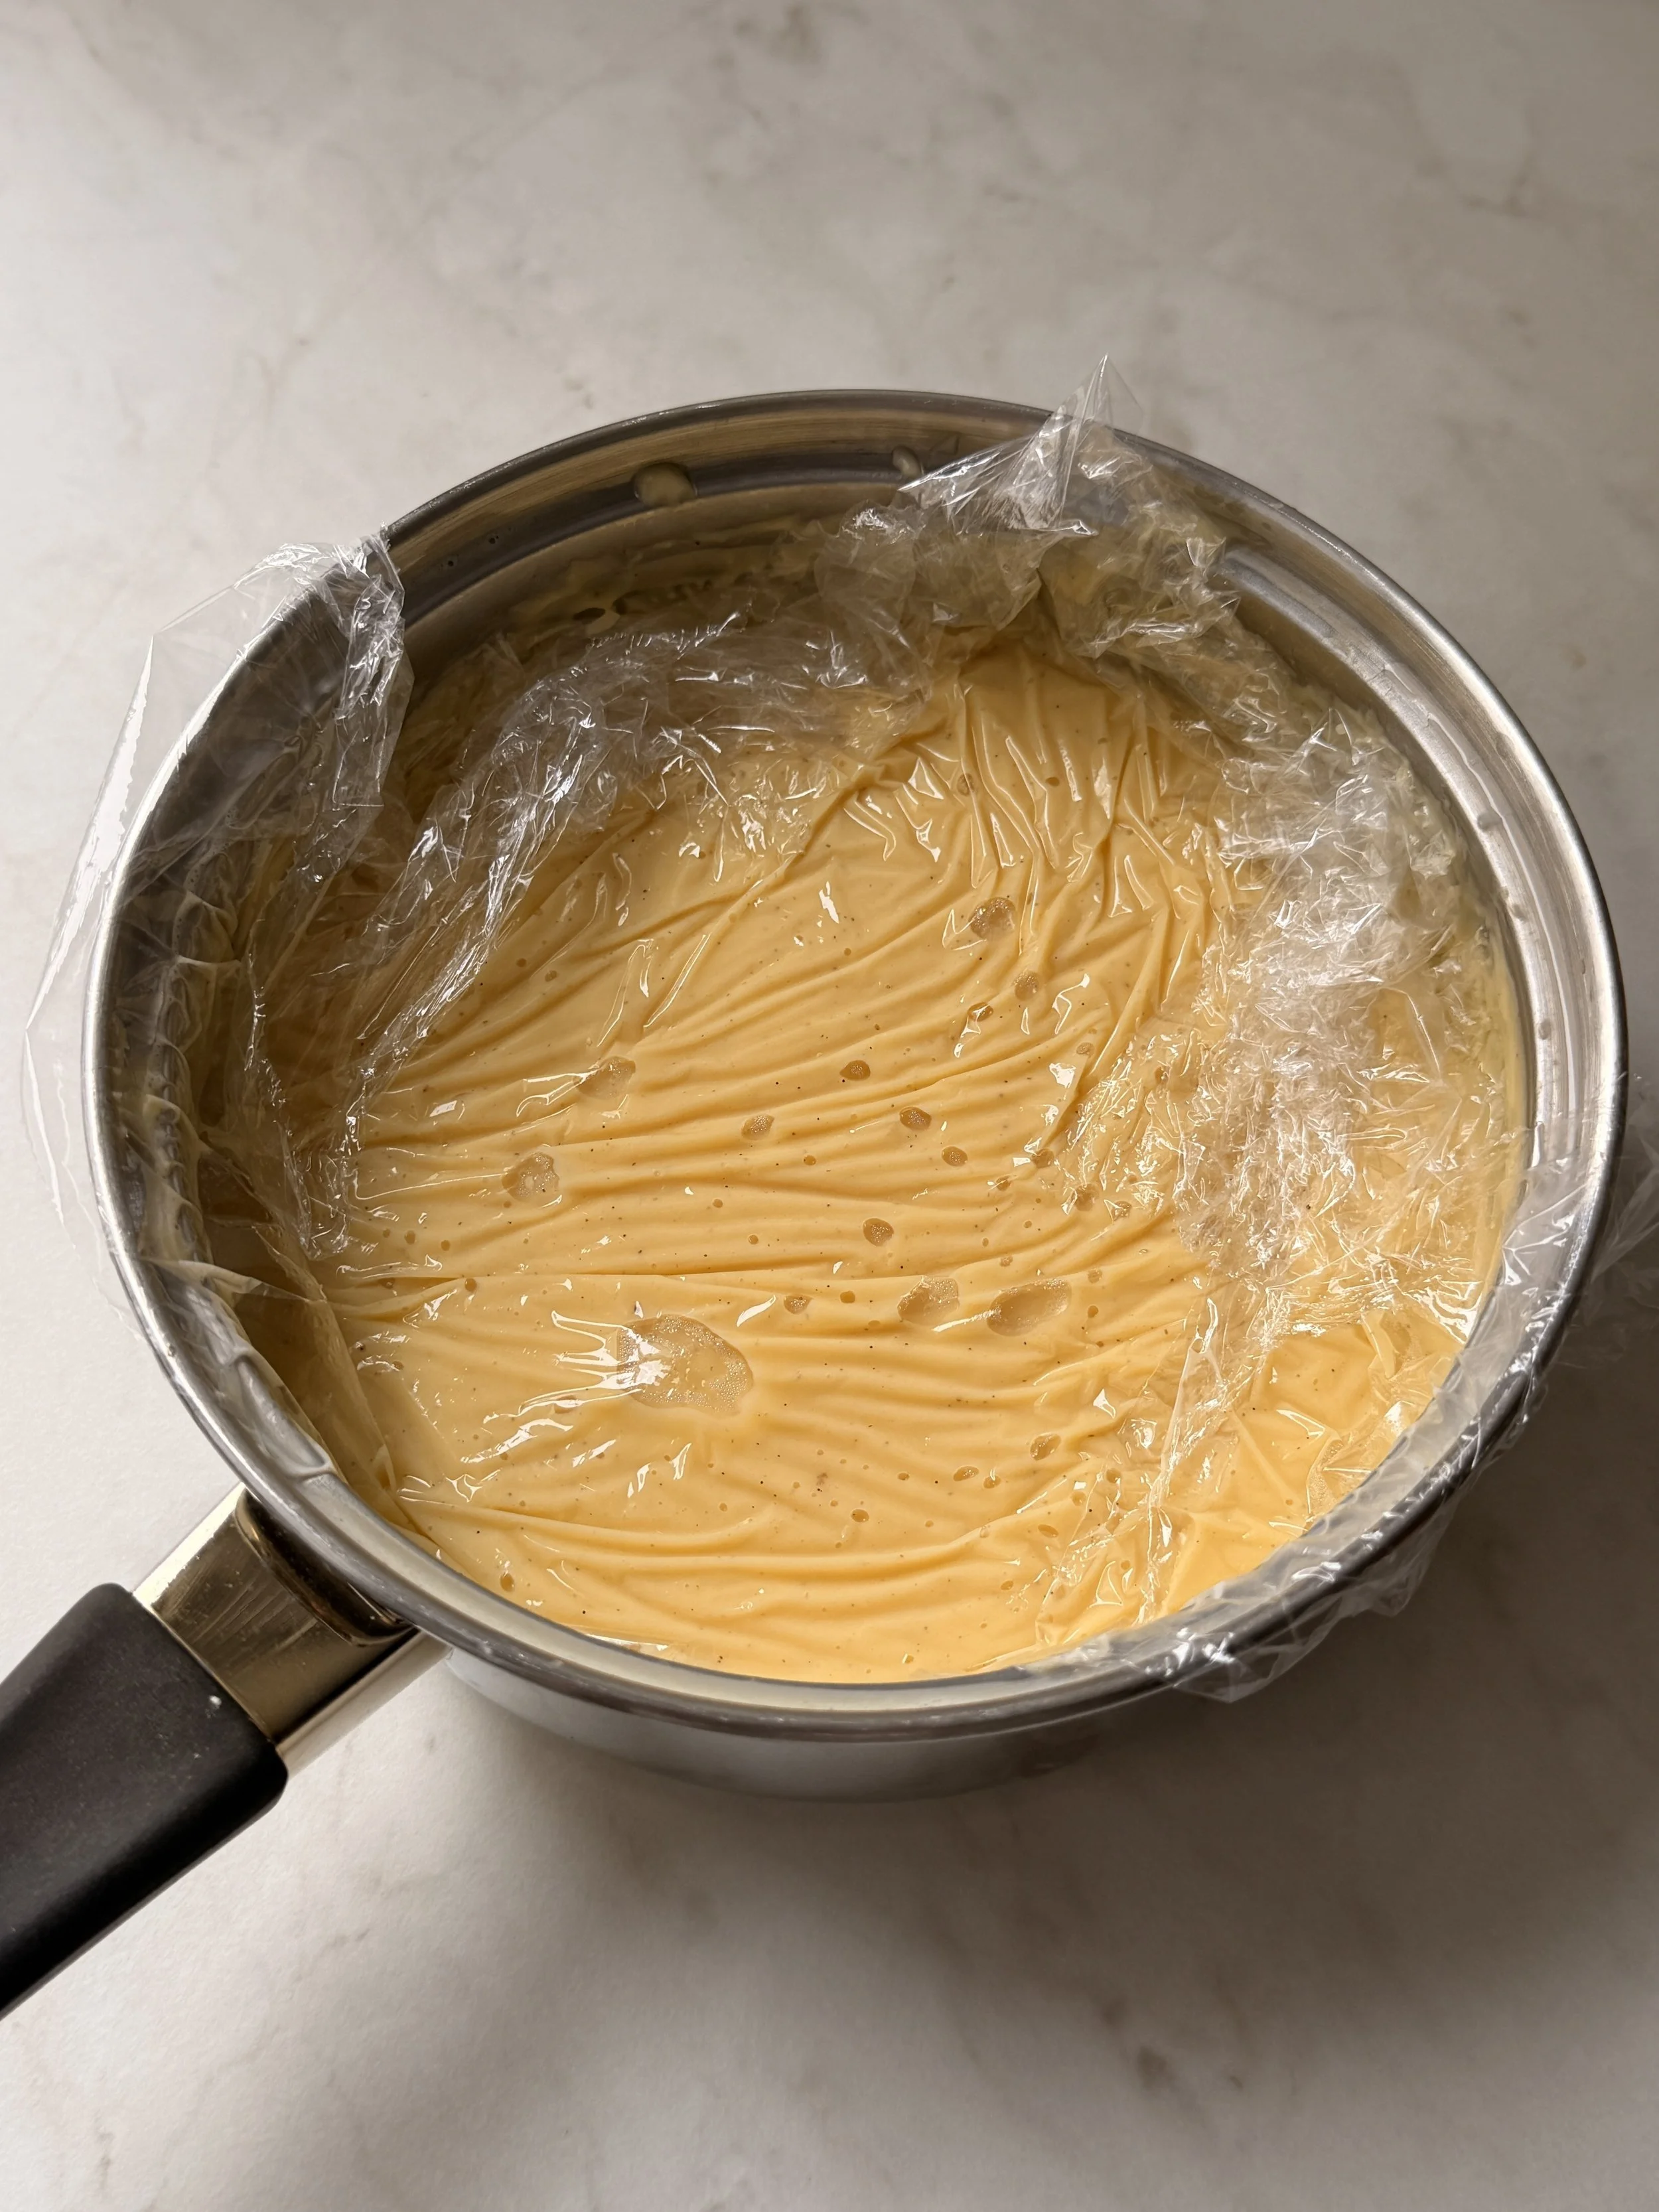
8. Refrigerate until completely cooled.
9. Next prepare the dough.
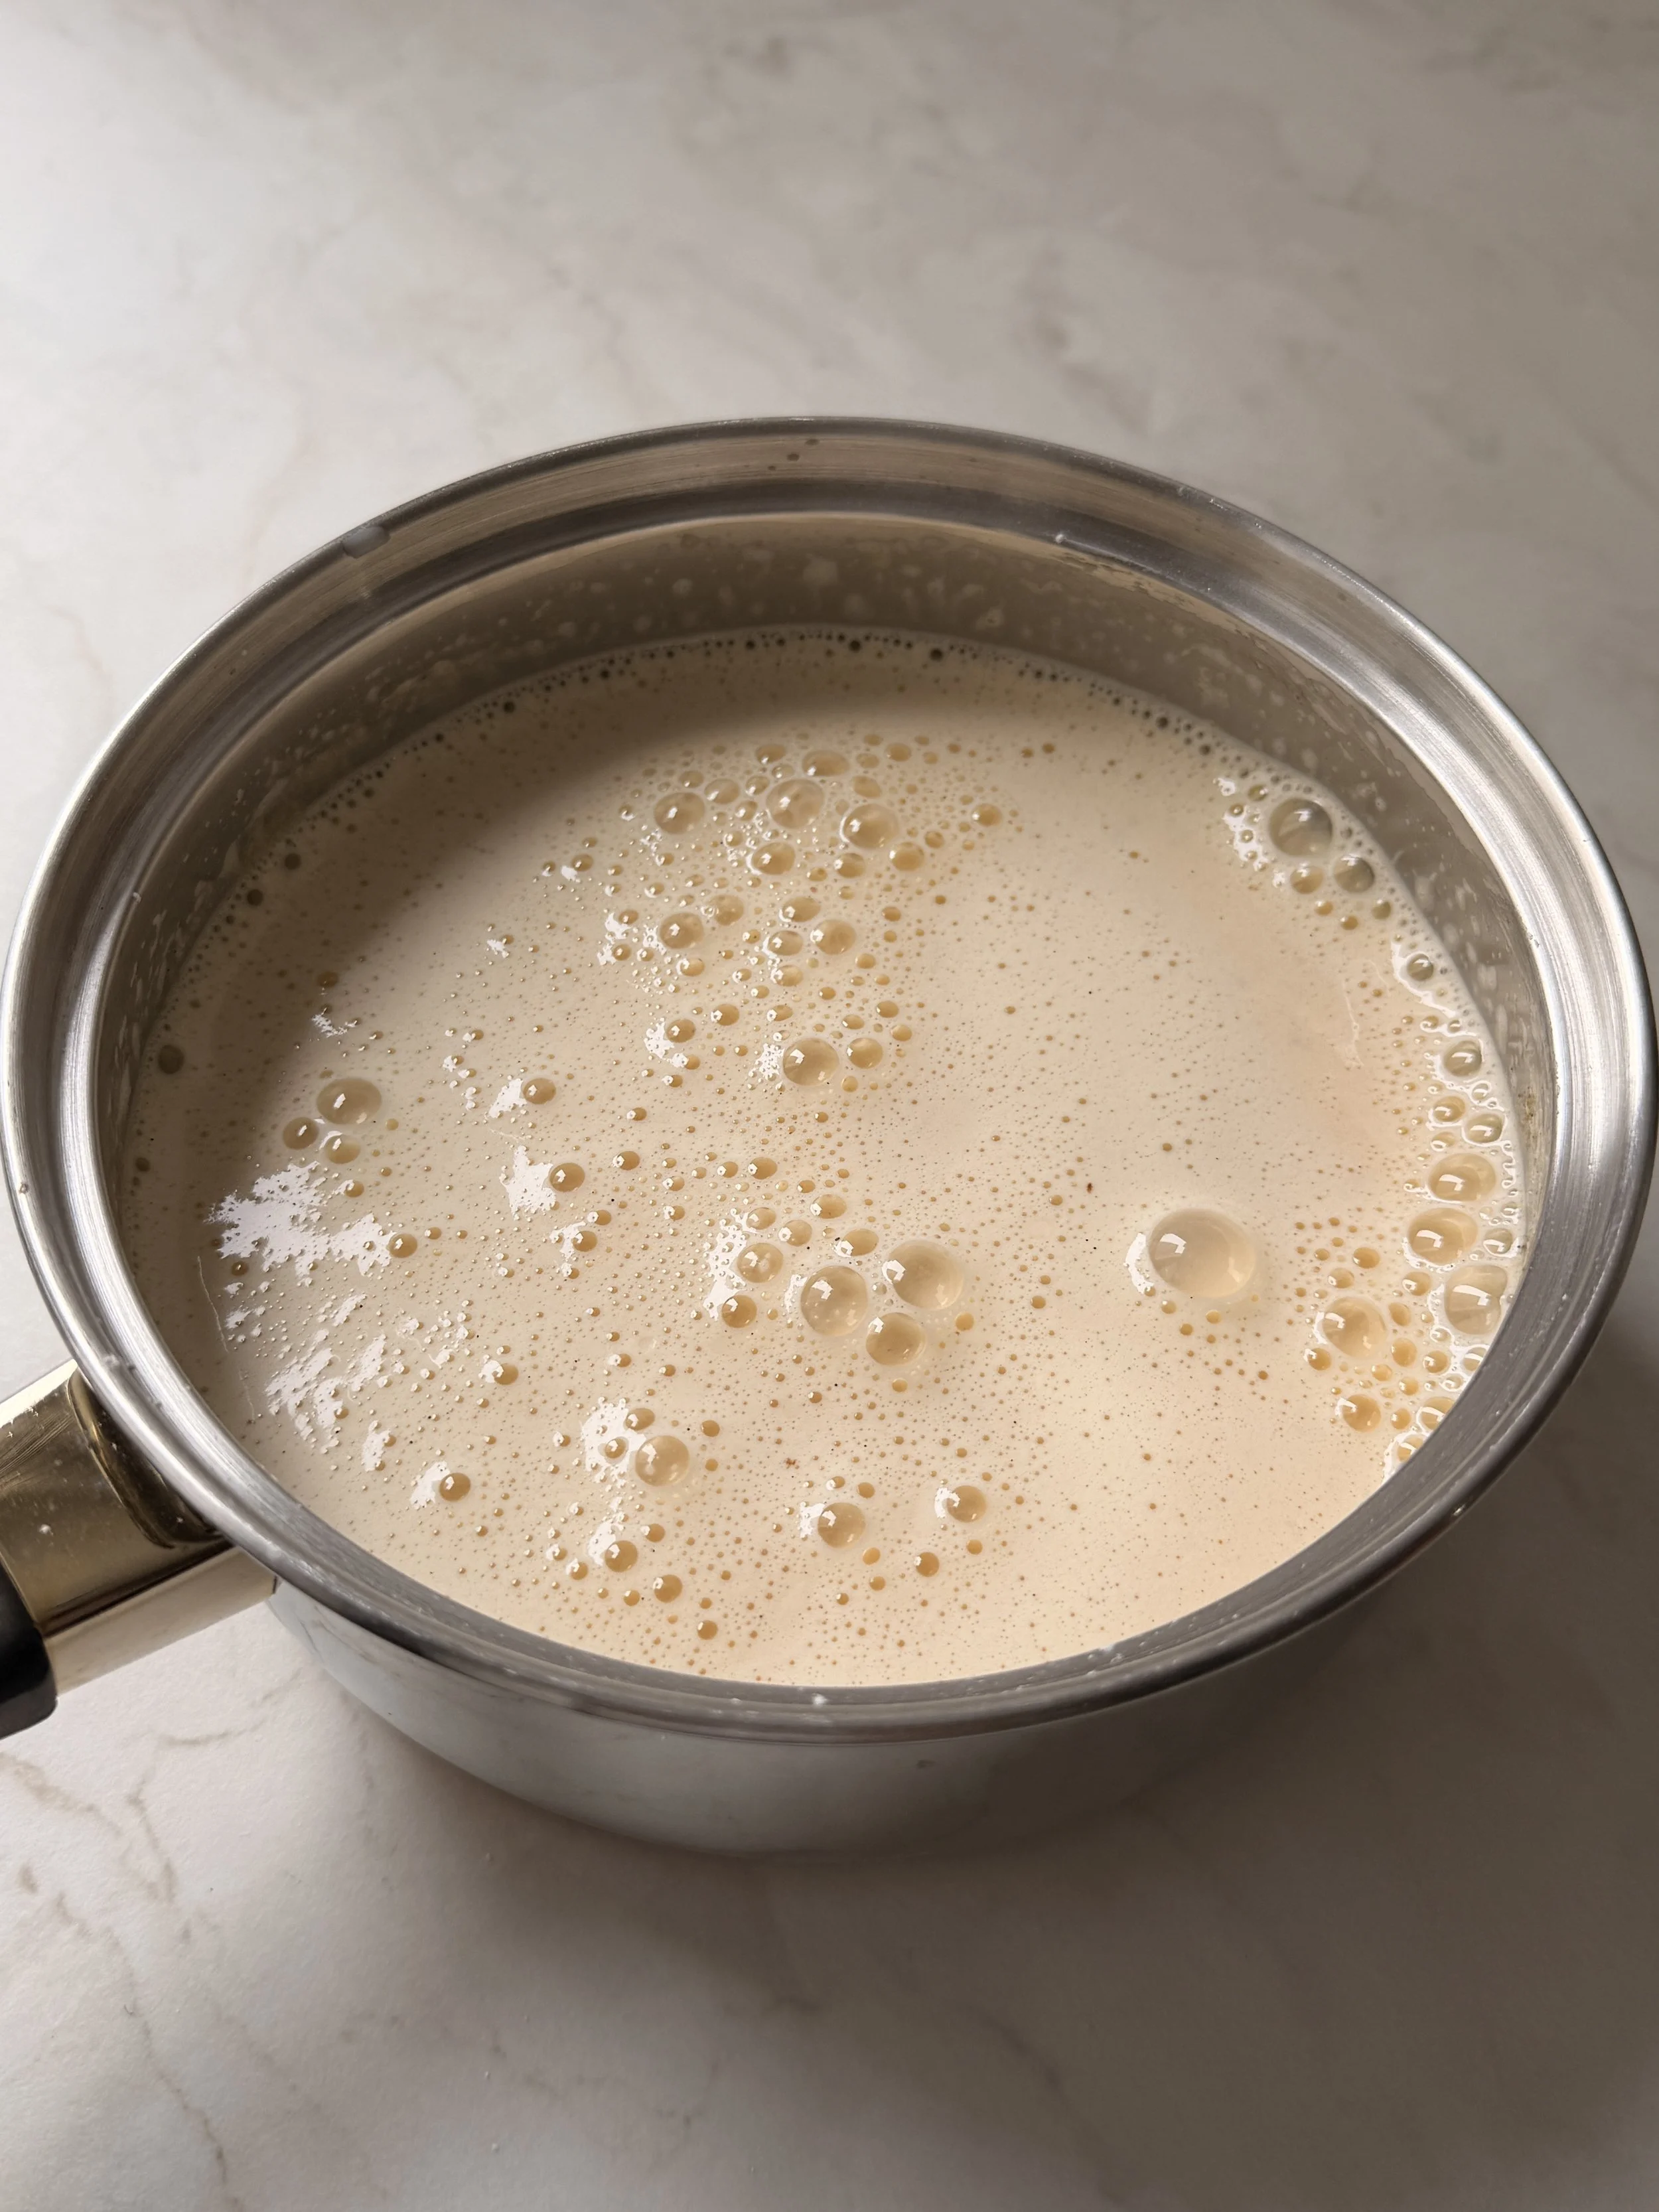
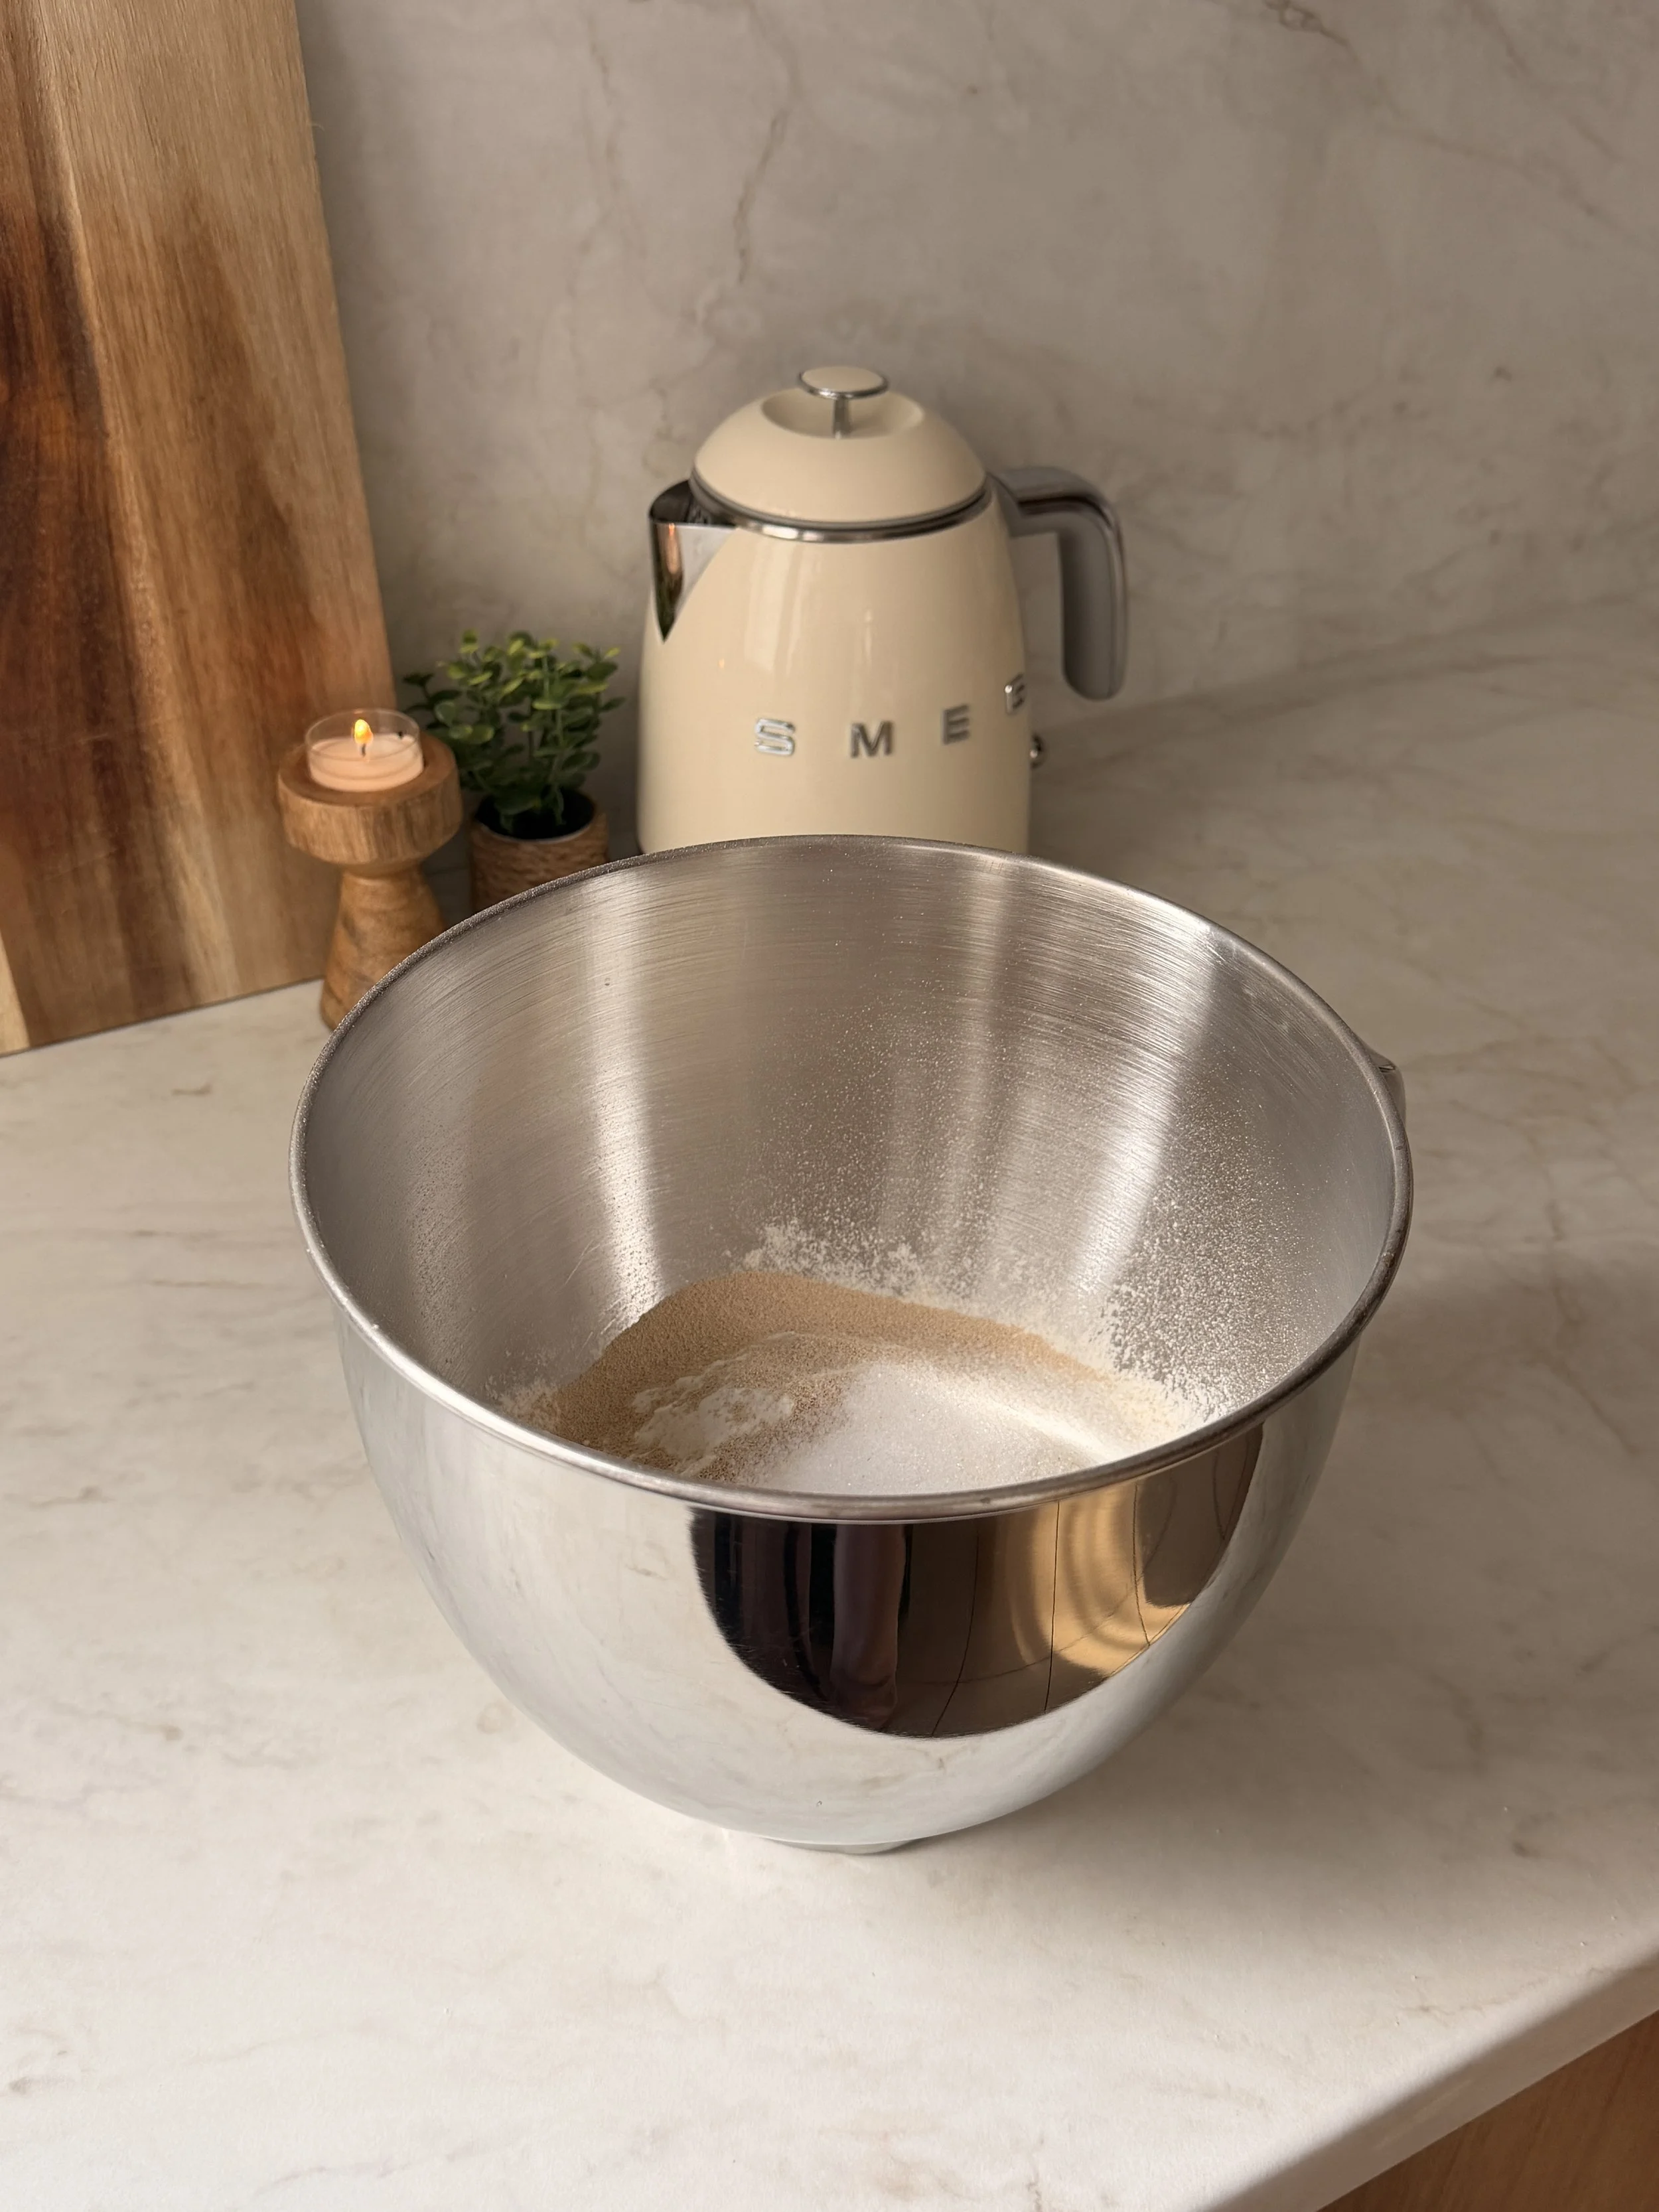
10. If using a stand mixer: In a large bowl whisk together the flour, salt, sugar and yeast. Add the milk, butter, vanilla bean paste, egg and egg yolk. Knead on low speed for 8-10 minutes until the dough is smooth and elastic.
11. If kneading by hand: In a bowl whisk together the flour, salt, sugar and yeast. Add the milk, egg, egg yolk, butter and vanilla. Mix with a wooden spoon or dough whisk until it forms a shaggy dough. Turn the dough onto a flat surface and knead for 10-12 minutes until smooth and elastic.
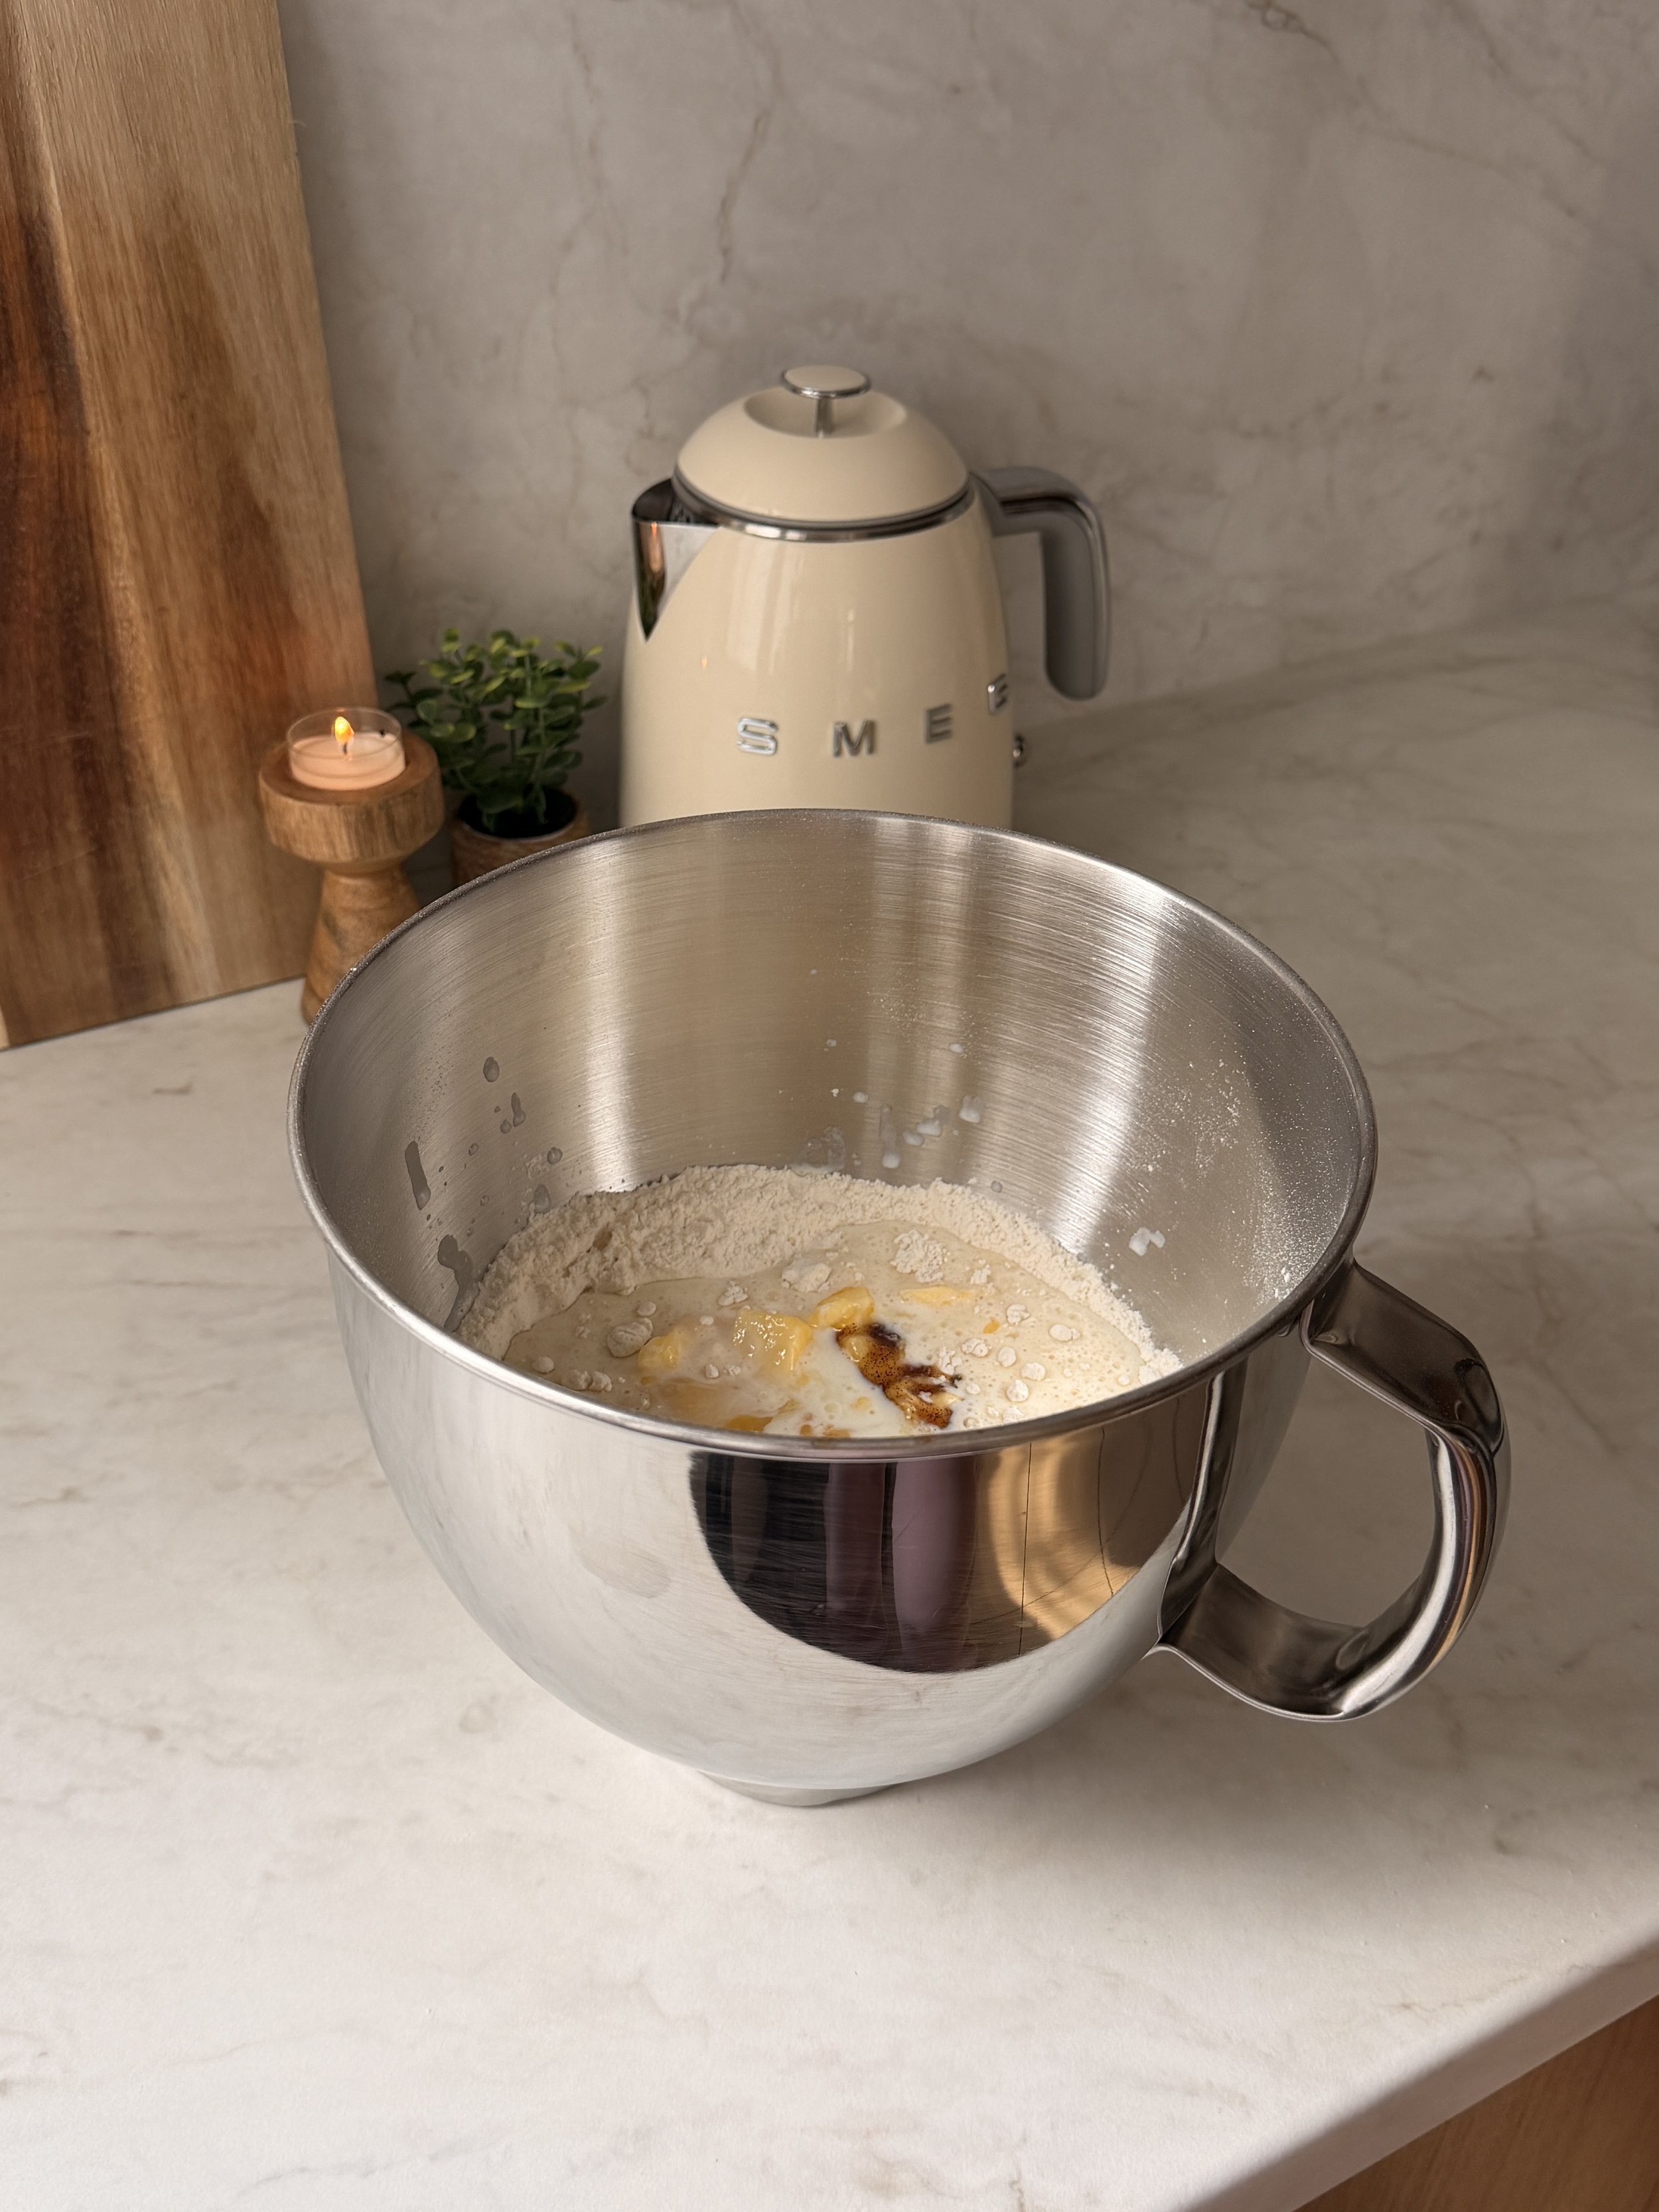

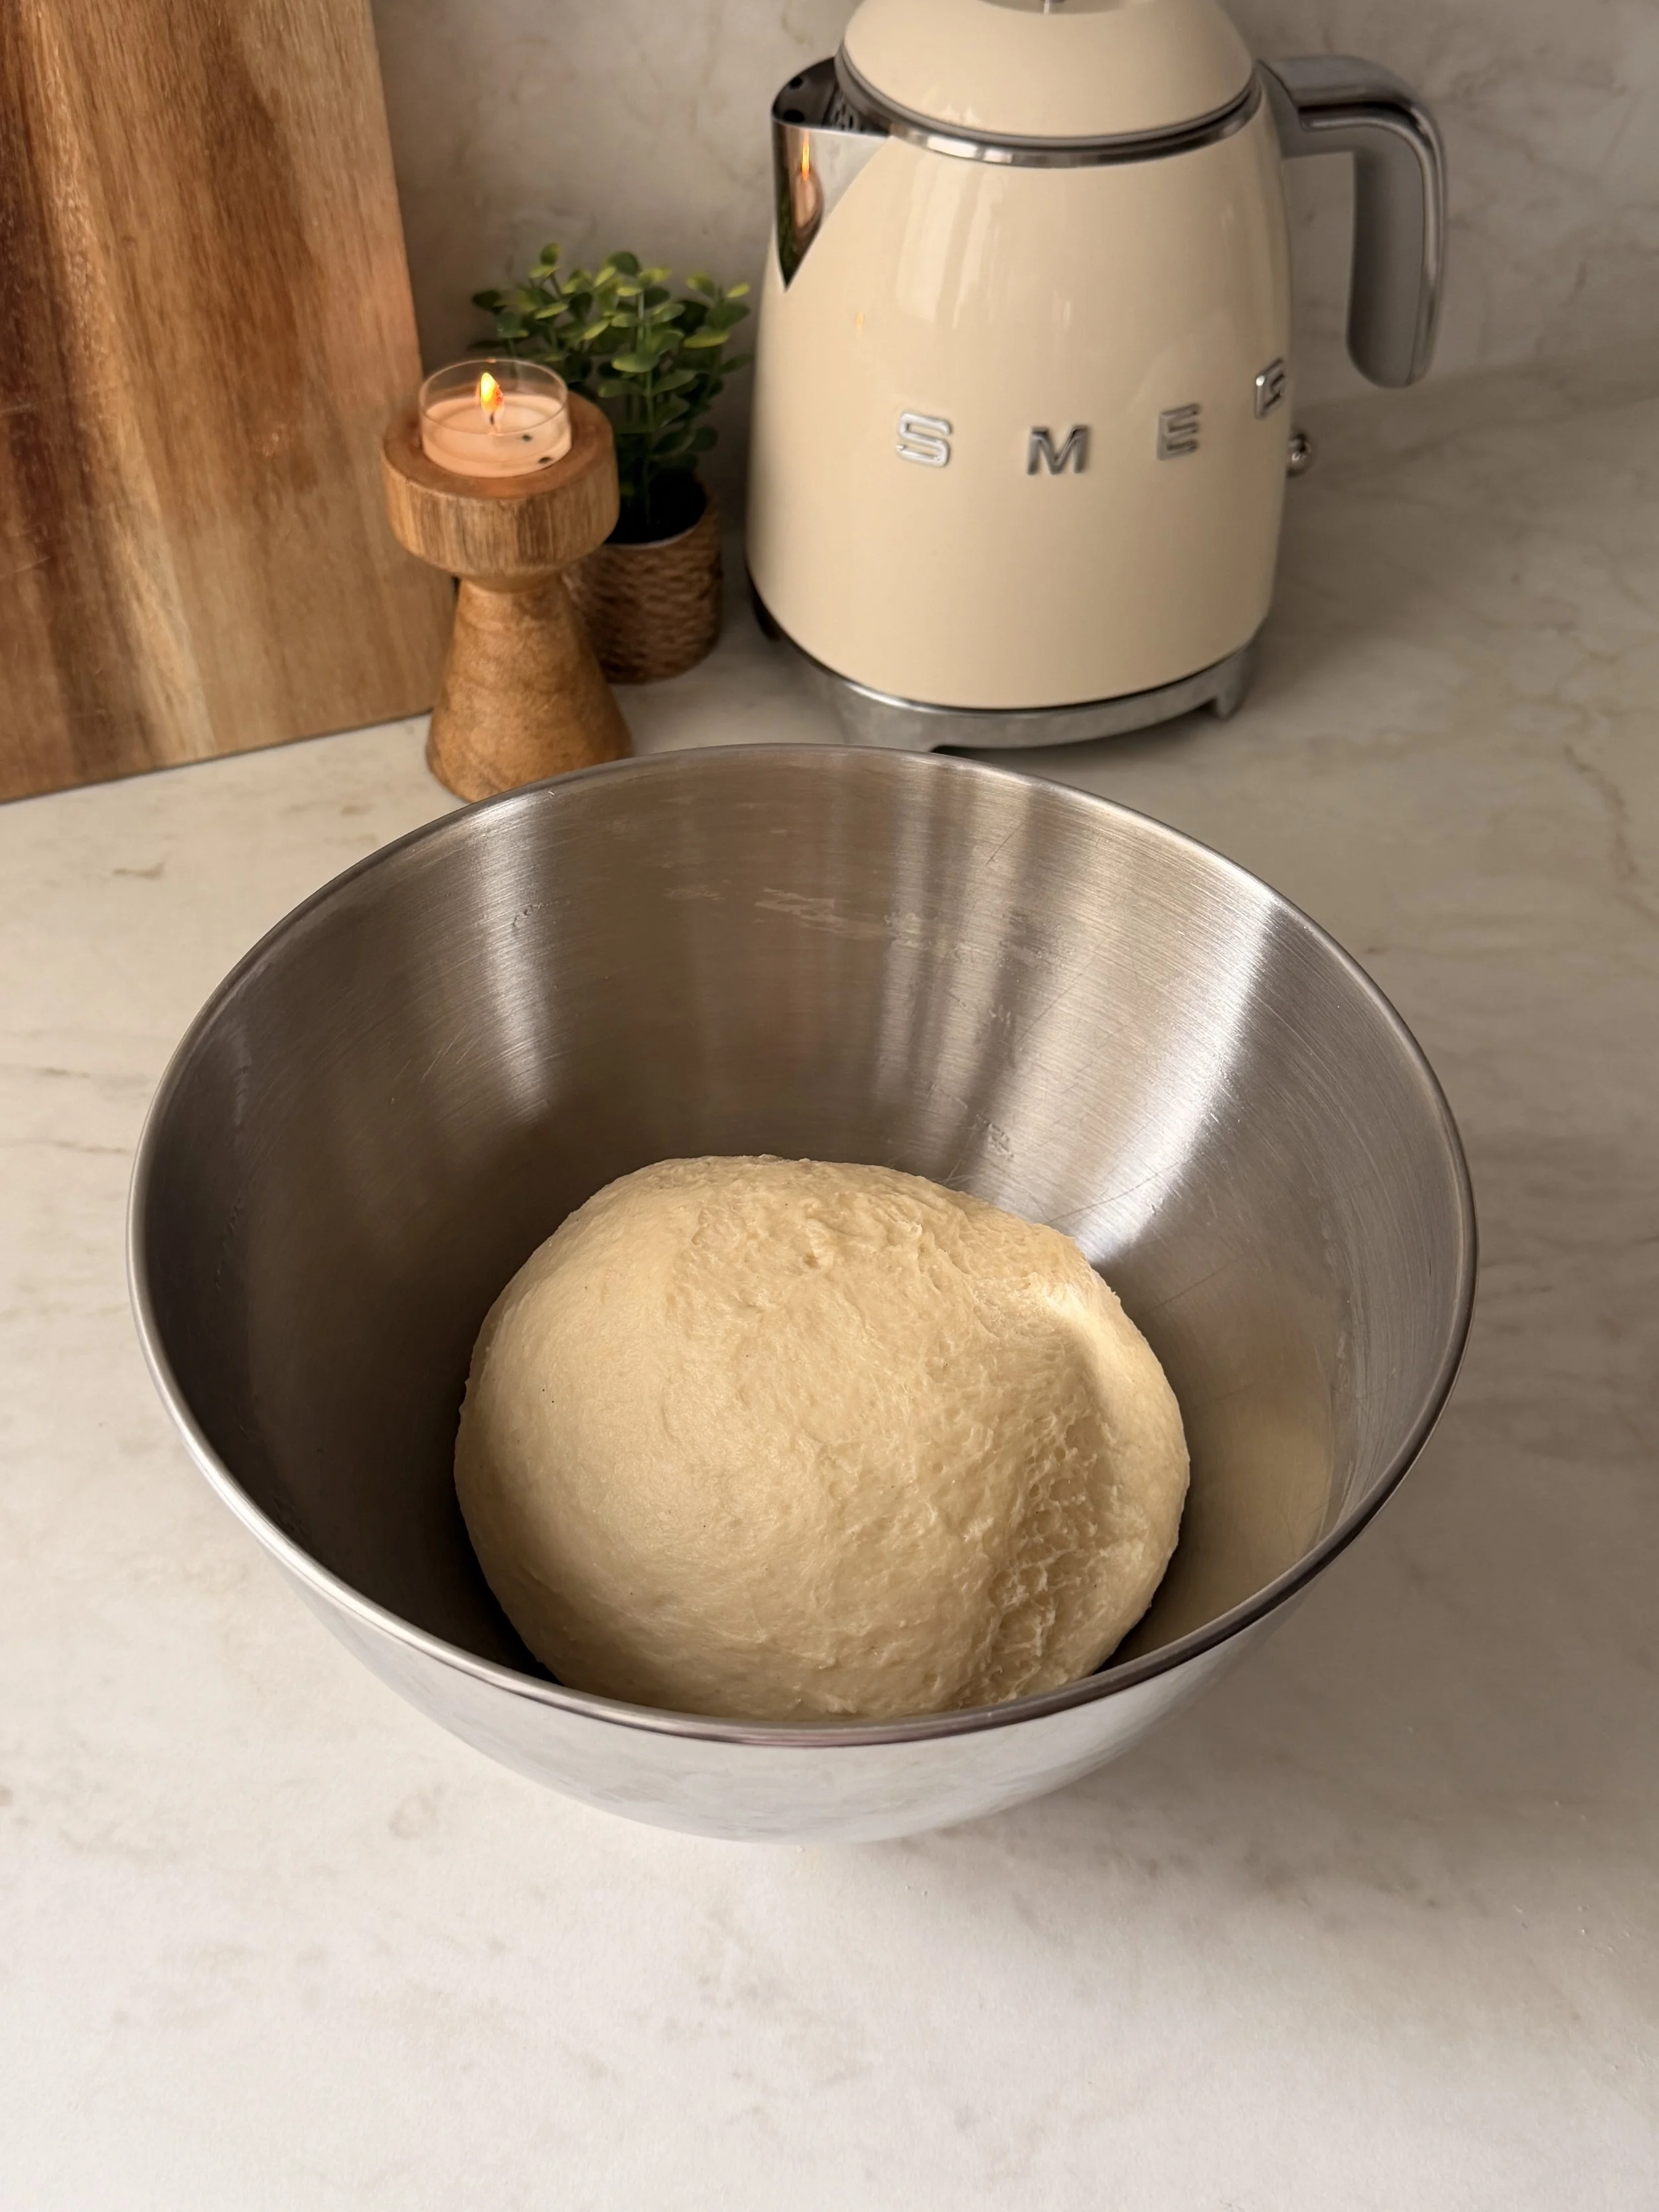
12. Place the dough in a lightly oiled bowl and cover.
13. Let it rise for 2 hours or until doubled in size.
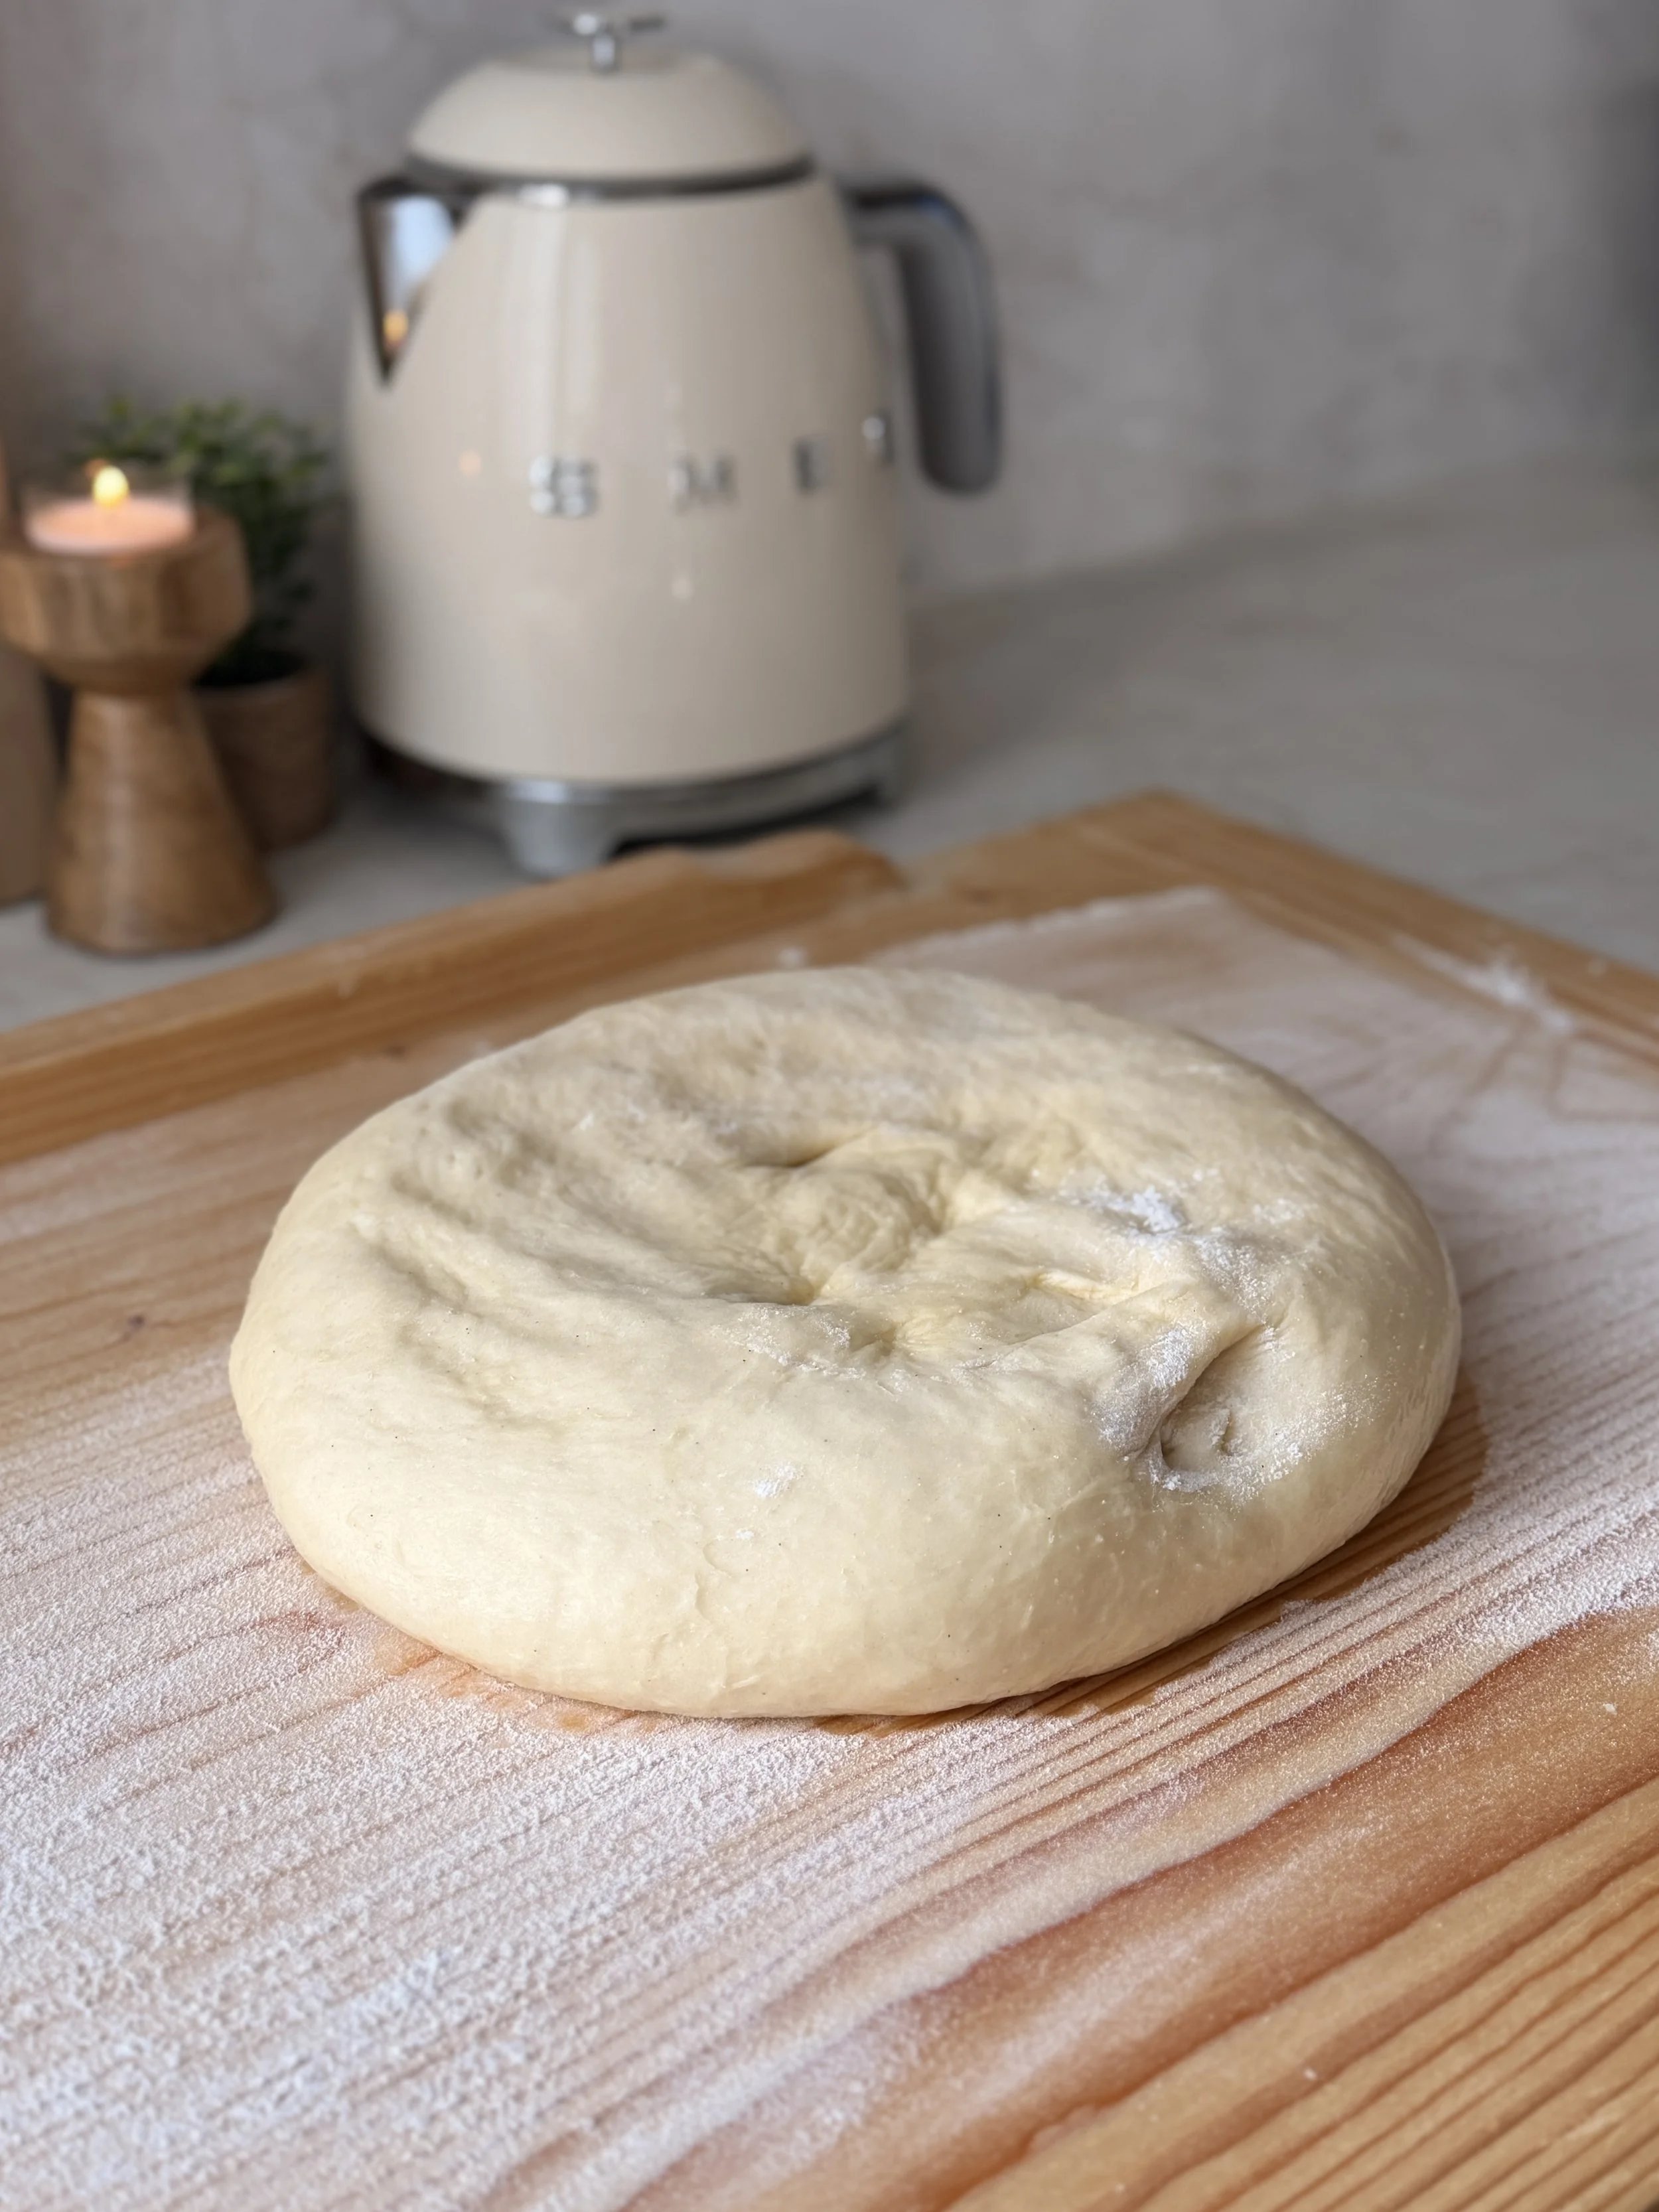
14. After 2 hours, punch down the dough and turn it onto a lightly floured surface.
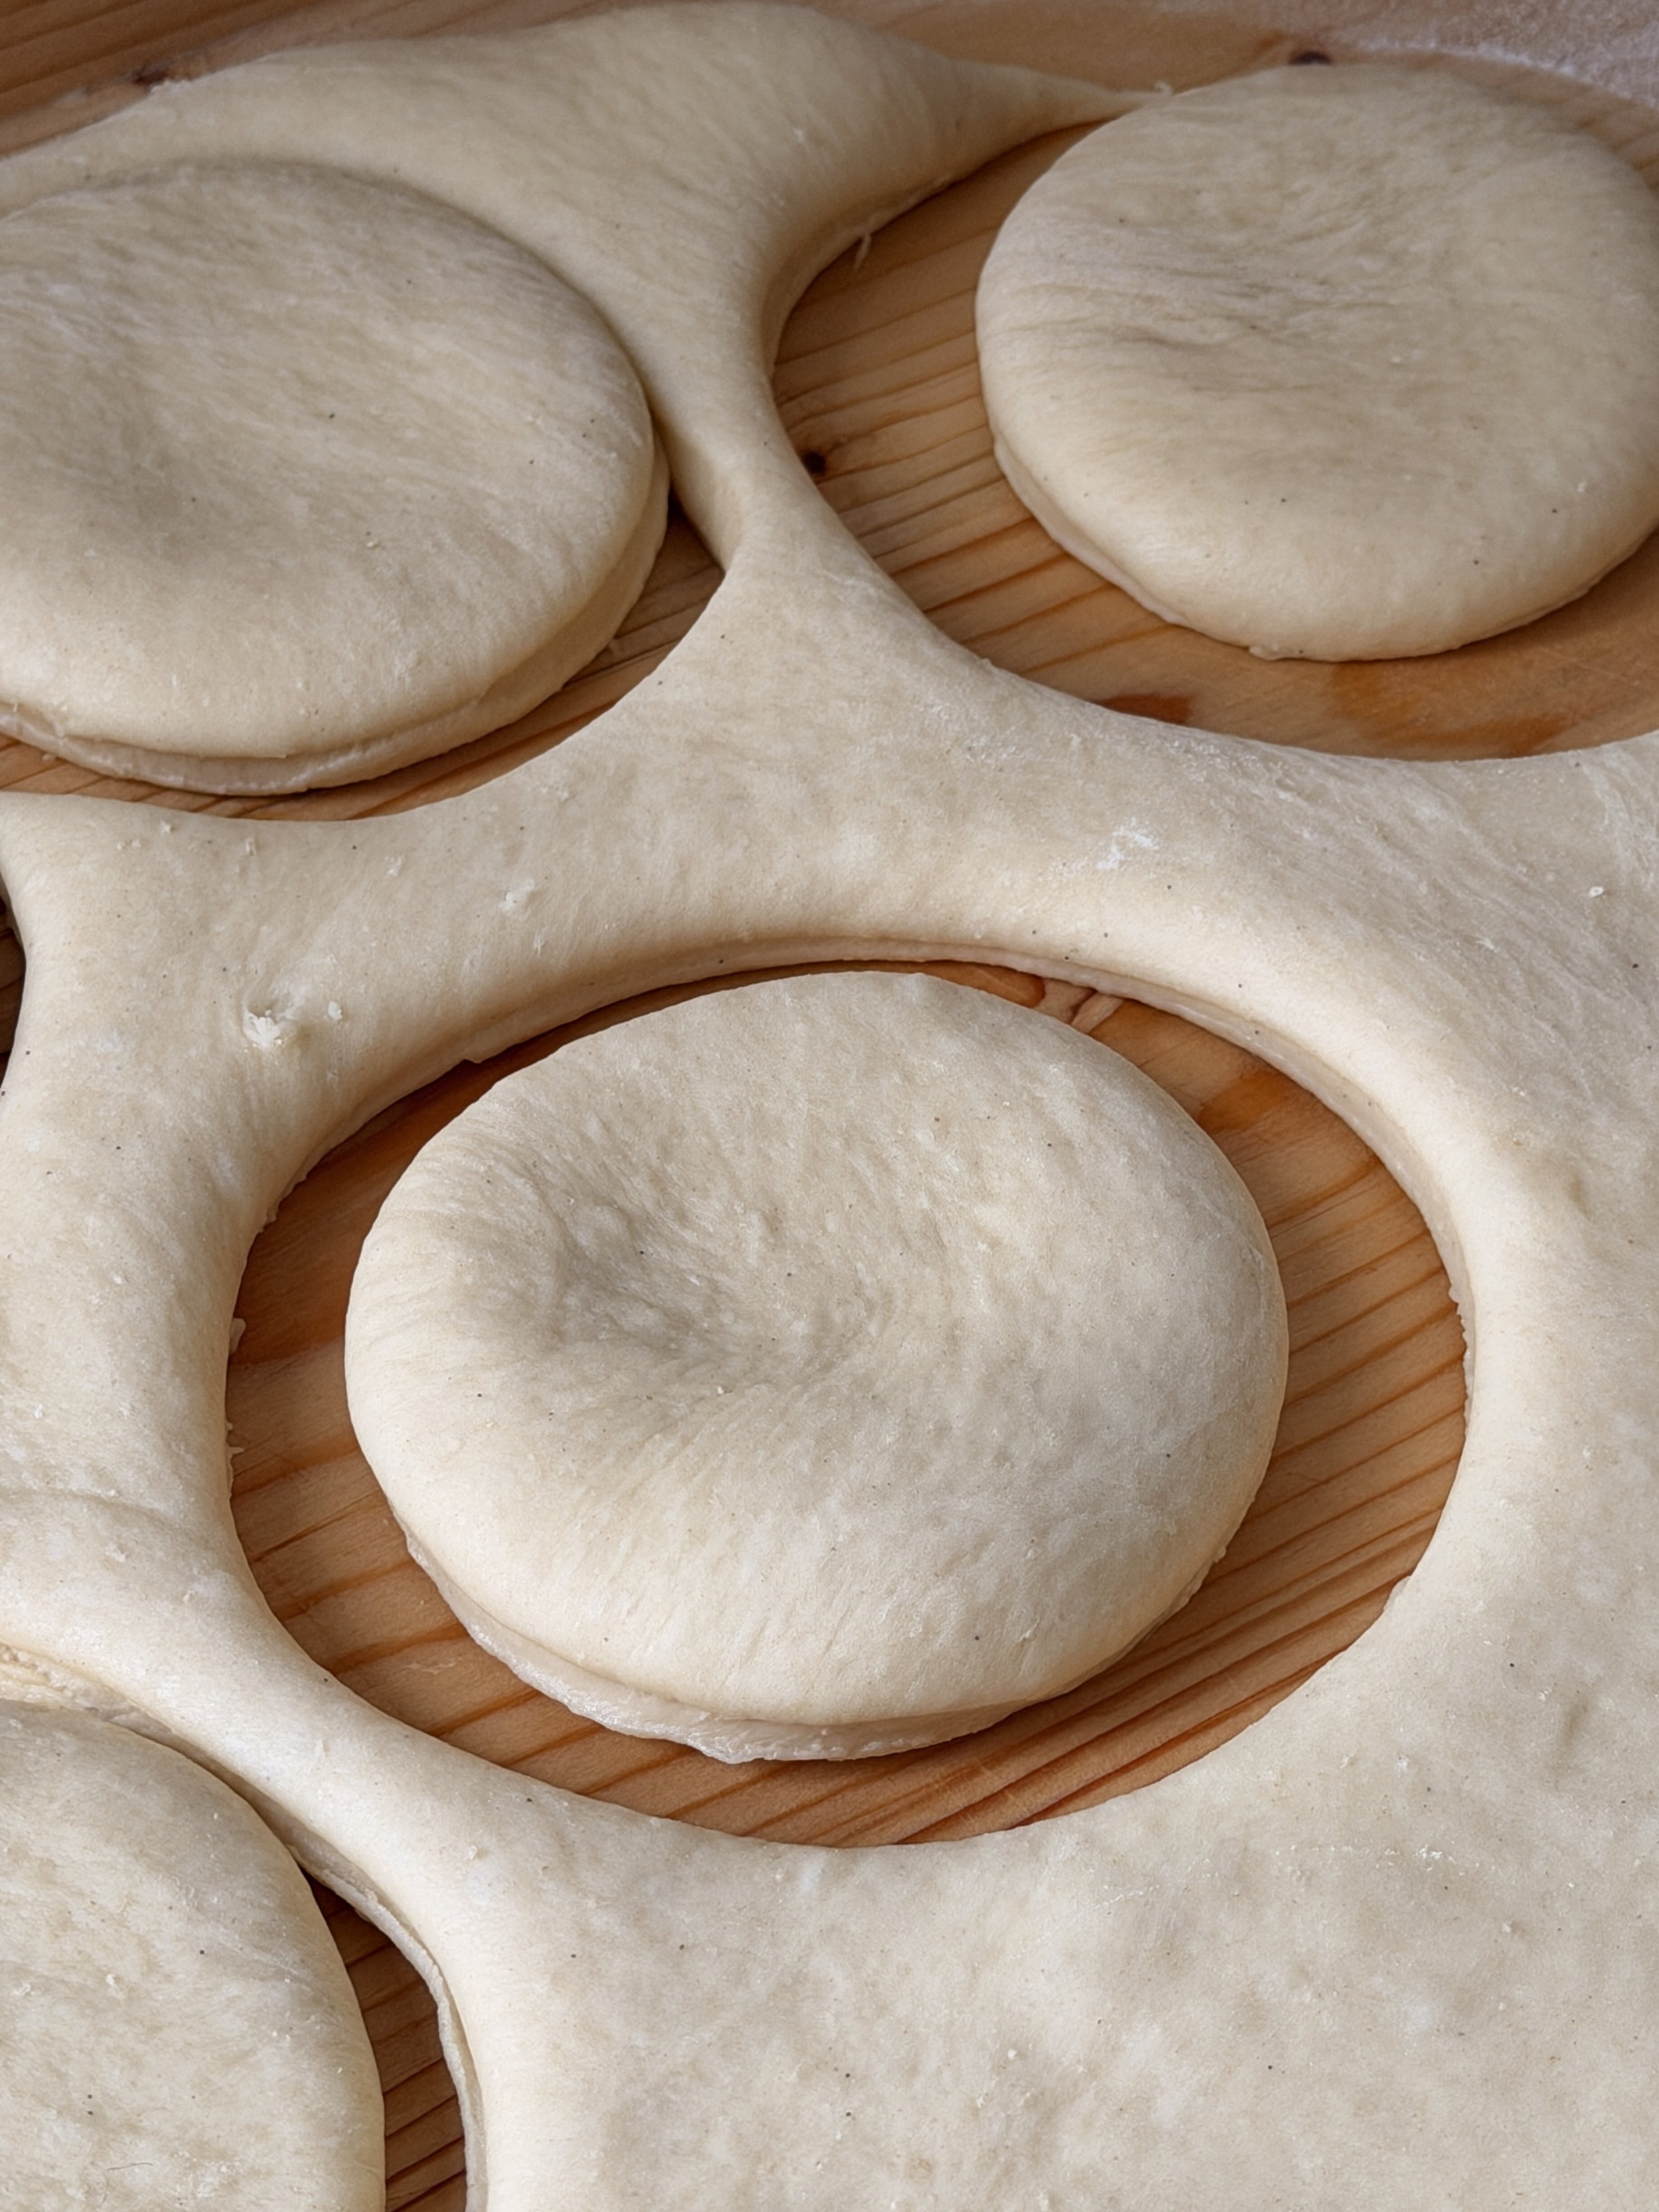
15. Roll the dough out to about 2 cm thick.
16. Using an 8 cm or 10 cm cookie cutter, cut out donuts and place them on parchment paper.
17. Cover and let the donuts rise (second proof) for 30 minutes. Do not skip this step.
18. Pour oil into a large skillet or saucepan and heat to 175 °C.
19. Fry the donuts in batches (1-2 at a time), cooking about 2-3 minutes per side, until golden brown.
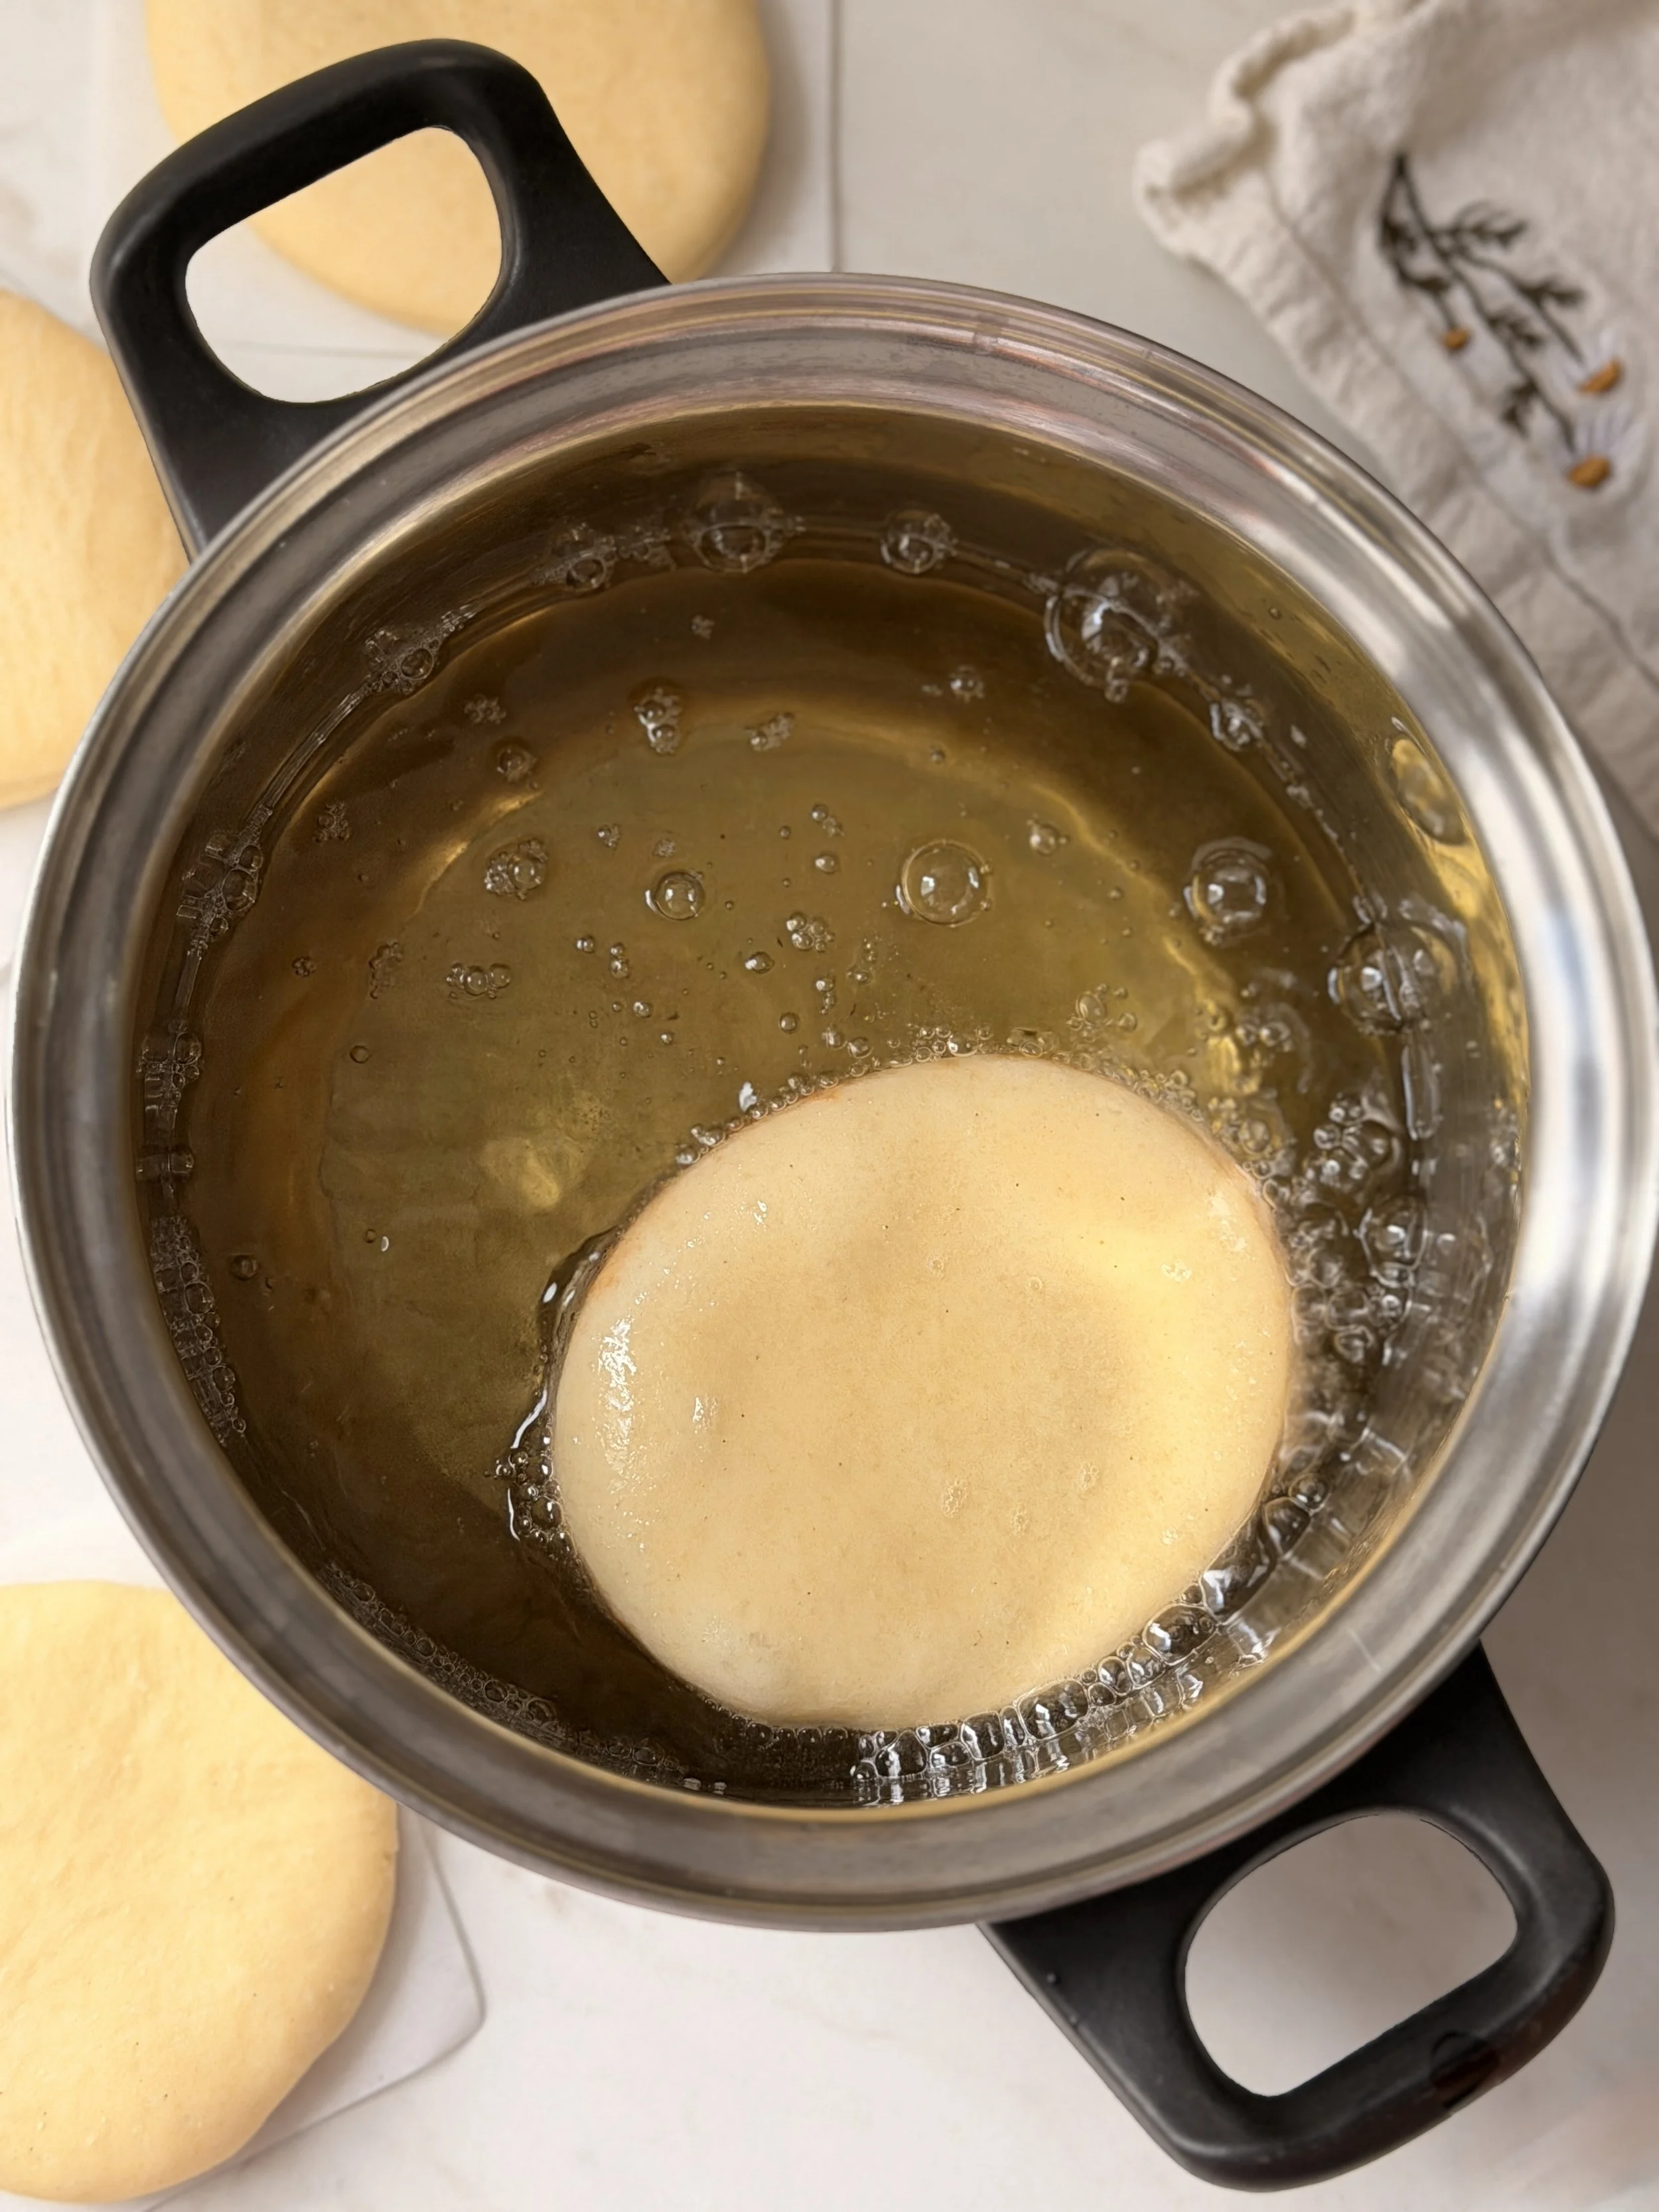
20. Drain slightly on parchment paper.
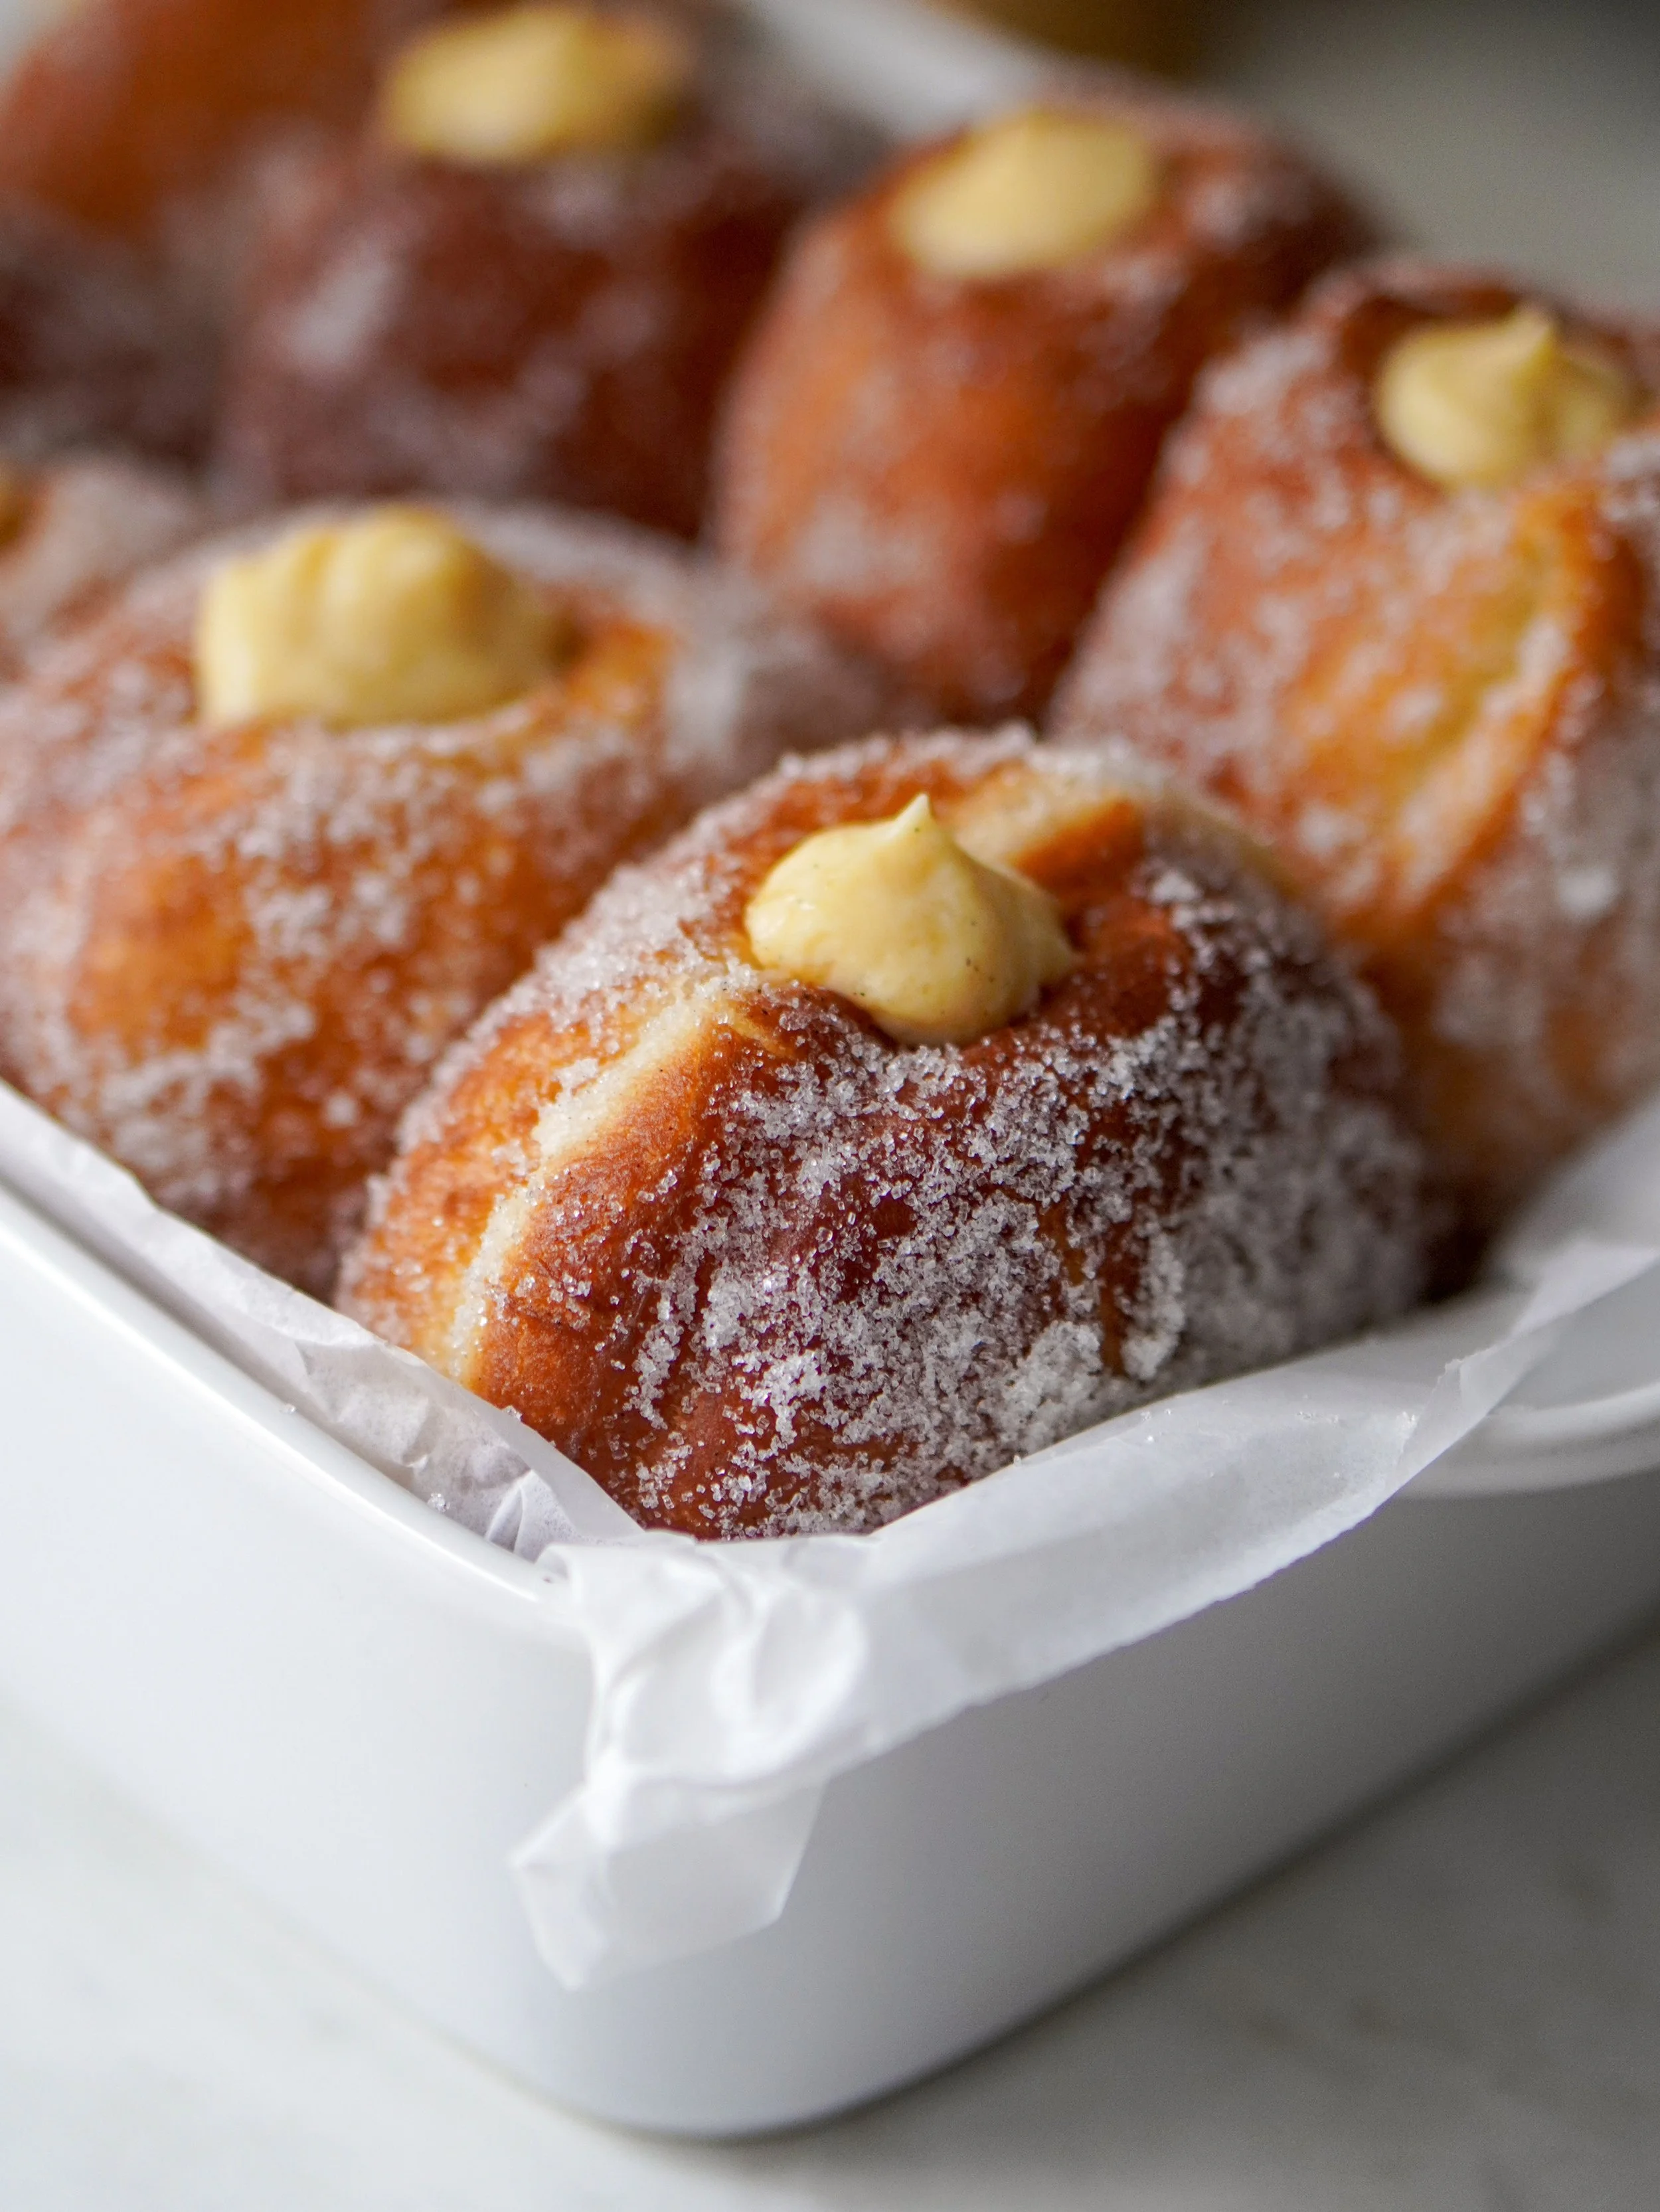
21. While still warm, toss the donuts in sugar.
22. Let the donuts cool slightly before piping in the vanilla cream (hot donuts can melt the cream).
23. Enjoy!

Vanilla Cream filled Bomboloni
These Vanilla Cream filled Bomboloni are soft, fluffy and filled with a smooth homemade vanilla cream. They’re fried, coated in sugar and best enjoyed fresh. Once you try these, you’ll be obsessed!
Ingredients
- 500g all purpose flour (4 cups)
- 60g granulated sugar (1/4 cup + 1 tablespoon)
- 7g instant dry yeast (1 tablespoon)
- 1 teaspoon salt
- 220g warm milk (2/3 cup + 1/4 cup)
- 1 teaspoon vanilla bean paste
- 70g unsalted butter, softened (1/3 cup)
- 1 large egg + 1 large egg yolk
- 4 large egg yolks
- 100g granulated sugar (1/2 cup)
- 30g cornstarch (3 tablespoons + 2 teaspoons)
- 500g milk (2 cups + 1 tablespoon)
- 30g unsalted butter (2 tablespoons)
- 1 vanilla pod, scraped out
- *You can also use my other Pastry Cream recipe, which is a bit richer than this one!
- 150g (3/4 cup) granulated sugar mixed with 1 teaspoon ground vanilla bean powder
- Oil, for frying
Instructions
- Prepare the Vanilla Pastry Cream first, because it needs to cool completely.
- In a saucepan, whisk together the egg yolks and sugar until pale in color.
- Add the cornstarch and the scraped vanilla bean, mixing until smooth.
- Gradually whisk in the milk.
- Cook over medium heat, stirring constantly until the mixture thickens.
- Remove from heat and mix in the butter until fully incorporated.
- Cover with plastic wrap, pressing it directly onto the surface of the cream.
- Refrigerate until completely cooled.
- Next prepare the dough.
- If using a stand mixer: In a large bowl whisk together the flour, salt, sugar and yeast. Add the milk, butter, vanilla bean paste, egg and egg yolk. Knead on low speed for 8-10 minutes until the dough is smooth and elastic.
- If kneading by hand: In a bowl whisk together the flour, salt, sugar and yeast. Add the milk, egg, egg yolk, butter and vanilla. Mix with a wooden spoon or dough whisk until it forms a shaggy dough. Turn the dough onto a flat surface and knead for 10-12 minutes until smooth and elastic.
- Place the dough in a lightly oiled bowl and cover.
- Let it rise for 2 hours or until doubled in size.
- After 2 hours, punch down the dough and turn it onto a lightly floured surface.
- Roll the dough out to about 2 cm thick.
- Using an 8 cm or 10 cm cookie cutter, cut out donuts and place them on parchment paper.
- Cover and let the donuts rise (second proof) for 30 minutes. Do not skip this step.
- Pour oil into a large skillet or saucepan and heat to 175 °C.
- Fry the donuts in batches (1-2 at a time), cooking about 2-3 minutes per side, until golden brown.
- Drain slightly on parchment paper.
- While still warm, toss the donuts in sugar.
- Let the donuts cool slightly before piping in the vanilla cream (hot donuts can melt the cream).
- Enjoy!
Nutrition Facts
Calories
591Fat
18 gSat. Fat
9 gCarbs
95 gFiber
2 gNet Carbs
93 gSugar
44 gProtein
12 gSodium
334 mgCholesterol
152 mg