Roasted Garlic and Cheese Rolls
Published: September 30, 2026
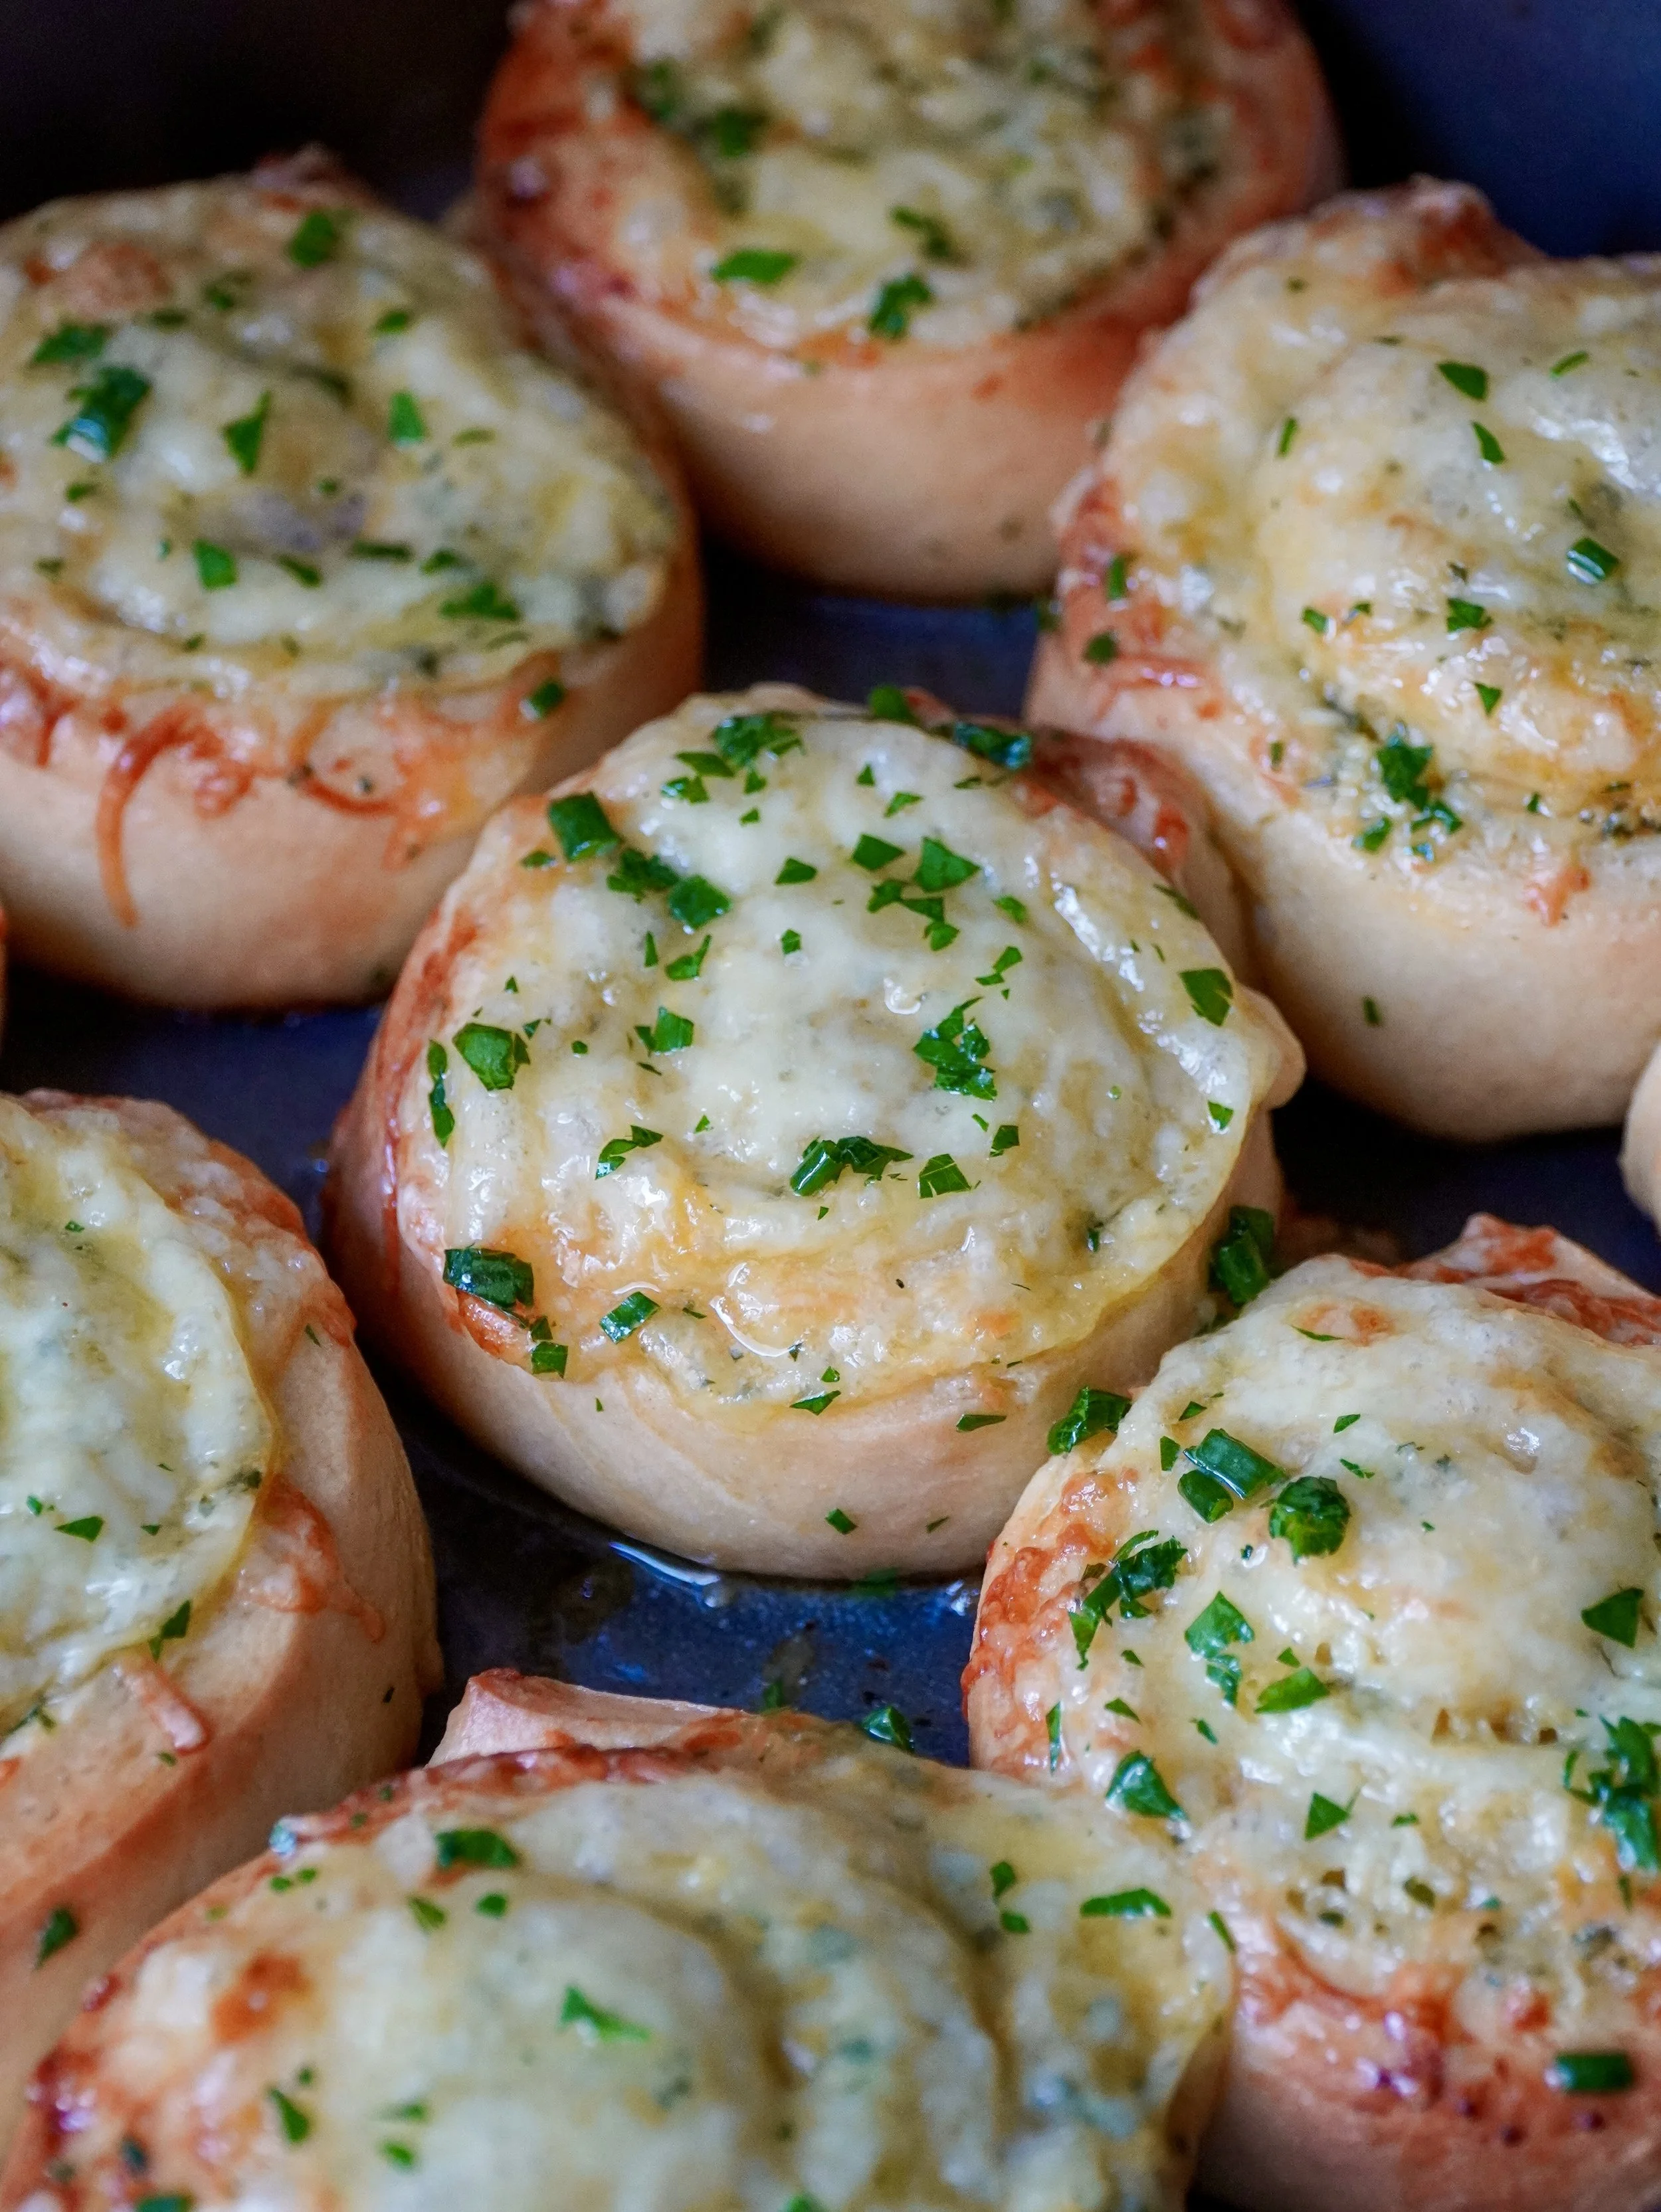
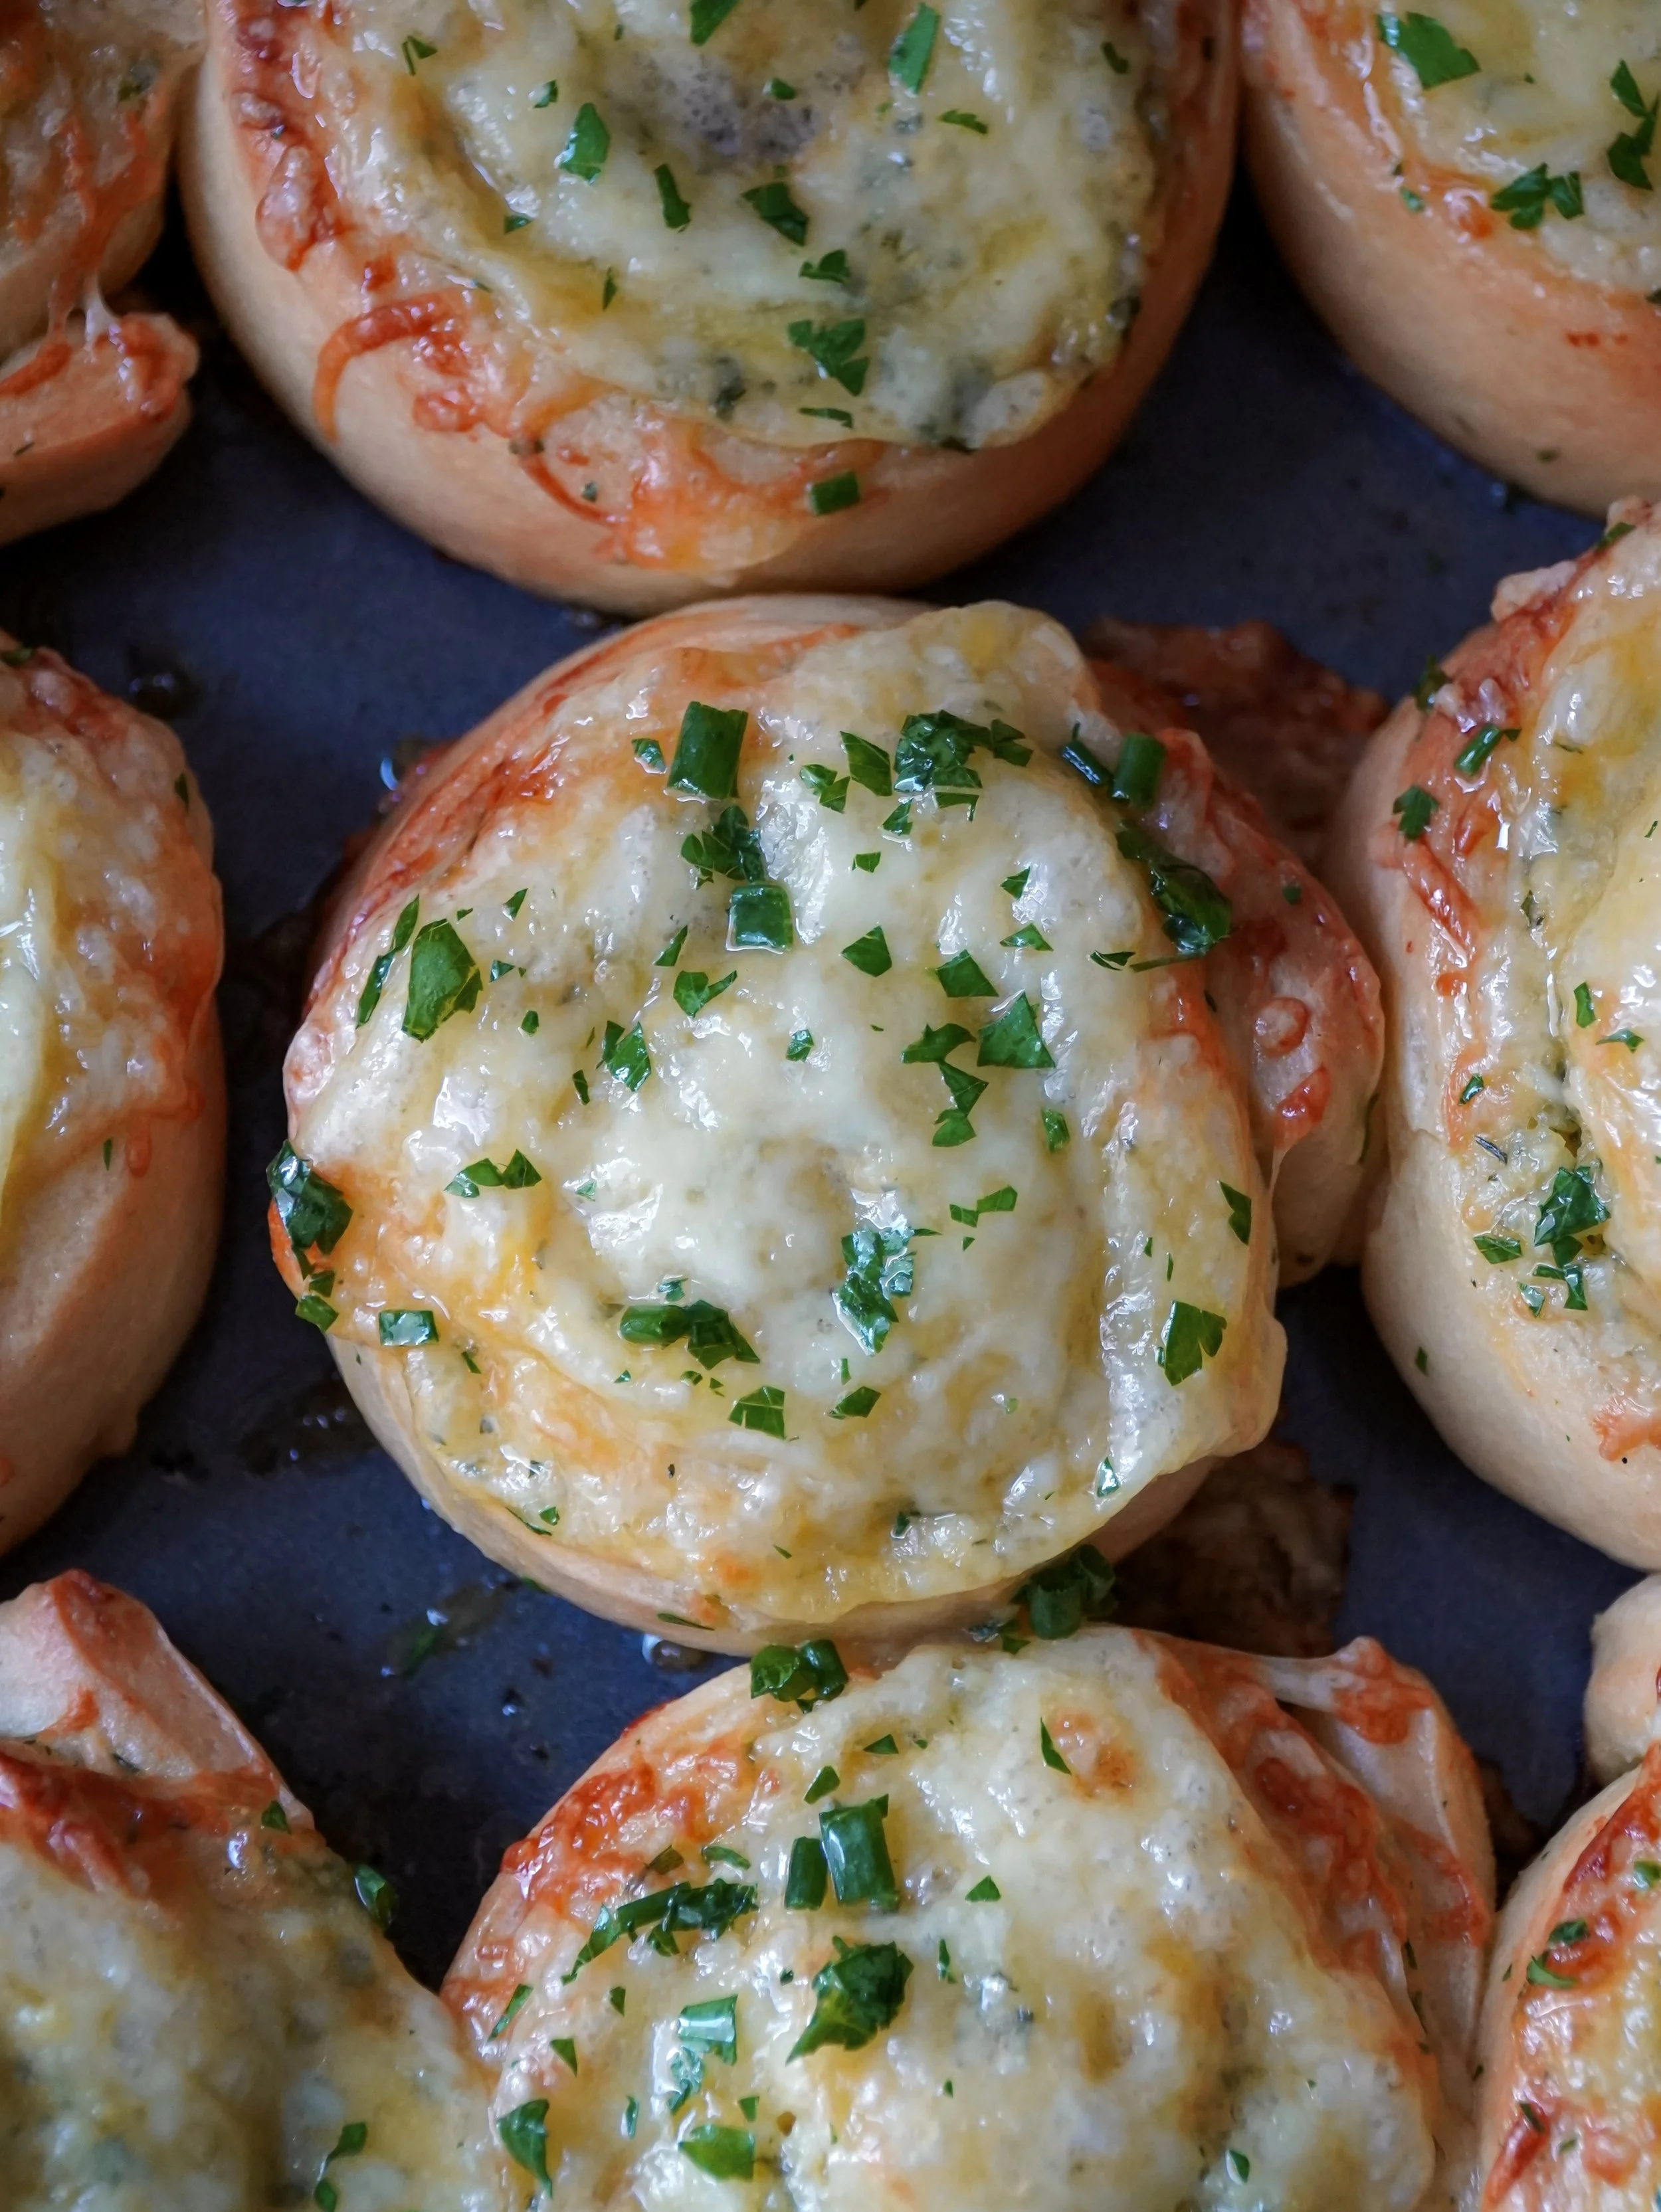
These Roasted Garlic and Cheese Rolls are soft, fluffy, filled with a buttery roasted garlic and cheese filling. Baked until beautifully golden, they’re the perfect savory rolls to serve warm as an appetizer, side dish or snack.
WHY YOU’LL LOVE THIS RECIPE
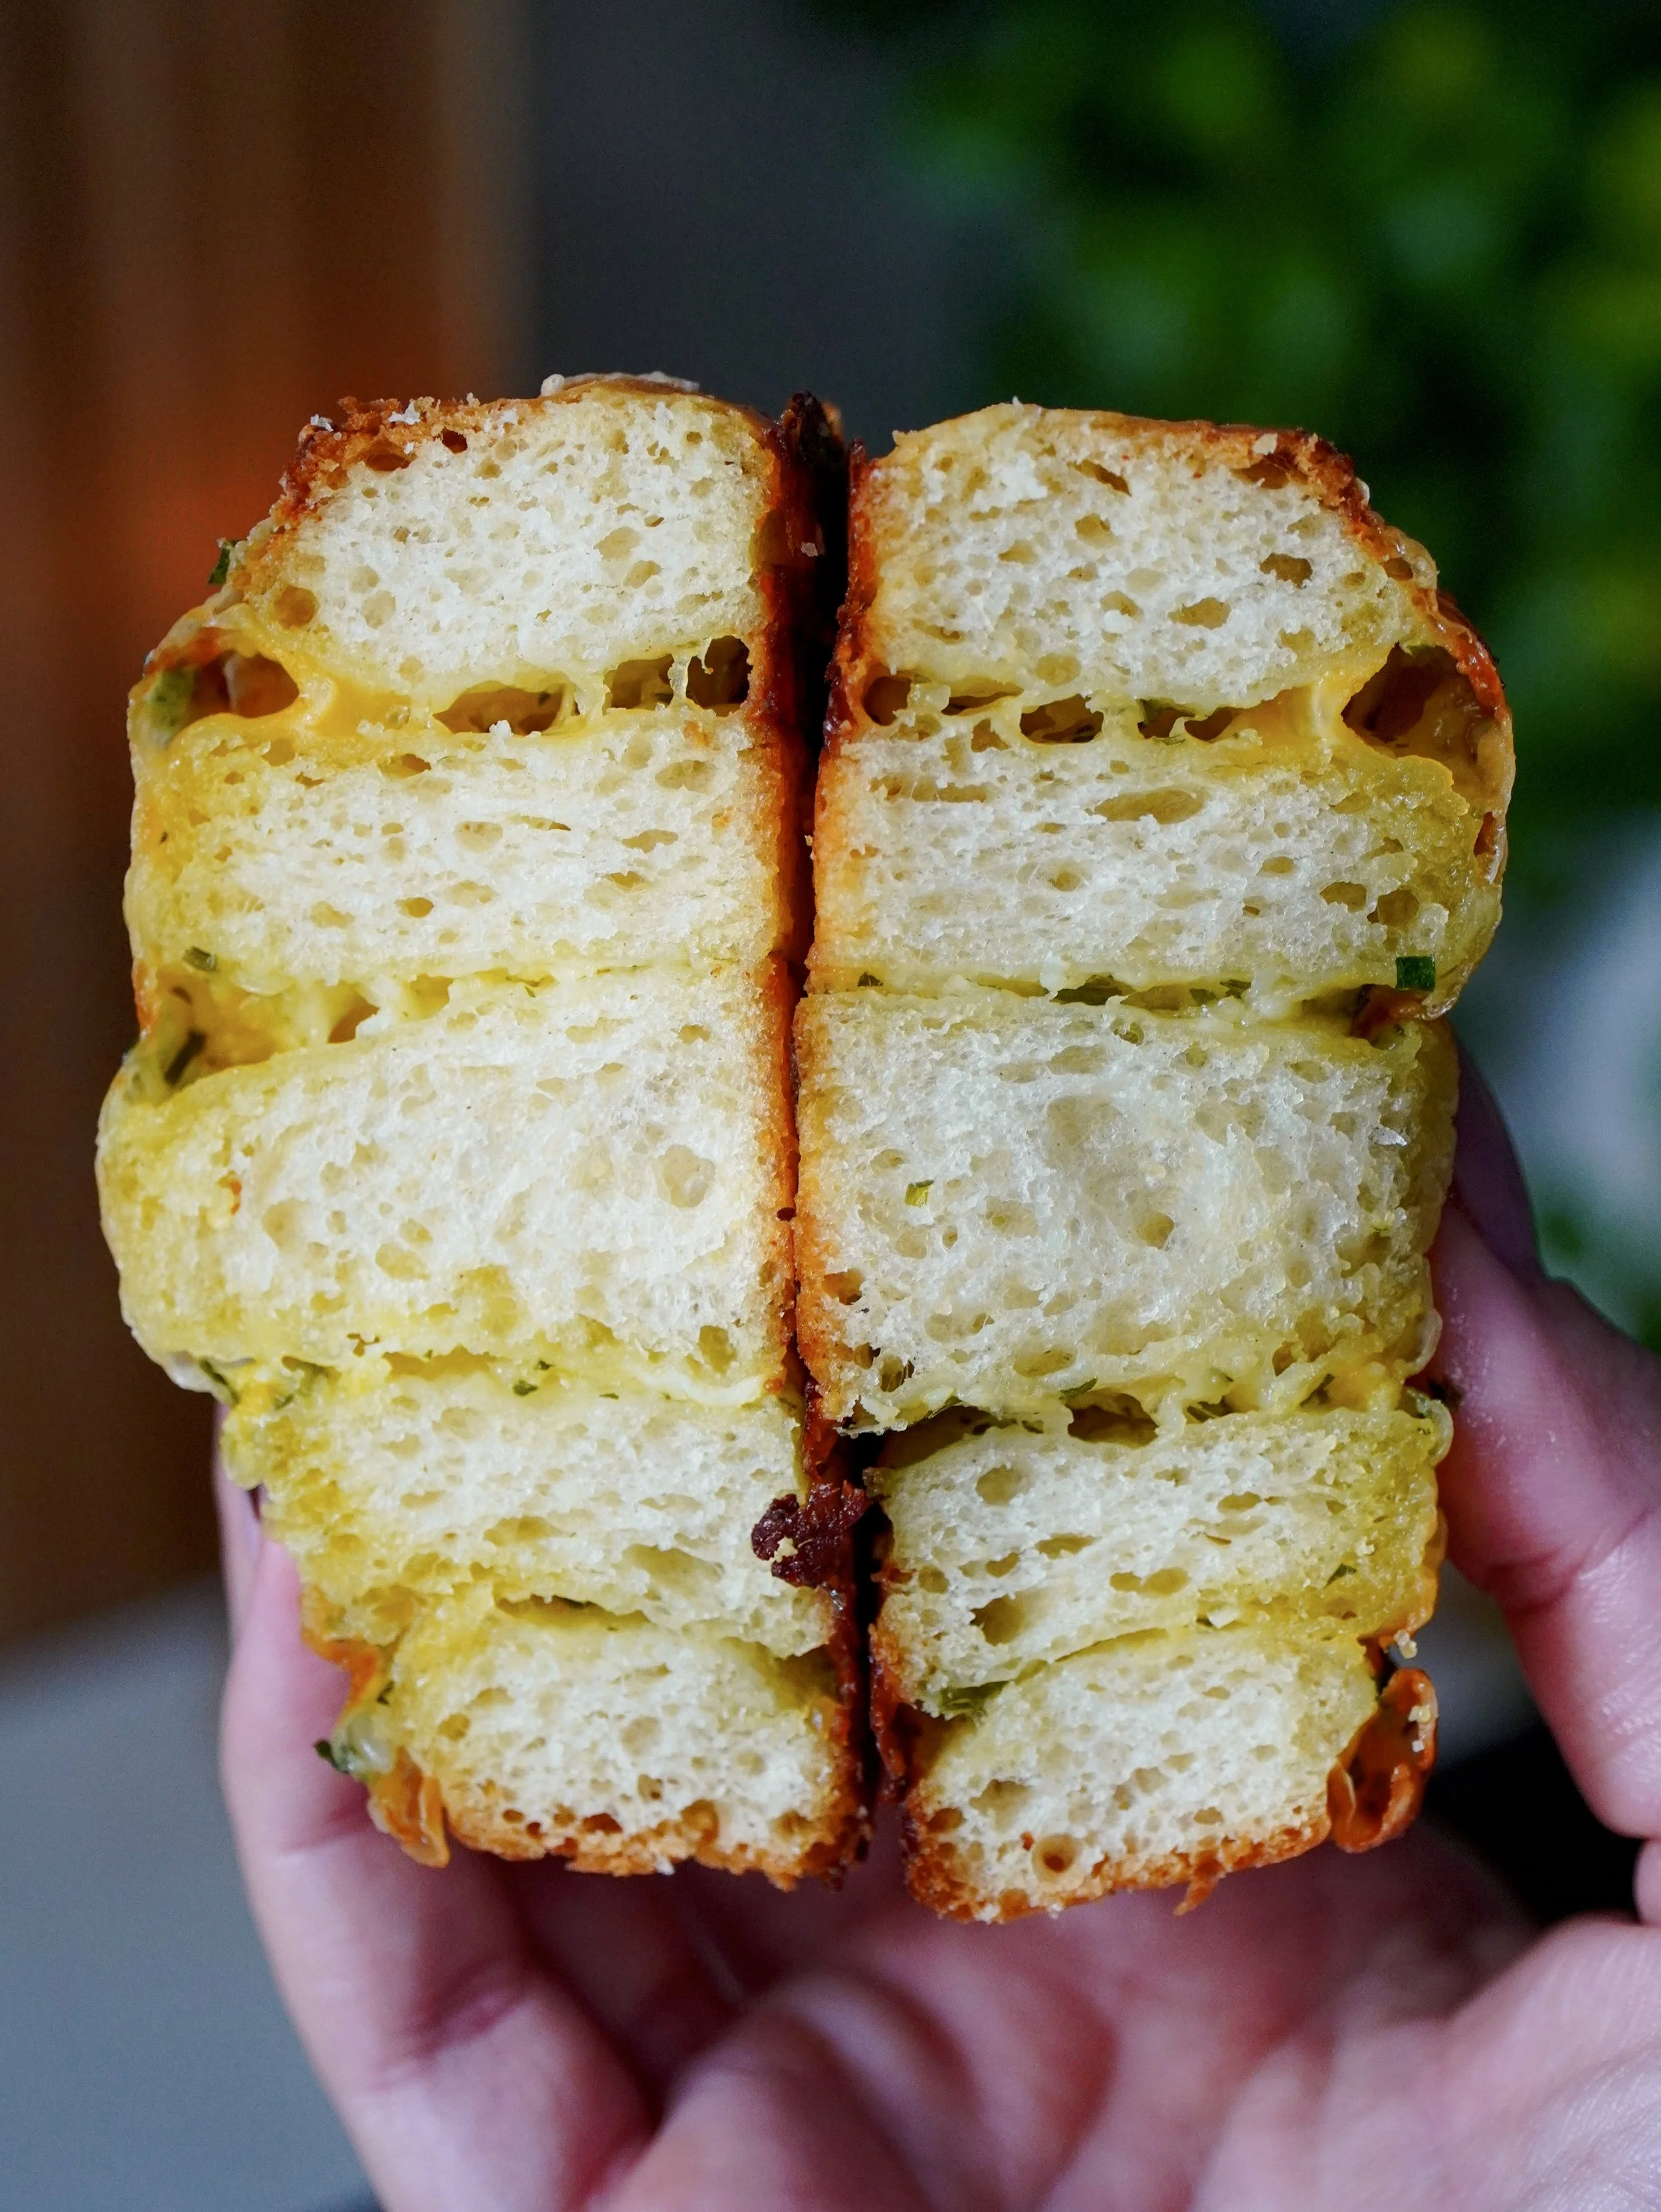
💛Soft and fluffy - The homemade dough bakes up beautifully soft with a light, pillowy texture.
💛Full of roasted garlic flavor - Roasting the garlic gives it a rich, mellow flavor without being too sharp.
💛Perfectly cheesy - Plenty of cheese throughout the filling makes every bite extra delicious.
💛Perfect for garlic lovers - If you love garlic bread, these rolls take those familiar flavors to another level.
💛Perfect as a side dish - Serve them alongside soups, salads, pasta dishes or your favorite dinner.
💛Delicious as an appetizer - These rolls make an easy savory appetizer for dinners, parties or gatherings.
Tips and Tricks
→ Store them properly and reheat before serving - Store any leftover rolls in an airtight container at room temperature for up to 3 days. I highly recommend serving them warm, so before eating, pop one in the microwave for about 20 seconds. This should be enough to soften the roll again and bring back that fluffy texture they have when freshly baked.
→ Do not skip either proofing time - Both proofing stages are important for achieving soft, fluffy rolls. The first rise allows the dough to develop and increase in volume, while the second rise gives the shaped rolls time to become light and puffy before baking. Rushing either stage can result in denser rolls.
→ Roast the garlic while the dough is proofing - The garlic needs around 45 minutes in the oven to become completely soft and develop its mellow roasted flavor. I recommend roasting it during the first proof so you can prepare the filling without adding unnecessary time to the recipe. I’ve included the full roasting method in the instructions below.
→ Use unsalted butter for the filling - I recommend using unsalted butter so you have complete control over the amount of salt in the filling. There is already plenty of flavor coming from the roasted garlic, cheese, mustard and herbs, so starting with unsalted butter makes it easier to adjust everything to your taste.
→ Do not skip the mustard - It might sound like a small addition, but the mustard adds a subtle extra layer of flavor to the filling. I use about 2 teaspoons of honey mustard, gently swirling or distributing it over the butter layer before adding the rest of the filling. You can use another type of mustard if you prefer, but don't add too much, the goal isn't to make the rolls taste strongly of mustard. A small amount complements the cheese and roasted garlic without overpowering them.
→ Try not to overbake the rolls - Bake the rolls until they are beautifully golden and cooked through, but avoid leaving them in the oven for longer than necessary. Overbaking can dry out the dough and take away from that soft, fluffy texture. Keep an eye on them toward the end of the baking time, as every oven can bake a little differently.
→ Brush with garlic and herb butter while still hot - As soon as the rolls come out of the oven, generously brush each one with melted garlic and herb butter. The warm rolls will absorb some of the butter, adding even more flavor. You can use store-bought garlic and herb butter or make your own by combining melted butter with finely chopped garlic, your favorite herbs, plus a little salt.
→ Use your favorite cheese: Feel free to customize the filling with whichever cheese you enjoy most. I used a combination of Emmentaler and Cheddar, which gives the rolls a great balance of flavor, but you can experiment with other good melting cheeses or use a combination of your favorites.


Ingredients You Will Need For This Recipe
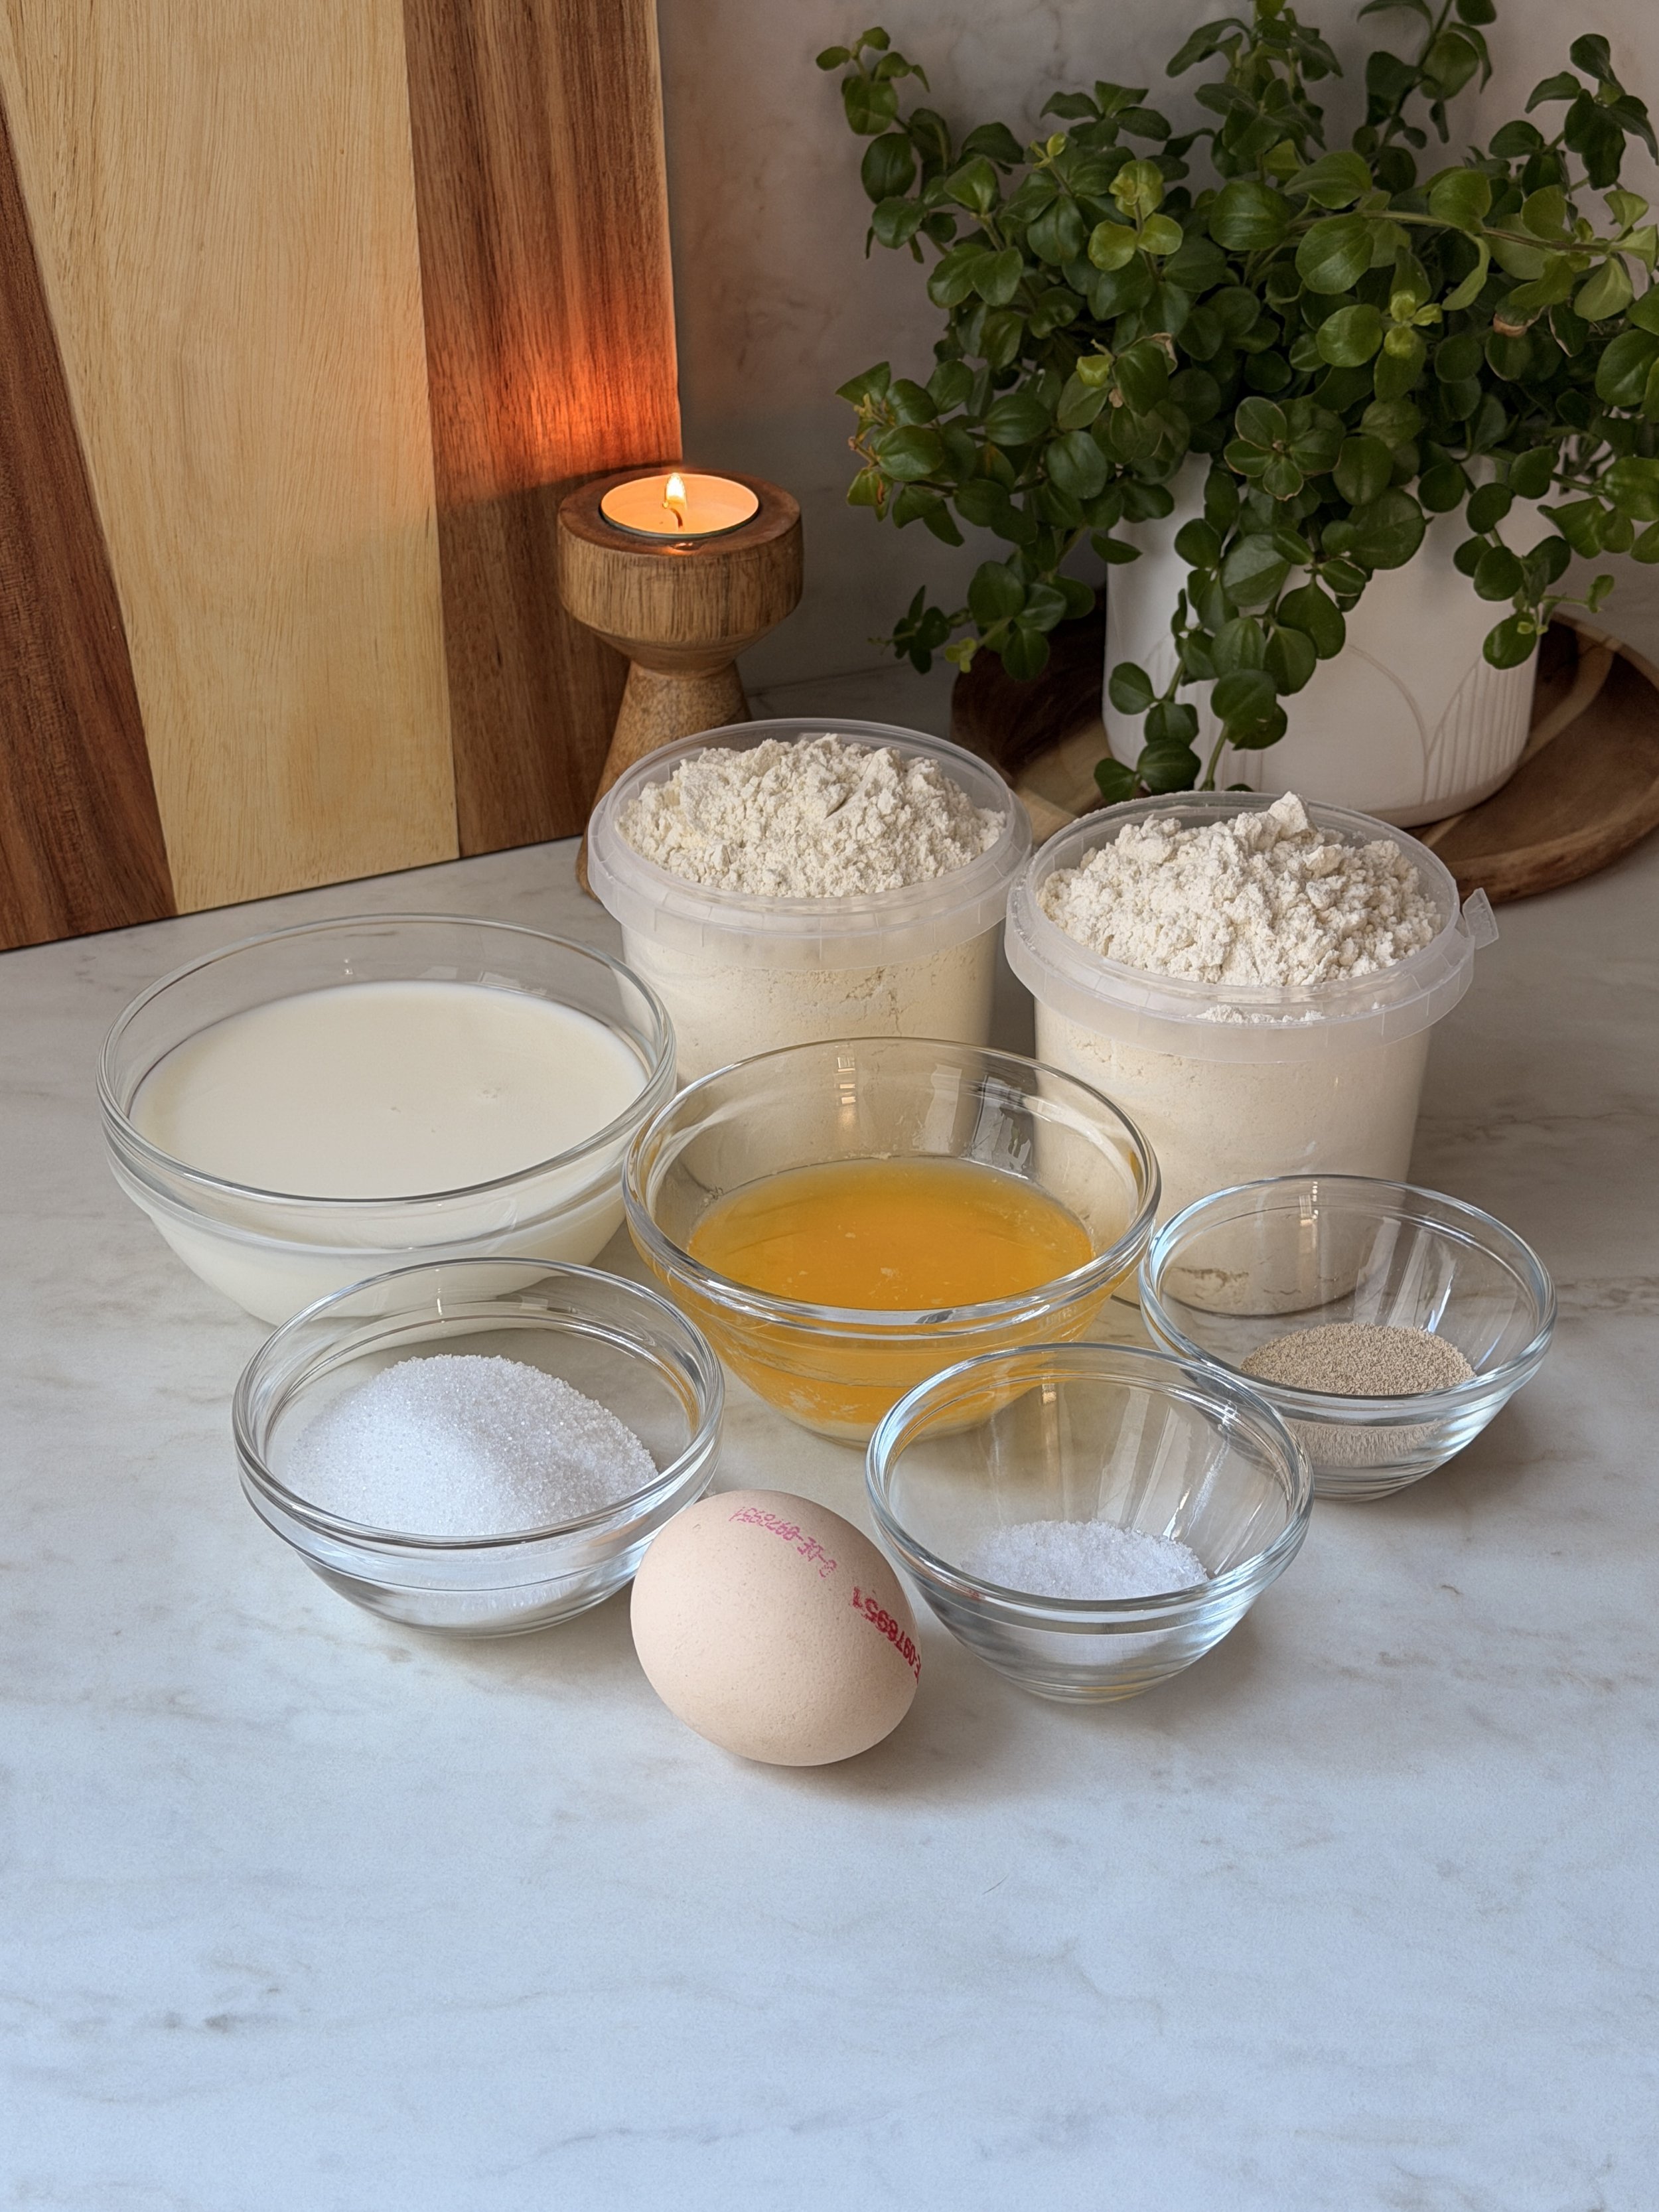
For the Dough
Bread flour
Granulated sugar
Instant dry yeast: Instant yeast can be mixed directly into the dry ingredients without activating it separately first.
Salt
Large egg
Warm milk: The milk should be warm rather than hot, as excessive heat can damage the yeast.
Unsalted butter: Make sure the melted butter has cooled before adding it to the dough.
For the Roasted Garlic
Whole garlic heads: Once roasted, the cloves should be soft enough to squeeze directly from their skins.
Olive oil
Salt
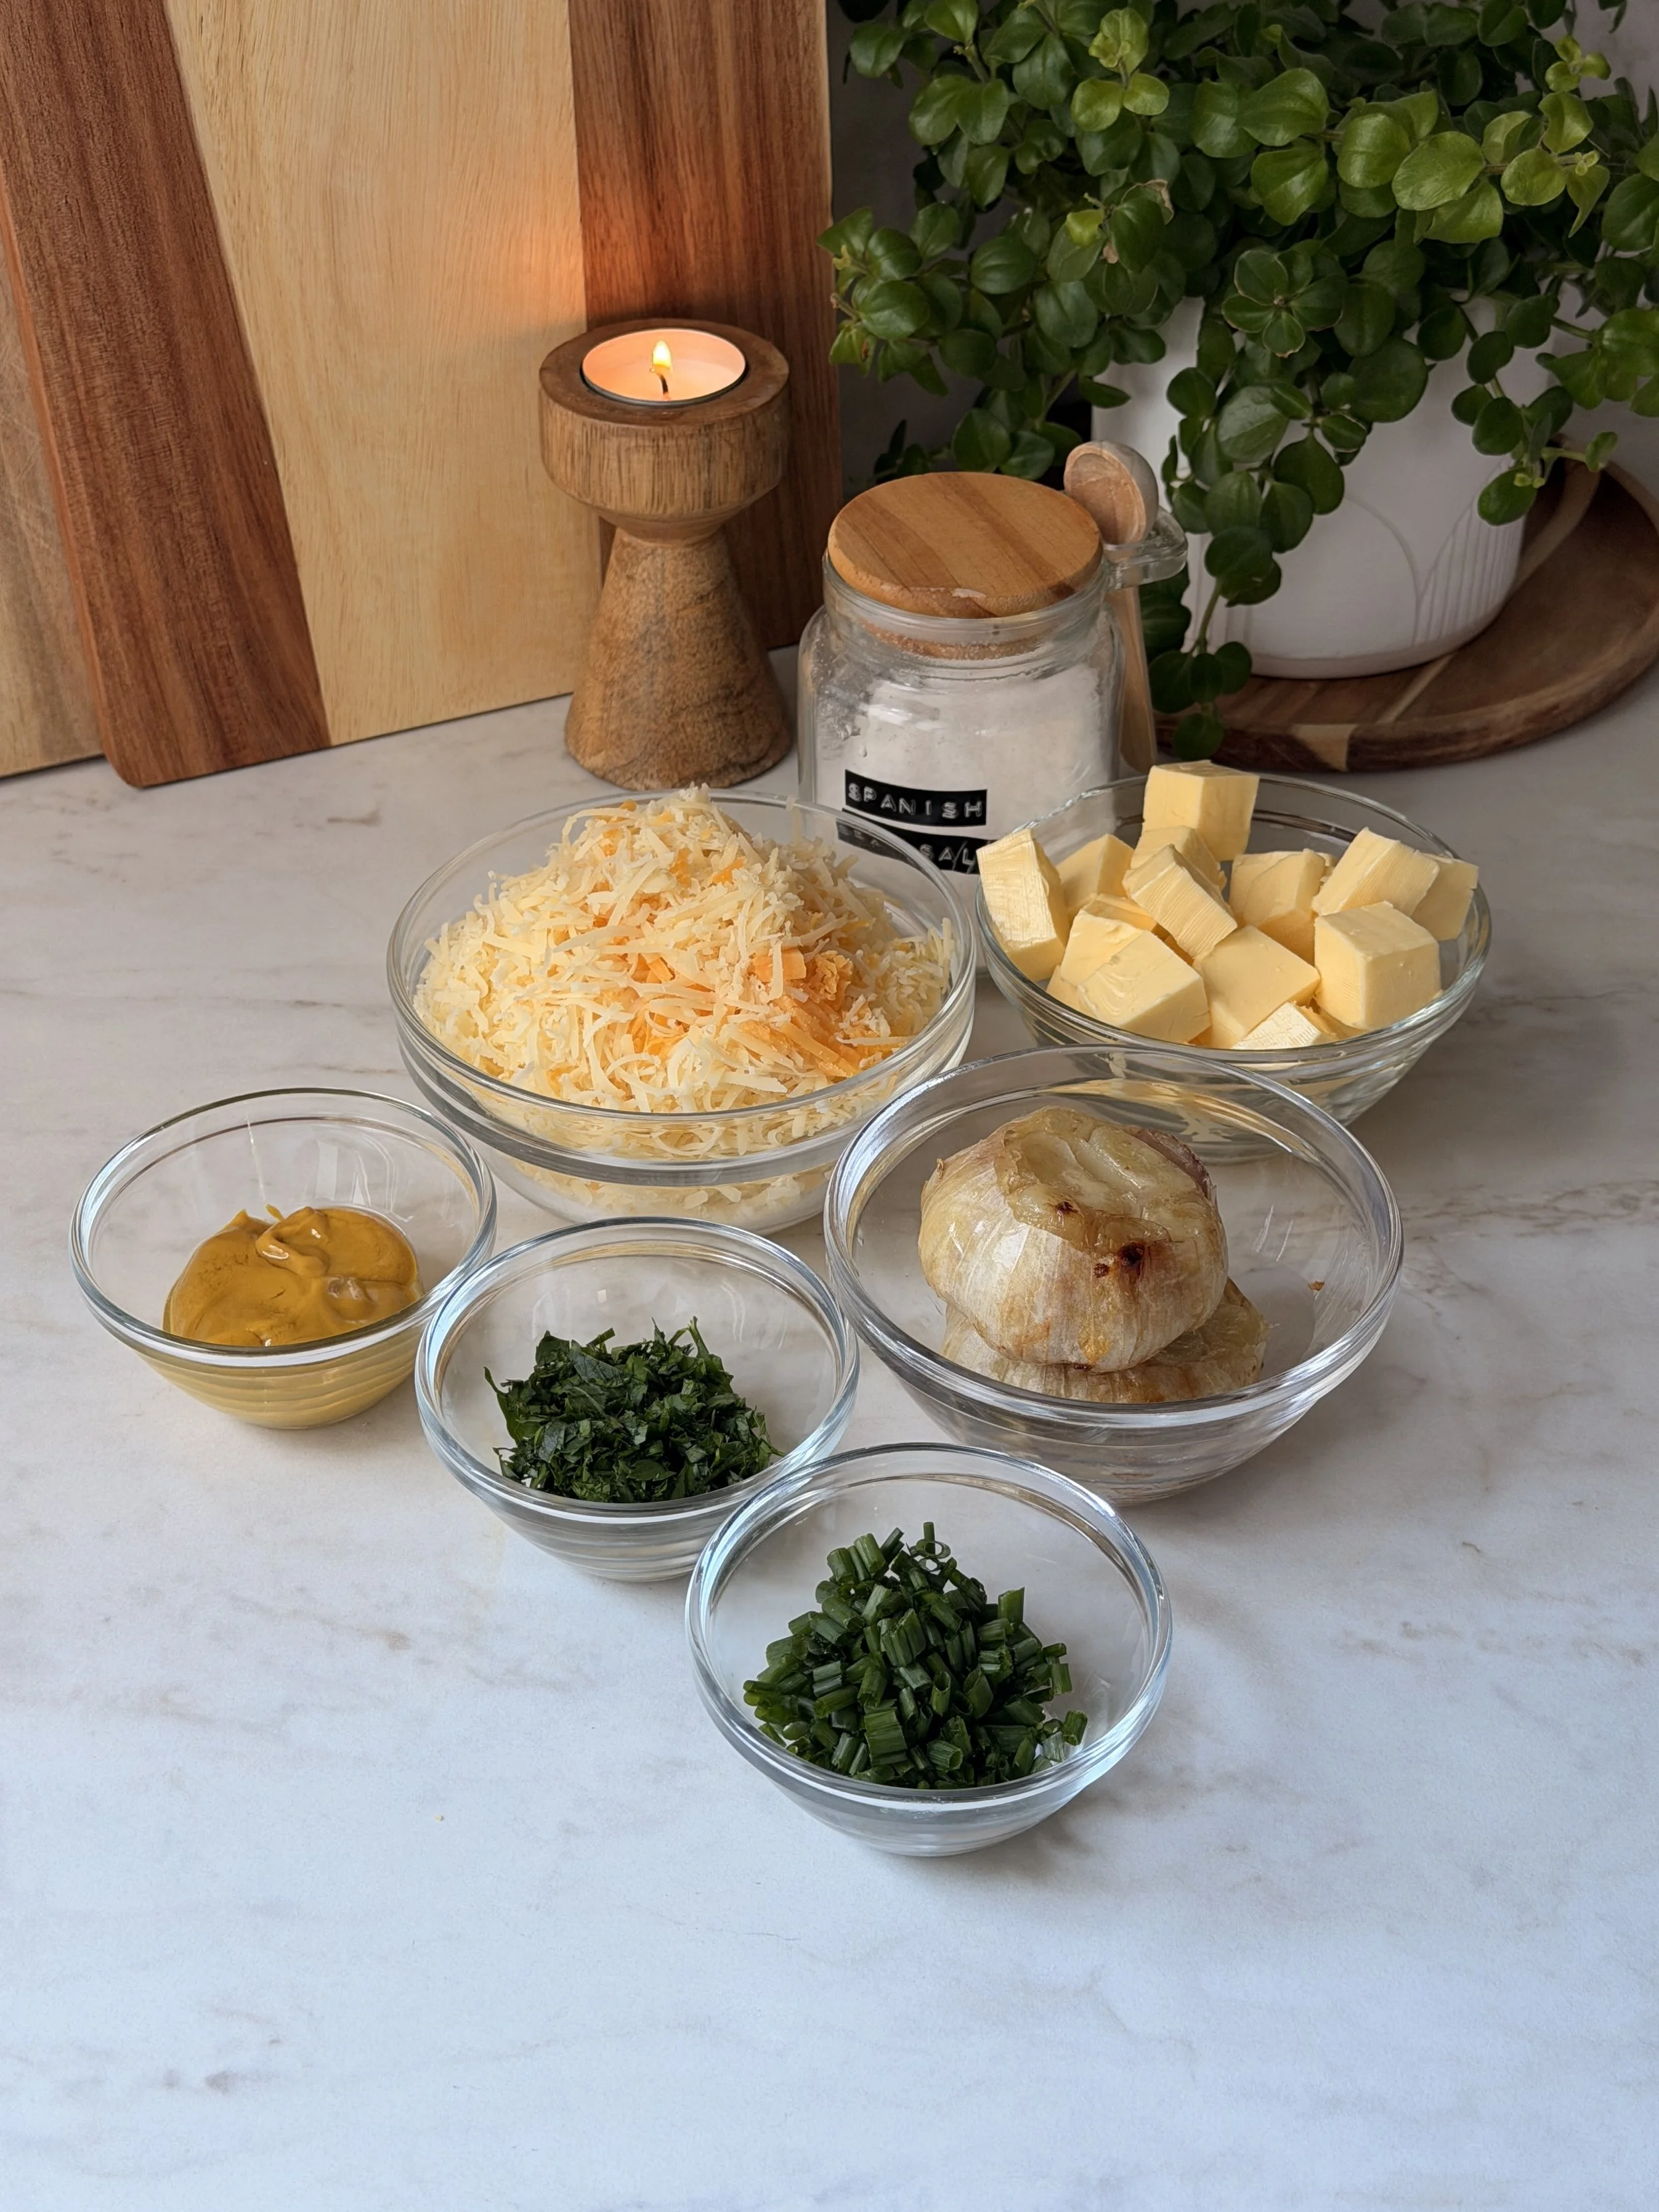
For the Filling
Roasted garlic
Unsalted butter: I recommend using unsalted butter so you can control the amount of salt yourself. Make sure it is softened.
Parsley
Chives
Fine sea salt
Shredded cheese: You can use your favorite good melting cheese or a combination of different cheeses. I used a mixture of Emmentaler and Cheddar.
Honey mustard: This is optional, but I highly recommend it. A small amount adds a subtle sweet and tangy flavor that complements the roasted garlic and cheese without making the rolls taste strongly of mustard.
Extras
Egg wash: A mixture of egg and a little milk brushed over the rolls before baking helps create a shiny, golden top.
Extra cheese
Melted garlic herb butter: Brushed generously over the rolls as soon as they come out of the oven.
Step By Step Instructions With Photos
1. First, prepare the dough.
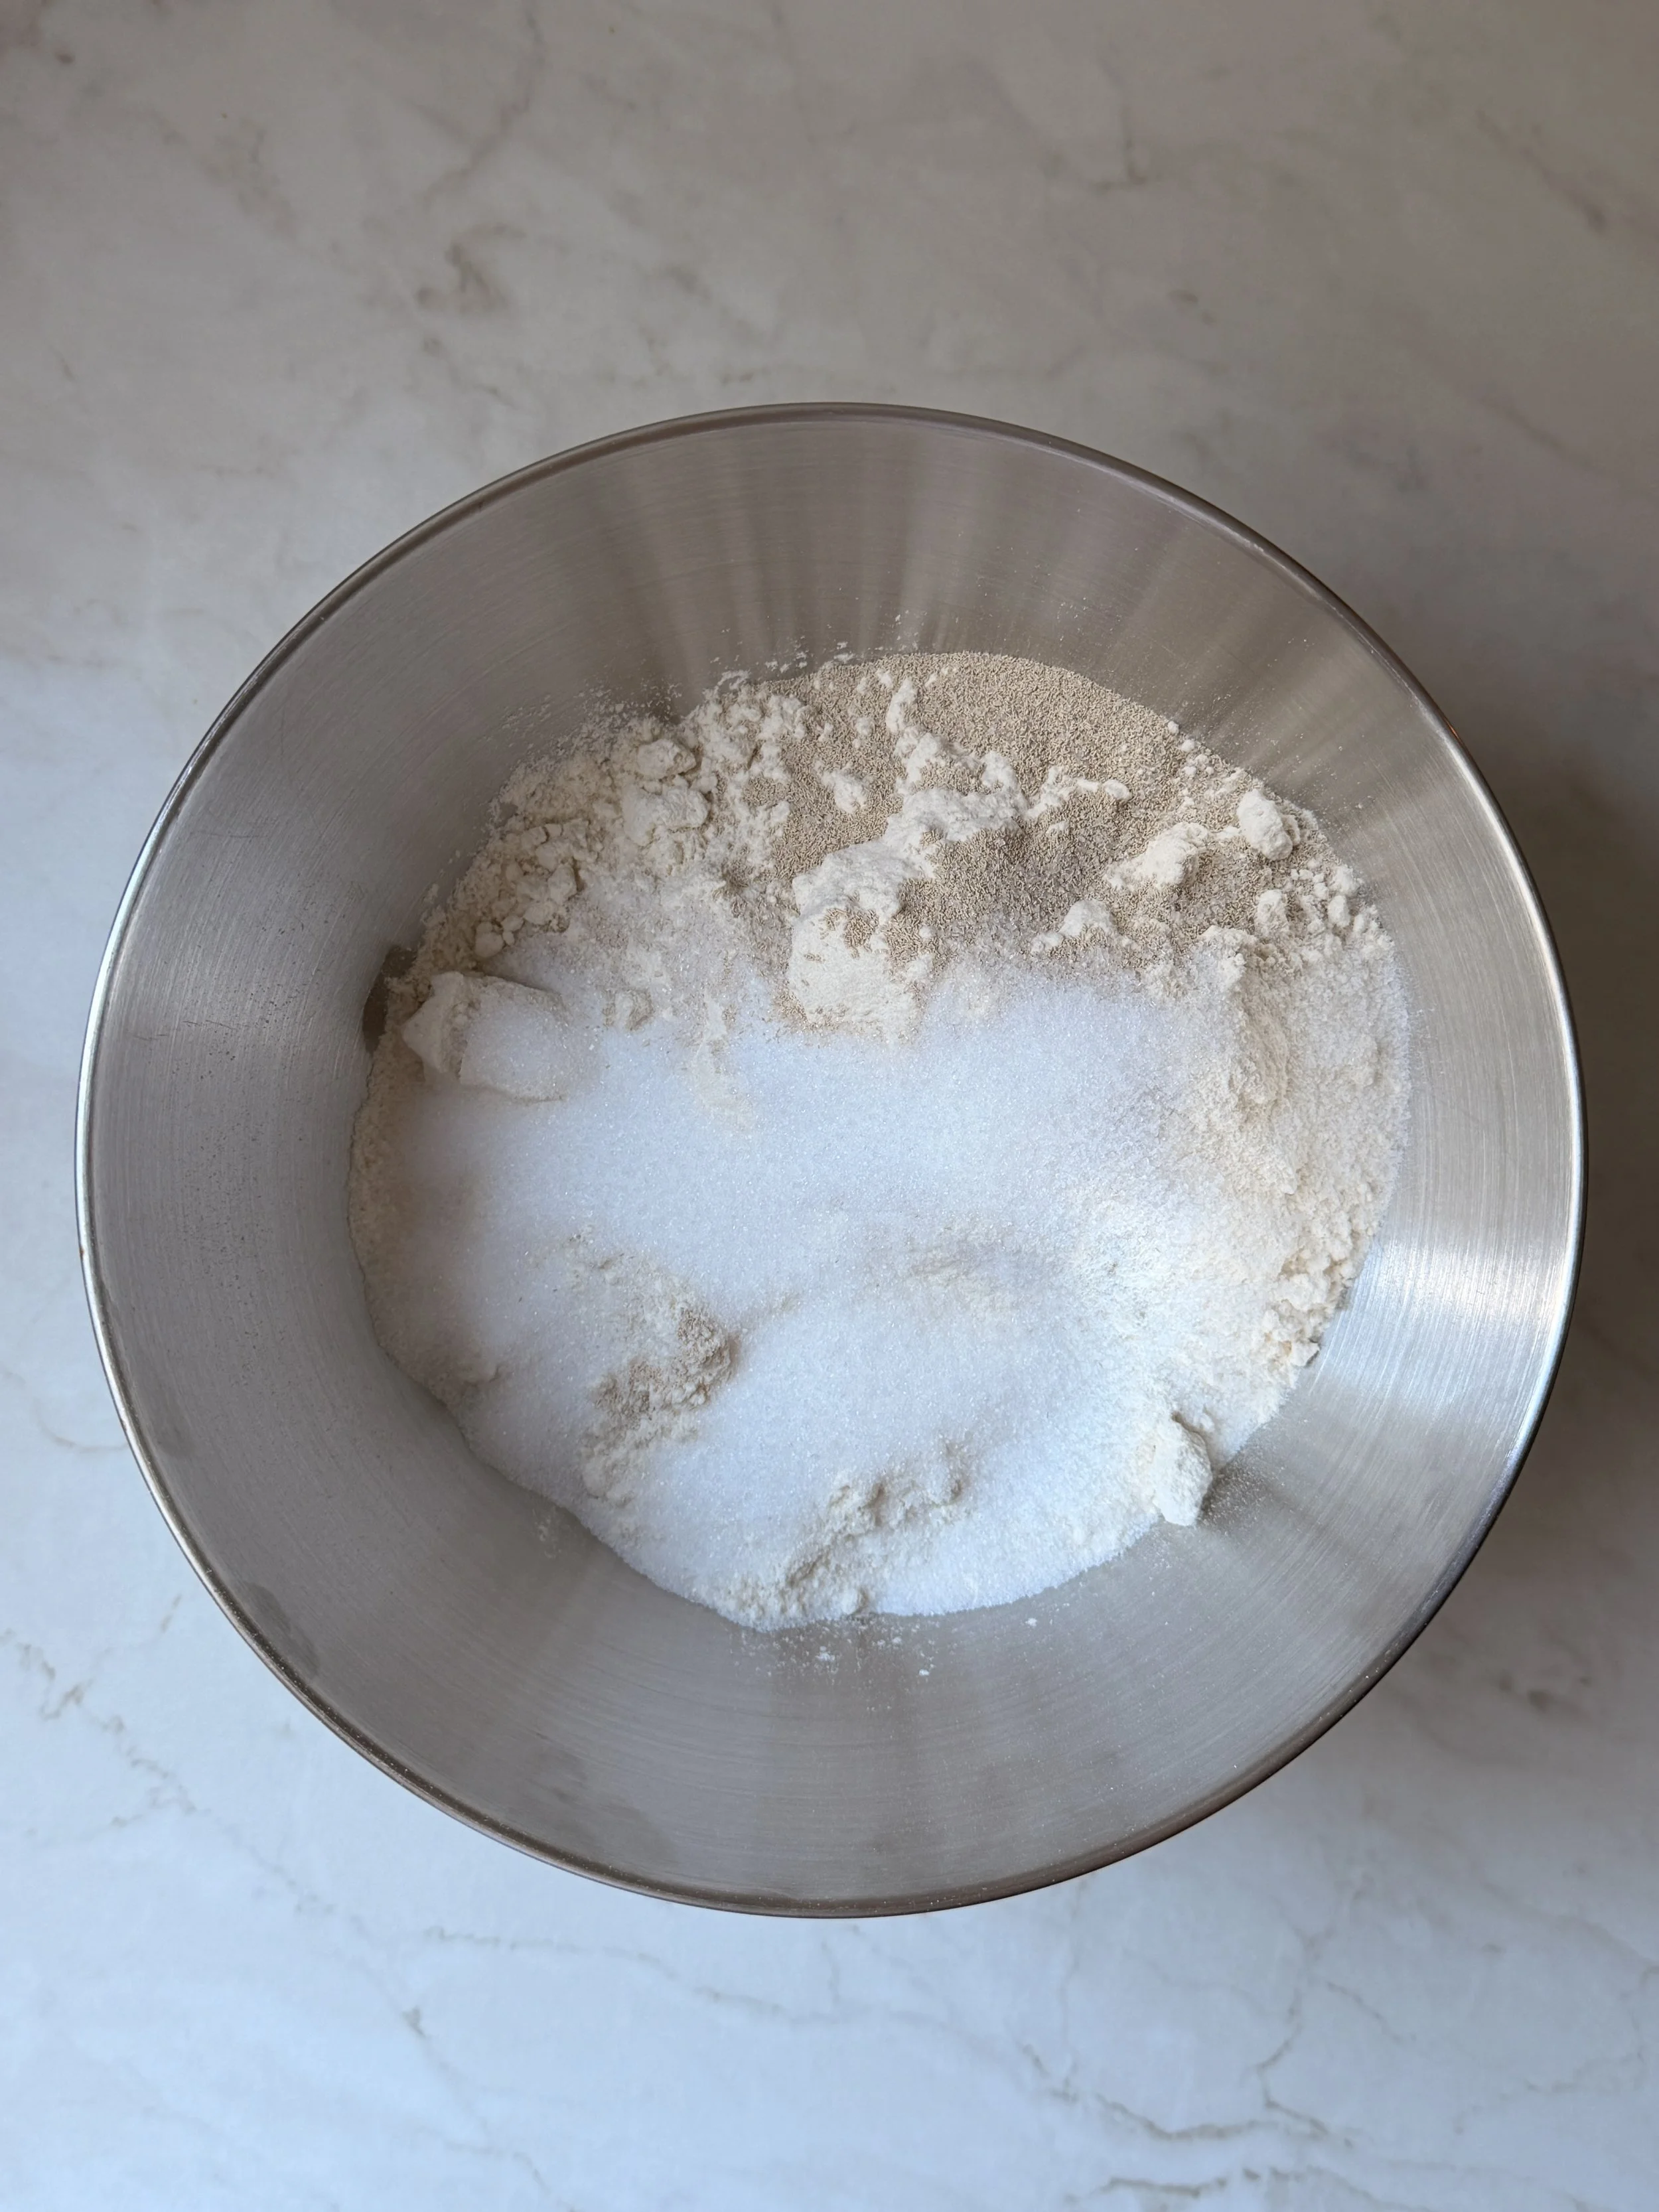
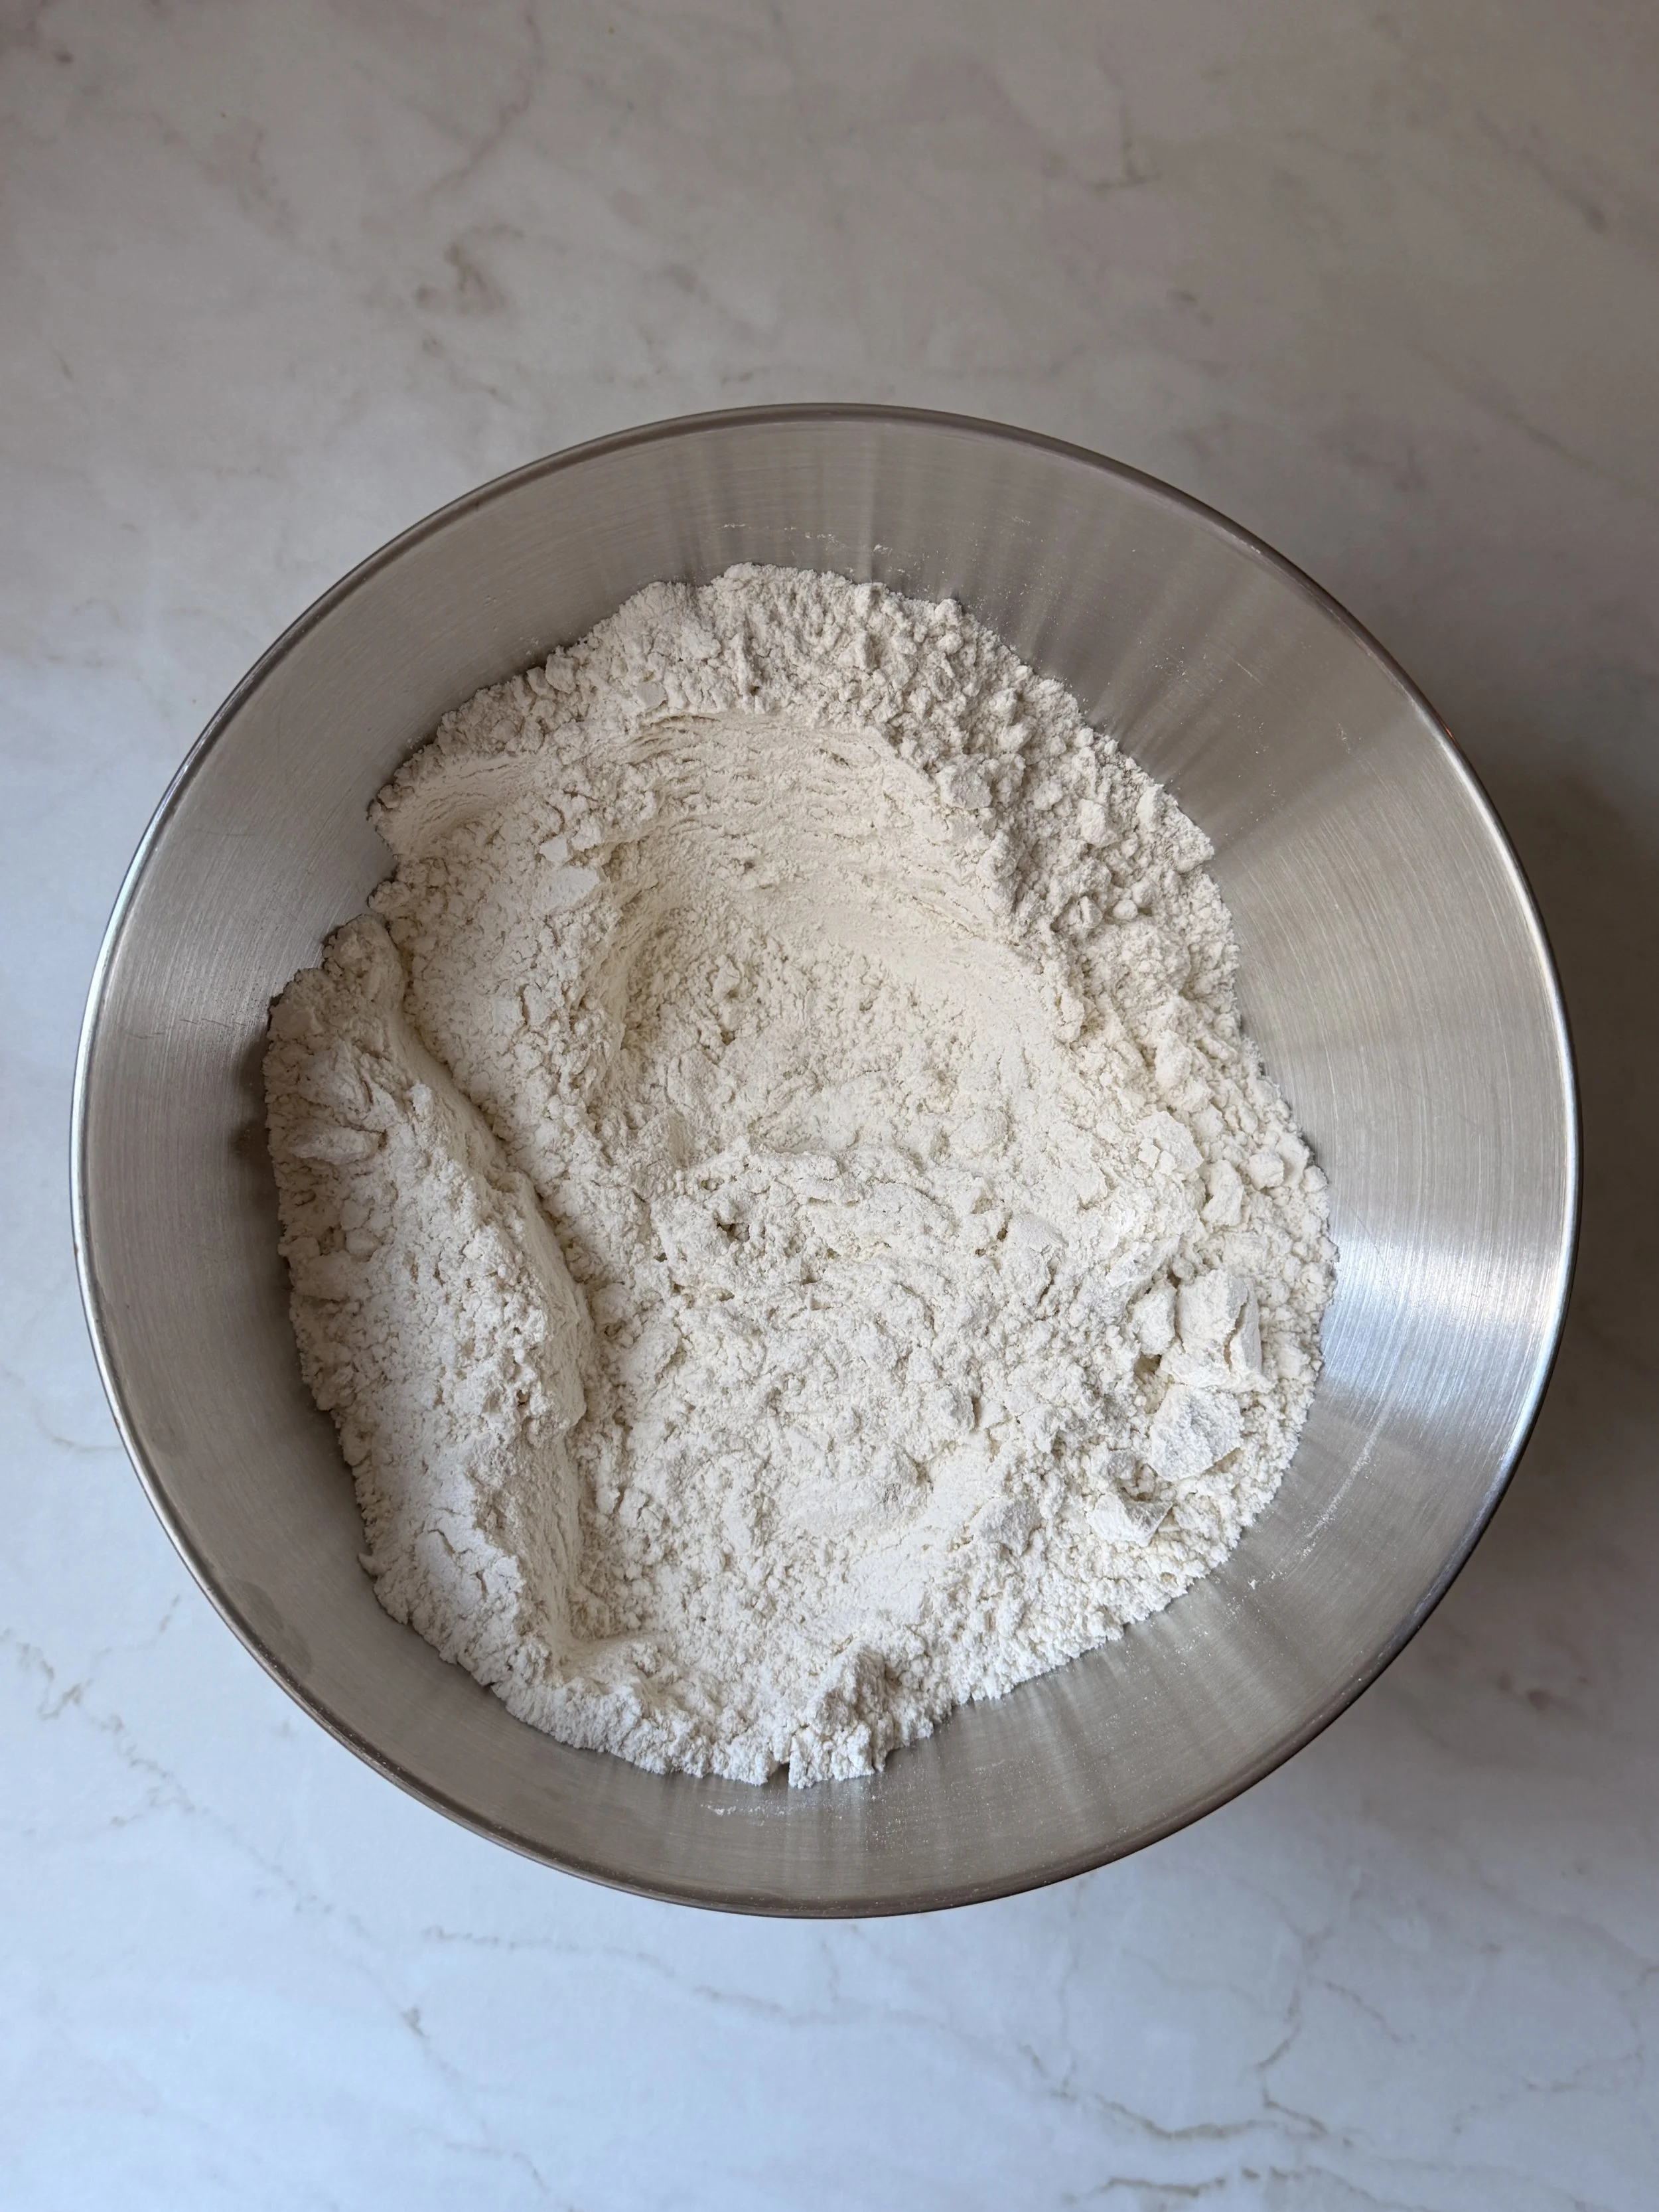
2. In the bowl of a stand mixer, whisk together the flour, sugar, salt and instant dry yeast.
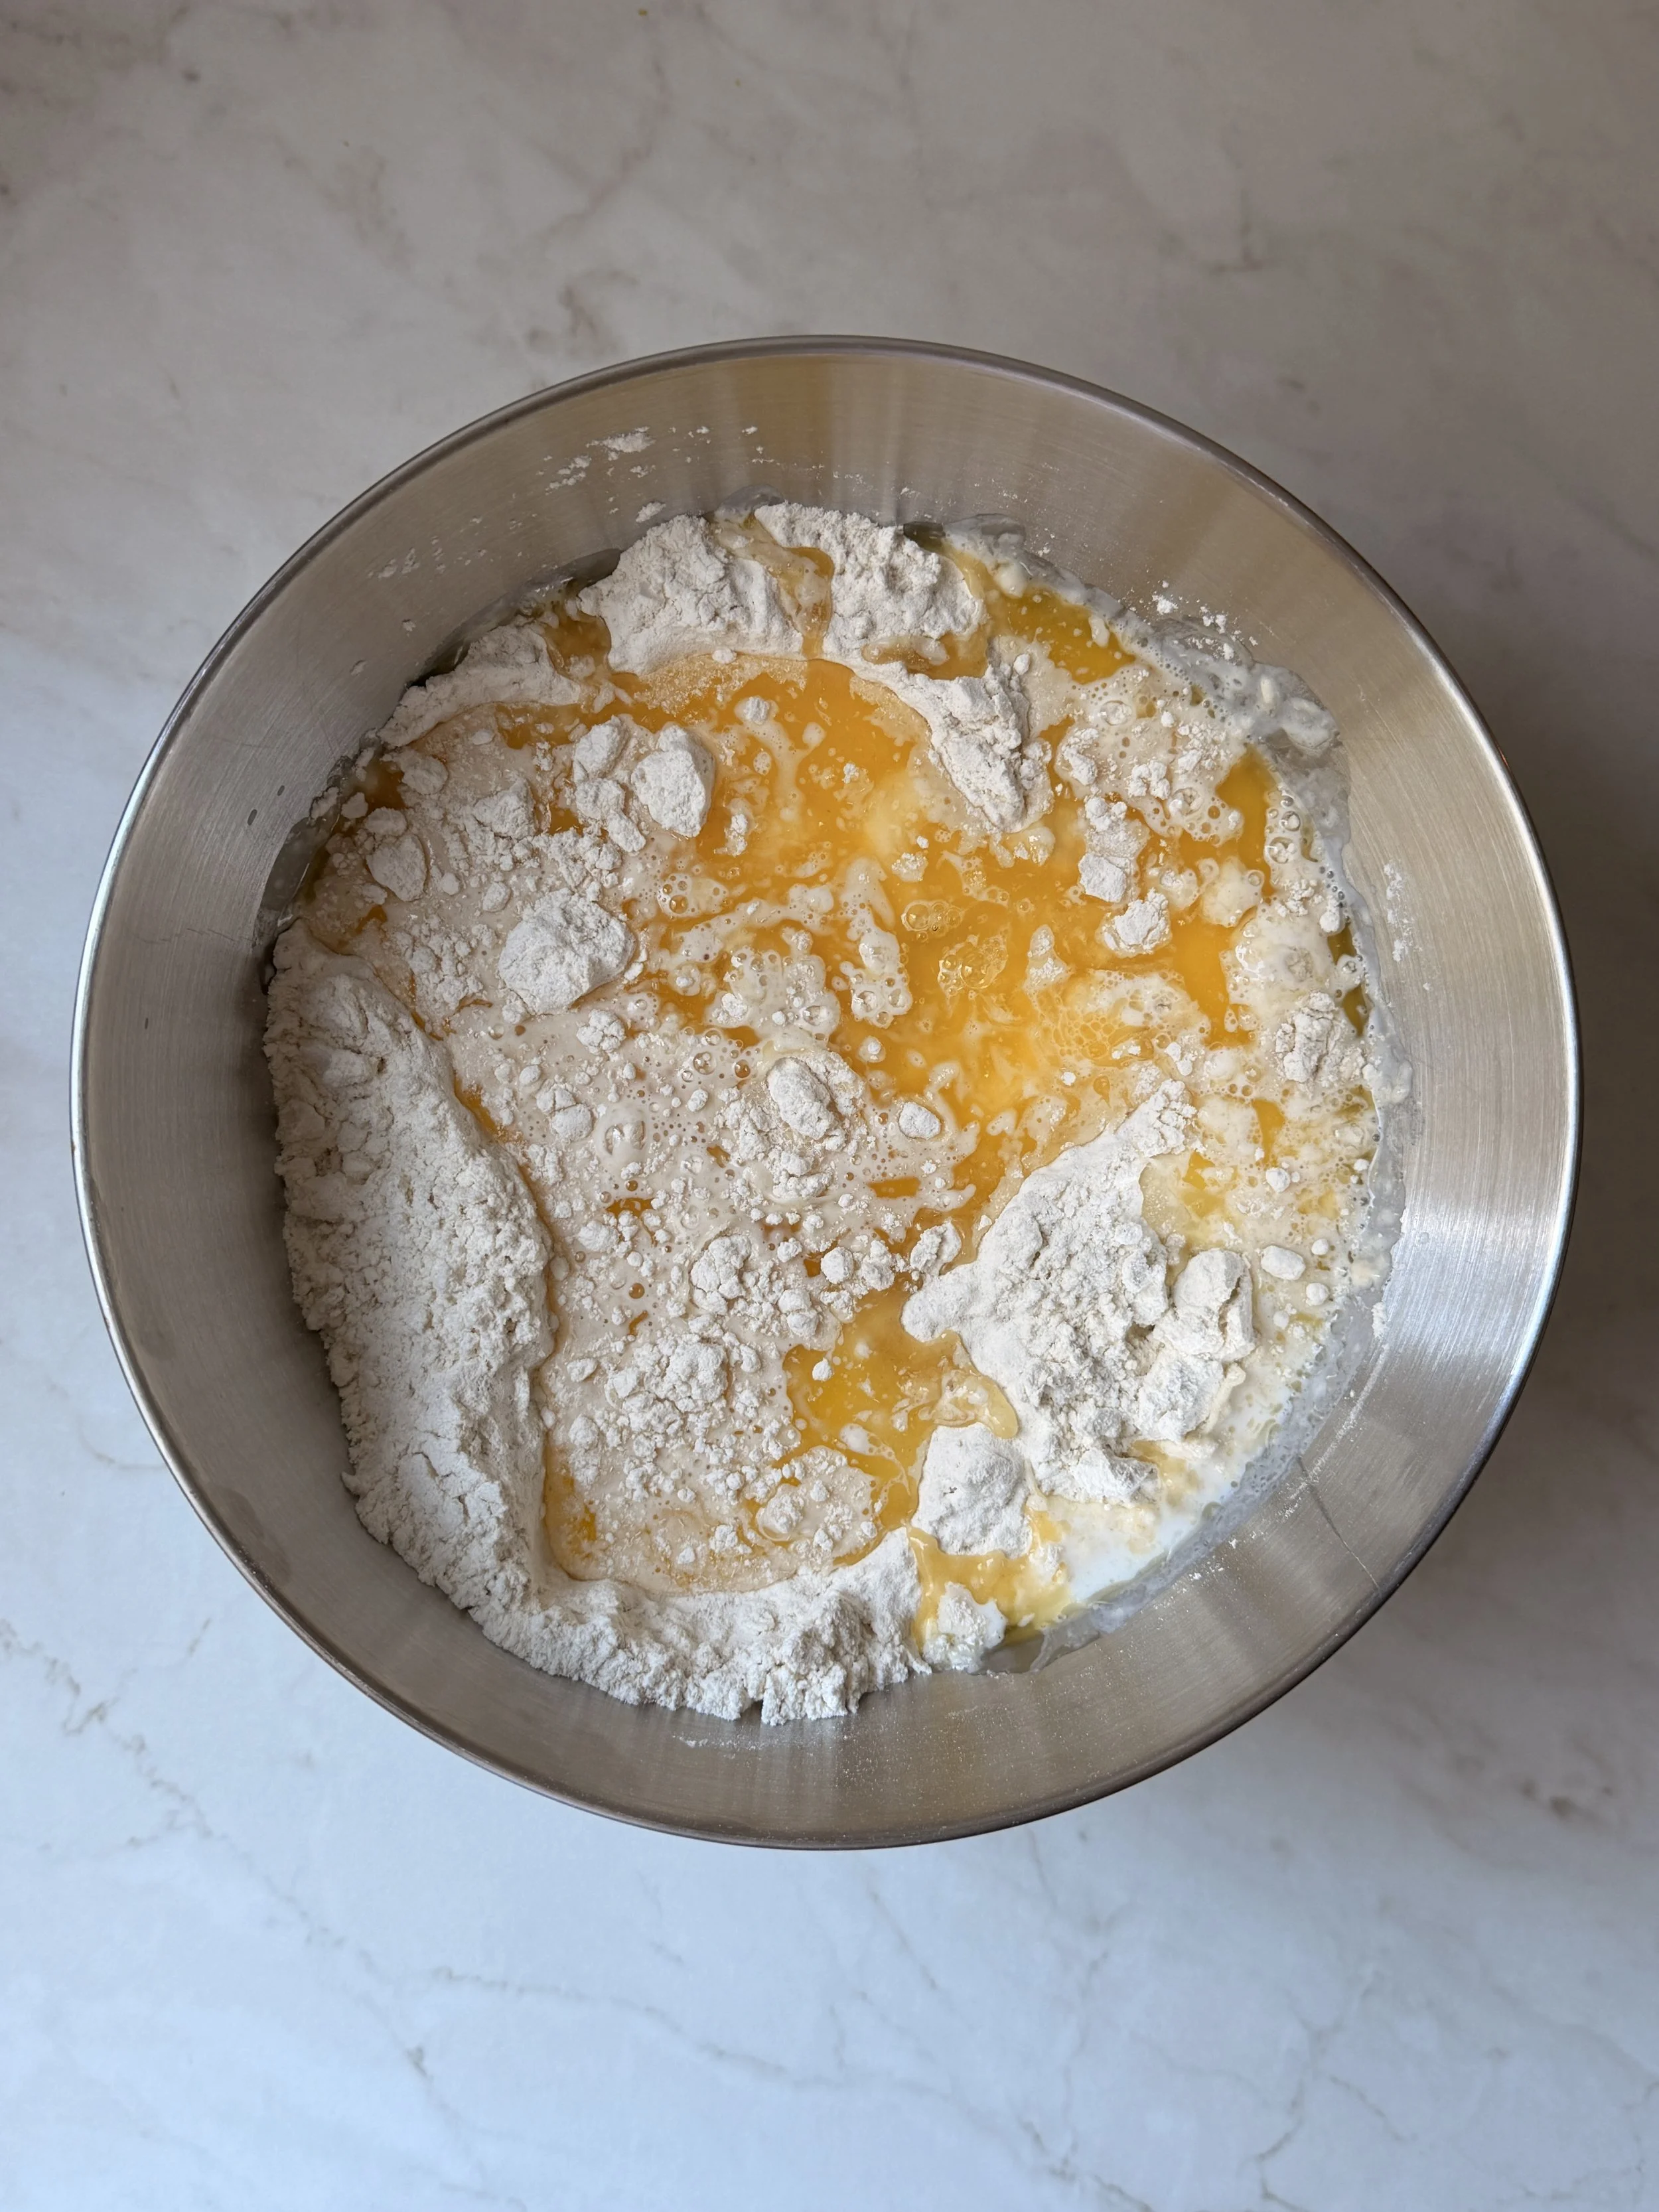
3. Next, add the milk, melted butter and egg.
4. Using the dough hook attachment, knead on low speed until the dough comes together and forms a smooth and elastic ball.
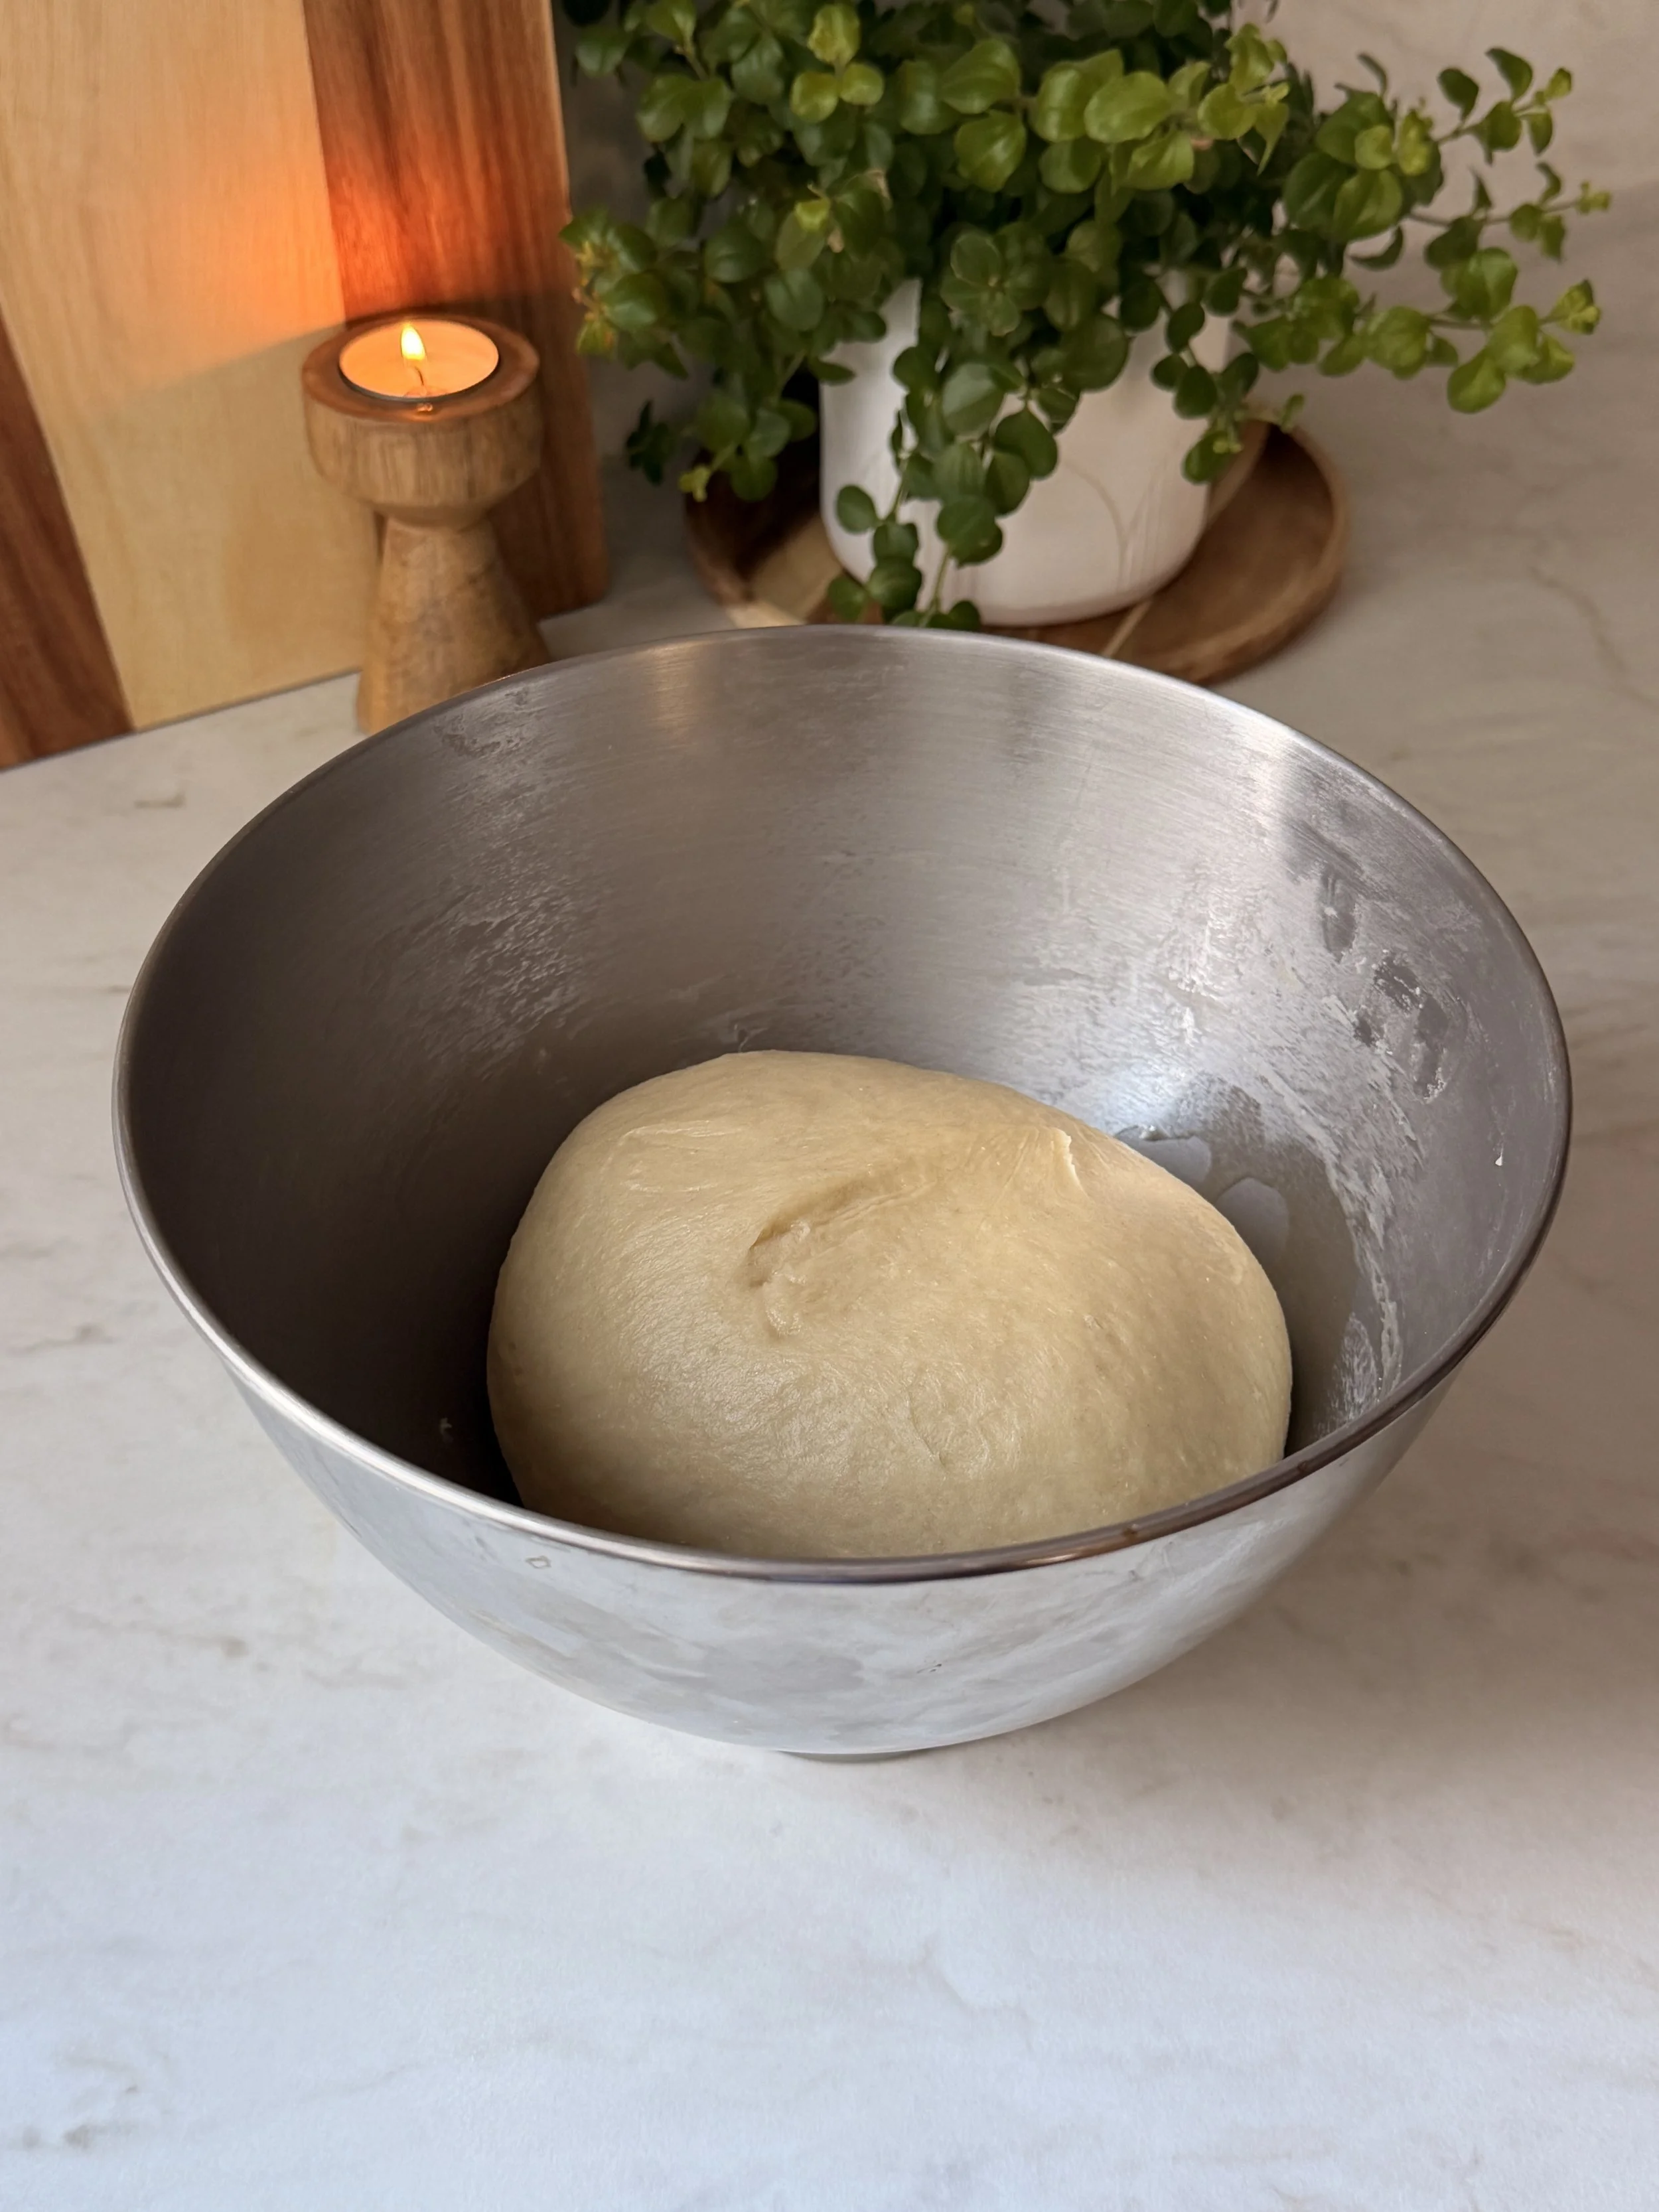
5. Transfer the dough to a lightly oiled bowl, cover and let it rise for about 2 hours, or until doubled in size.
6. While the dough is rising, prepare the filling.
7. Preheat the oven to 200°C (400°F).
8. To roast the garlic, slice the tops off the garlic heads to expose the cloves. Place each head on a piece of aluminum foil, drizzle with a little olive oil and sprinkle with sea salt.
9. Wrap the garlic tightly in the foil and roast in the preheated oven for about 45 minutes, or until the cloves are soft and slightly golden.
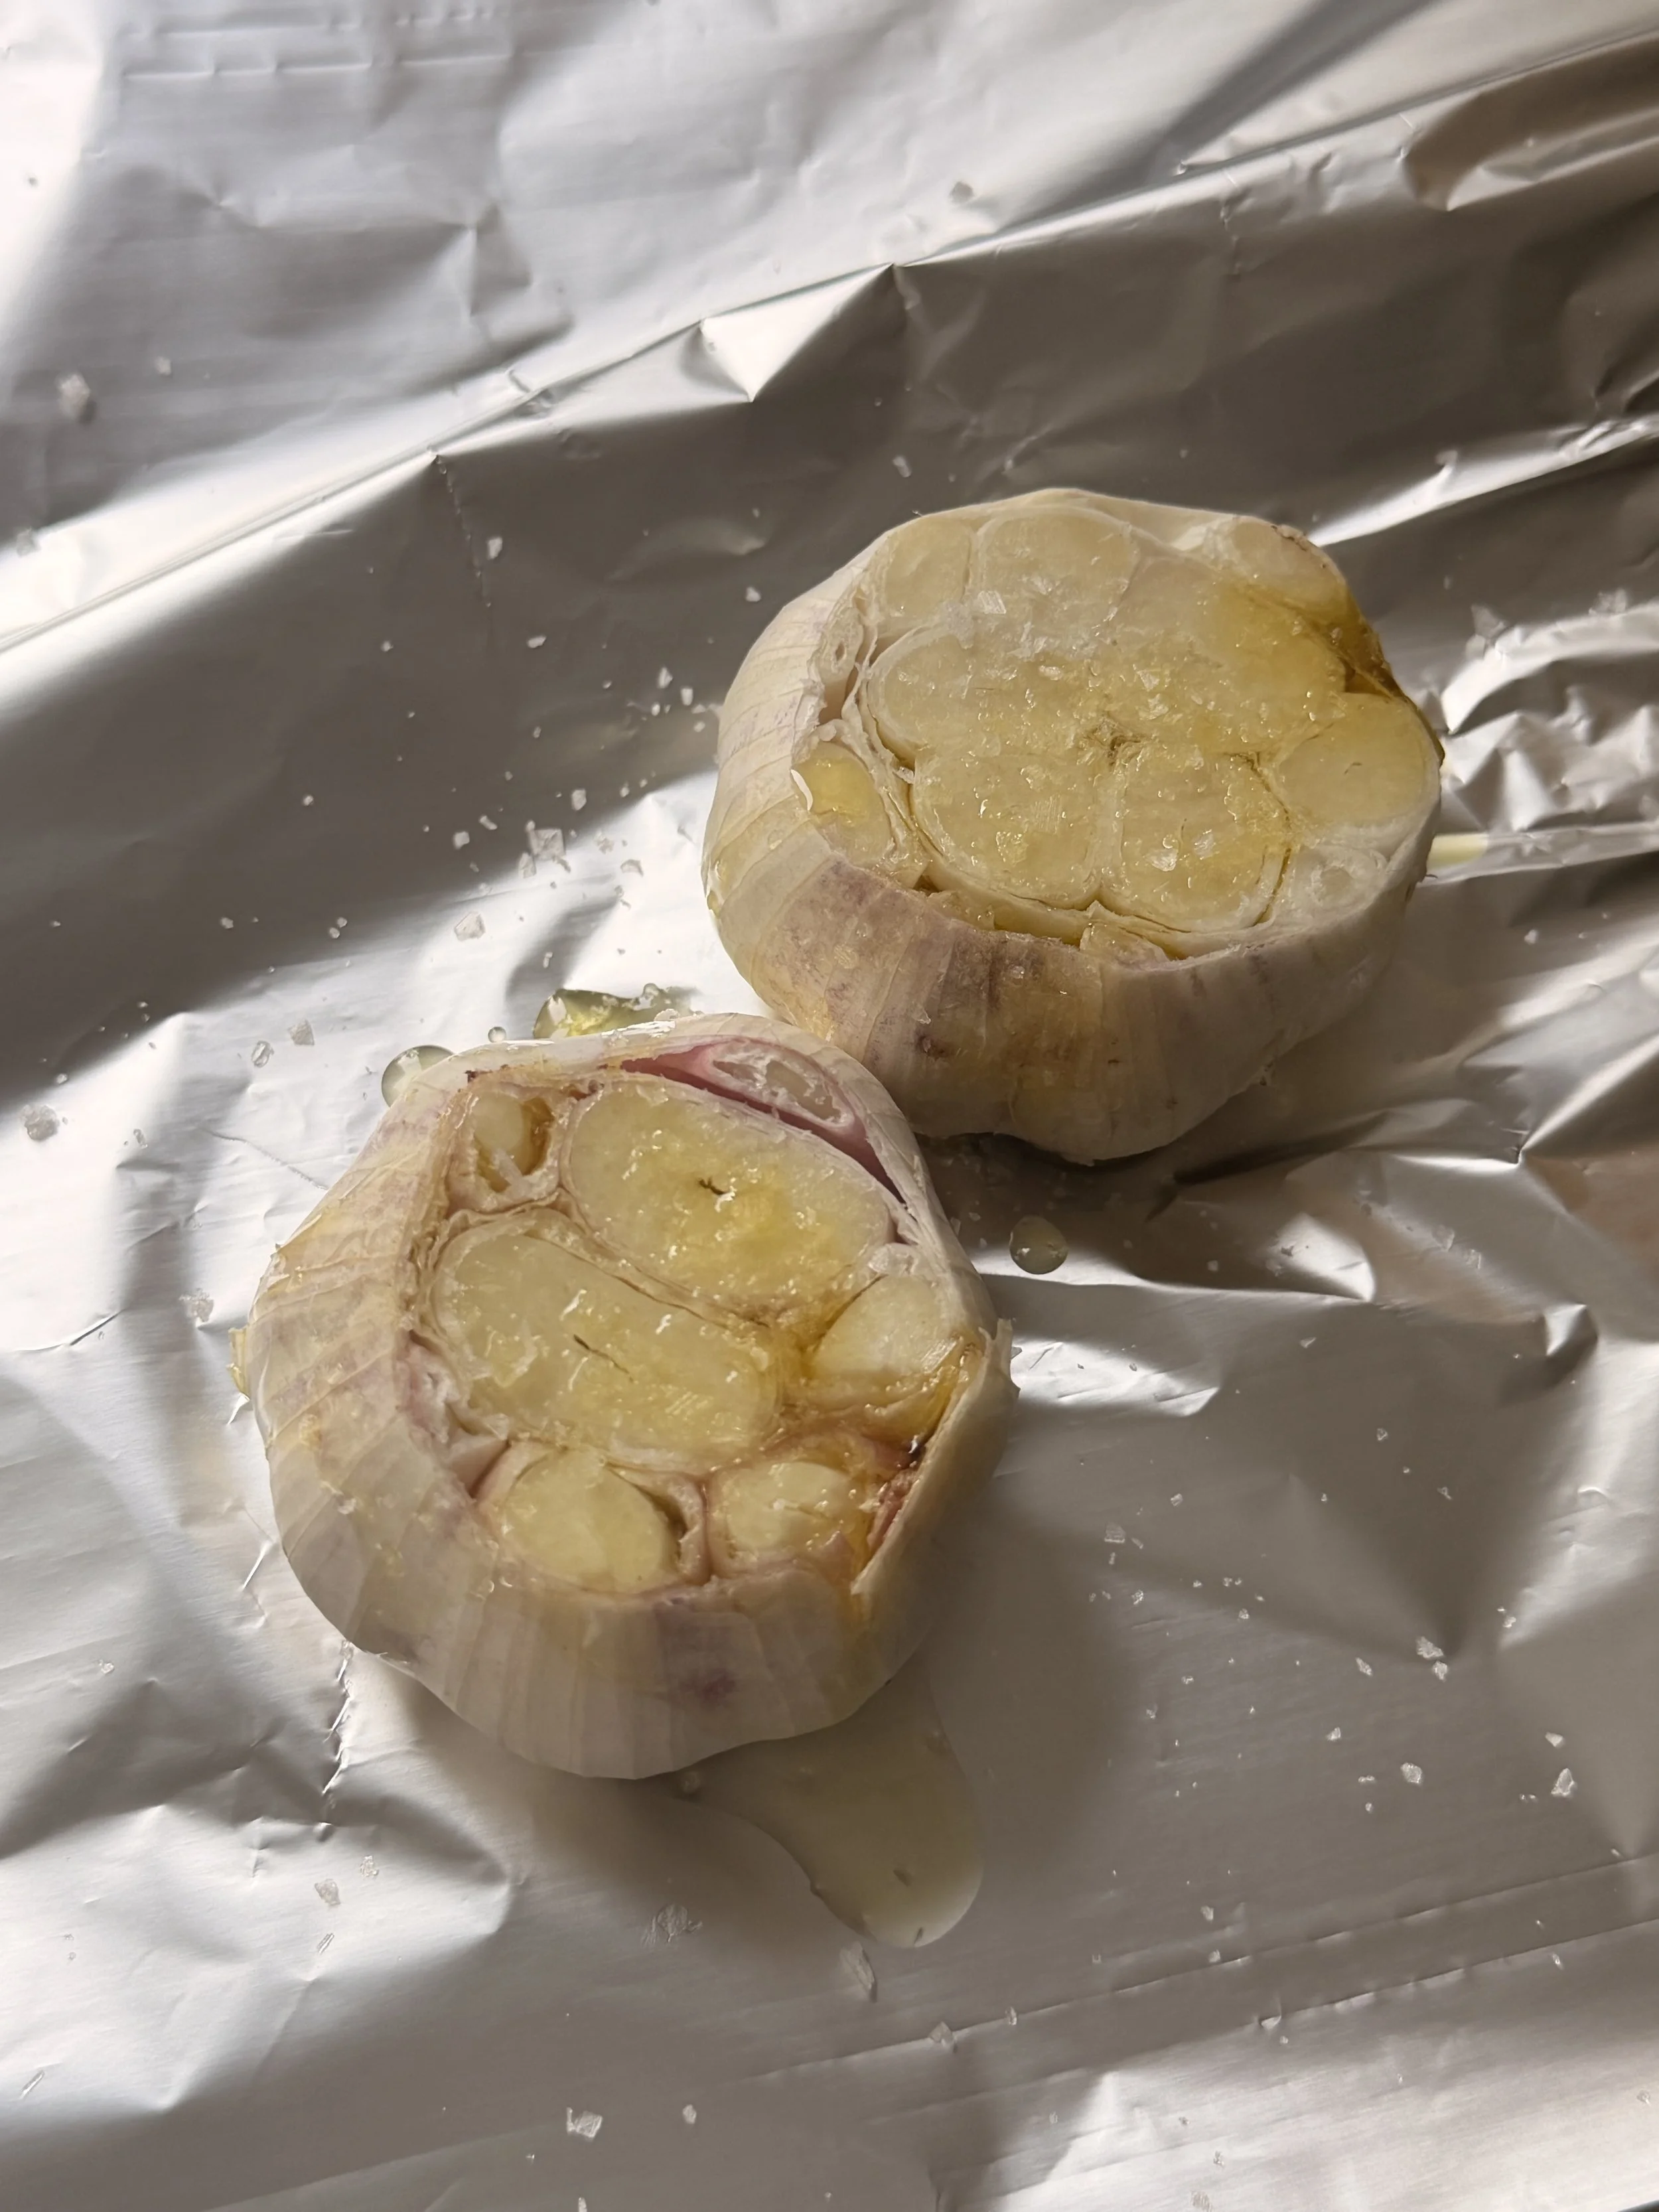
10. Remove the roasted garlic from the oven and let it cool slightly.
11. Once the garlic is cool enough to handle, prepare the filling.
12. Add the butter, salt, chives and parsley to a food processor. Squeeze the roasted garlic cloves out of their skins and add them to the mixture. Blend until smooth and well combined.
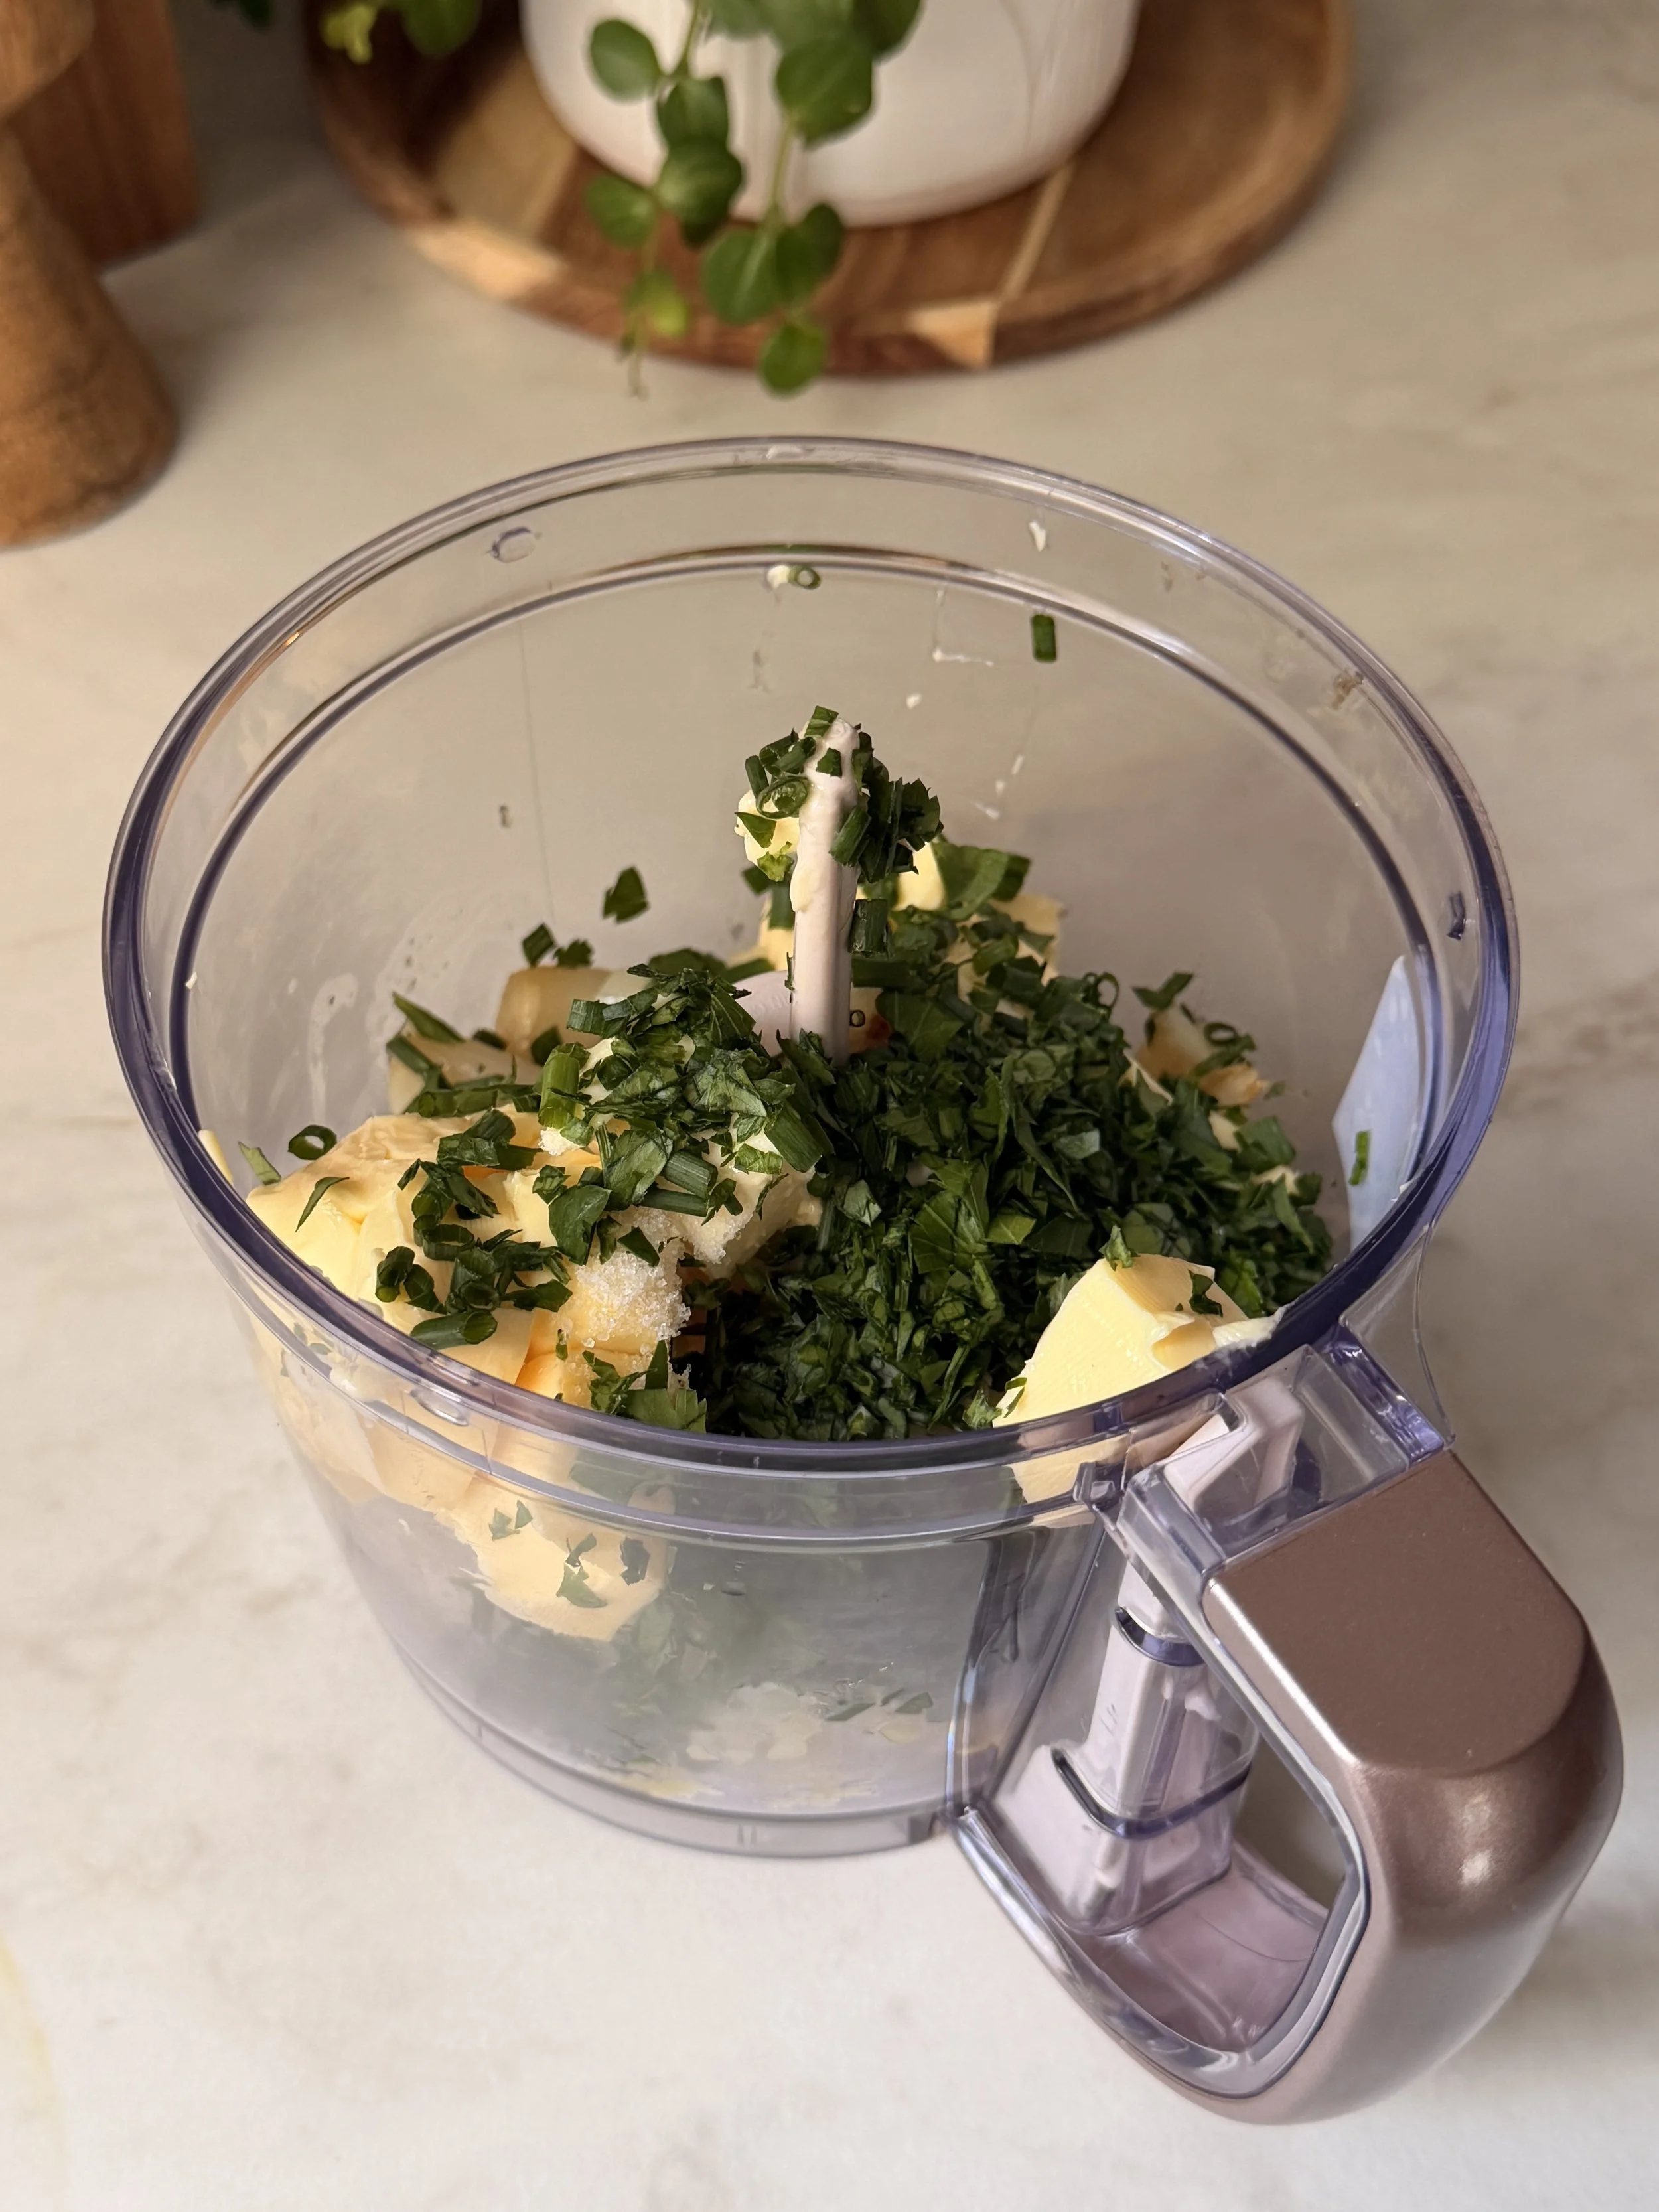
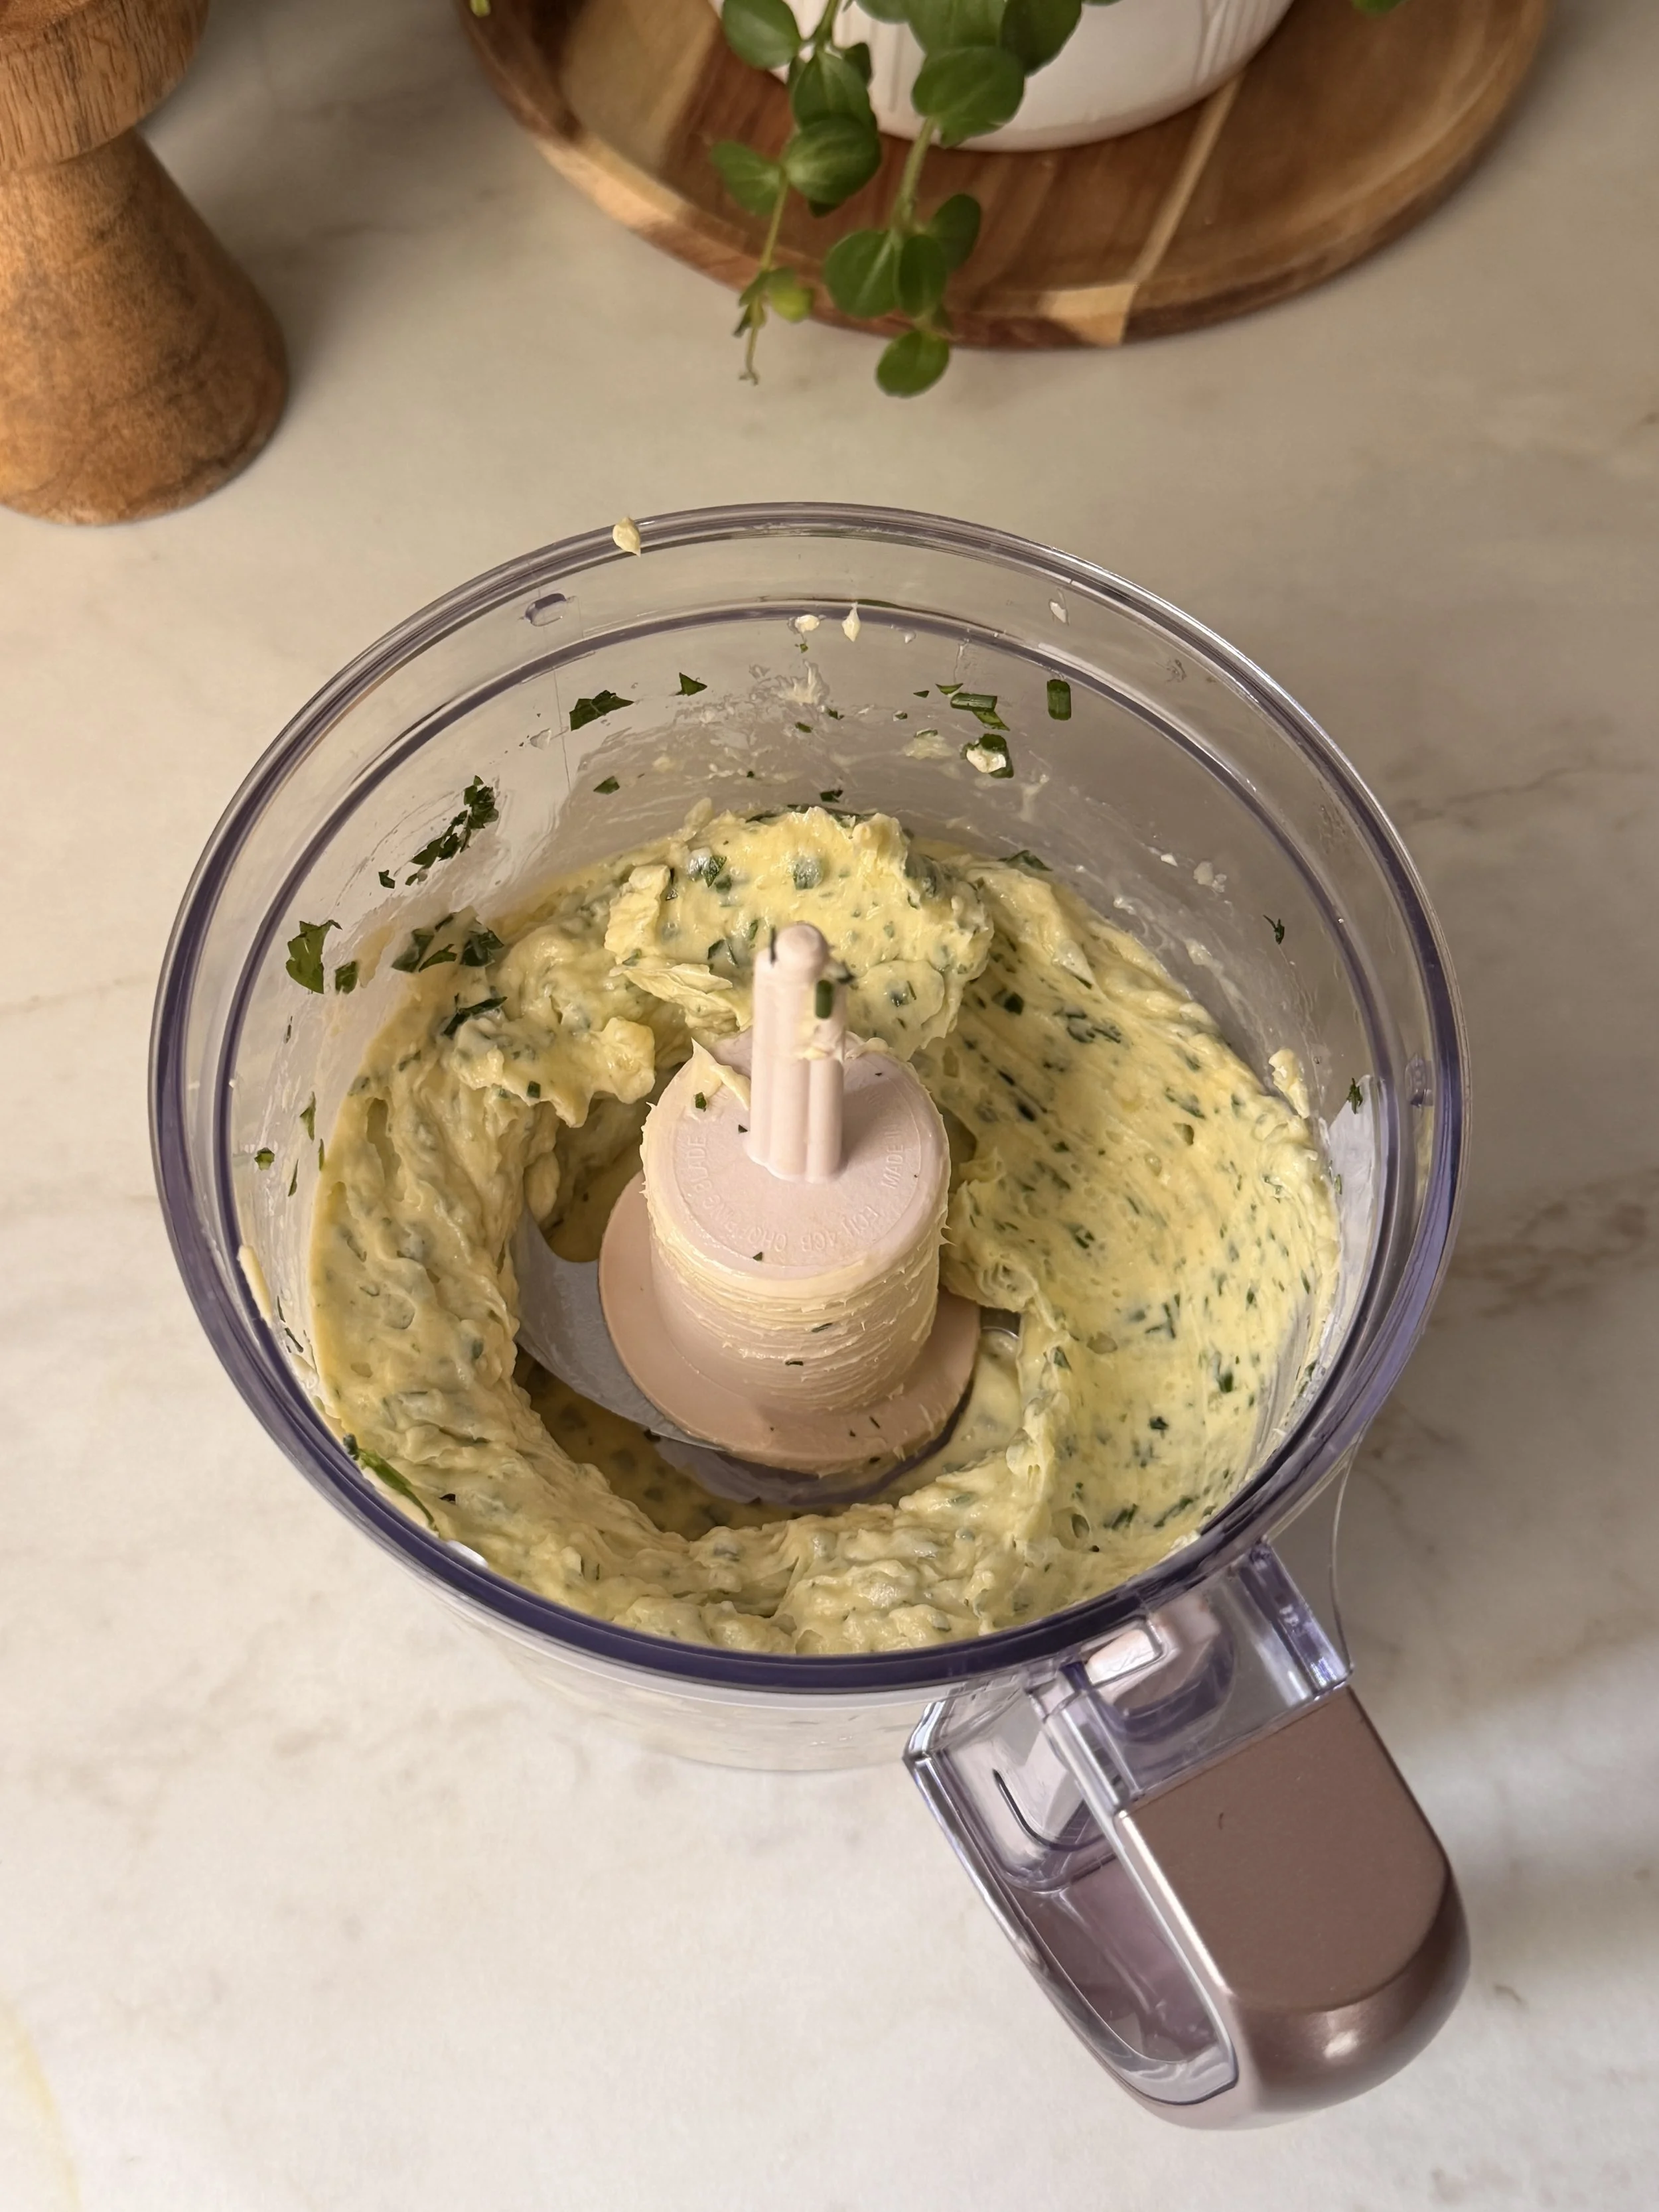
13. Set the filling aside.
14. Once the dough has doubled in size, gently punch it down and transfer it to a lightly floured work surface.
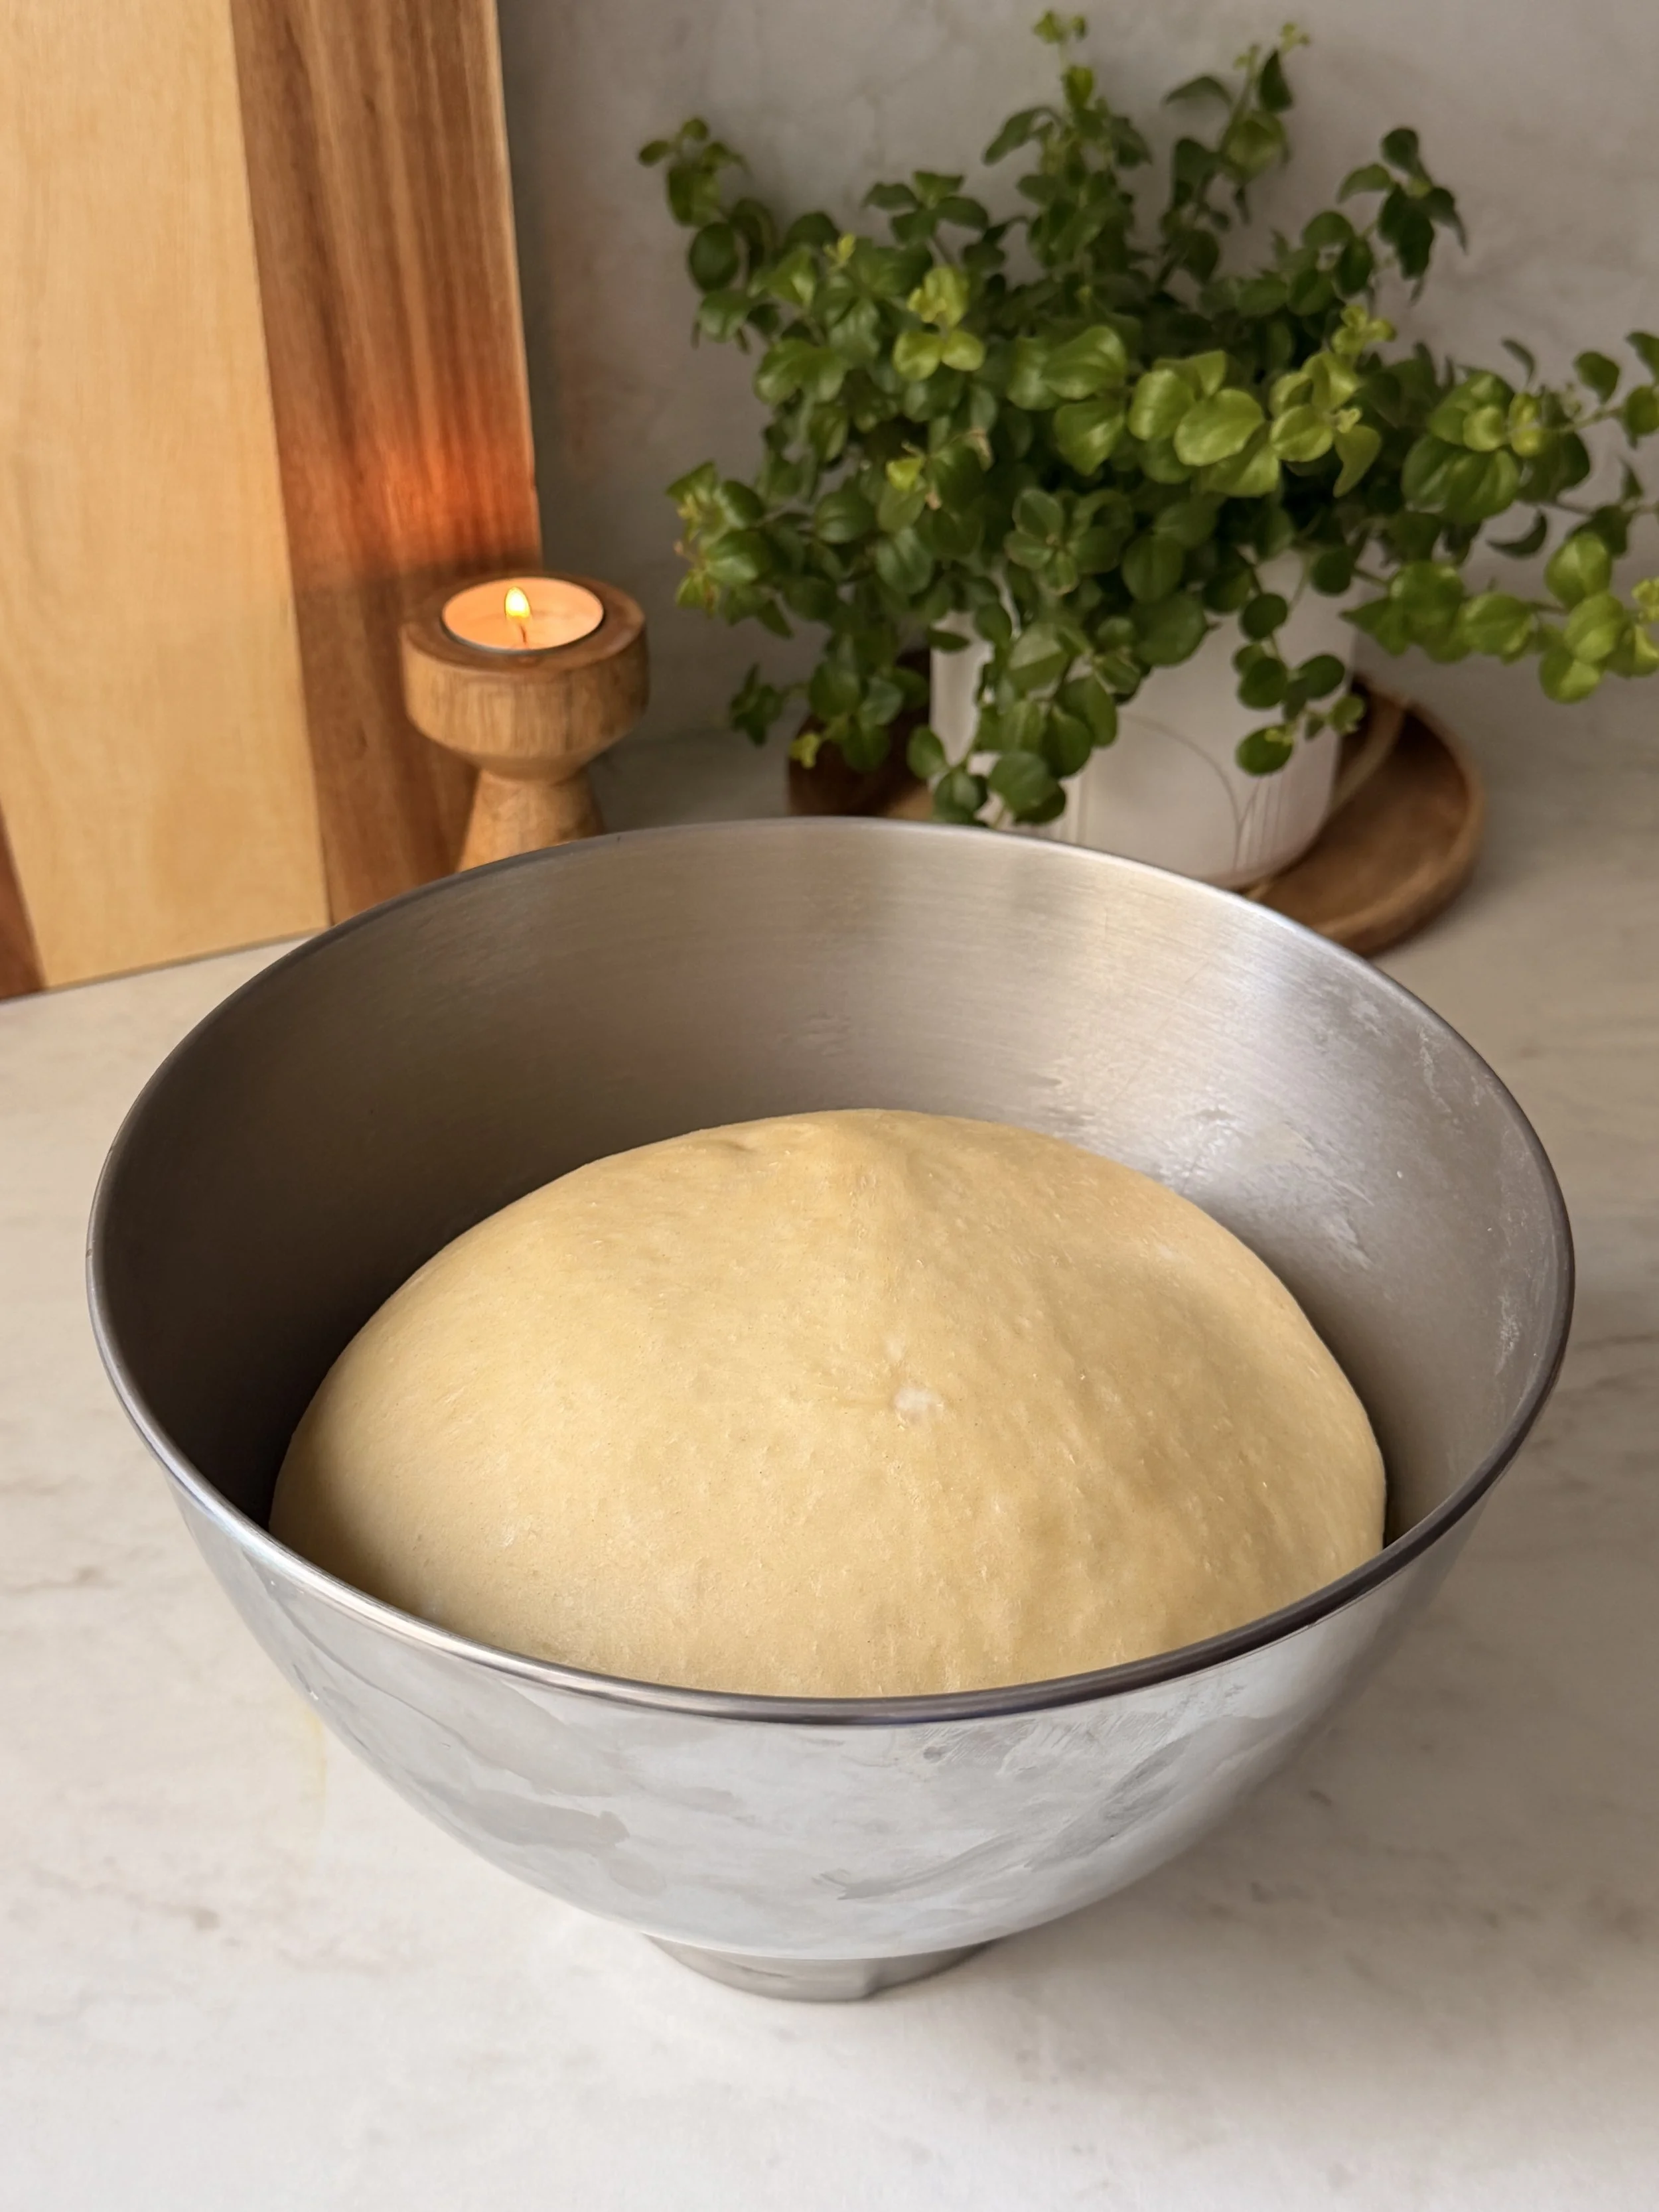
15. Lightly flour the top of the dough, then roll it out into a 45×35 cm (18×14-inch) rectangle.
16. Spread the roasted garlic and herb butter evenly over the dough, then spread a thin layer of mustard over the butter.
17. Sprinkle the cheese evenly over the filling and gently press it down so it adheres to the surface.
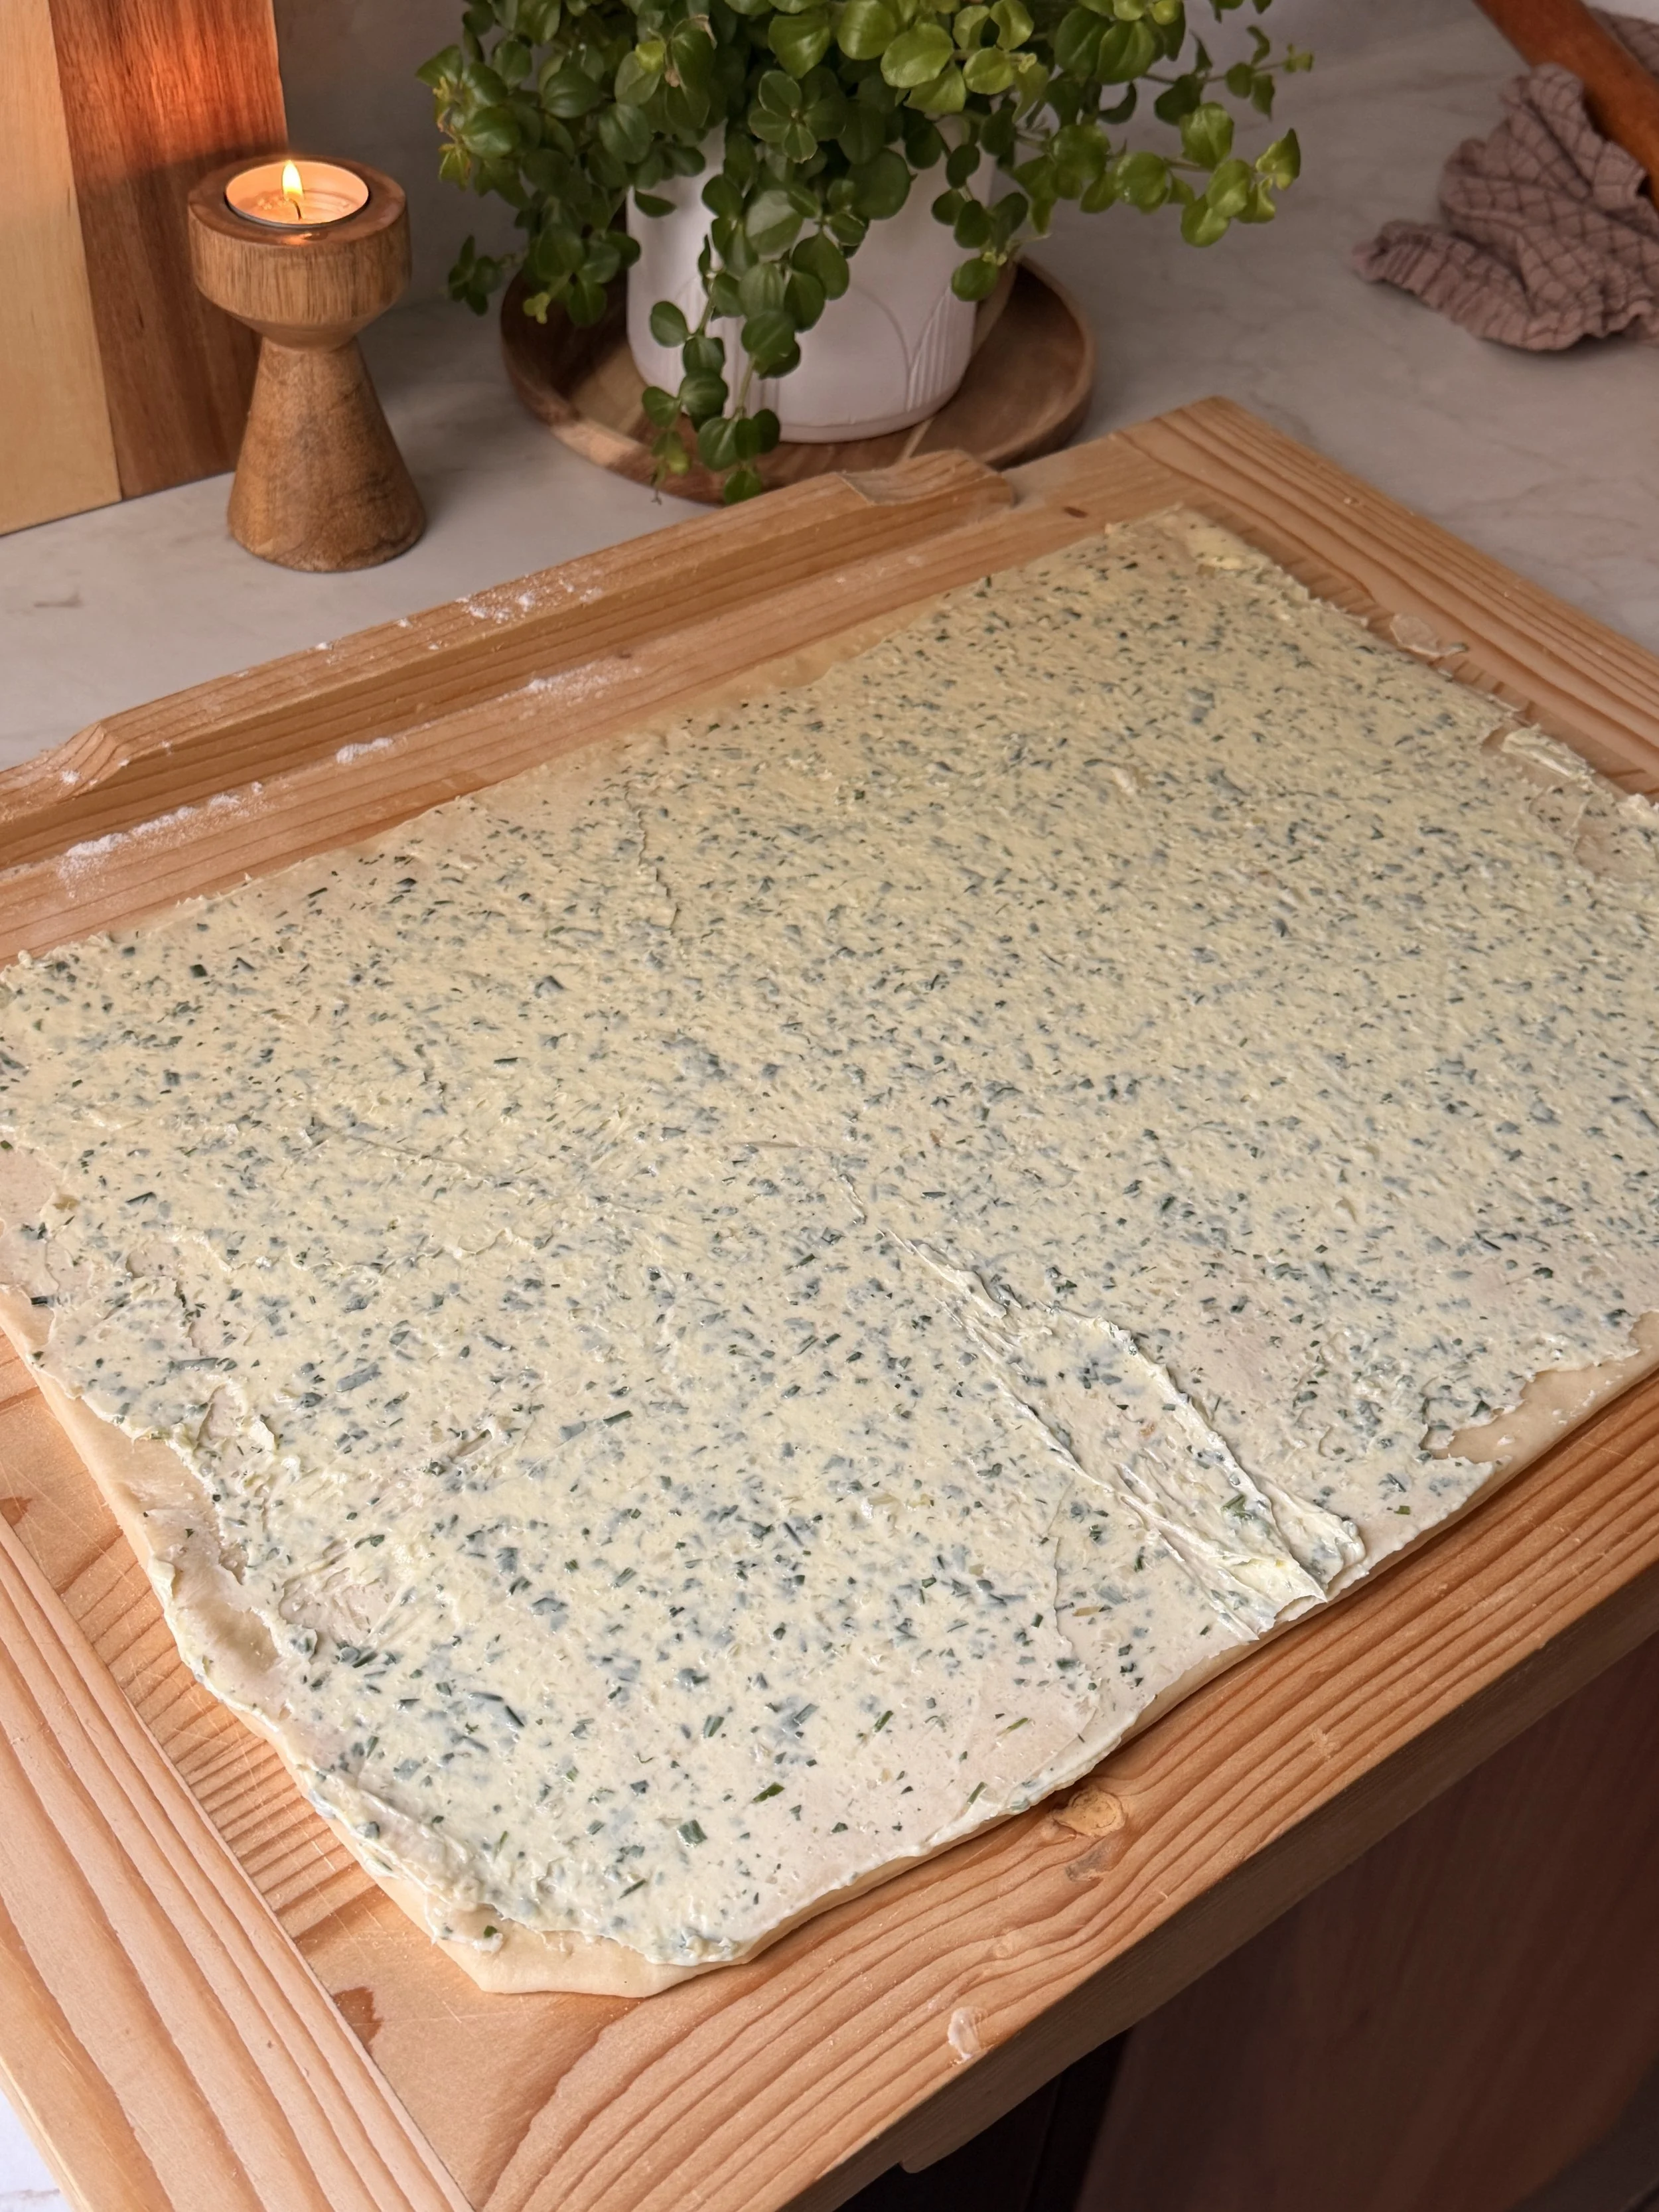
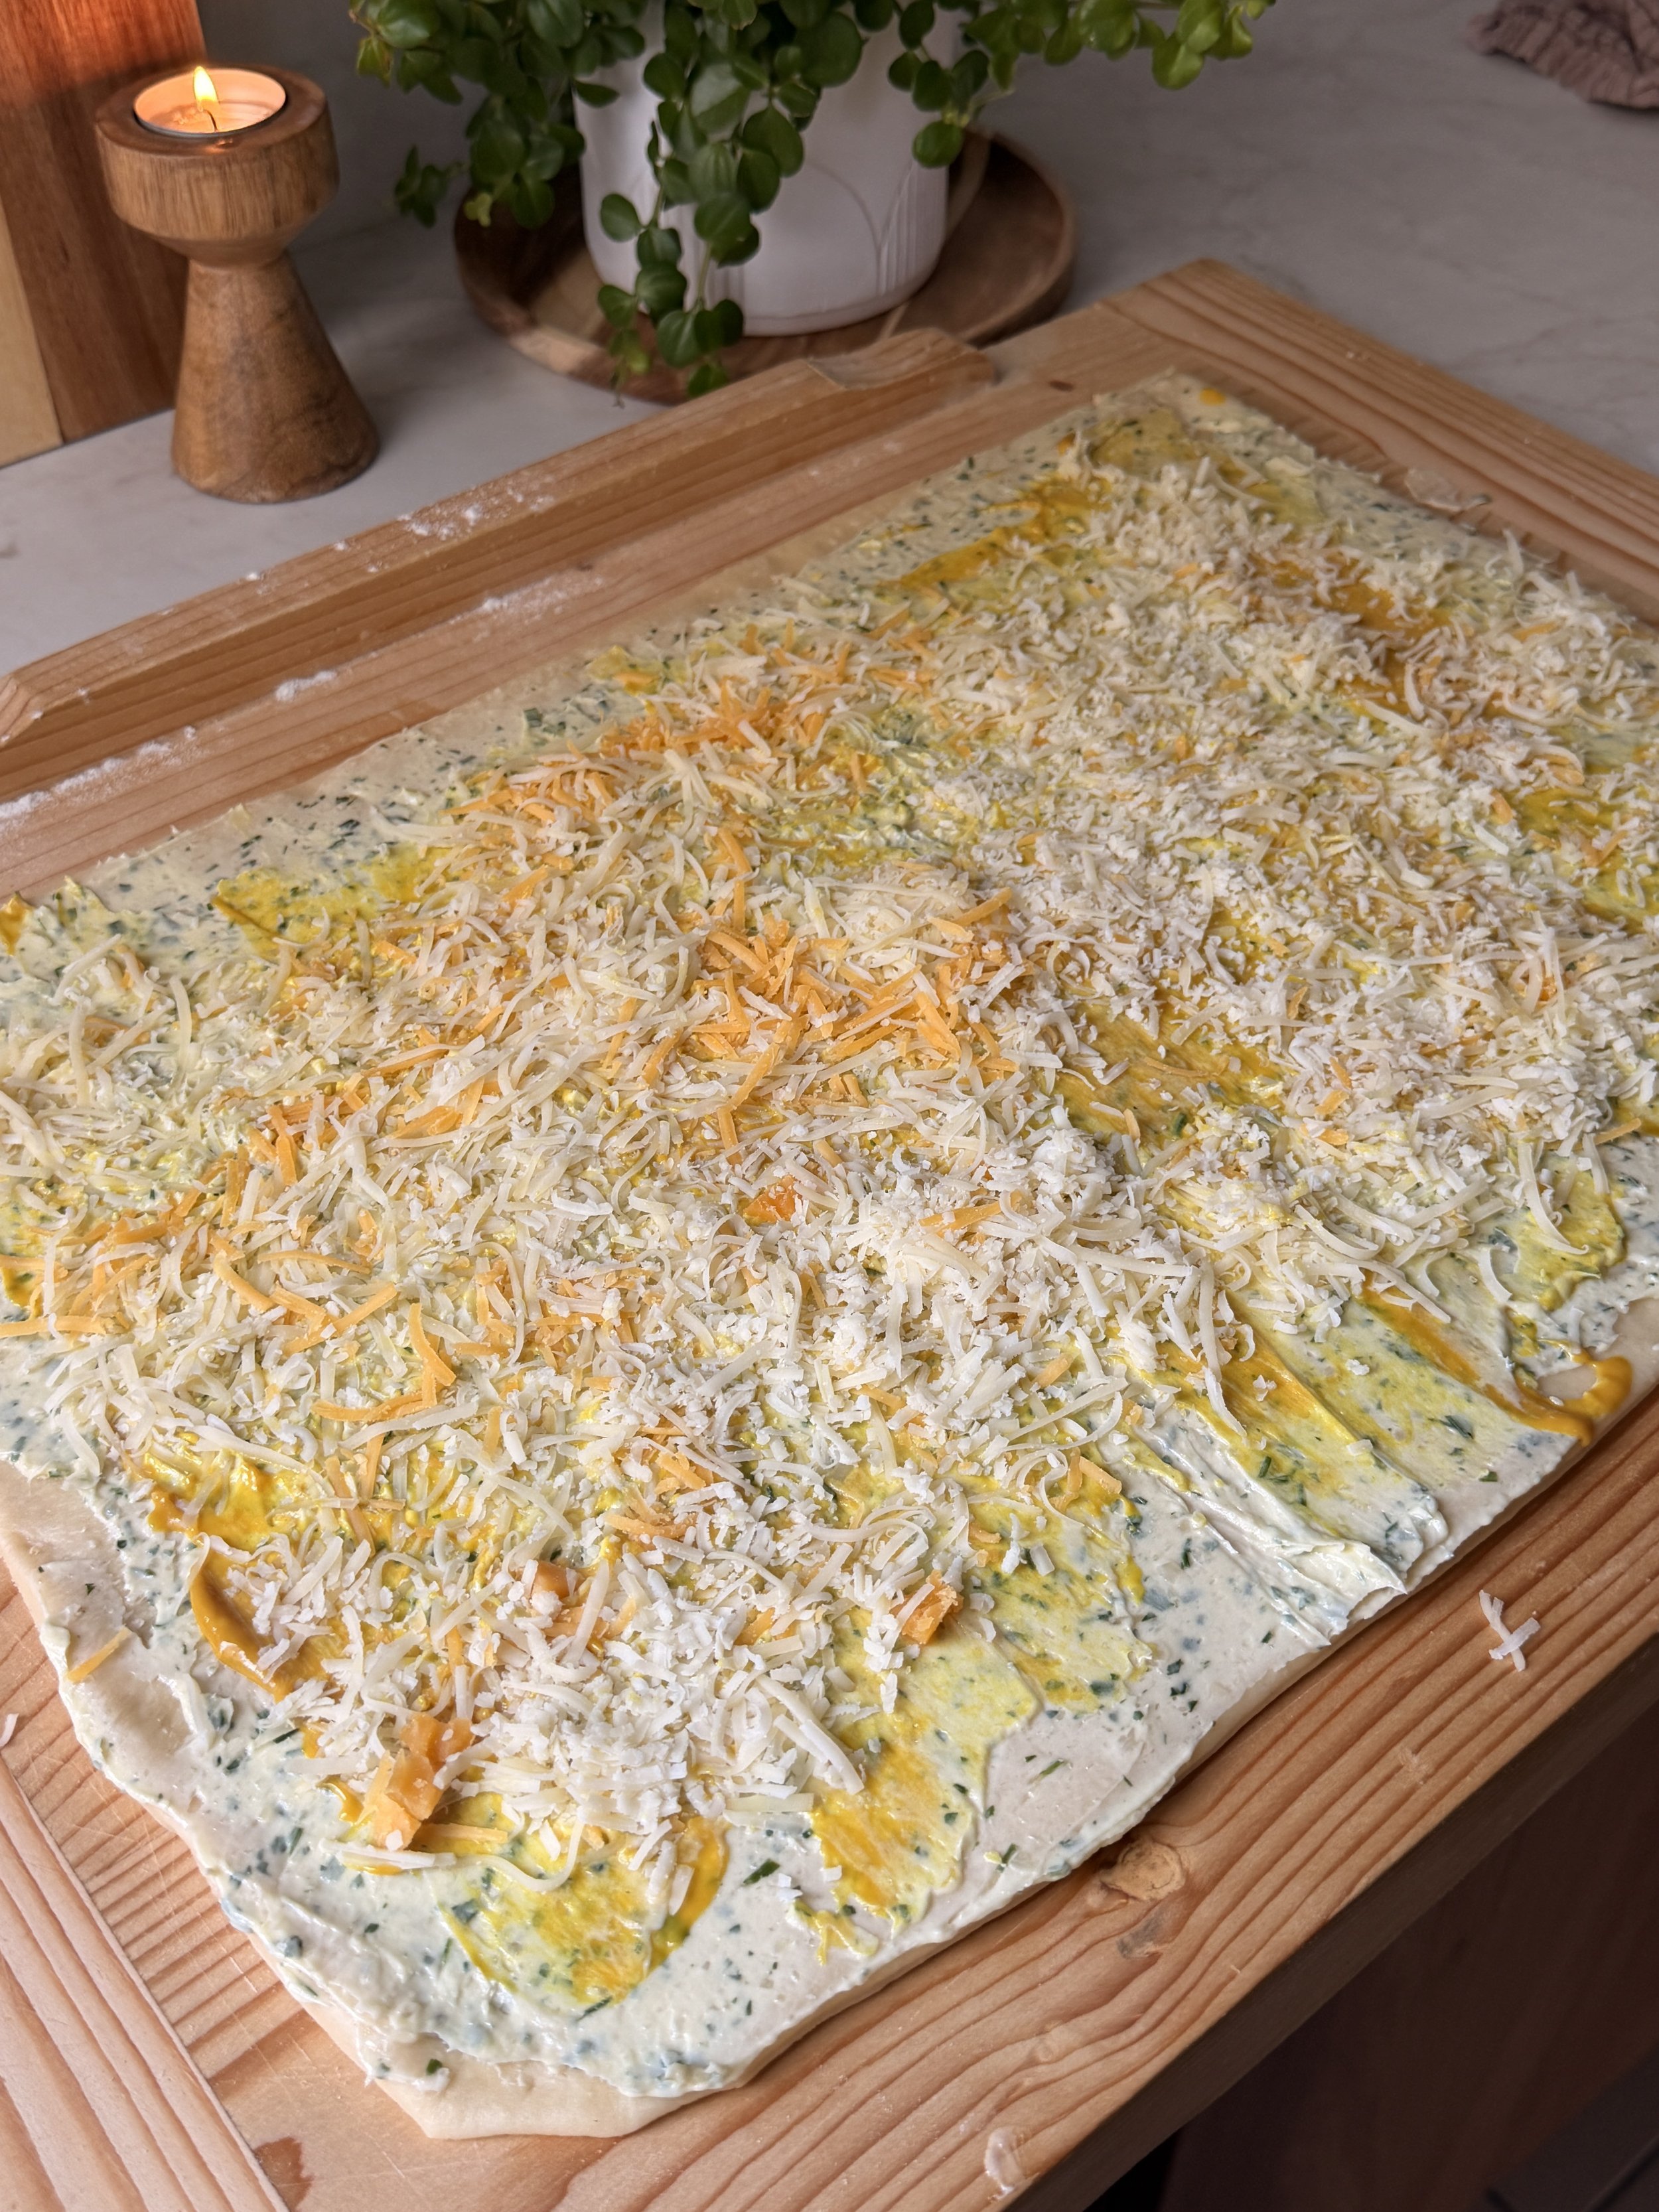
18. Starting from the bottom, tightly roll the dough into a log.
19. Cut the log into 12 equal rolls.
20. Arrange the rolls in a baking pan greased with butter.
21. Cover the pan and let the rolls rise for another hour, or until noticeably puffy.
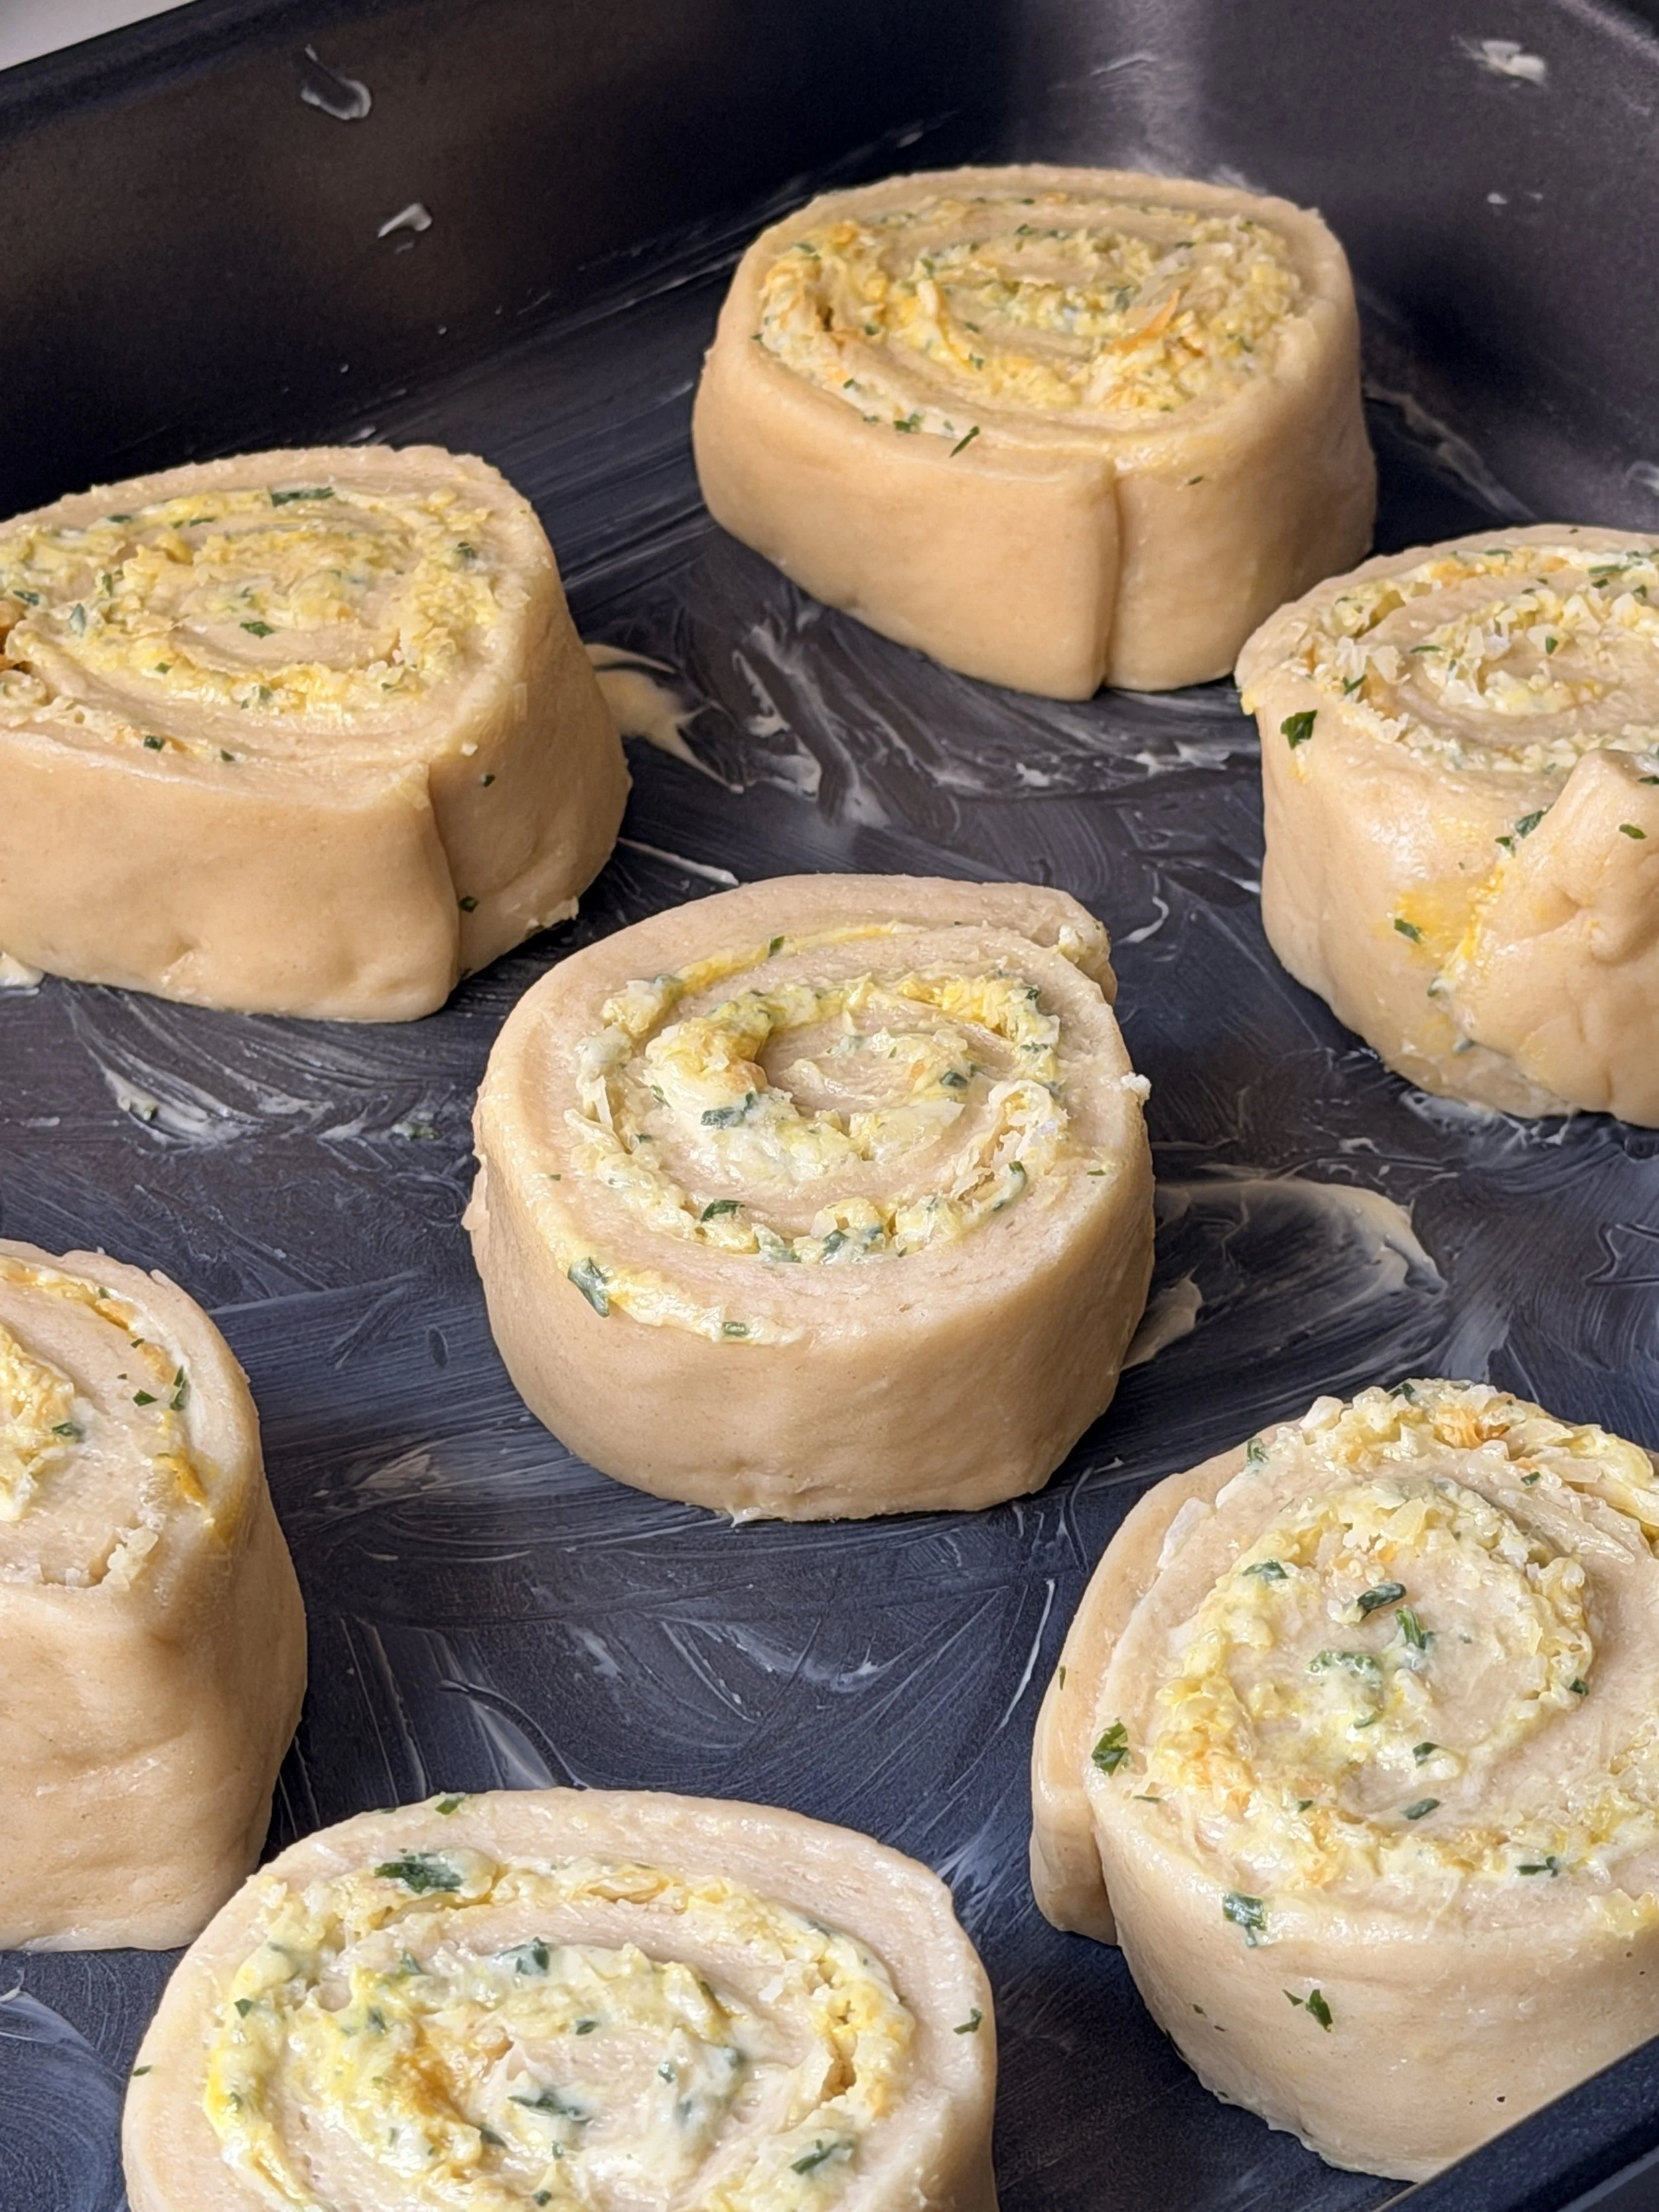
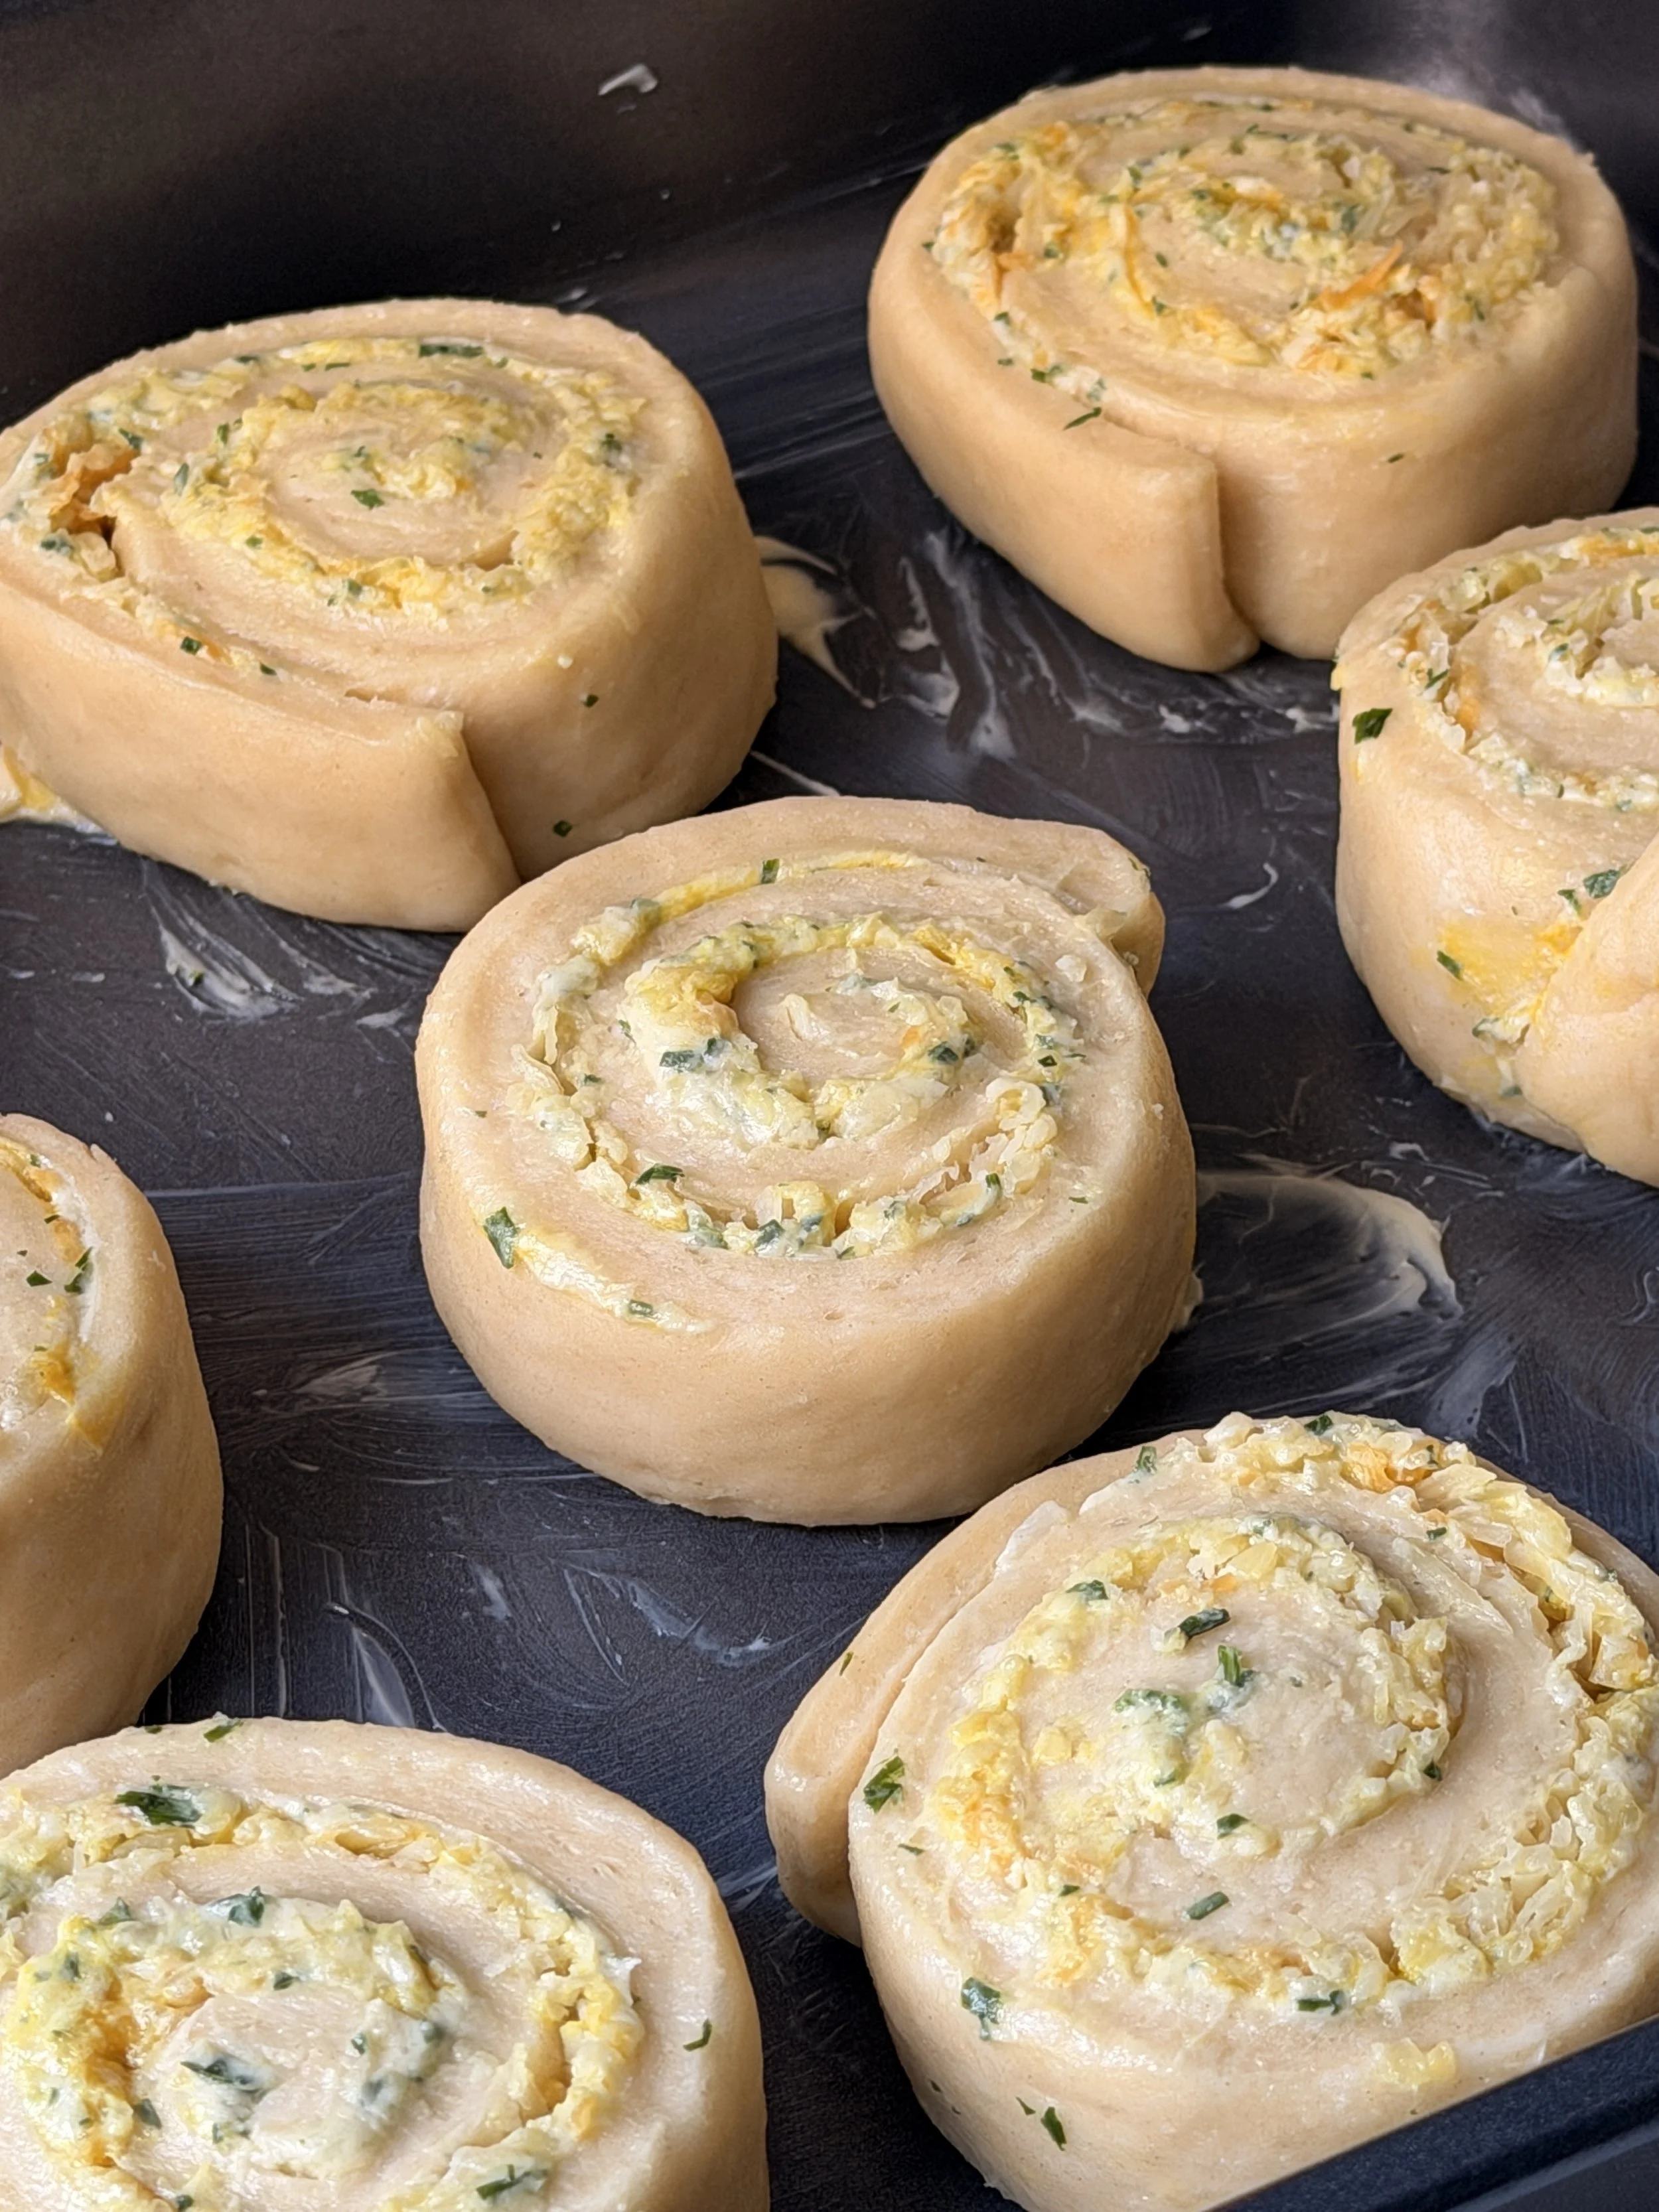
22. Toward the end of the second rise, preheat the oven to 180°C (350°F).
23. Lightly brush the exposed dough with egg wash, then top each roll with a little additional cheese.
24. Bake in the preheated oven for about 20 minutes, or until the rolls are golden brown and baked through.
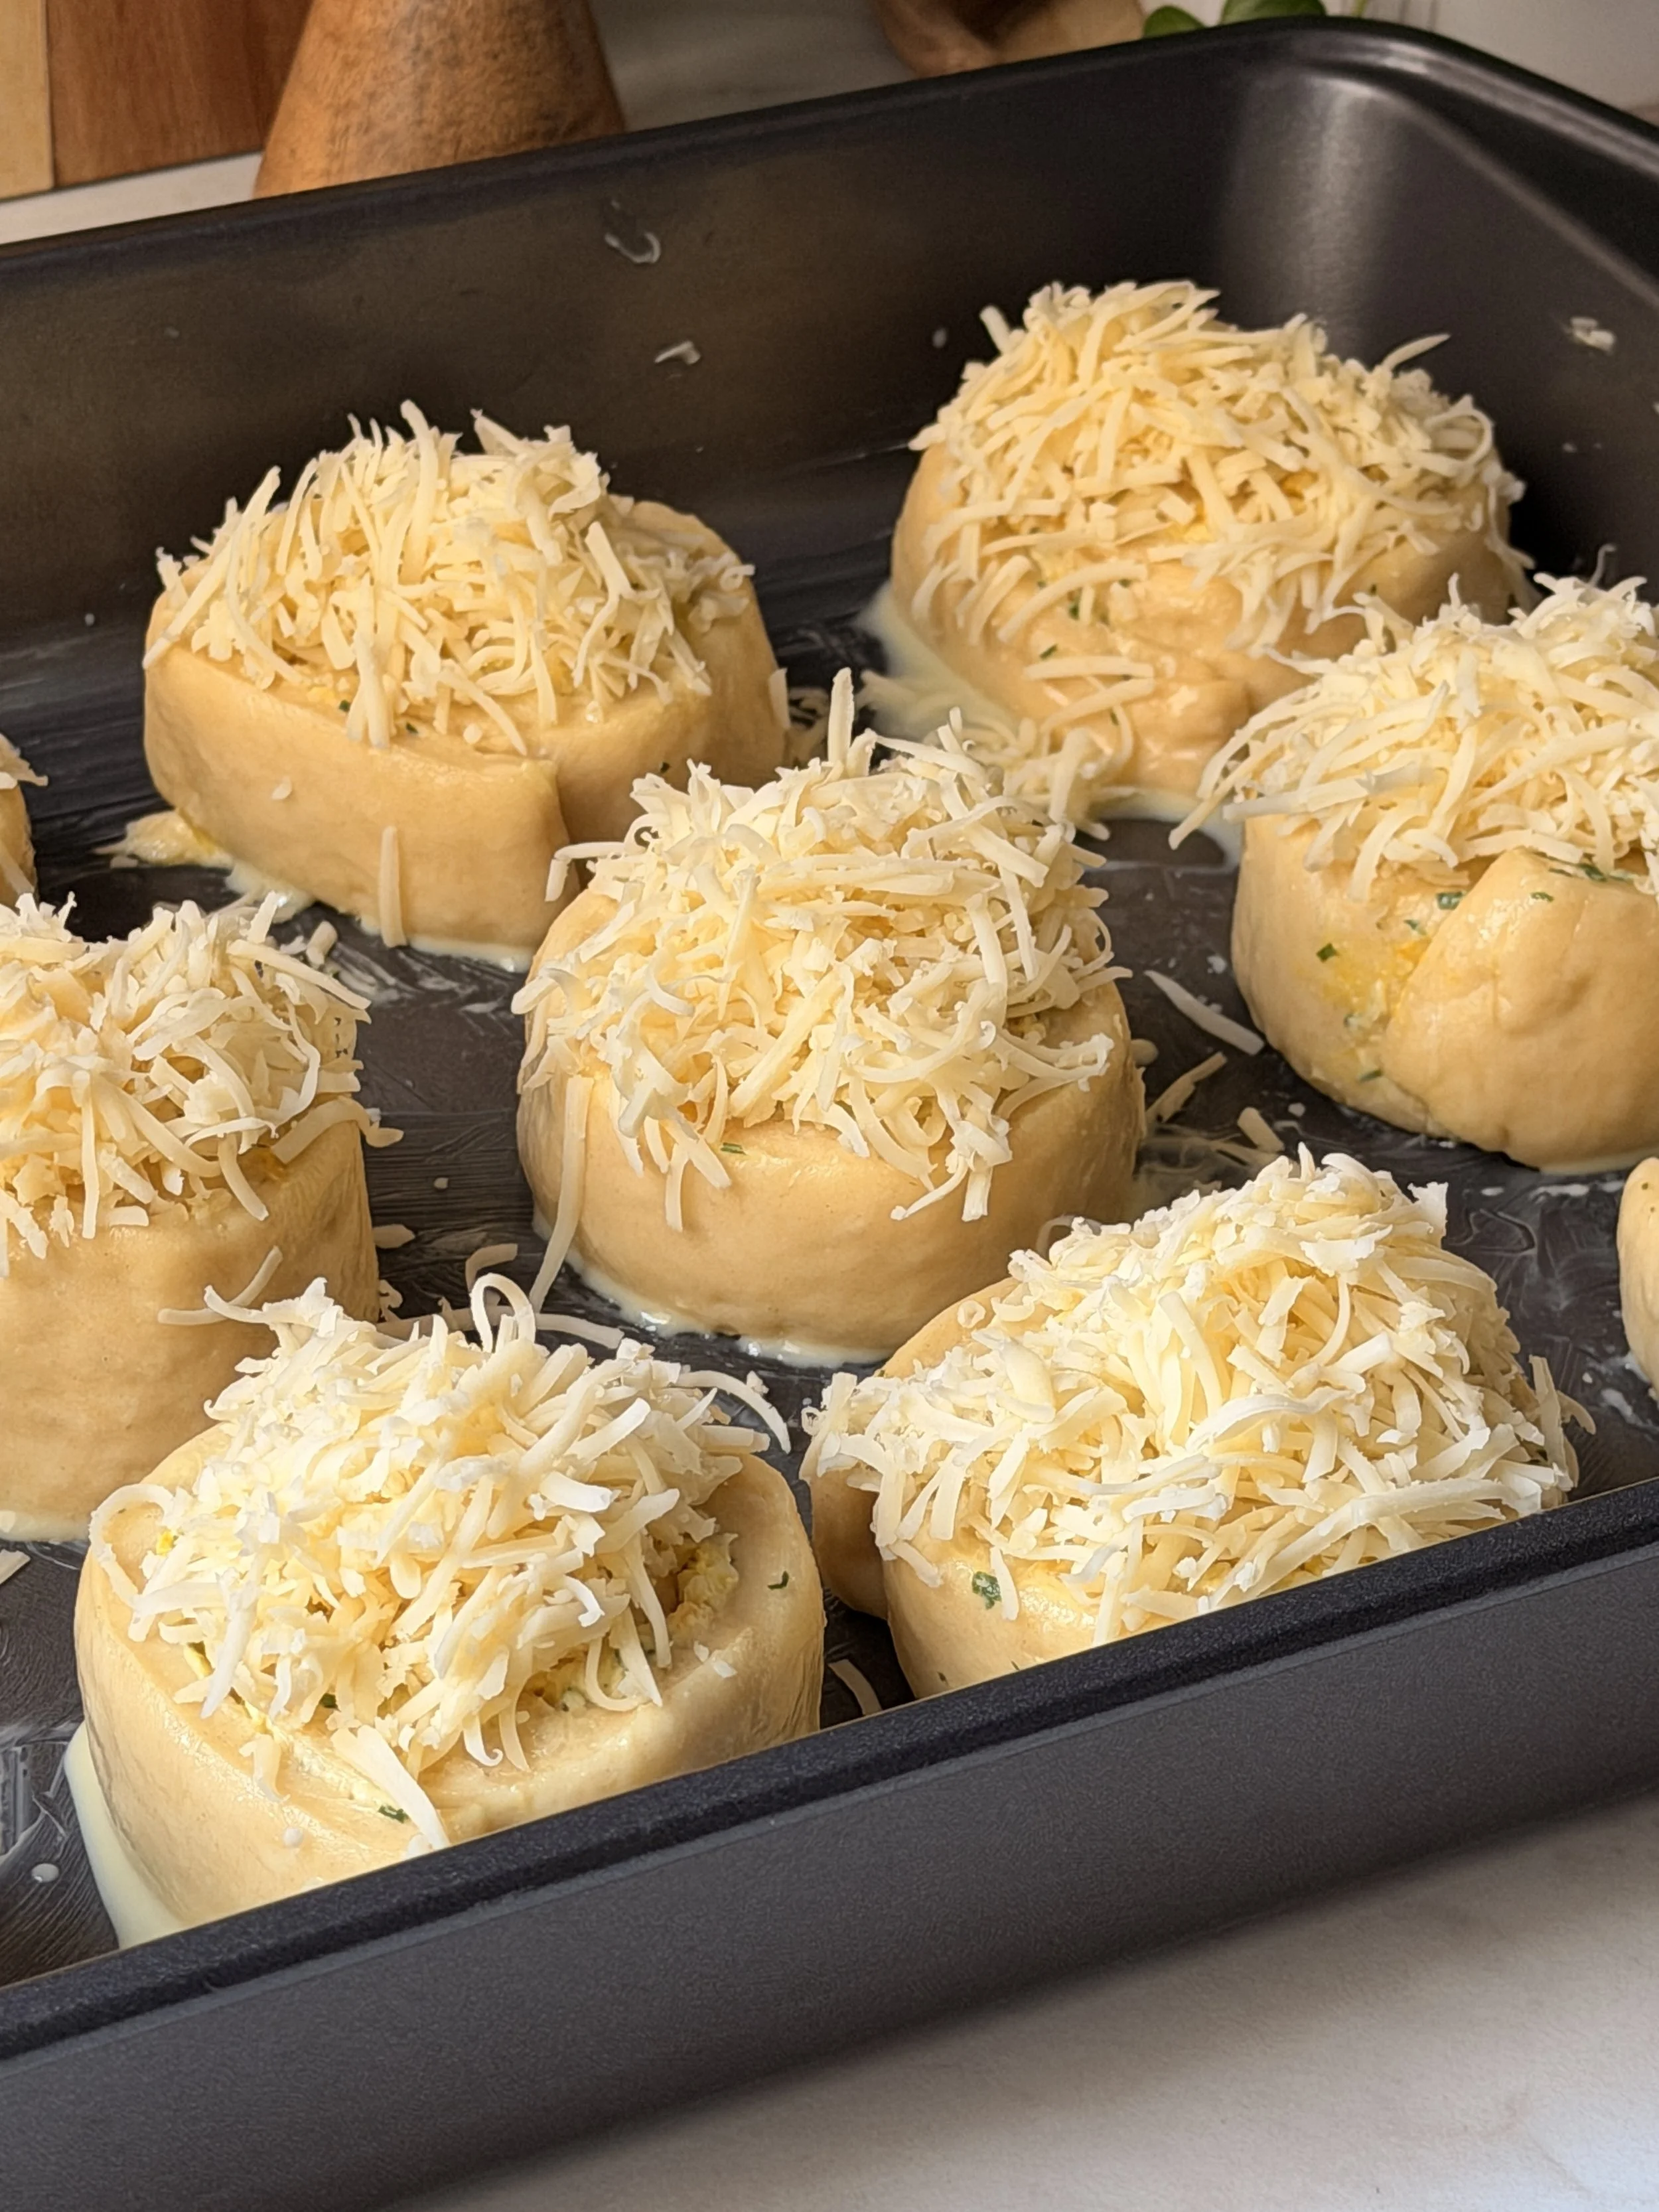
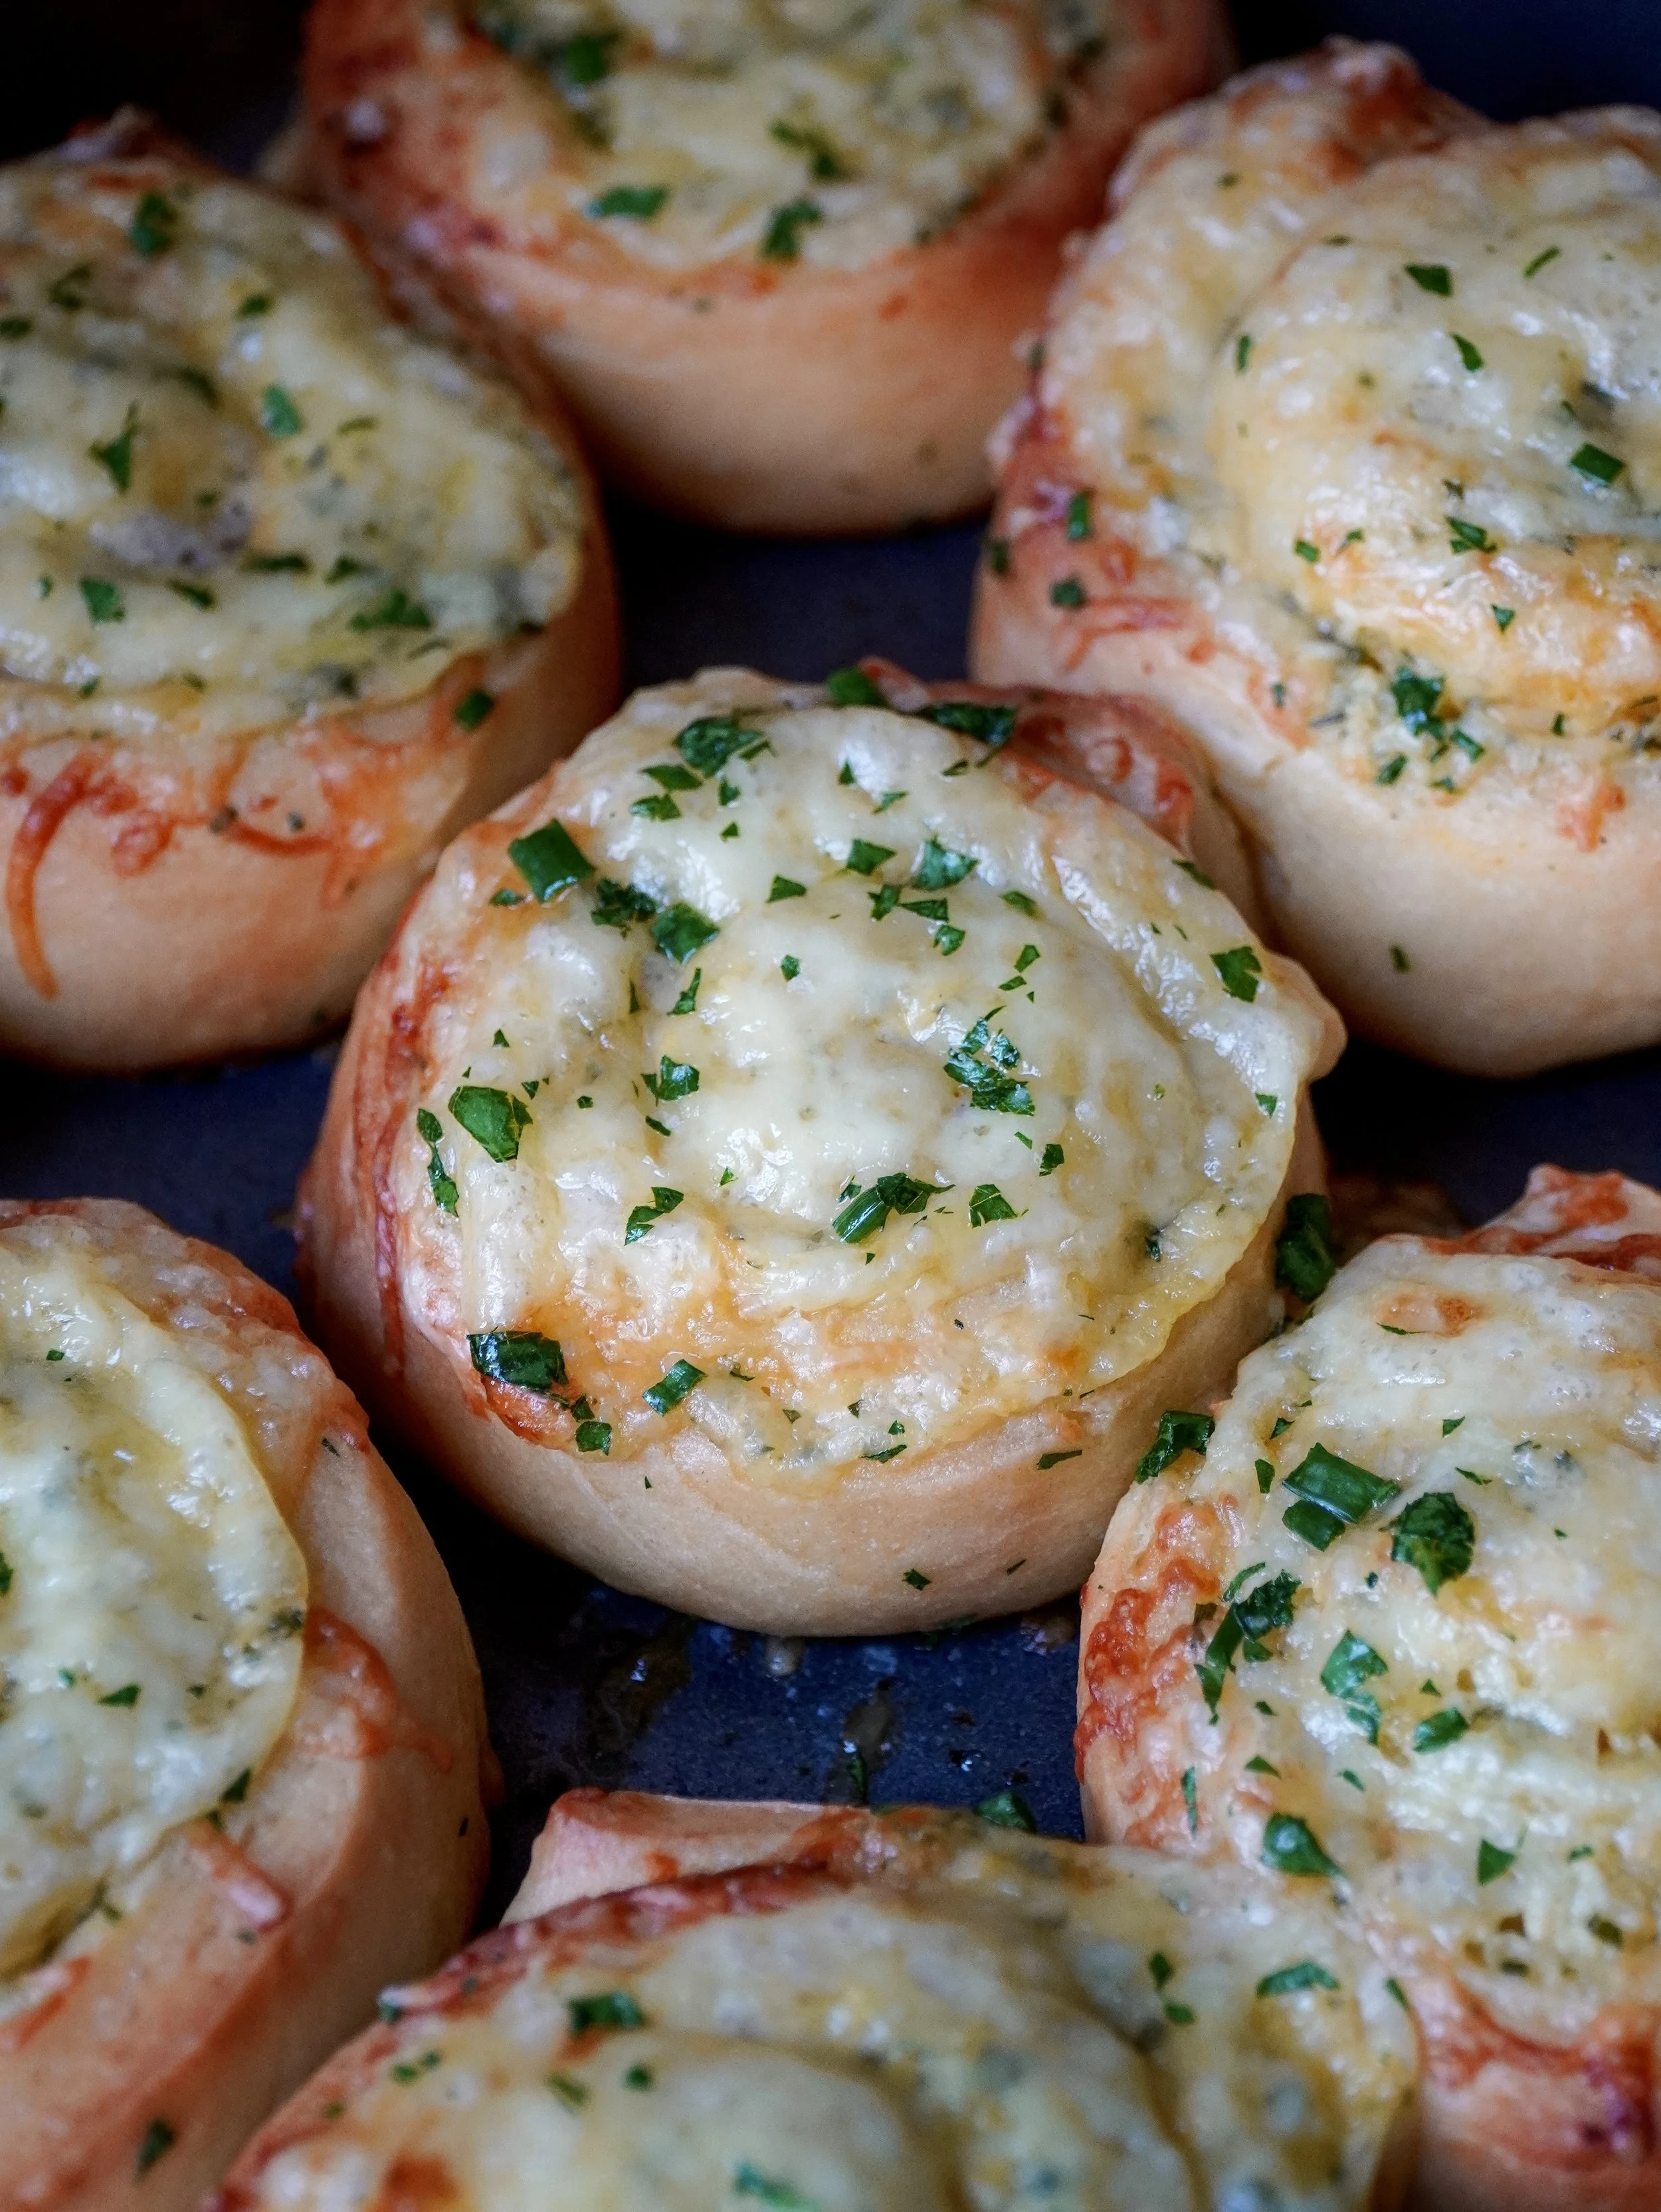
25. As soon as the rolls come out of the oven, brush them generously with melted garlic and herb butter. You can use store-bought garlic butter or make your own by combining melted butter with chopped chives, parsley, garlic and salt.
26. Serve warm and enjoy!

Roasted Garlic and Cheese Rolls
These Roasted Garlic and Cheese Rolls are soft, fluffy, filled with a buttery roasted garlic and cheese filling. Baked until beautifully golden, they’re the perfect savory rolls to serve warm as an appetizer, side dish or snack.
Ingredients
- 500g bread flour (4 cups)
- 50g granulated sugar (1/4 cup)
- 7g instant dry yeast (1 tablespoon + 1/2 teaspoon)
- 10g salt (2 teaspoons)
- 1 large egg
- 220g warm milk (3/4 cup + 3 tablespoons)
- 70g unsalted butter, melted and cooled (5 tablespoons)
- 2 whole heads of garlic
- A little bit of olive oil, for drizzling
- A pinch of salt
- 2 heads of roasted garlic
- 120g butter, softened at room temperature (1 stick + 1 teaspoon)
- A handful of parsley, finely chopped up
- Chives, chopped up
- 1 teaspoon of fine sea salt
- 120g cheese of your choice, shredded, for sprinkling (1 cup)
- Optional: 2 teaspoons of honey mustard, for spreading
- An egg mixed with a bit of milk, for egg wash
- Extra Cheese, for sprinkling the topping
- Melted garlic herb butter, for brushing the tops
Instructions
- First, prepare the dough.
- In the bowl of a stand mixer, whisk together the flour, sugar, salt and instant dry yeast.
- Next, add the milk, melted butter and egg.
- Using the dough hook attachment, knead on low speed until the dough comes together and forms a smooth and elastic ball.
- Transfer the dough to a lightly oiled bowl, cover and let it rise for about 2 hours, or until doubled in size.
- While the dough is rising, prepare the filling.
- Preheat the oven to 200°C (400°F).
- To roast the garlic, slice the tops off the garlic heads to expose the cloves. Place each head on a piece of aluminum foil, drizzle with a little olive oil and sprinkle with sea salt.
- Wrap the garlic tightly in the foil and roast in the preheated oven for about 45 minutes, or until the cloves are soft and slightly golden.
- Remove the roasted garlic from the oven and let it cool slightly.
- Once the garlic is cool enough to handle, prepare the filling.
- Add the butter, salt, chives and parsley to a food processor. Squeeze the roasted garlic cloves out of their skins and add them to the mixture. Blend until smooth and well combined.
- Set the filling aside.
- Once the dough has doubled in size, gently punch it down and transfer it to a lightly floured work surface.
- Lightly flour the top of the dough, then roll it out into a 45×35 cm (18×14-inch) rectangle.
- Spread the roasted garlic and herb butter evenly over the dough, then spread a thin layer of mustard over the butter.
- Sprinkle the cheese evenly over the filling and gently press it down so it adheres to the surface.
- Starting from the bottom, tightly roll the dough into a log.
- Cut the log into 12 equal rolls.
- Arrange the rolls in a baking pan greased with butter.
- Cover the pan and let the rolls rise for another hour, or until noticeably puffy.
- Toward the end of the second rise, preheat the oven to 180°C (350°F).
- Lightly brush the exposed dough with egg wash, then top each roll with a little additional cheese.
- Bake in the preheated oven for about 20 minutes, or until the rolls are golden brown and baked through.
- As soon as the rolls come out of the oven, brush them generously with melted garlic and herb butter. You can use store-bought garlic butter or make your own by combining melted butter with chopped chives, parsley, garlic and salt.
- Serve warm and enjoy!