Red Velvet Cookies with Cream Cheese frosting
Published: December 16, 2025
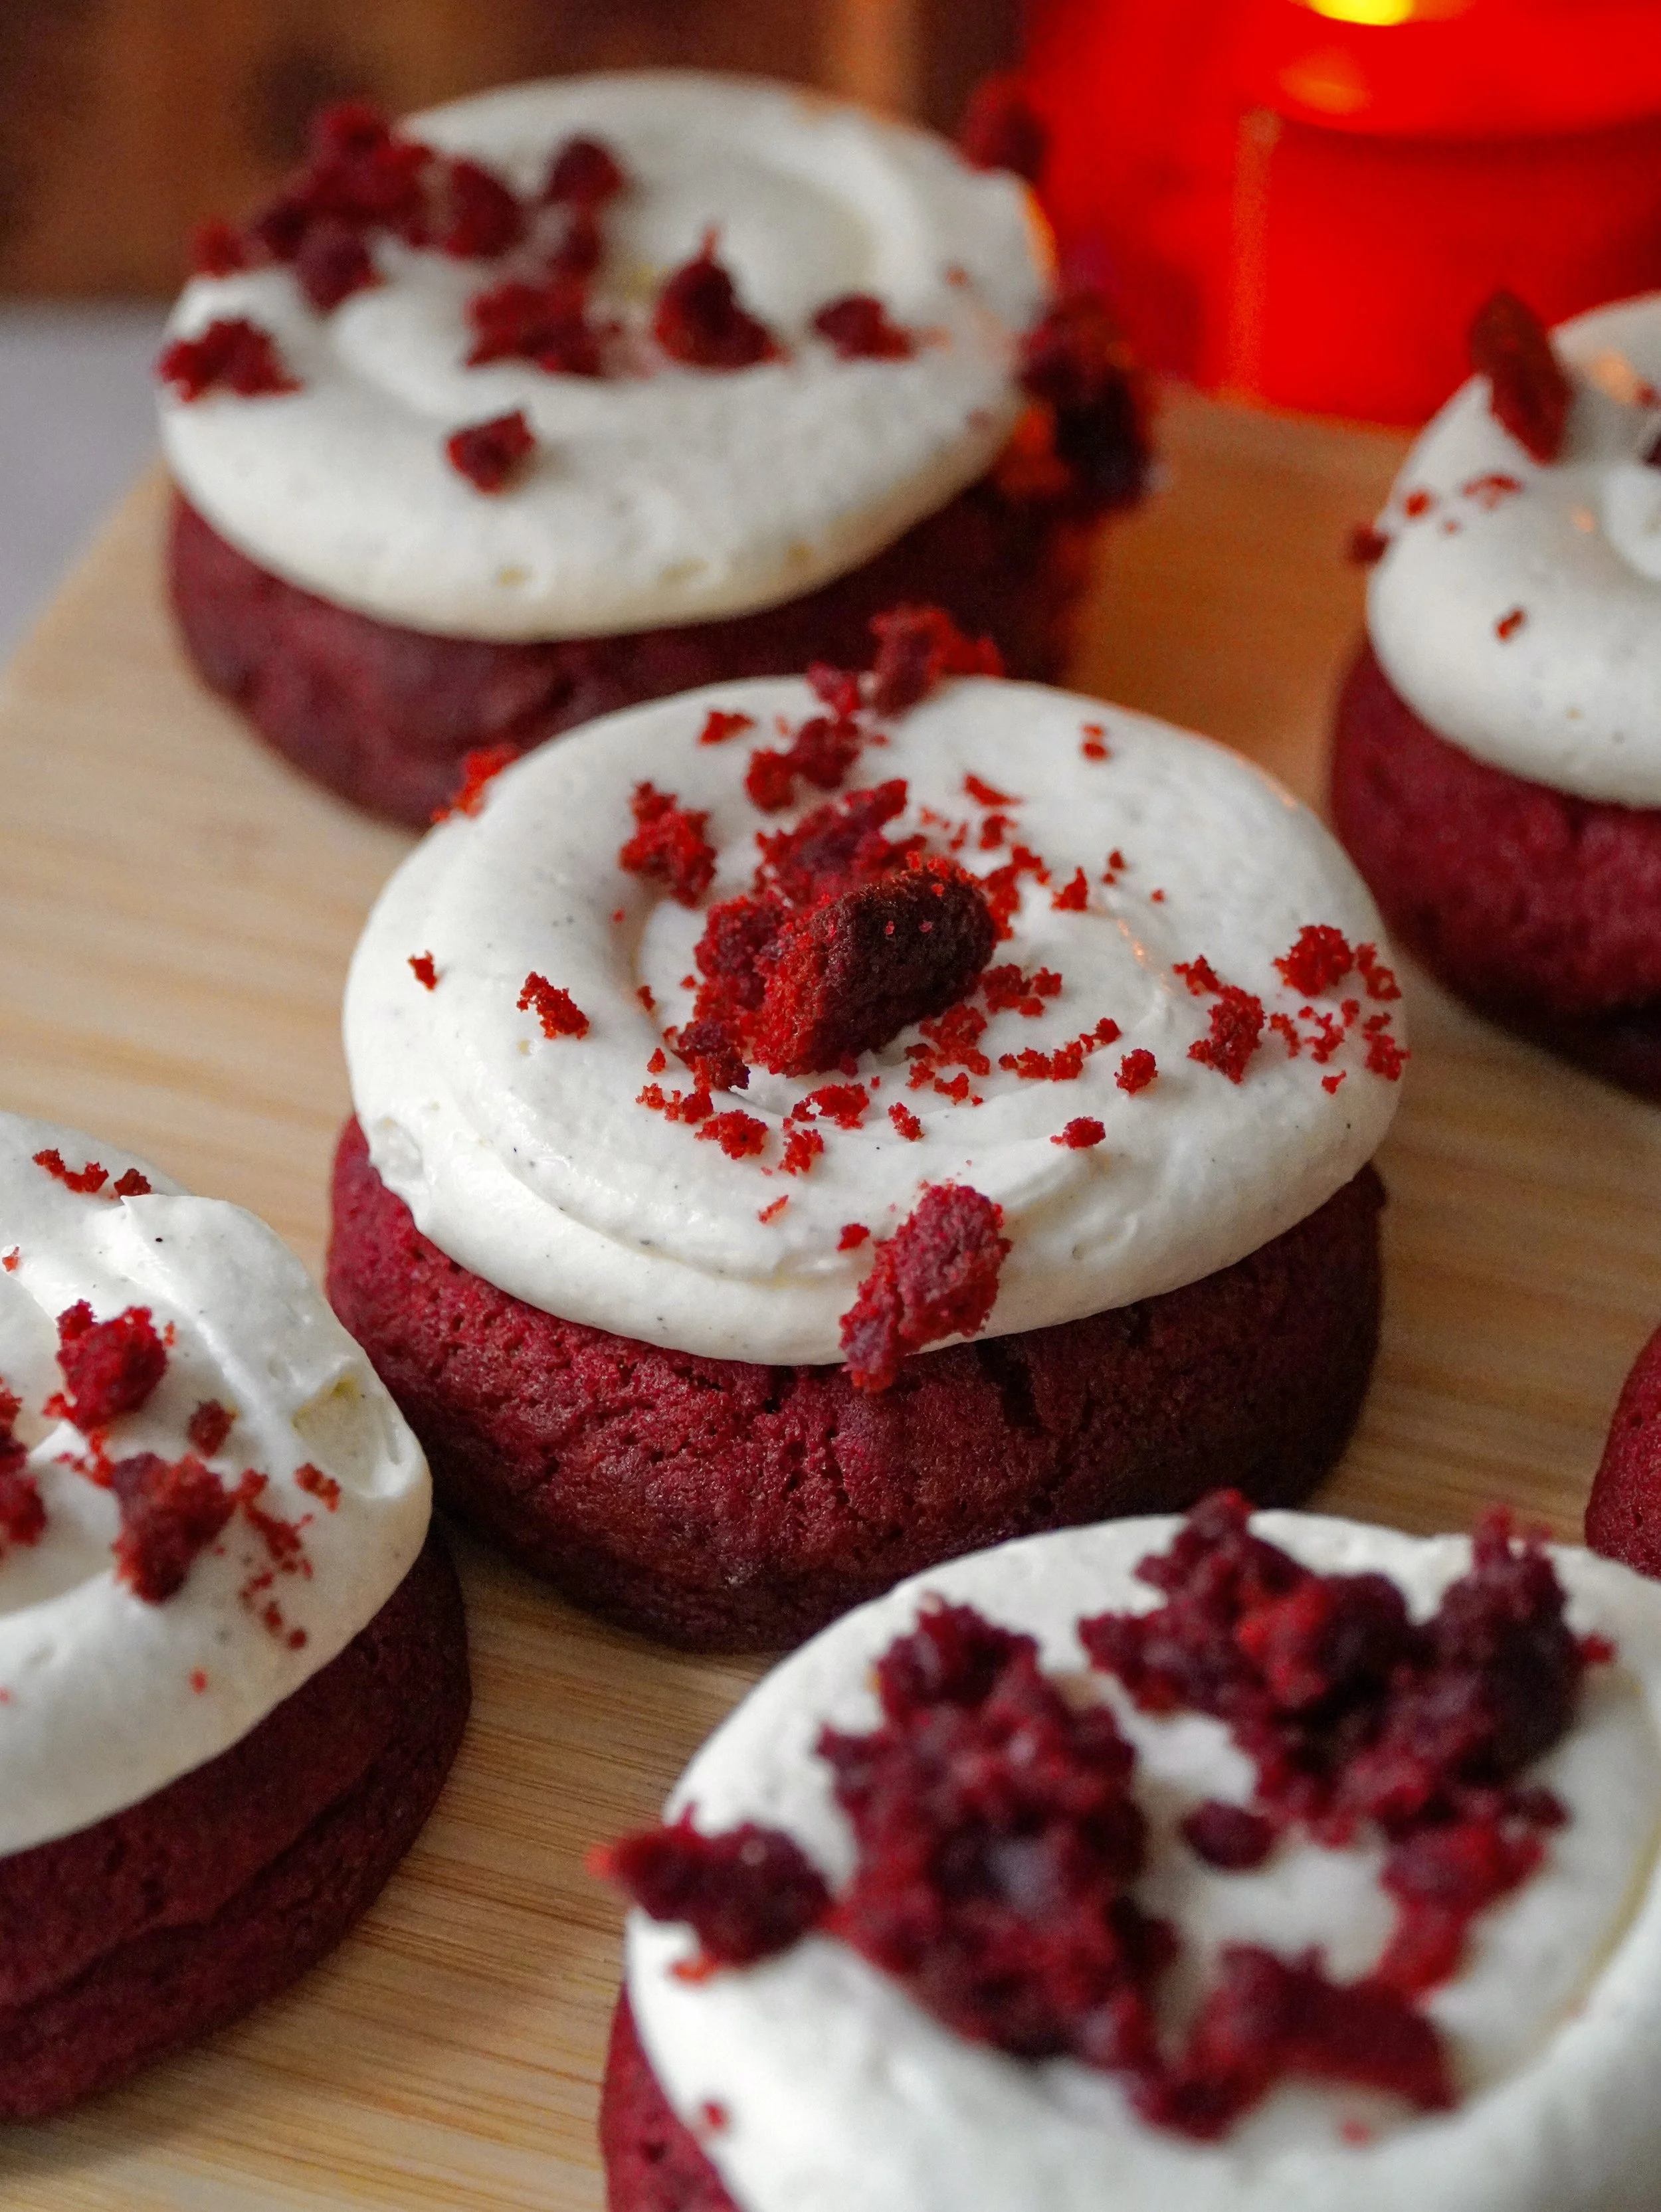
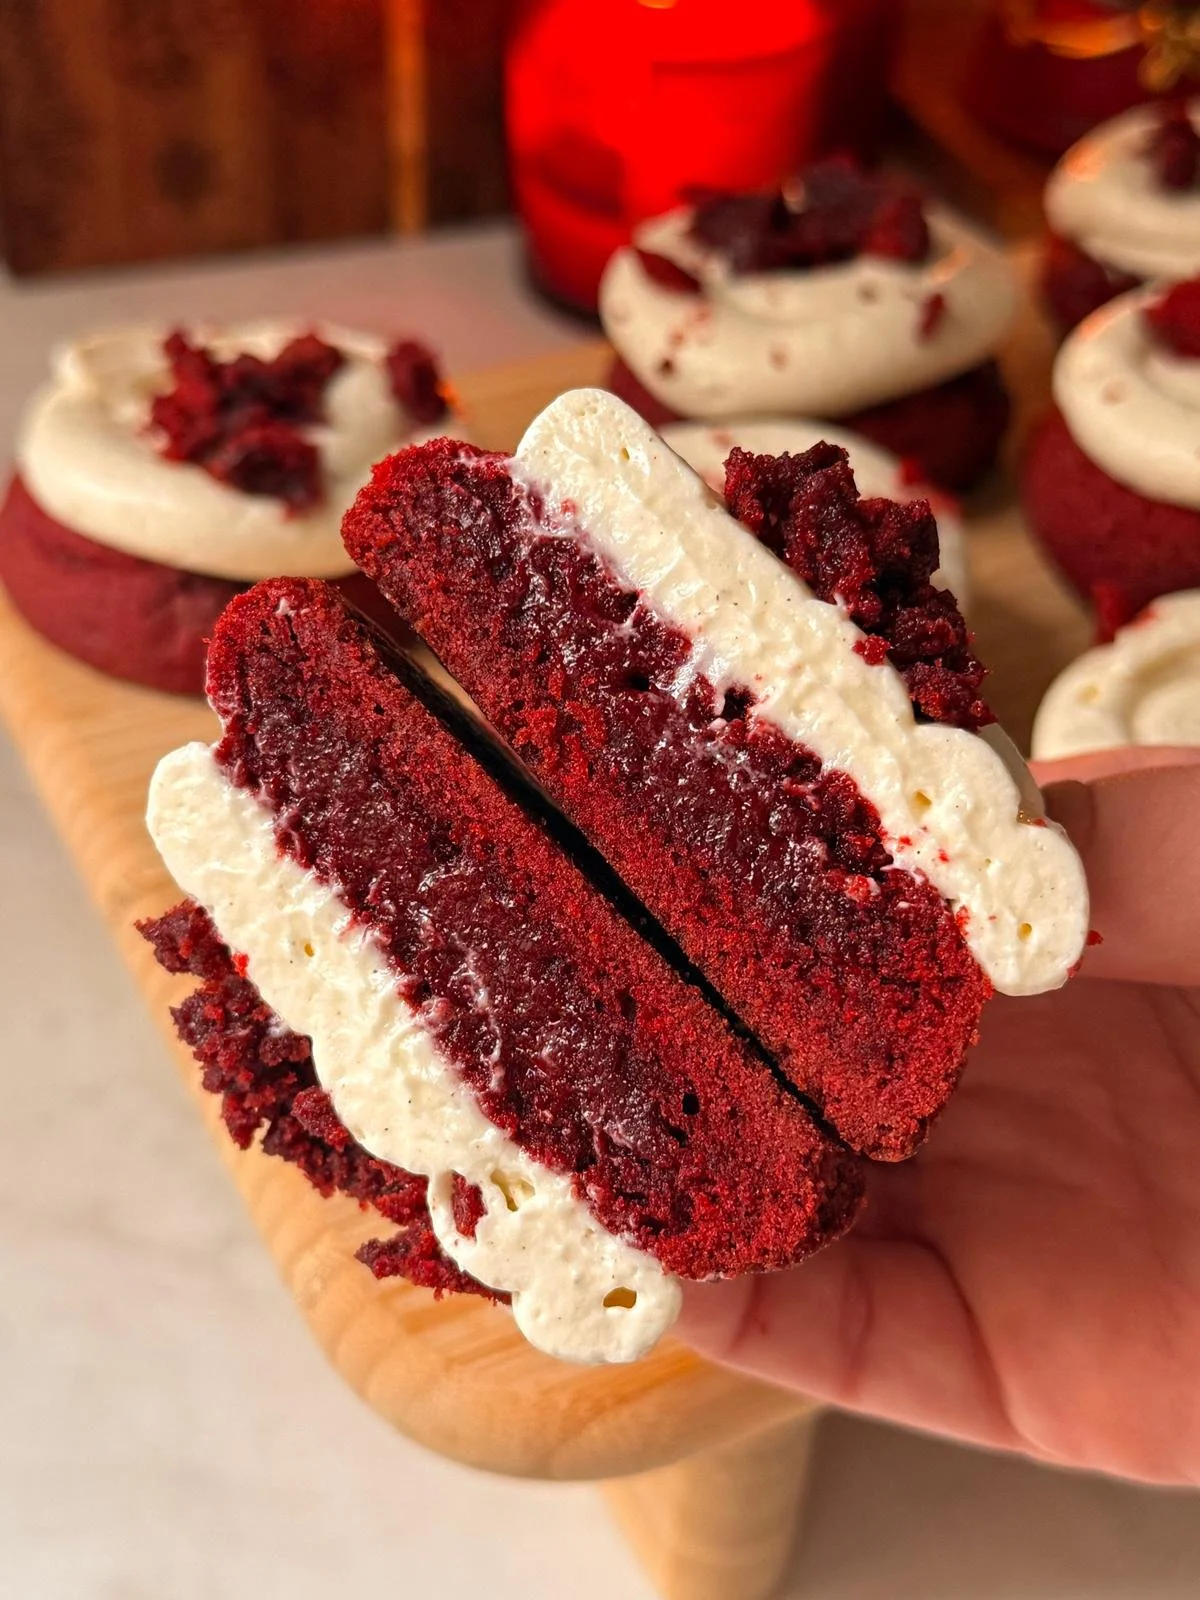
These Red Velvet Cookies are soft, slightly fudgy and topped with a creamy Cream Cheese Frosting. I love how festive they feel and they’re perfect holiday season.
I made these Red Velvet Cookies as episode two of my “Cozy Christmas Bakes” series and they turned out so good! Originally I wanted to make Red Velvet Cheesecake Cookies, meaning Red Velvet Cookies stuffed with Cream Cheese. But as I worked on them, I realized they didn’t look as festive and there are a few challenges with the stuffed version.
First of all, the Cream Cheese melts extremely fast, no matter how long you freeze it, so you have to work really quickly. Second, it can be tricky to wrap and seal the dough around the filling, especially if the Cream Cheese is already melting.
That’s why I decided to make regular, thick Red Velvet Cookies and top them with Cream Cheese Frosting instead. This version is easier, perfect for beginners and still super tasty. These Cookies are great for Christmas, the Holiday Season or even Valentine’s Day! I hope you give them a try.
WHY YOU’LL LOVE THIS RECIPE
❤️ Thick and soft texture that holds the frosting well.
❤️ Cream cheese frosting adds a tangy, creamy touch.
❤️ Perfect balance of sweetness without being too rich.
❤️ Easy for beginners.
❤️ Festive red color for holidays or Valentine’s Day.
❤️ Quick to make with simple ingredients.
❤️ Keeps well for a few days in an airtight container.
❤️ Great for gifting or sharing with friends and family.
❤️ Cozy, comforting dessert.
Notes, tips and tricks
→ Do not overmix - Mix the dough just until everything is combined. Overmixing can make the cookies dense and cakey instead of soft and tender.
→ Try not to overbake - Keep an eye on them while baking. The edges should be set but the centers still soft. They continue to cook a little as they cool, so removing them at the right time keeps them slightly fudgy.
→ Let the cookies cool before frosting - If the cookies are still warm, the frosting will melt and slide off. Let them cool completely so the frosting stays neat and creamy.
→ Freeze the cookies before baking - Chilling the shaped dough for about 30 minutes helps the cookies hold their shape and prevents spreading too much in the oven.
Frequently asked questions
1. How should I store these cookies?
Store them in an airtight container in the fridge because of the cream cheese frosting.
2. How long do they stay fresh?
They’re best within 2-3 days.
3. Why did my cookies turn out cakey instead of fudgy?
This usually happens from overmixing the dough. Mix just until combined to keep the texture soft and fudgy.
4. Why are my cookies dry?
They were likely overbaked. Even a few extra minutes can dry them out, so keep an eye on them toward the end.
5. Why did my cookies spread and turn into a puddle?
Freezing the dough before baking is a must. It helps the cookies hold their shape. Also, make sure to leave enough space between each cookie on the baking tray.
6. What kind of cream cheese did you use?
I used Philadelphia cream cheese for the frosting.
7. Why are your cookies so fudgy in the center?
I slightly underbaked them. This keeps the centers soft and gives them that fudgy texture once cooled.
8. Can I skip the vinegar?
Yes, but it does affect the texture and flavor a bit. The cookies won’t be quite the same without it.
9. Can I make the dough ahead of time?
Yes. You can prepare the dough and refrigerate it for up to 24 hours before baking.
10. Can I freeze the cookie dough?
Yes. Scoop and freeze the dough balls, then bake straight from frozen, adding a minute or two to the bake time.
11. Can I make them smaller or bigger?
Yes. Just adjust the baking time depending on the size.
Ingredients you will need for this recipe
For the cookies
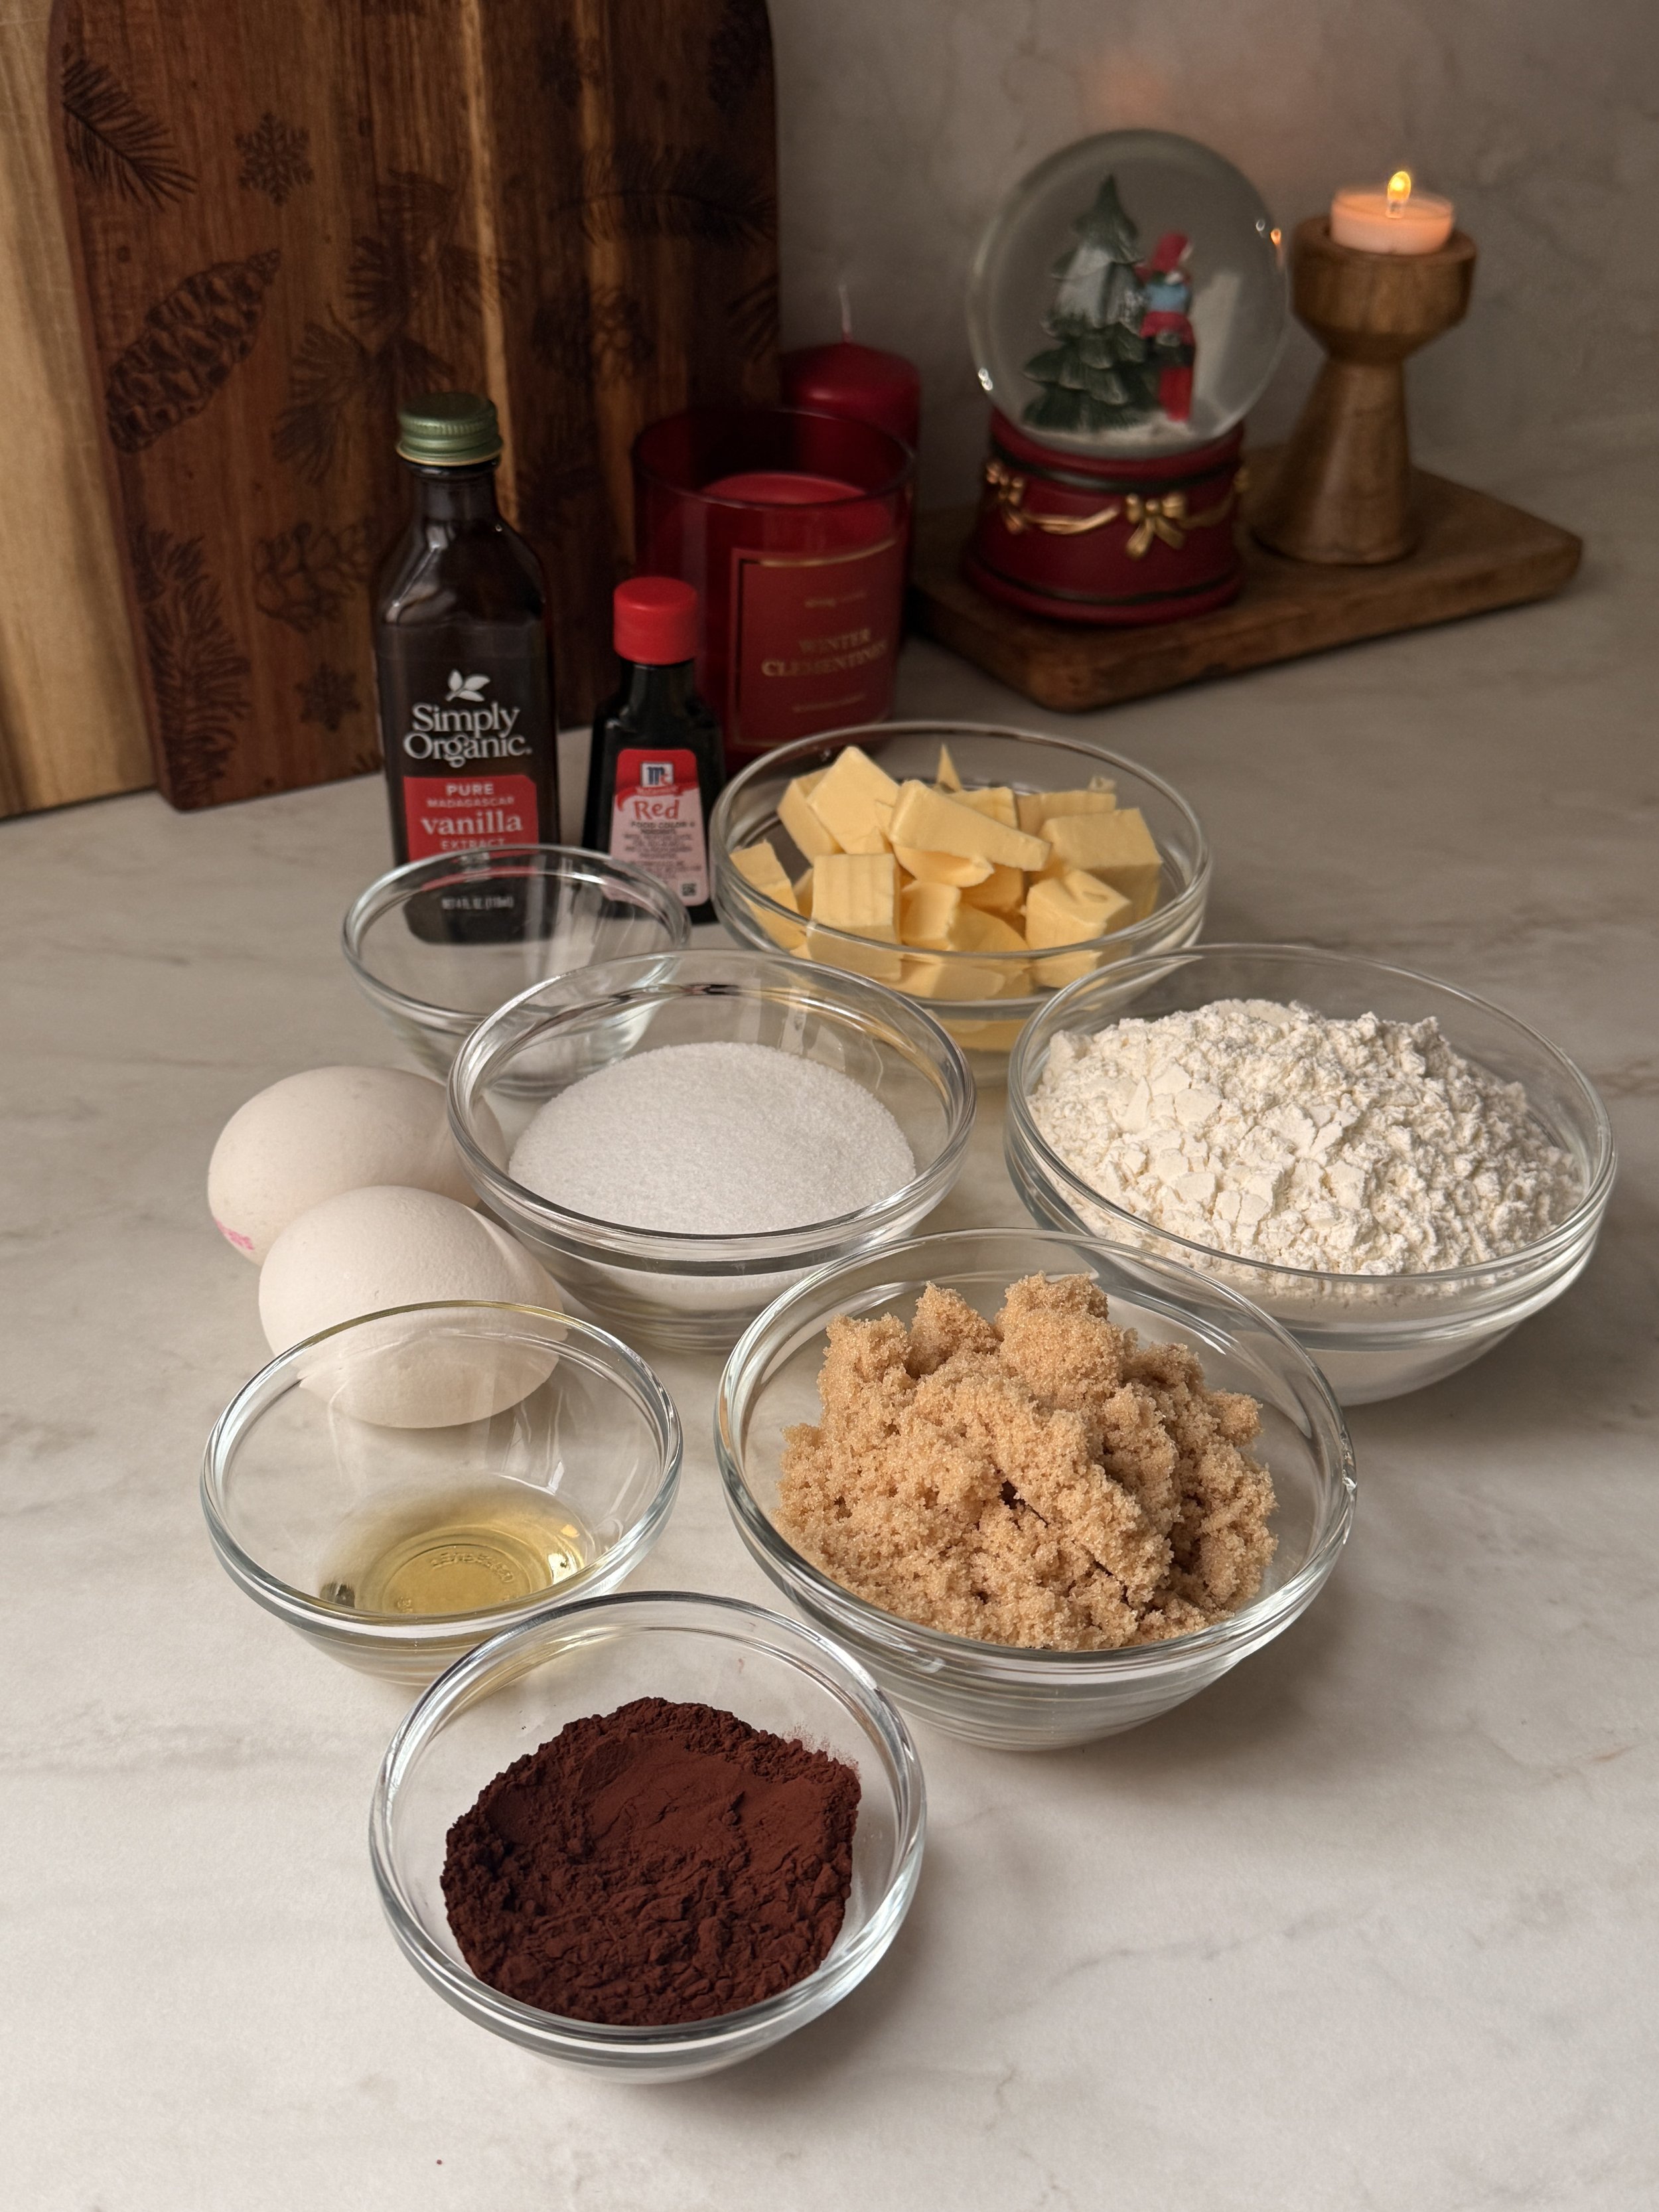
Butter: Make sure it’s softened, not melted.
Granulated sugar
Light brown sugar: Adds moisture and gives the cookies a deeper flavor. Dark brown sugar works too.
Vanilla extract: Vanilla bean paste works as well.
Vinegar (white wine or apple cider): Helps activate the baking soda and gives classic Red Velvet flavor.
Red food coloring: Gives the cookies their Red Velvet look.
Egg + egg yolk: The egg binds everything together, while the extra yolk adds richness and makes the cookies fudgier.
All purpose flour: Gives structure to the cookies. Be careful not to overmix once it’s added.
Baking soda: Helps the cookies rise slightly and spread properly.
Cocoa powder: Adds that subtle chocolate flavor typical of Red Velvet.
For the frosting

Cream cheese: Creates a creamy, tangy frosting that pairs perfectly with Red Velvet.
Granulated sugar: Sweetens the frosting without making it too heavy.
Whipping cream: Lightens the frosting and makes it fluffy when whipped.
Vanilla extract or ground vanilla powder
Step by step instructions with photos
1. In a large bowl combine the softened butter with the granulated sugar and the light brown sugar.


2. Then mix in the egg, egg yolk and vanilla extract.
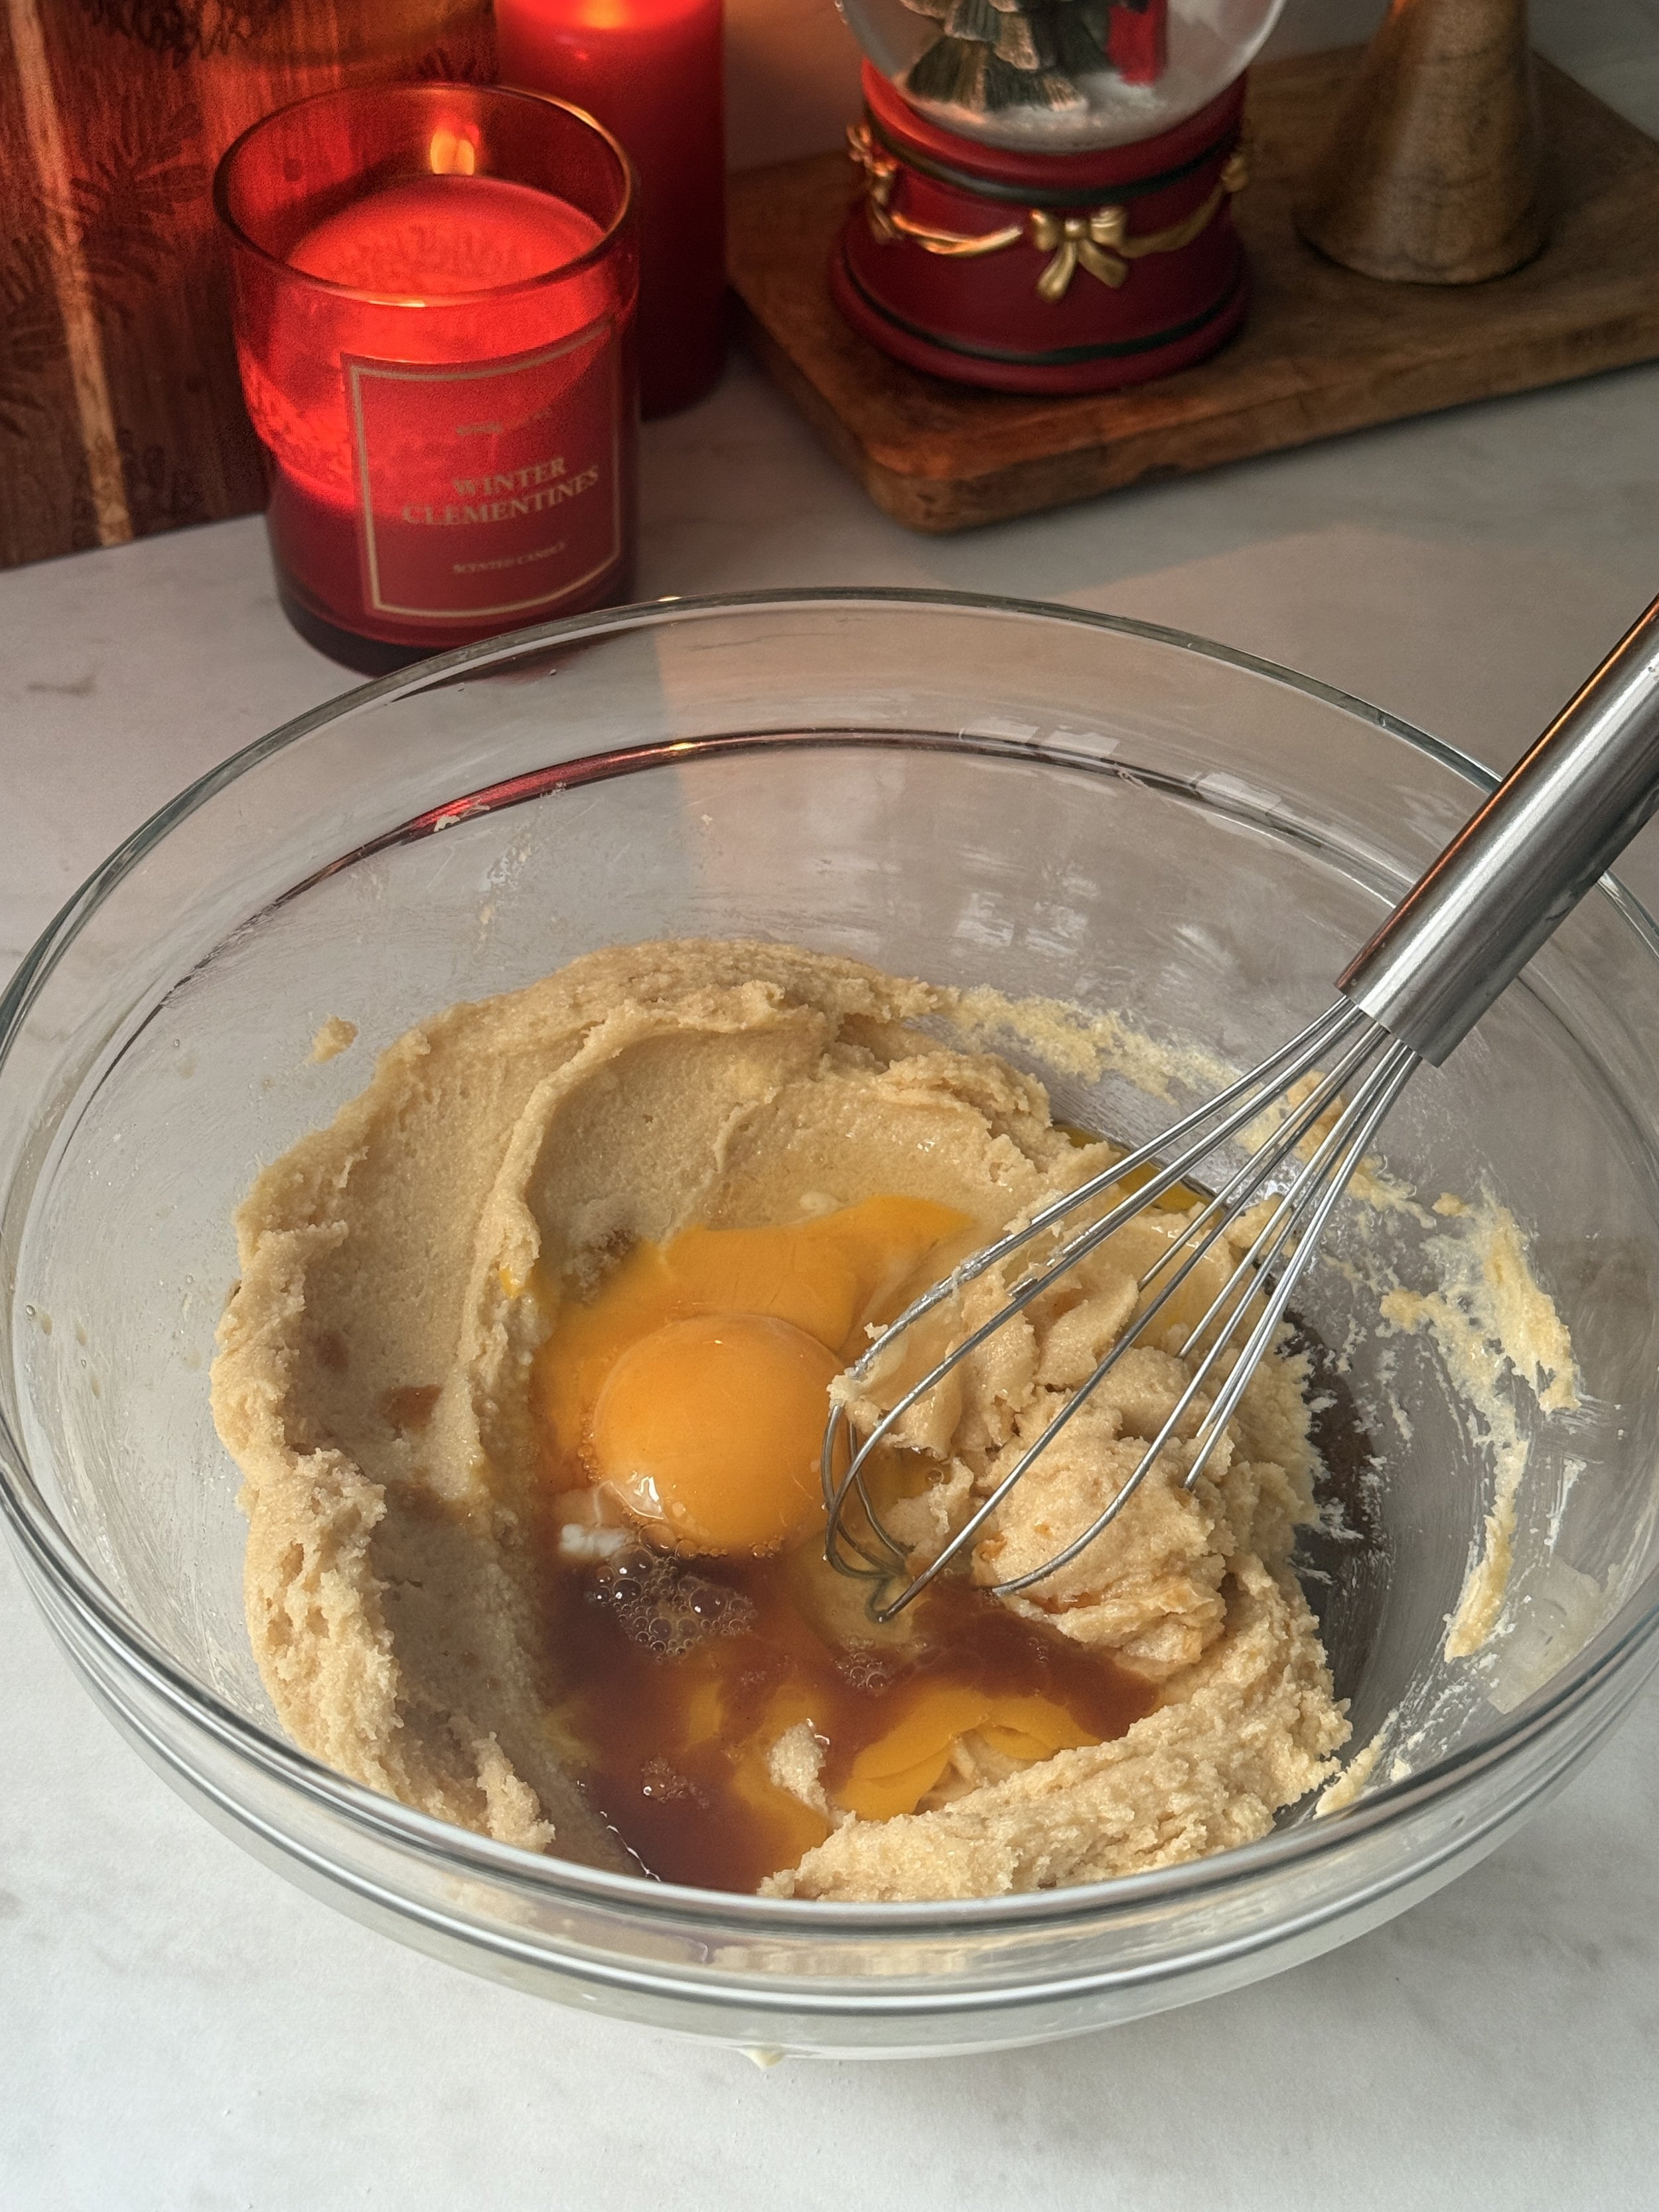

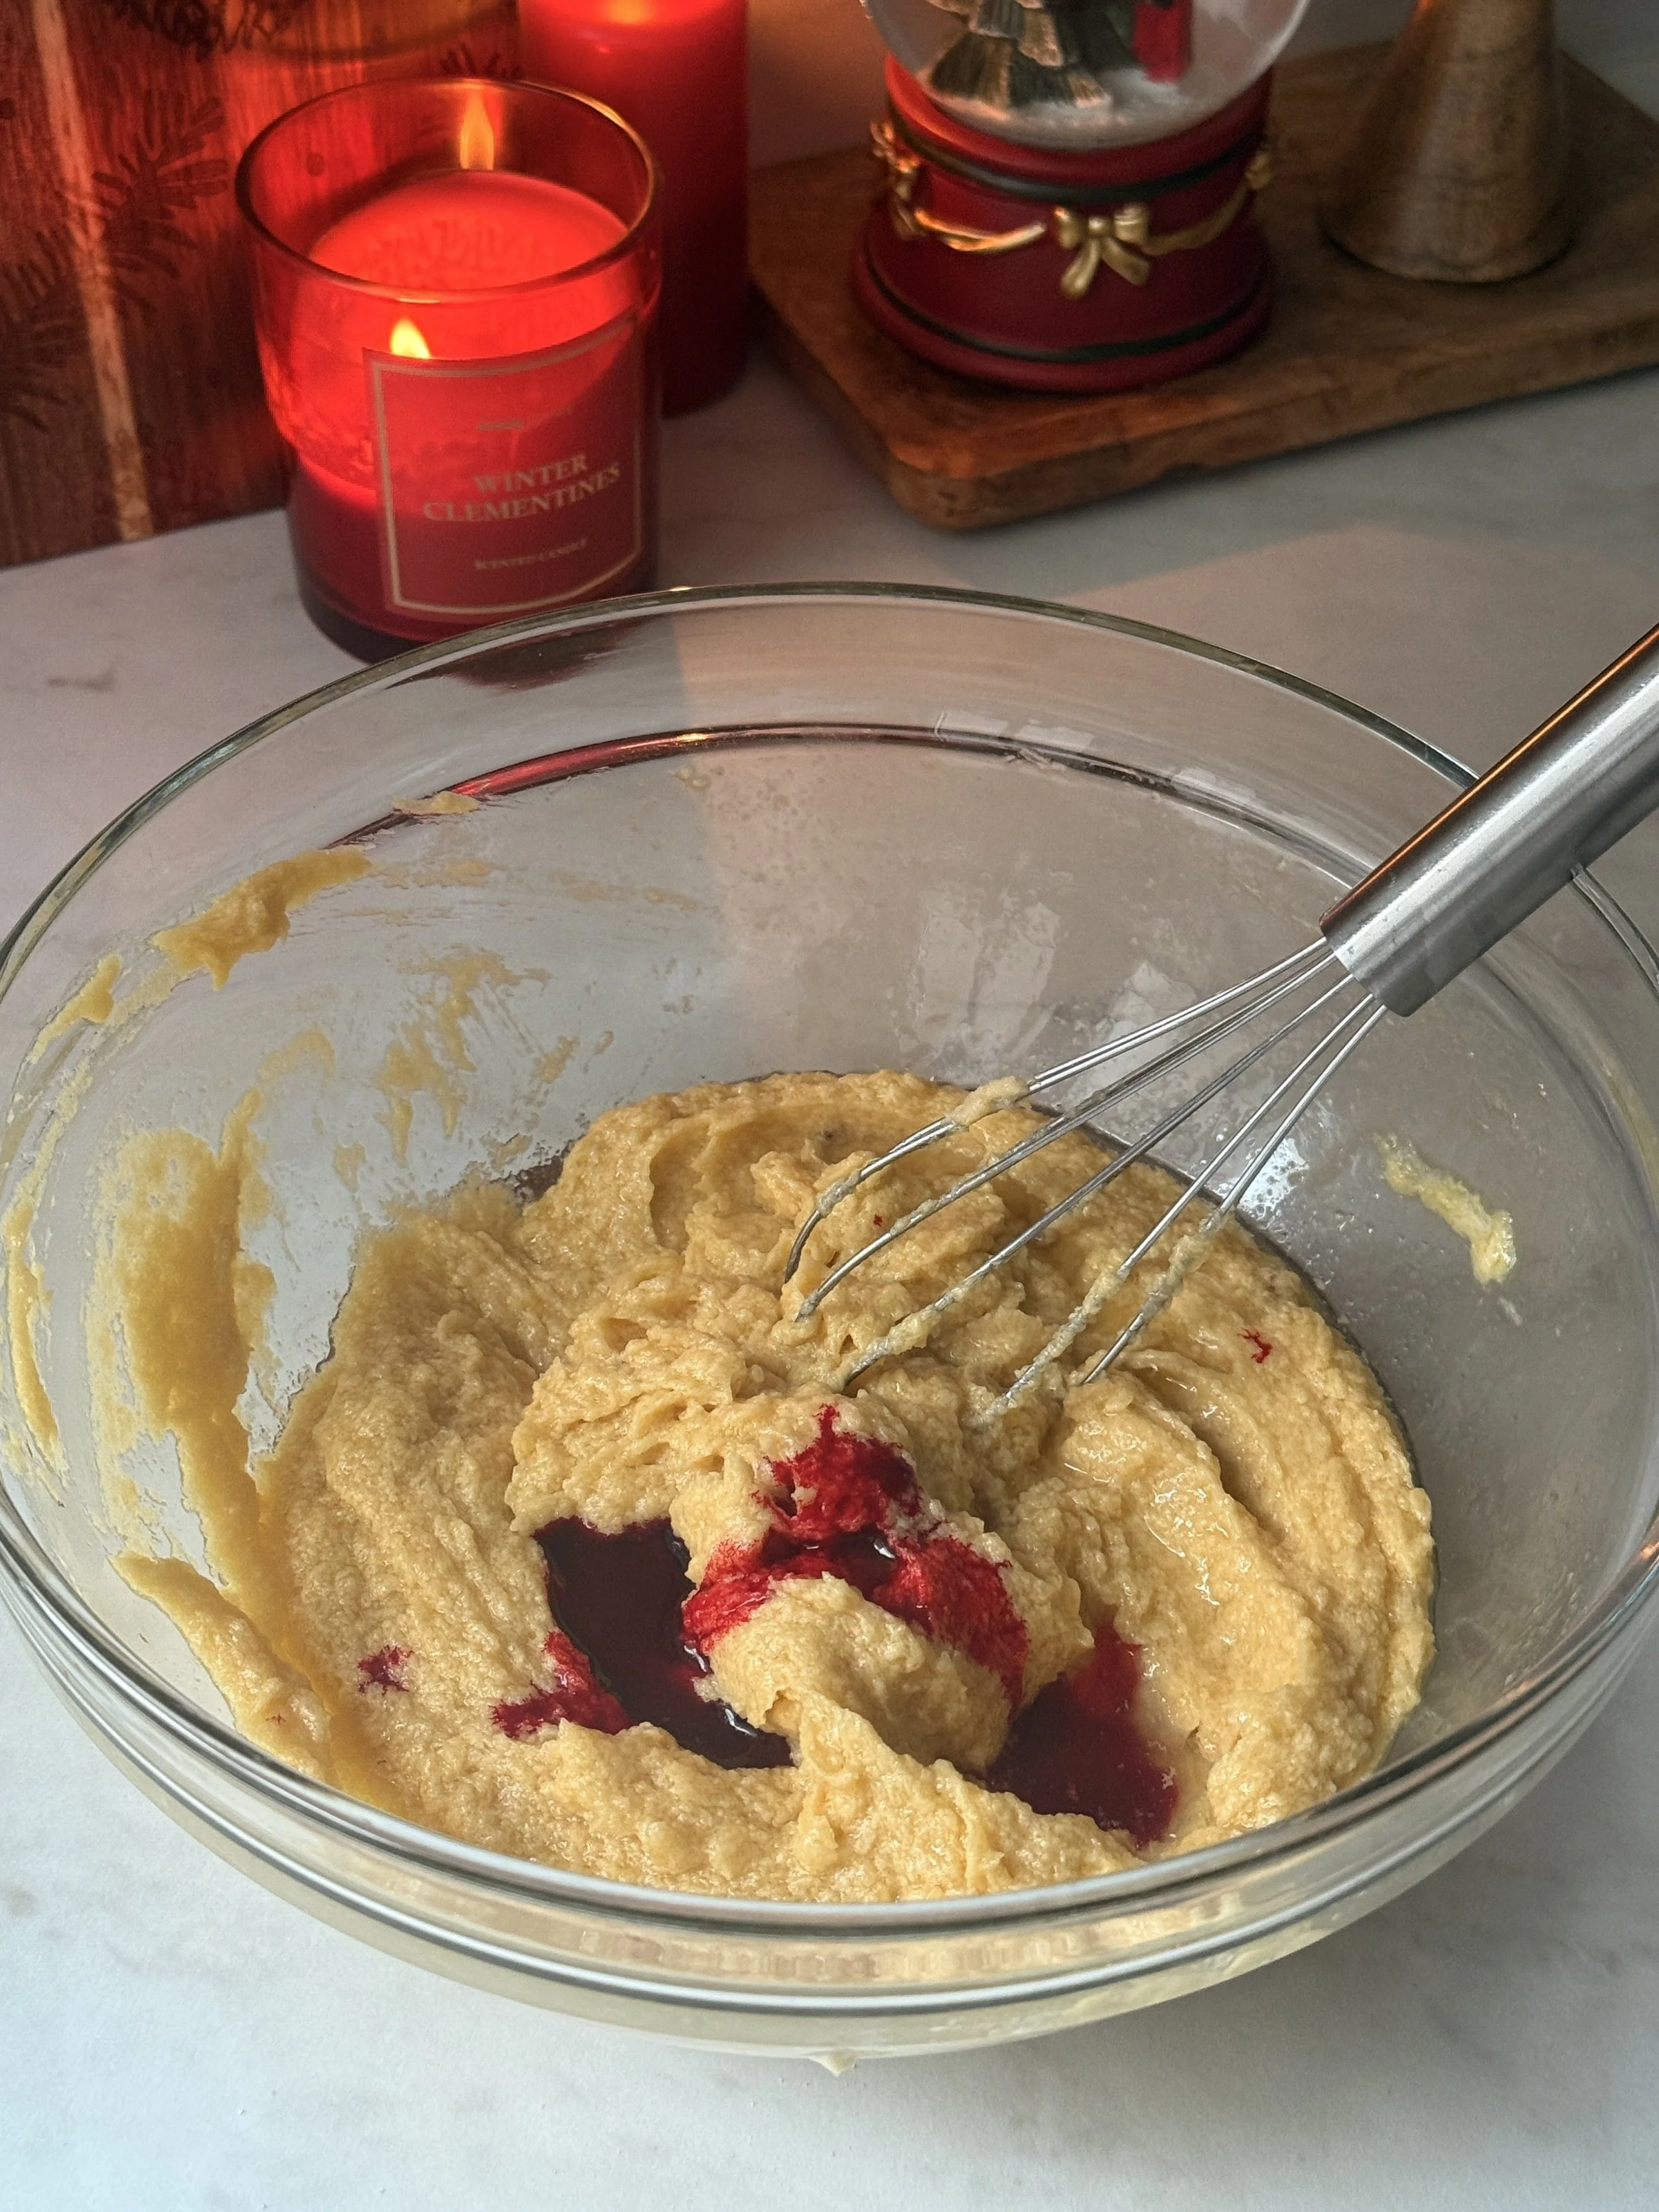
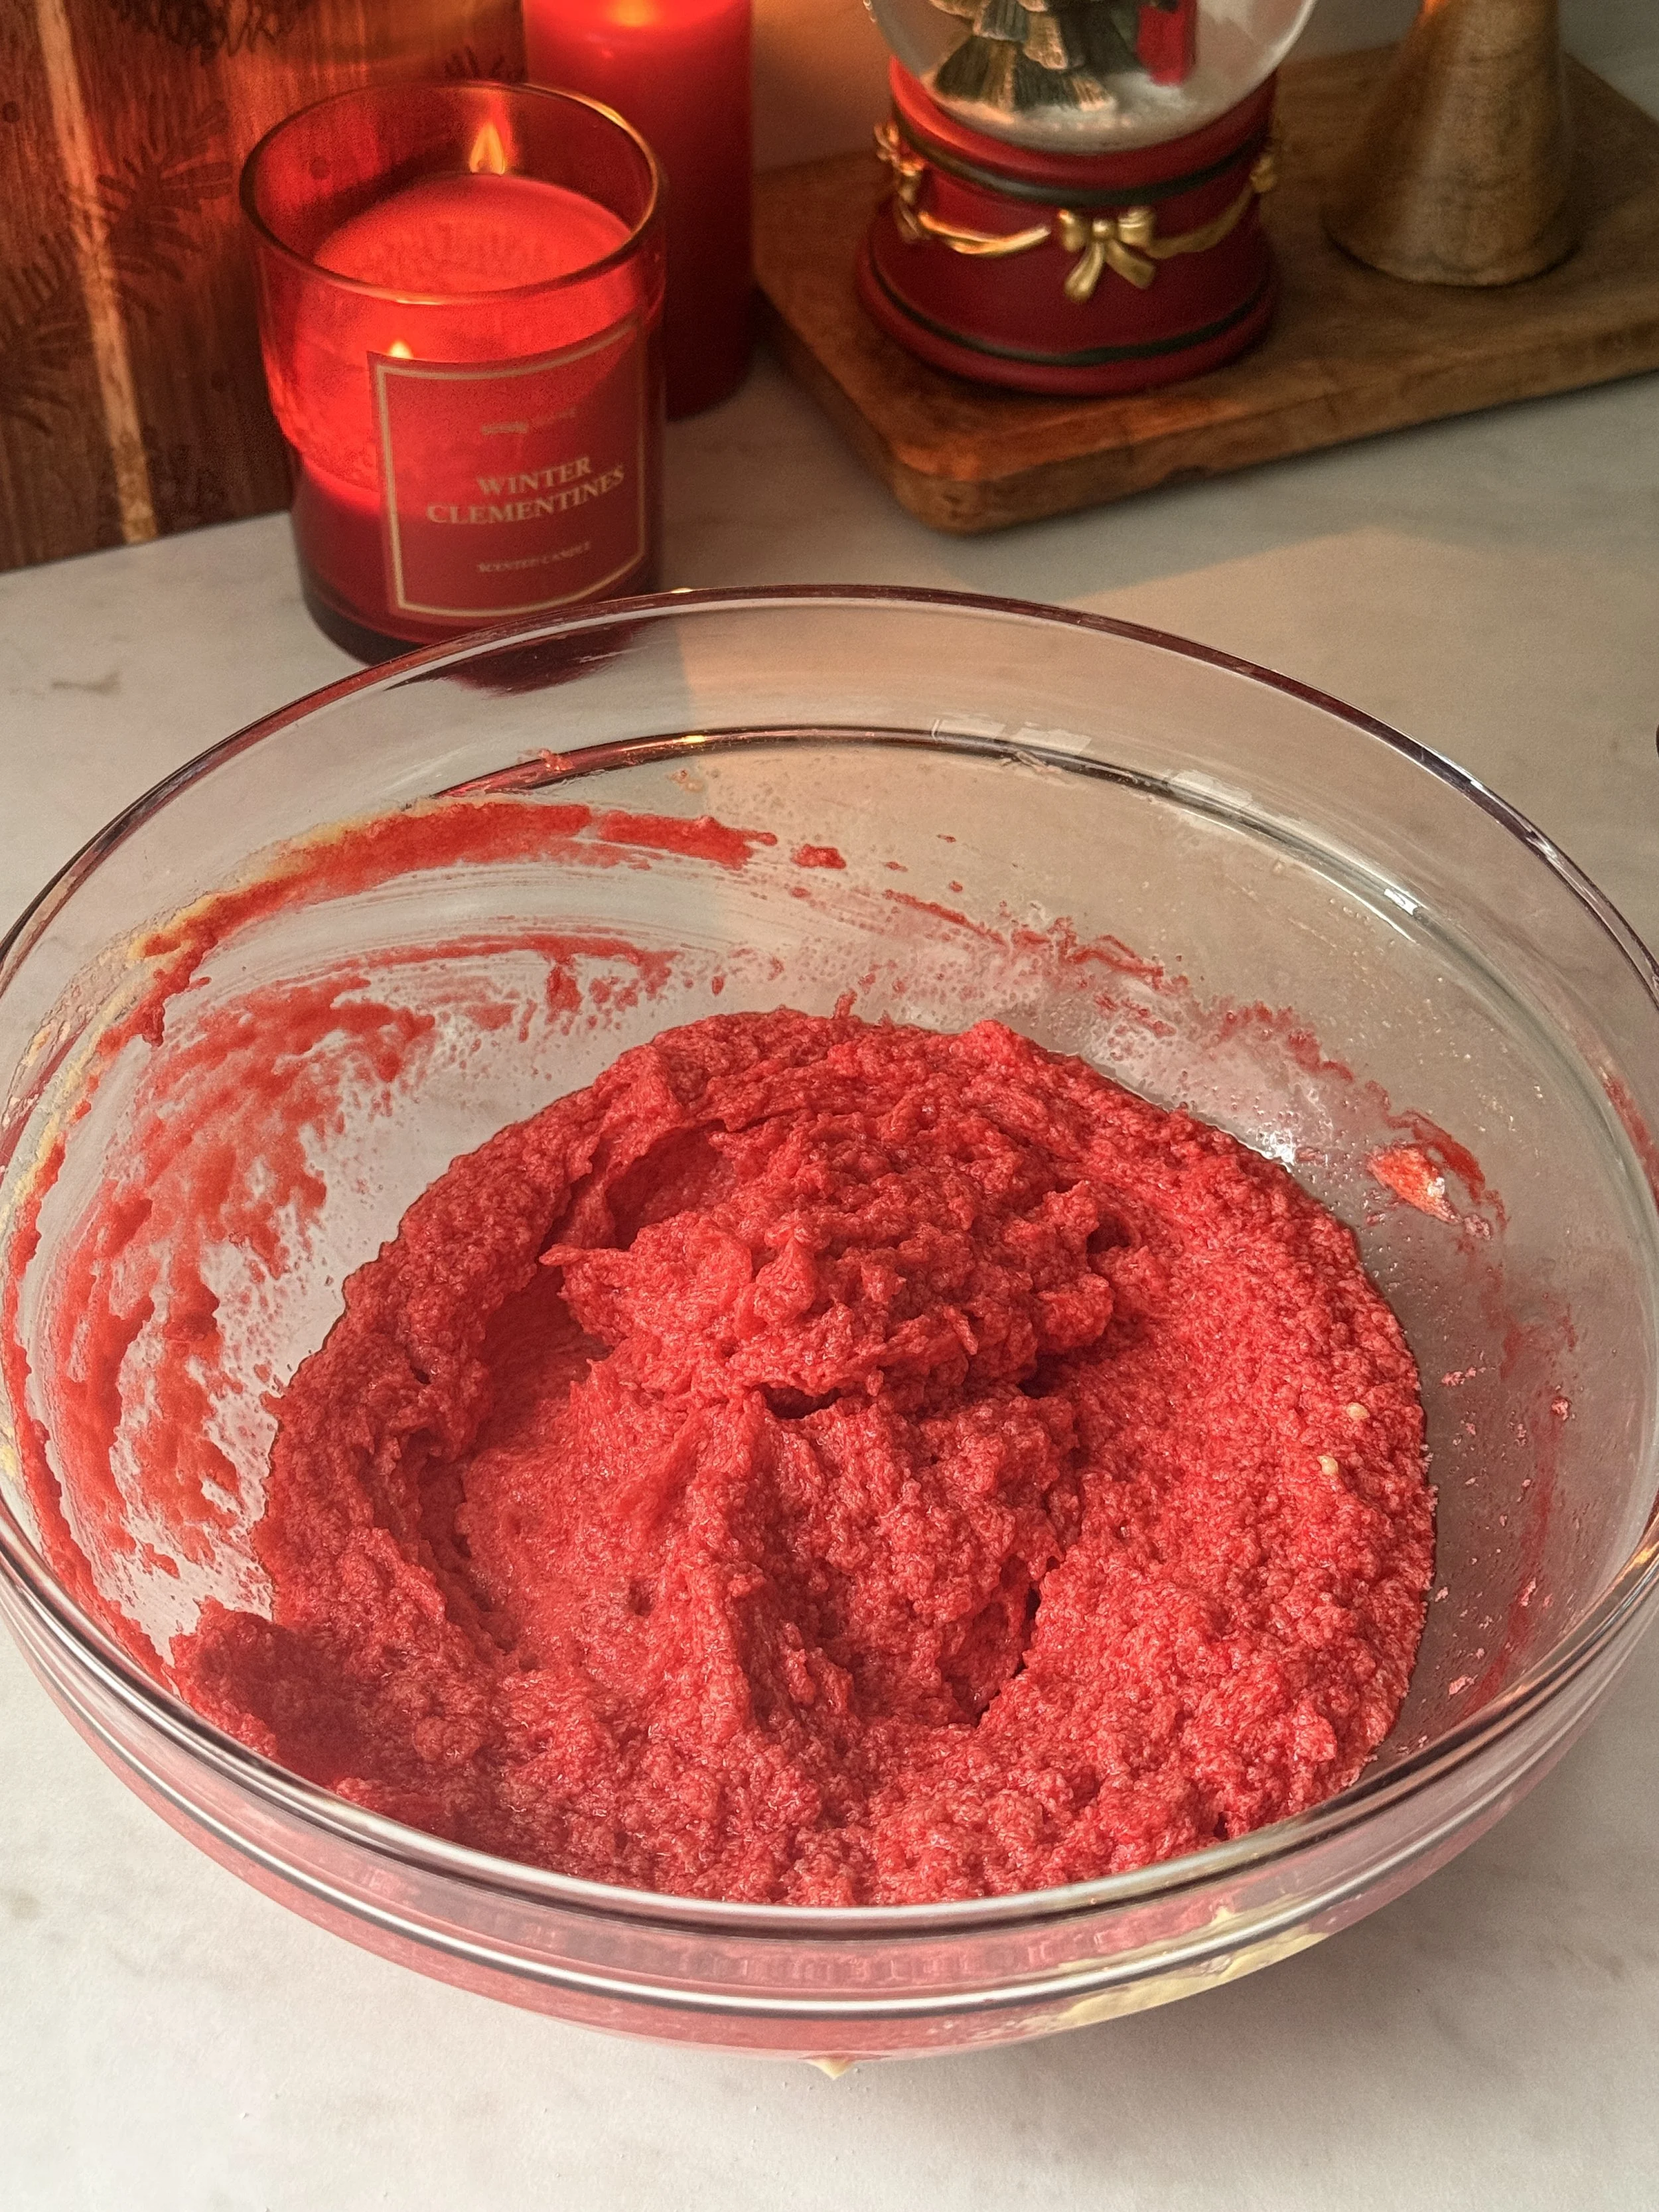
3. Next add the vinegar along with the red food coloring and mix until combined.
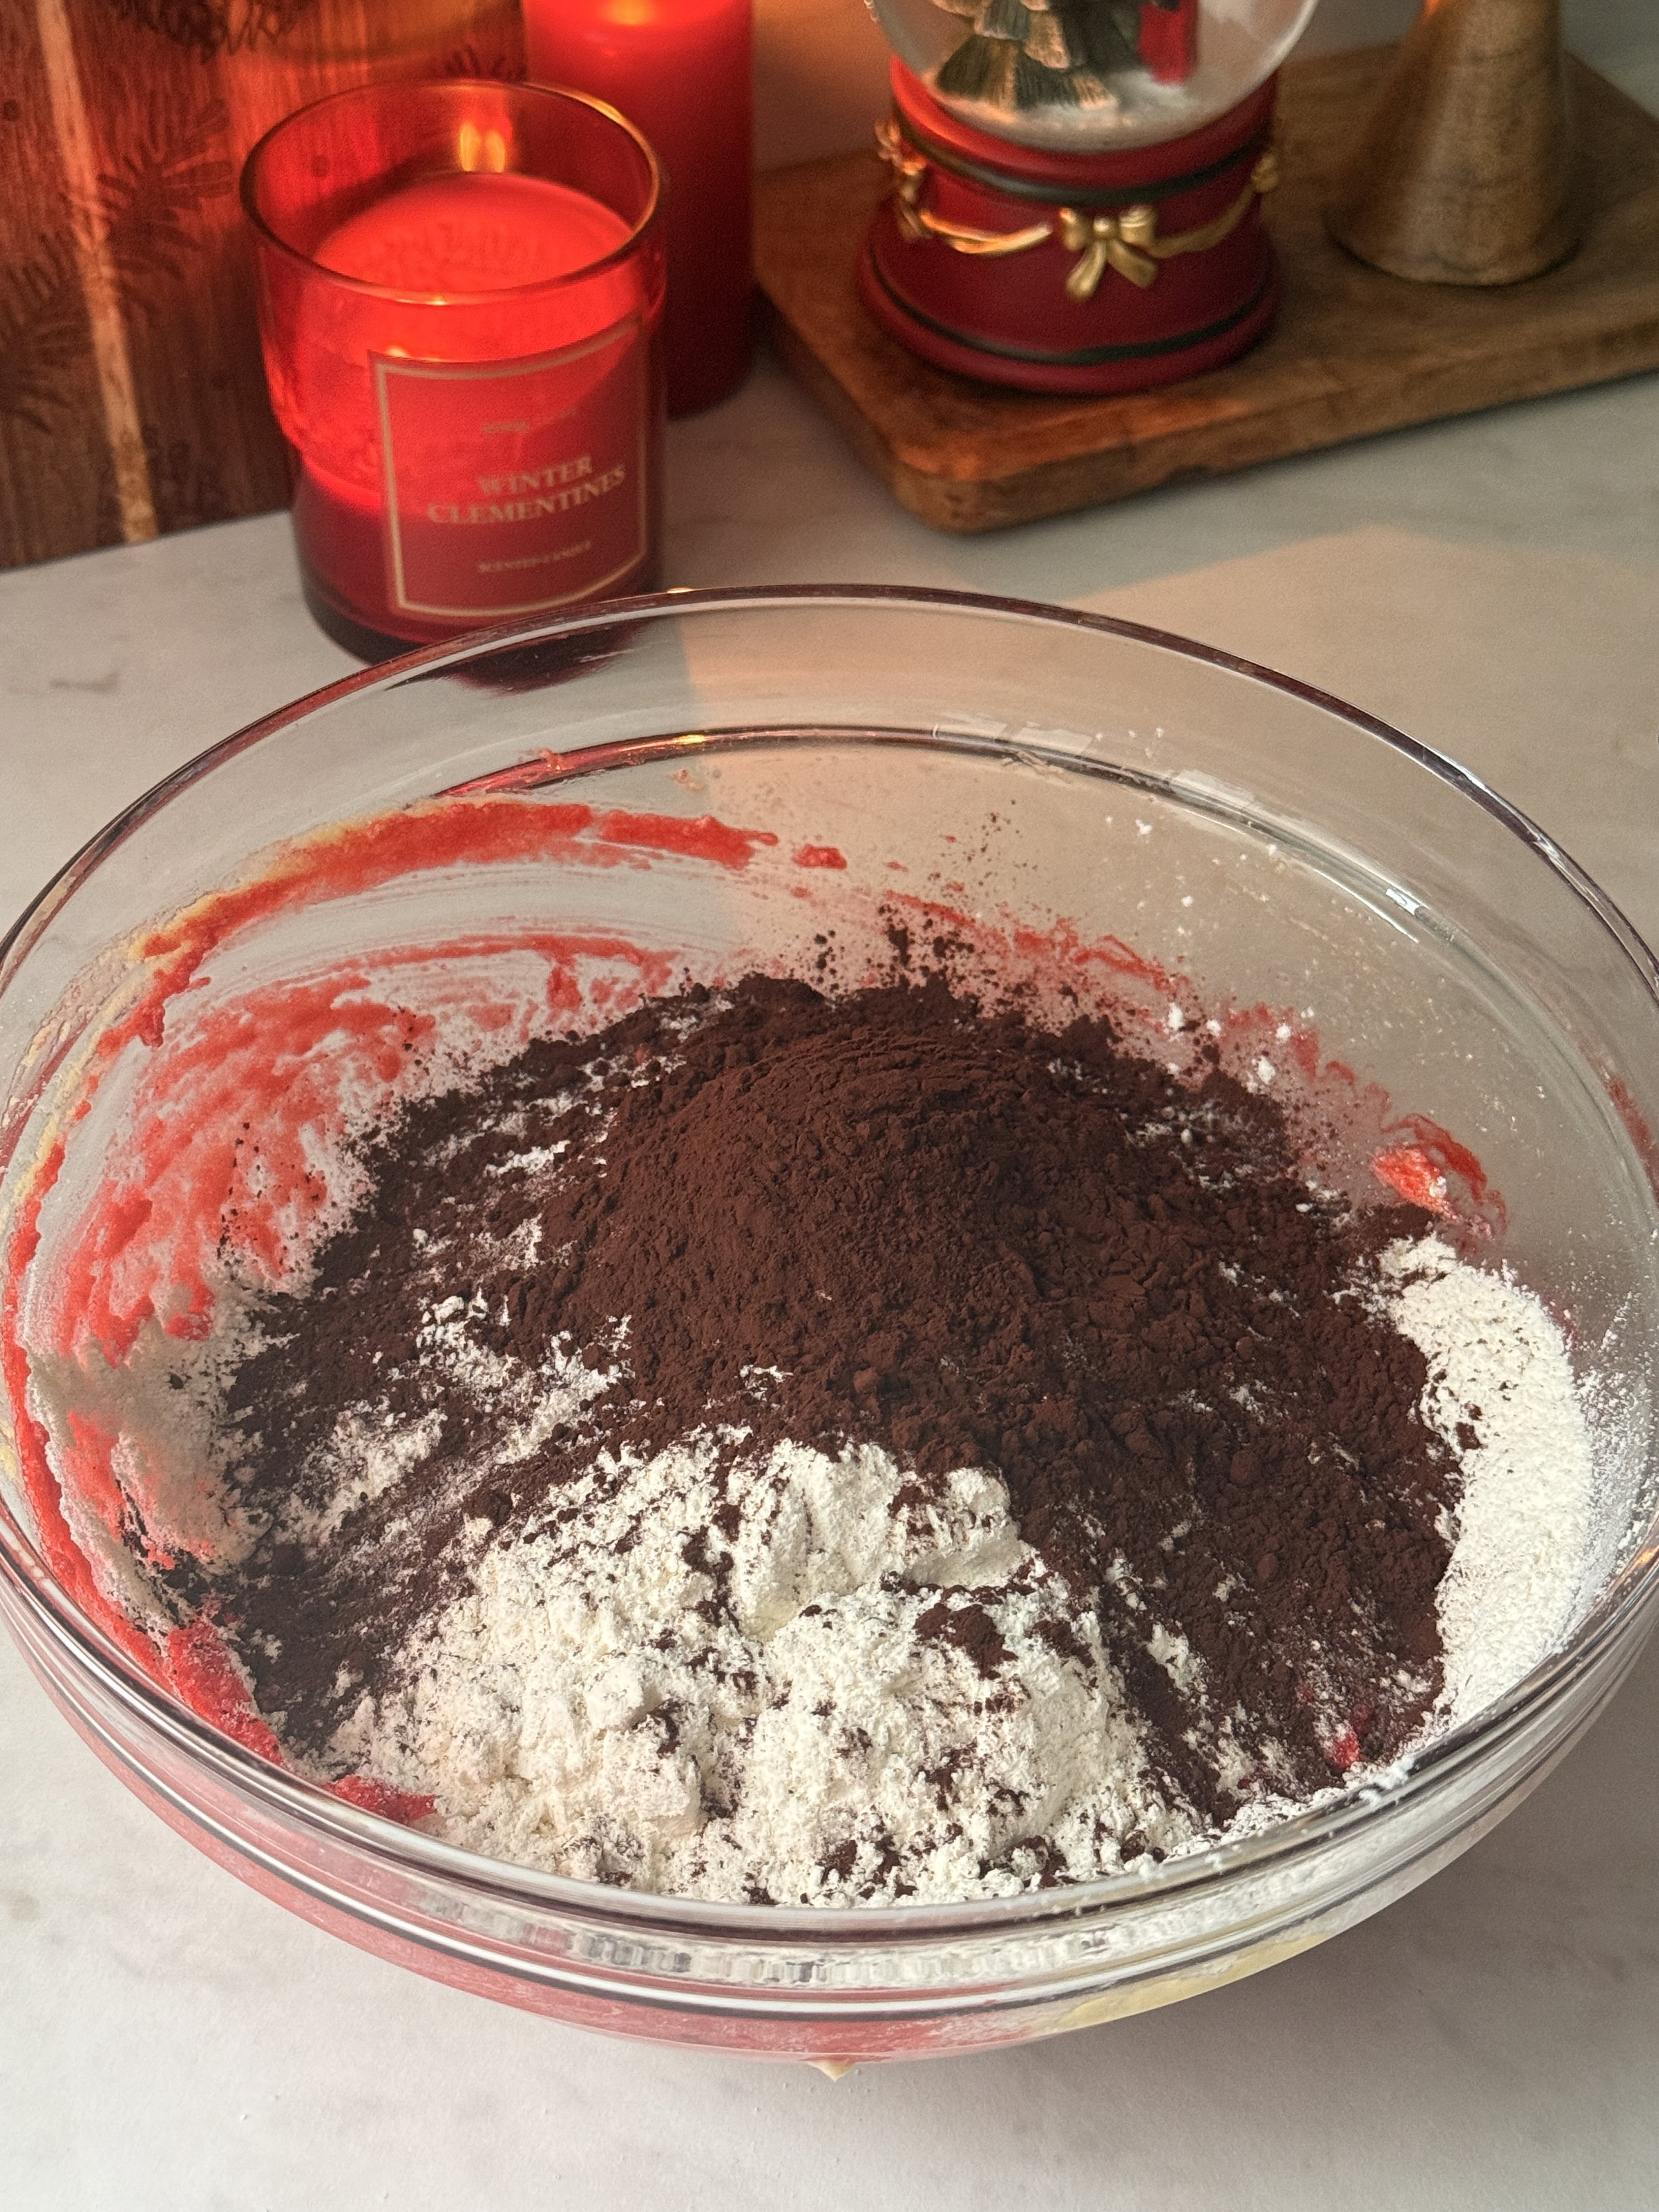
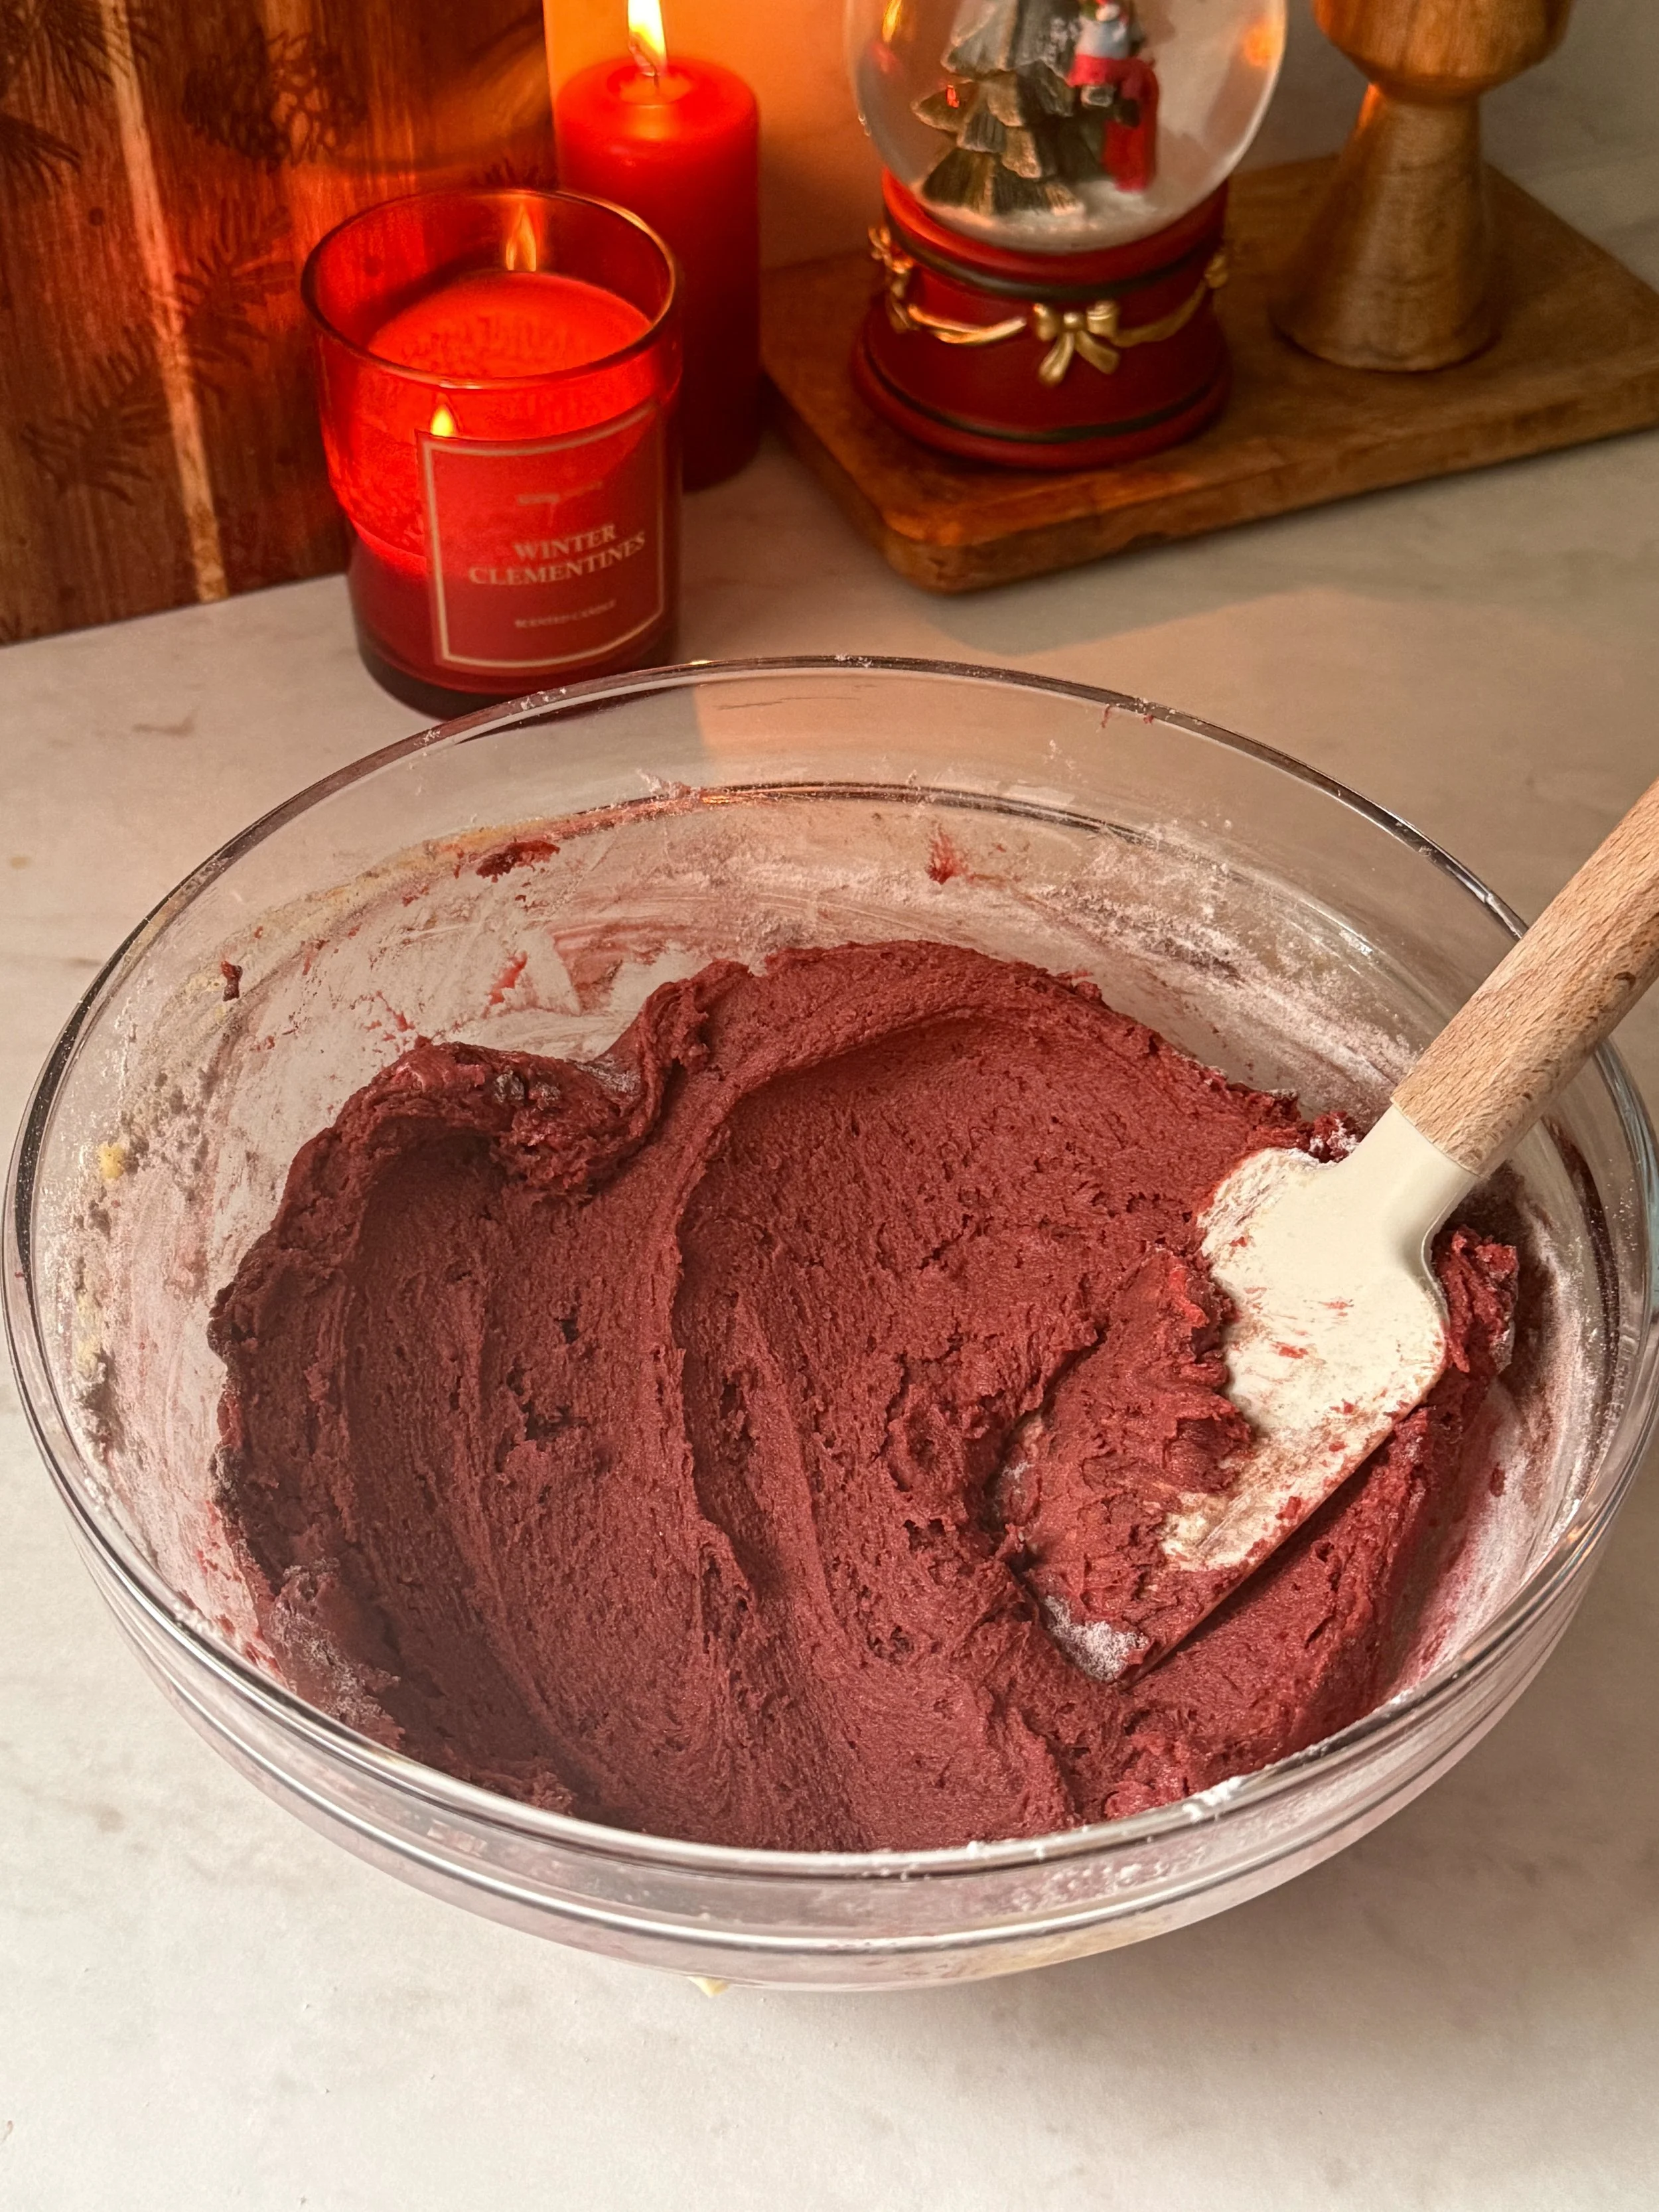
4. Lastly, add the baking soda, flour and cocoa powder. Fold until just combined.
5. Scoop out 10 equal cookies onto a baking tray lined with parchment paper.
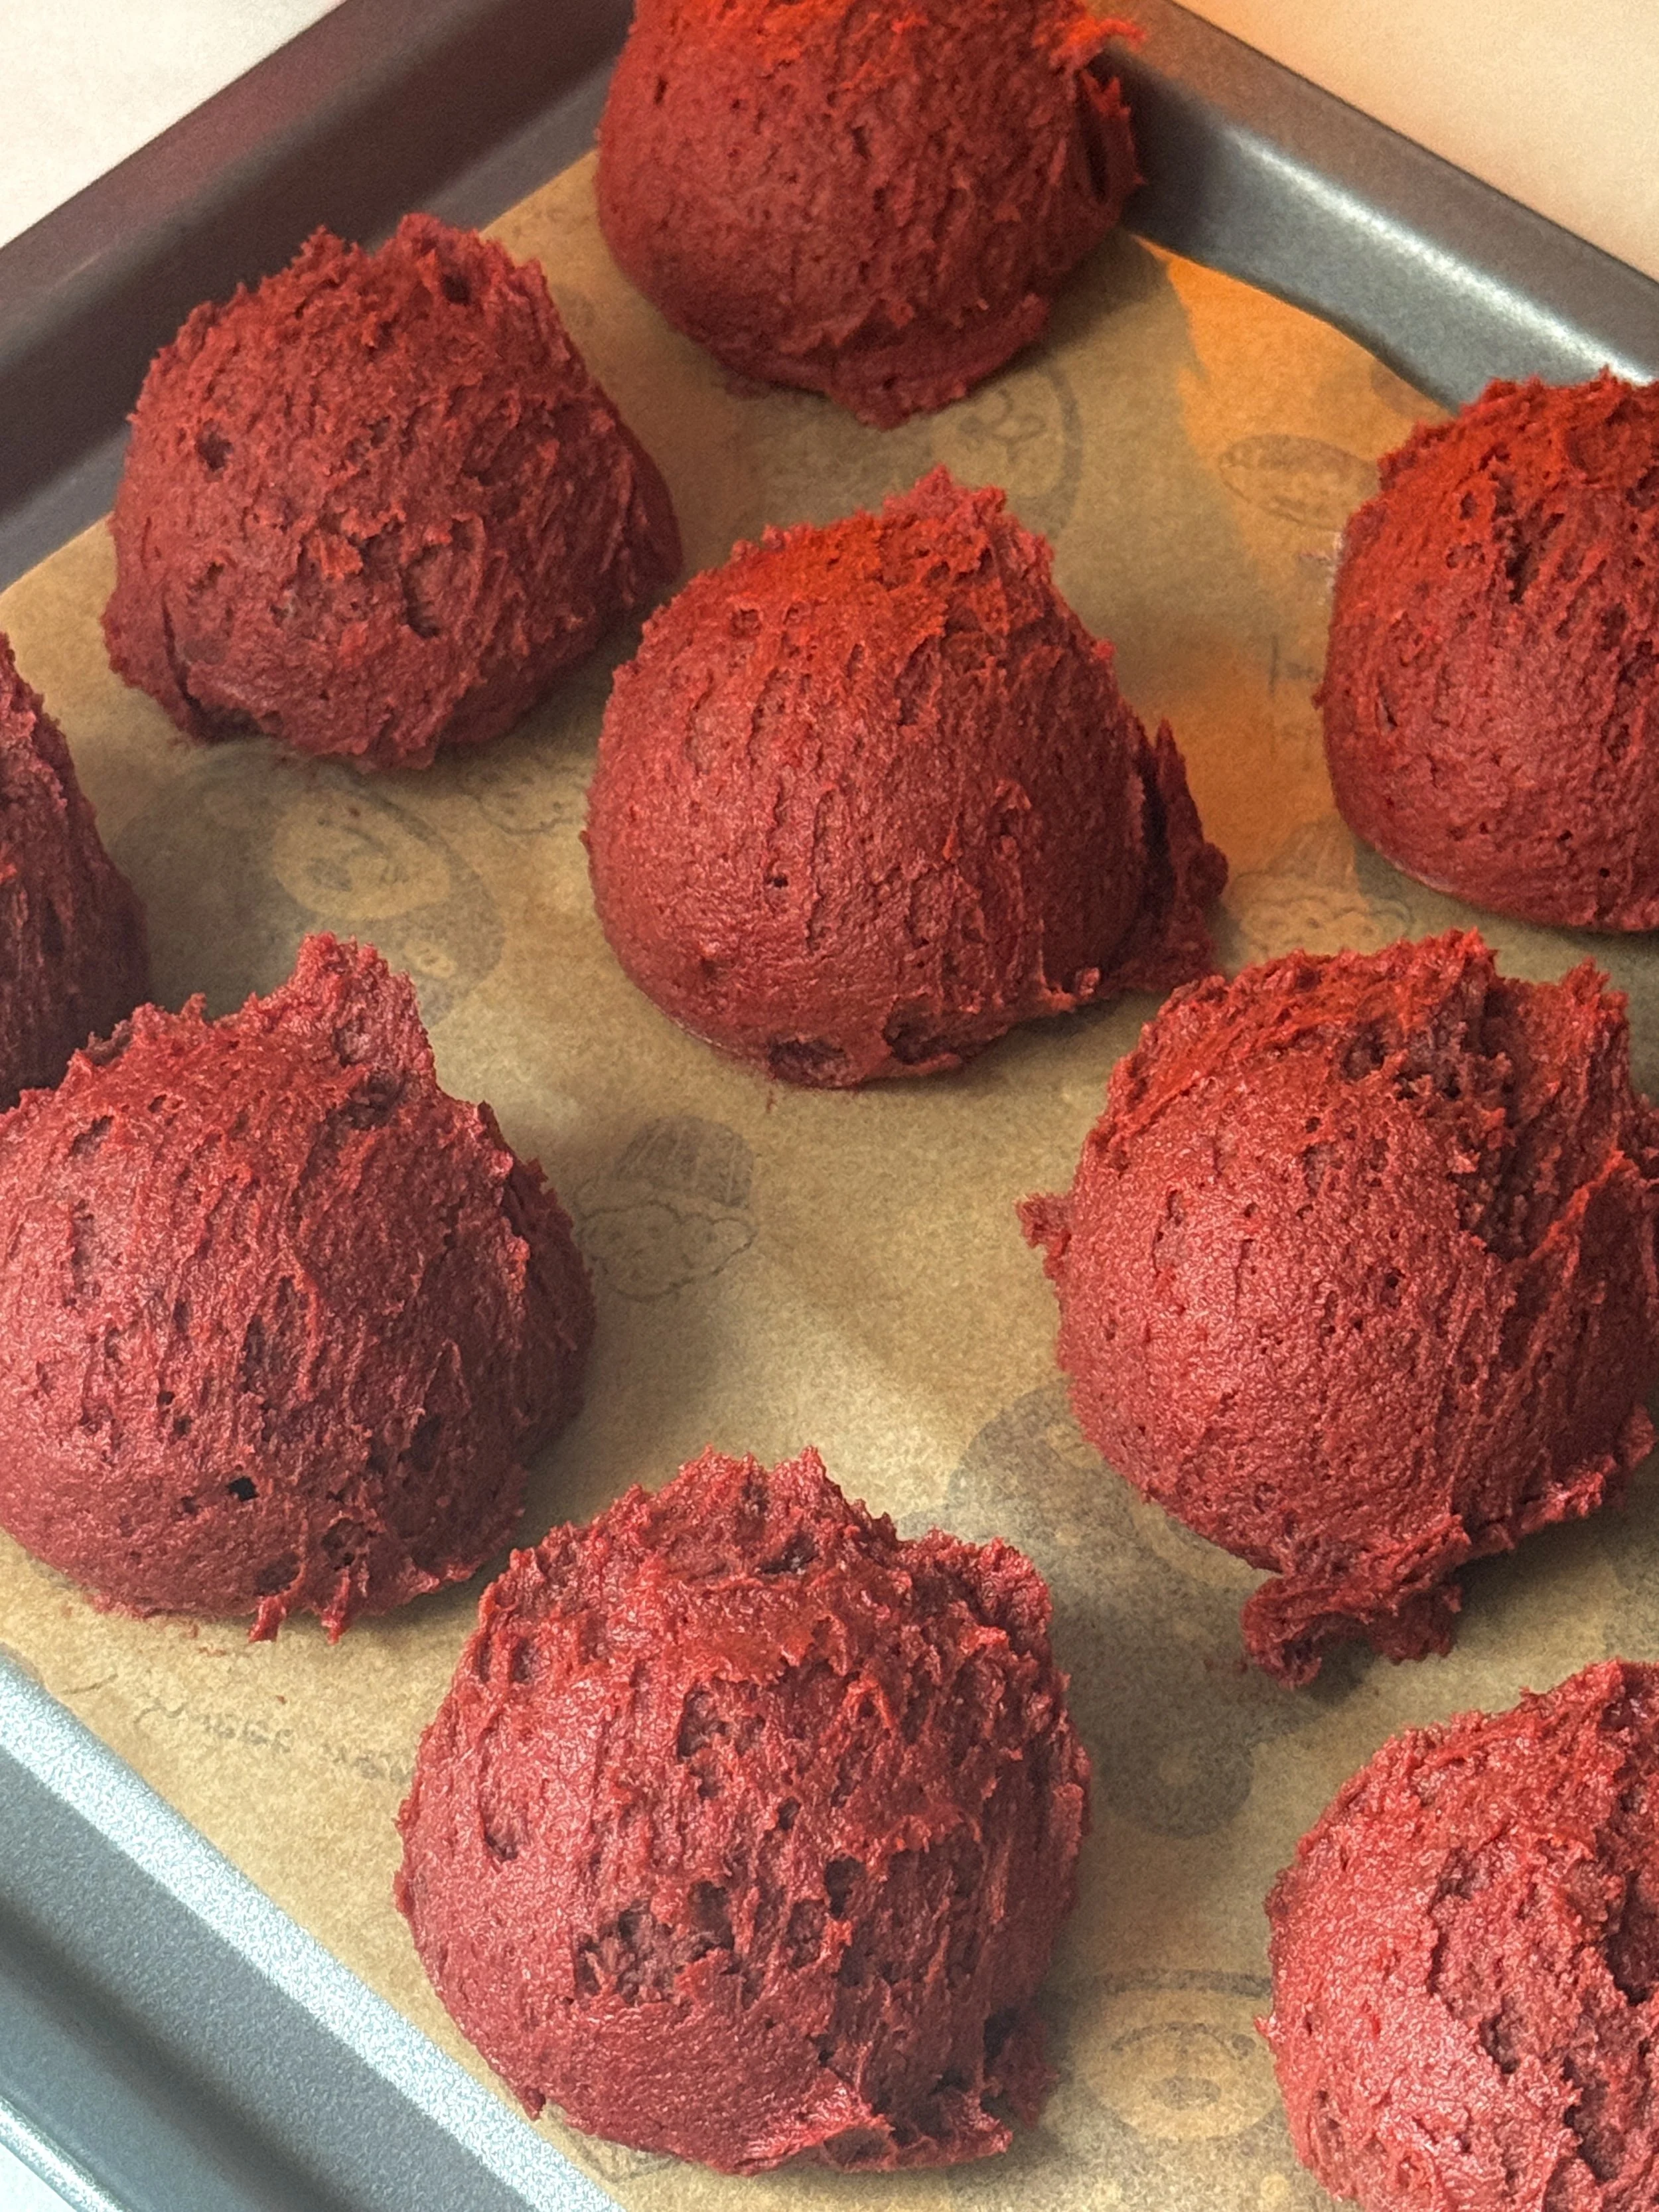
6. Freeze for 30 minutes.
7. Preheat your oven to 180•C (fan assisted)
8. Place the frozen cookies onto a large tray lined with parchment paper, leaving some space between them.
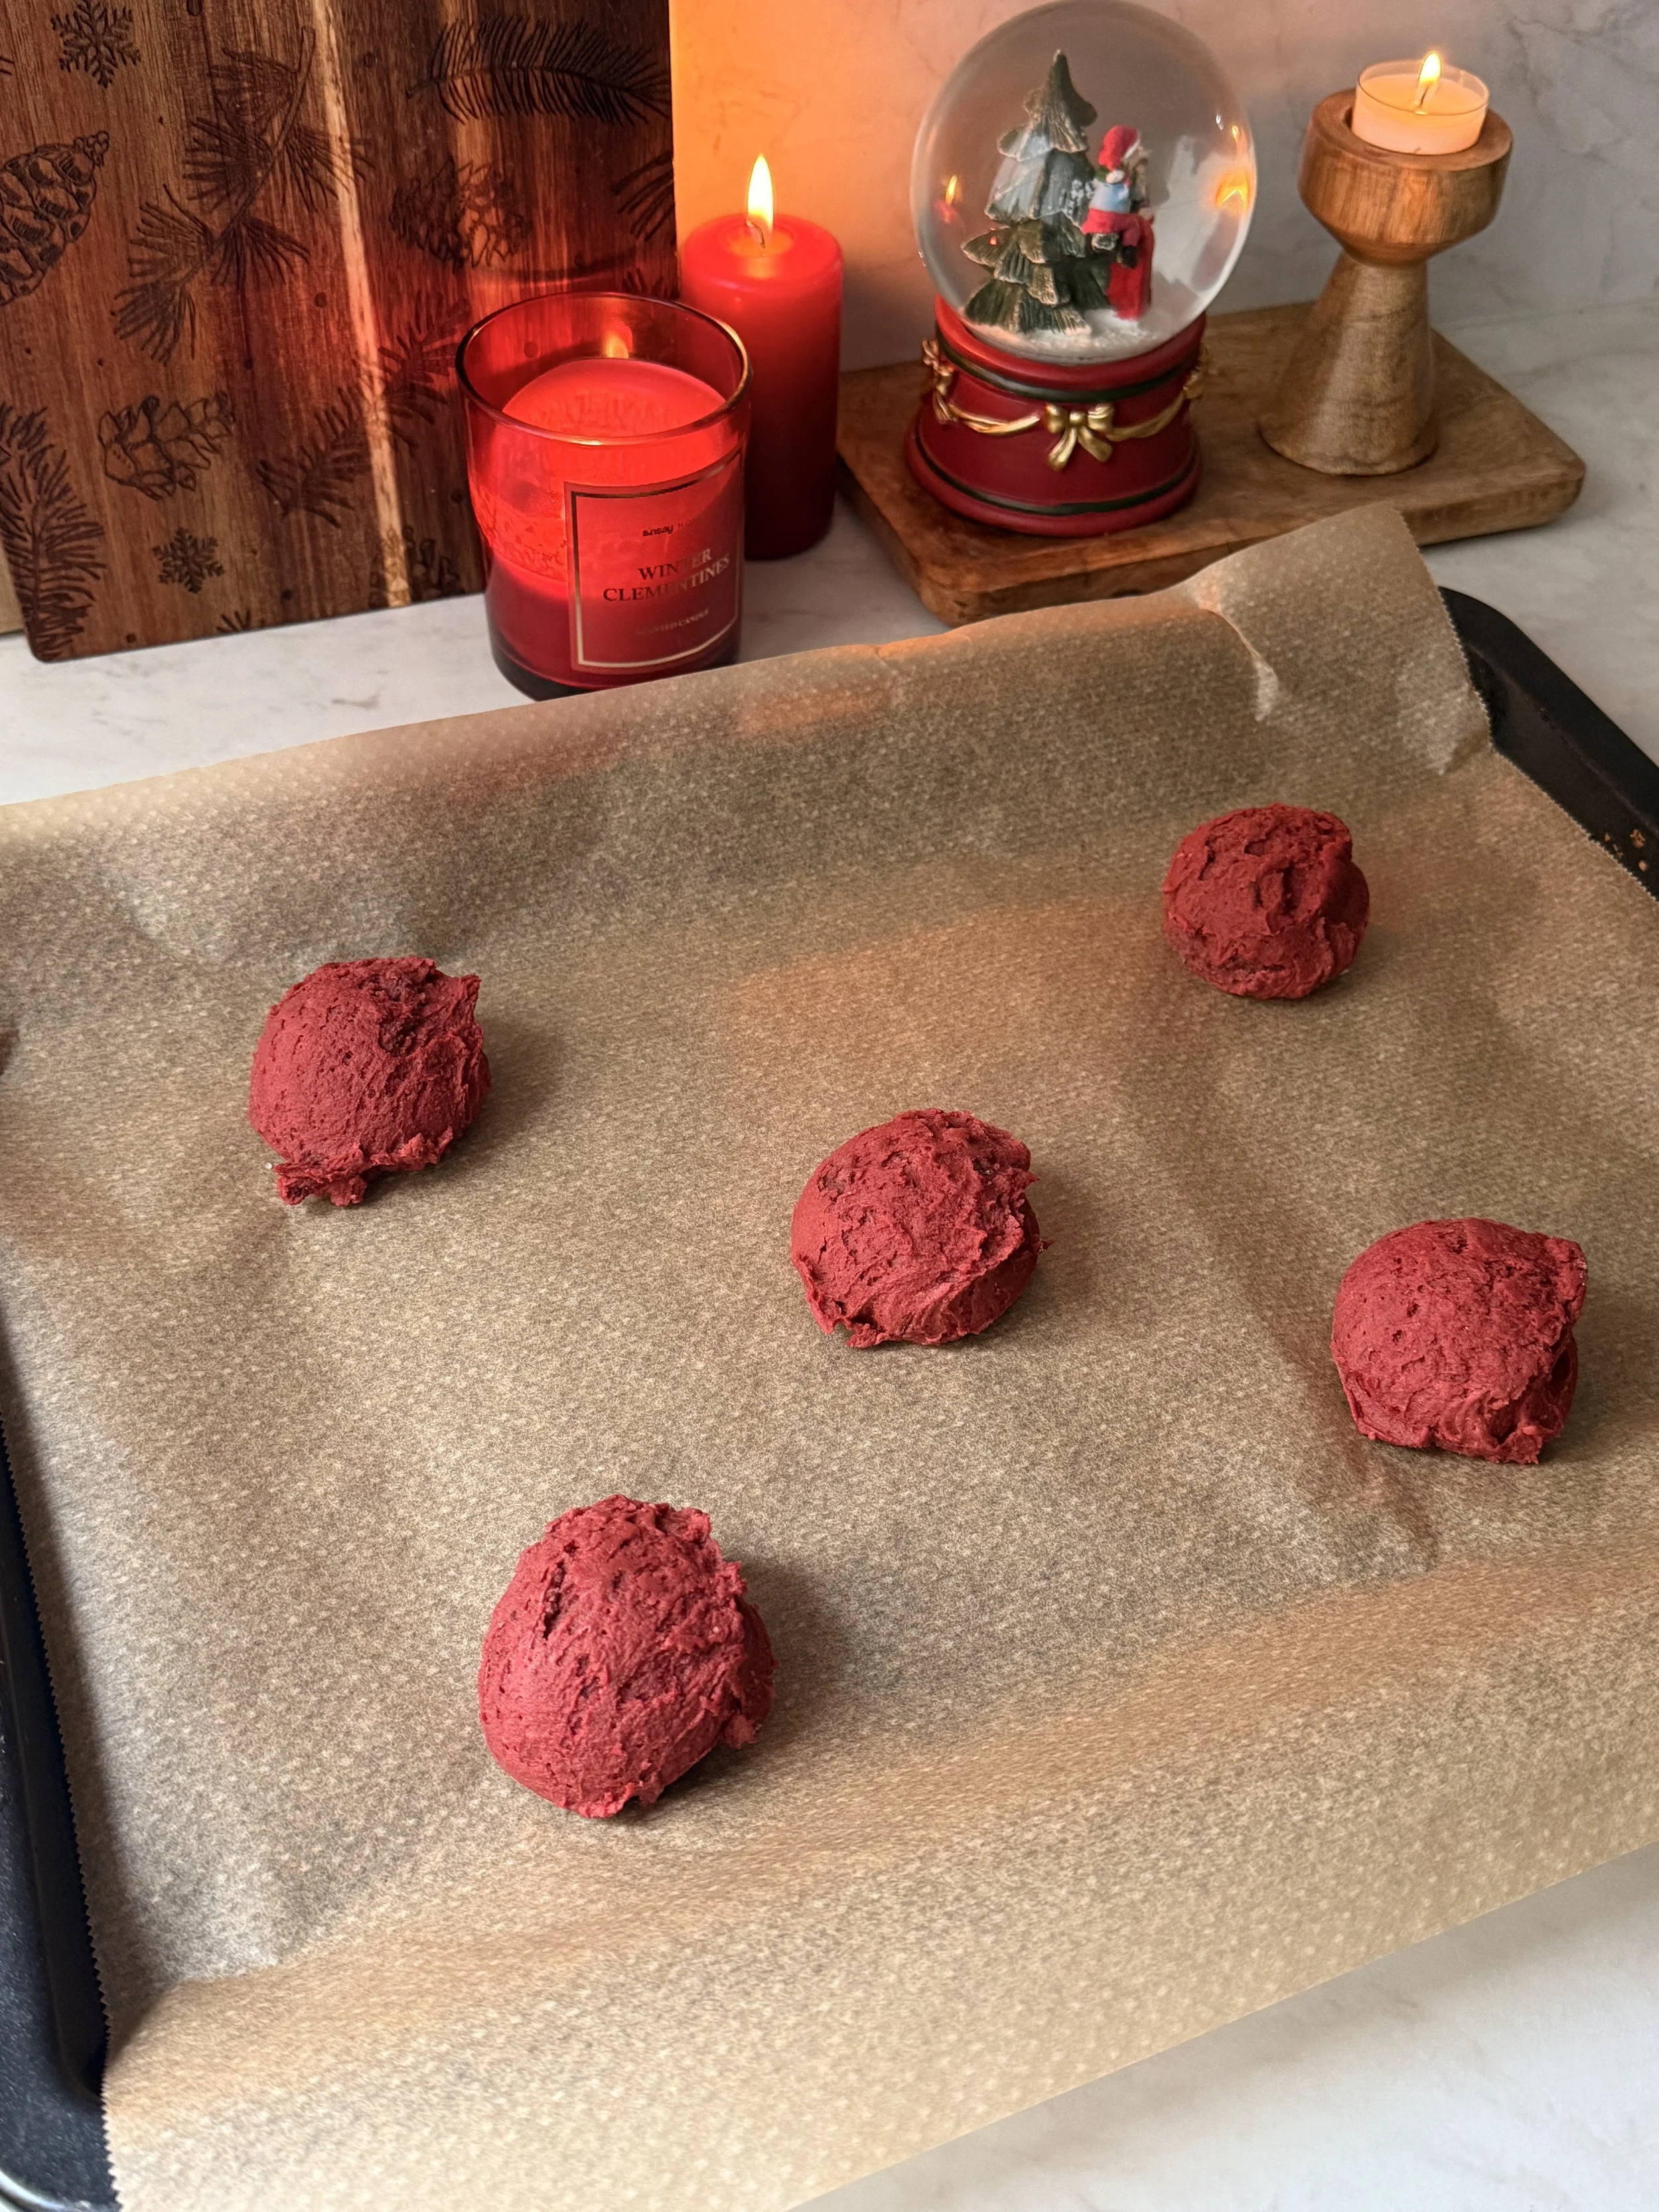
9. Bake in the preheated oven for 12 minutes.
10. Once ready, let them cool before frosting.
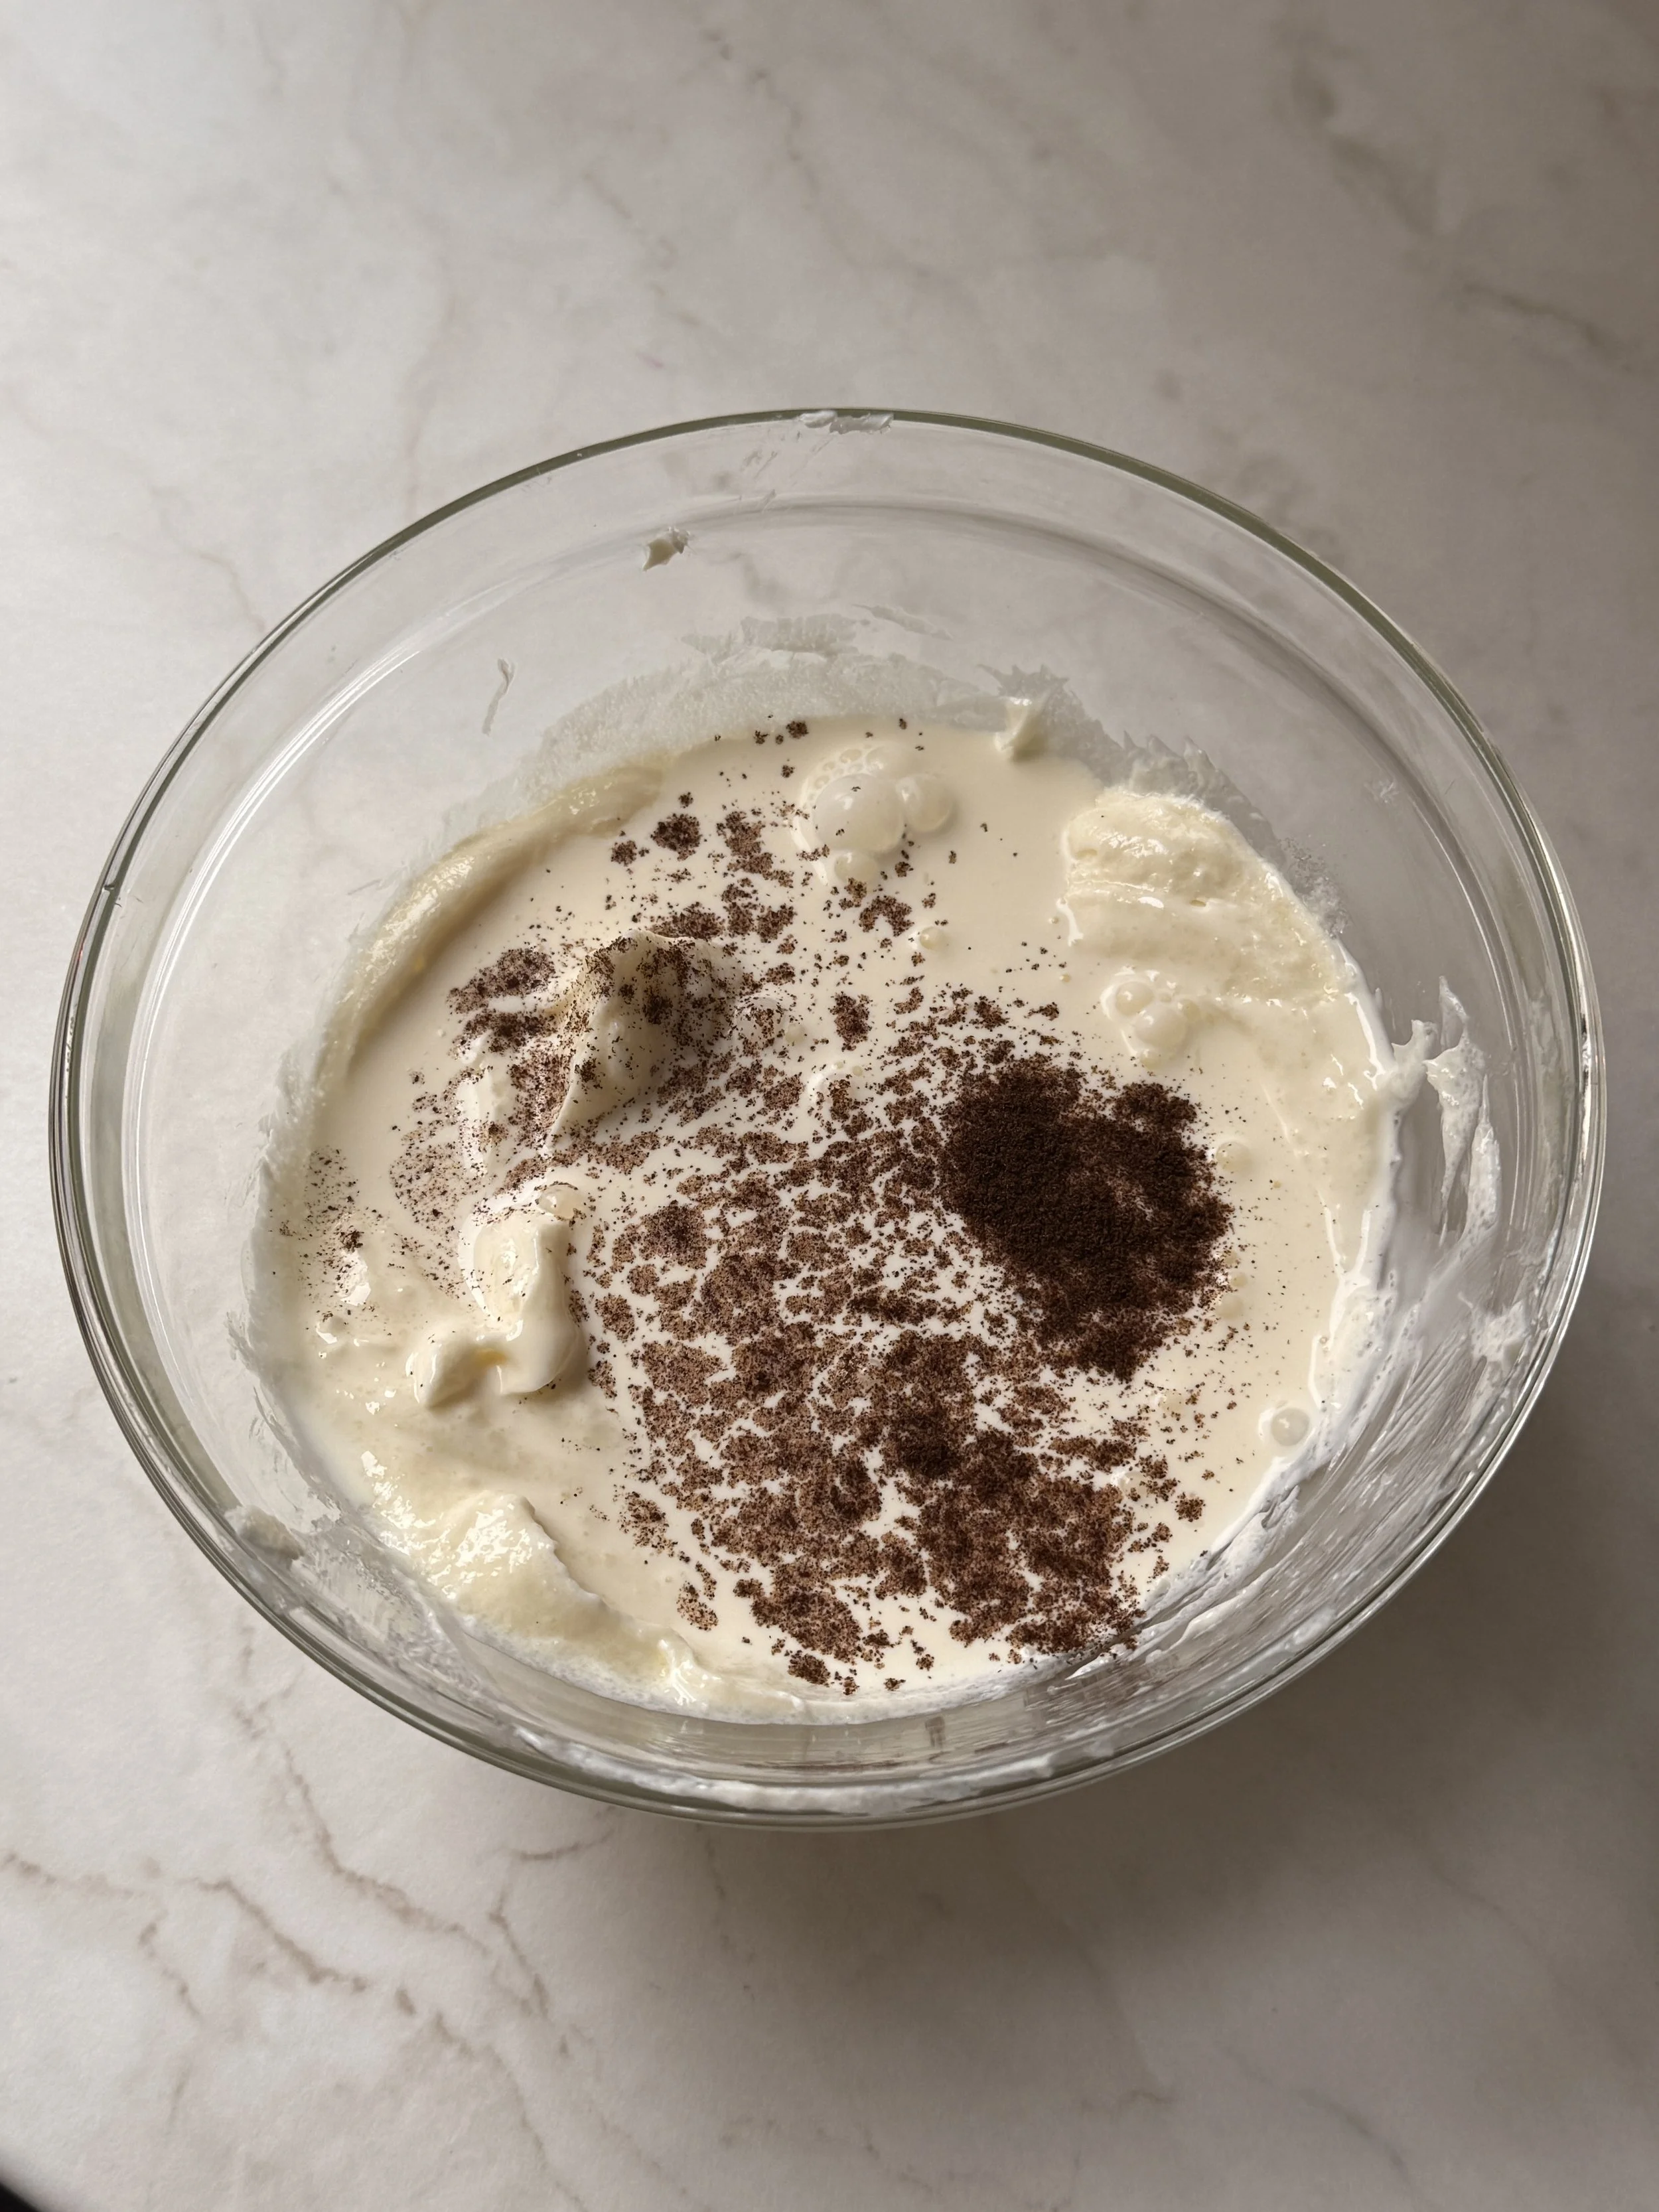
11. For the frosting combine the cream cheese with the sugar until smooth.
12. Then add the whipping cream along with the vanilla and mix until fluffy and holds its shape.


13. Frost the cookies and enjoy!

Red Velvet Cookies with Cream Cheese frosting
These Red Velvet Cookies are soft, slightly fudgy and topped with a creamy Cream Cheese Frosting. I love how festive they feel and they’re perfect holiday season.
Ingredients
- 150g unsalted butter, softened - 2/3 cup
- 100g granulated sugar - 1/2 cup
- 100g light brown sugar - 1/2 cup
- 1 teaspoon vanilla extract
- 1 1/2 teaspoon vinegar (white wine or apple cider)
- 1 1/2 teaspoon red food coloring
- 1 large egg + 1 large egg yolk
- 215g all purpose flour - 1 cup + 3/4 cup
- 1/2 teaspoon baking soda
- 15 cocoa powder - 3 tablespoons
- 200g cream cheese - 3/4 cup + 2 tablespoons
- 80g granulated sugar - 1/3 cup + 1 tablespoon
- 120g whipping cream - 1/2 cup
- 1 tsp vanilla extract or 1/2 teaspoon ground vanilla powder
Instructions
- In a large bowl combine the softened butter with the granulated sugar and the light brown sugar.
- Then mix in the egg, egg yolk and vanilla extract.
- Next add the vinegar along with the red food coloring and mix until combined.
- Lasltly, add the baking soda, flour and cocoa powder. Fold until just combined.
- Scoop out 10 equal cookies onto a baking tray lined with parchment paper.
- Freeze for 30 minutes.
- Preheat your oven to 180•C (fan assisted)
- Place the frozen cookies onto a large tray lined with parchment paper, leaving some space between them.
- Bake in the preheated oven for 12 minutes.
- Once ready, let them cool before frosting.
- For the frosting combine the cream cheese with the sugar until smooth.
- Then add the whipping cream along with the vanilla and mix until fluffy and holds its shape.
- Frost the cookies and enjoy!
Nutrition Facts
Calories
415Fat
24 gSat. Fat
15 gCarbs
39 gFiber
1 gNet Carbs
45 gSugar
29 gProtein
4 gSodium
127 mgCholesterol
84 mg