Published: November 17, 2026
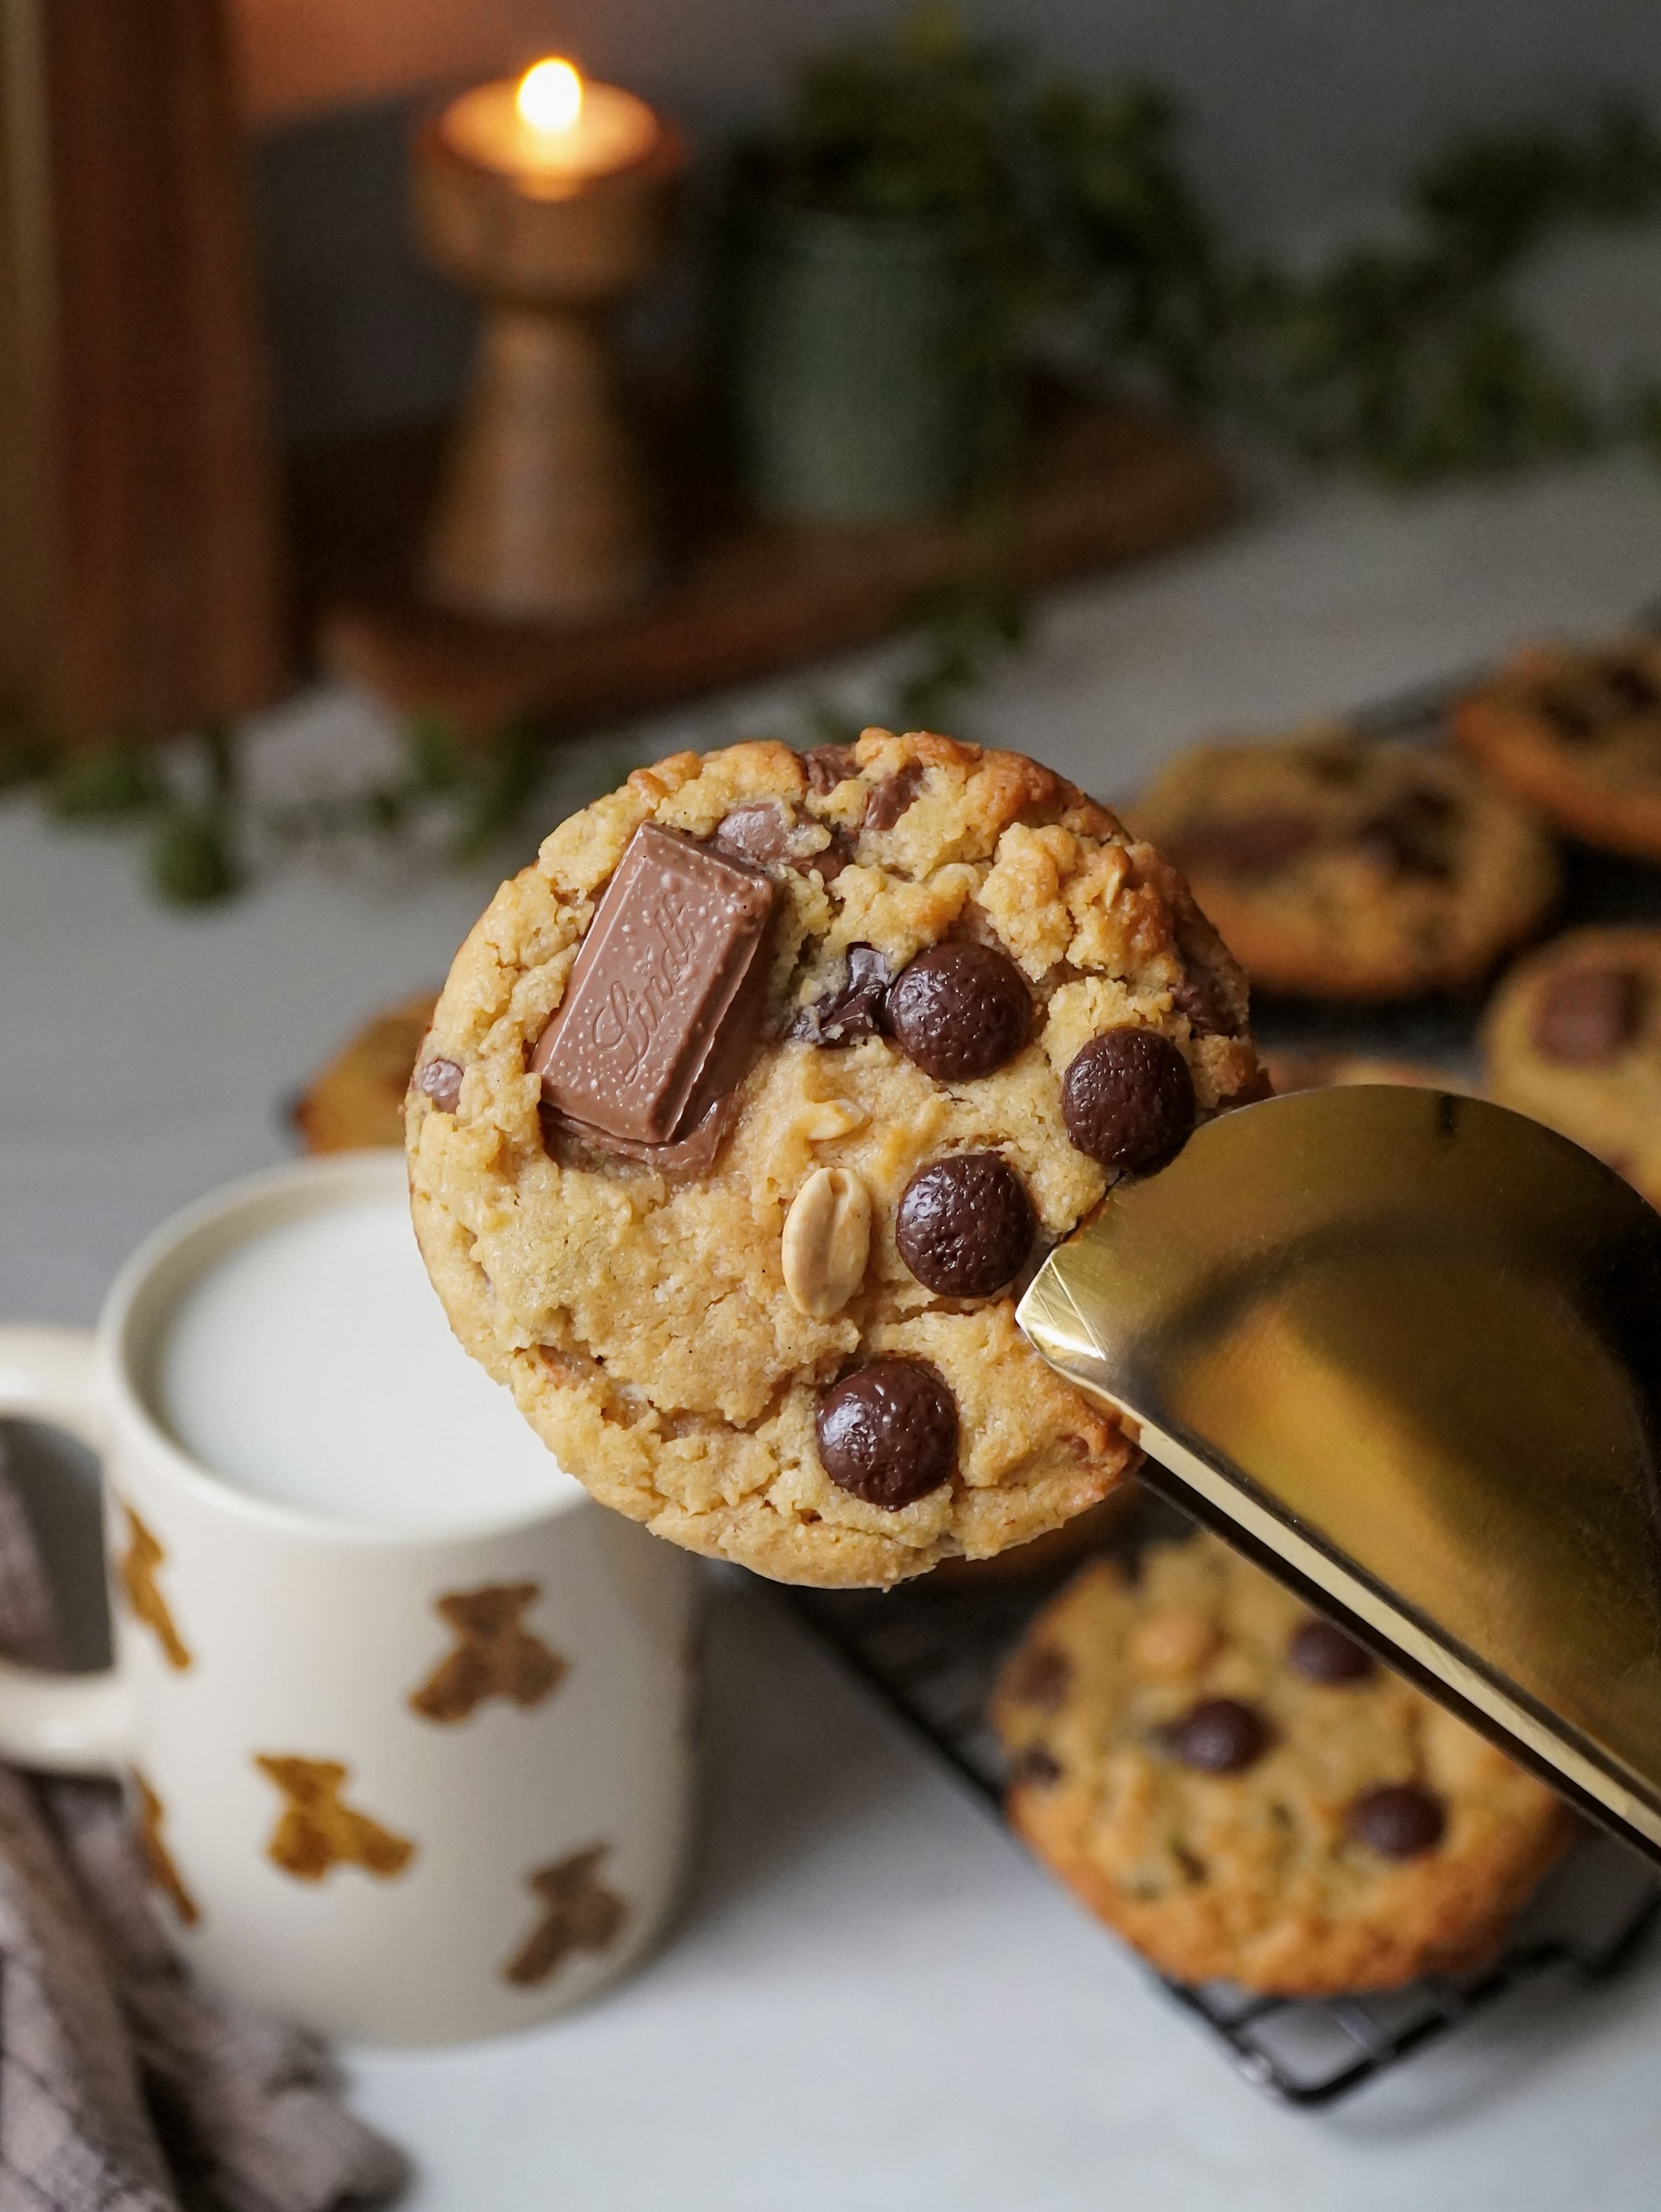
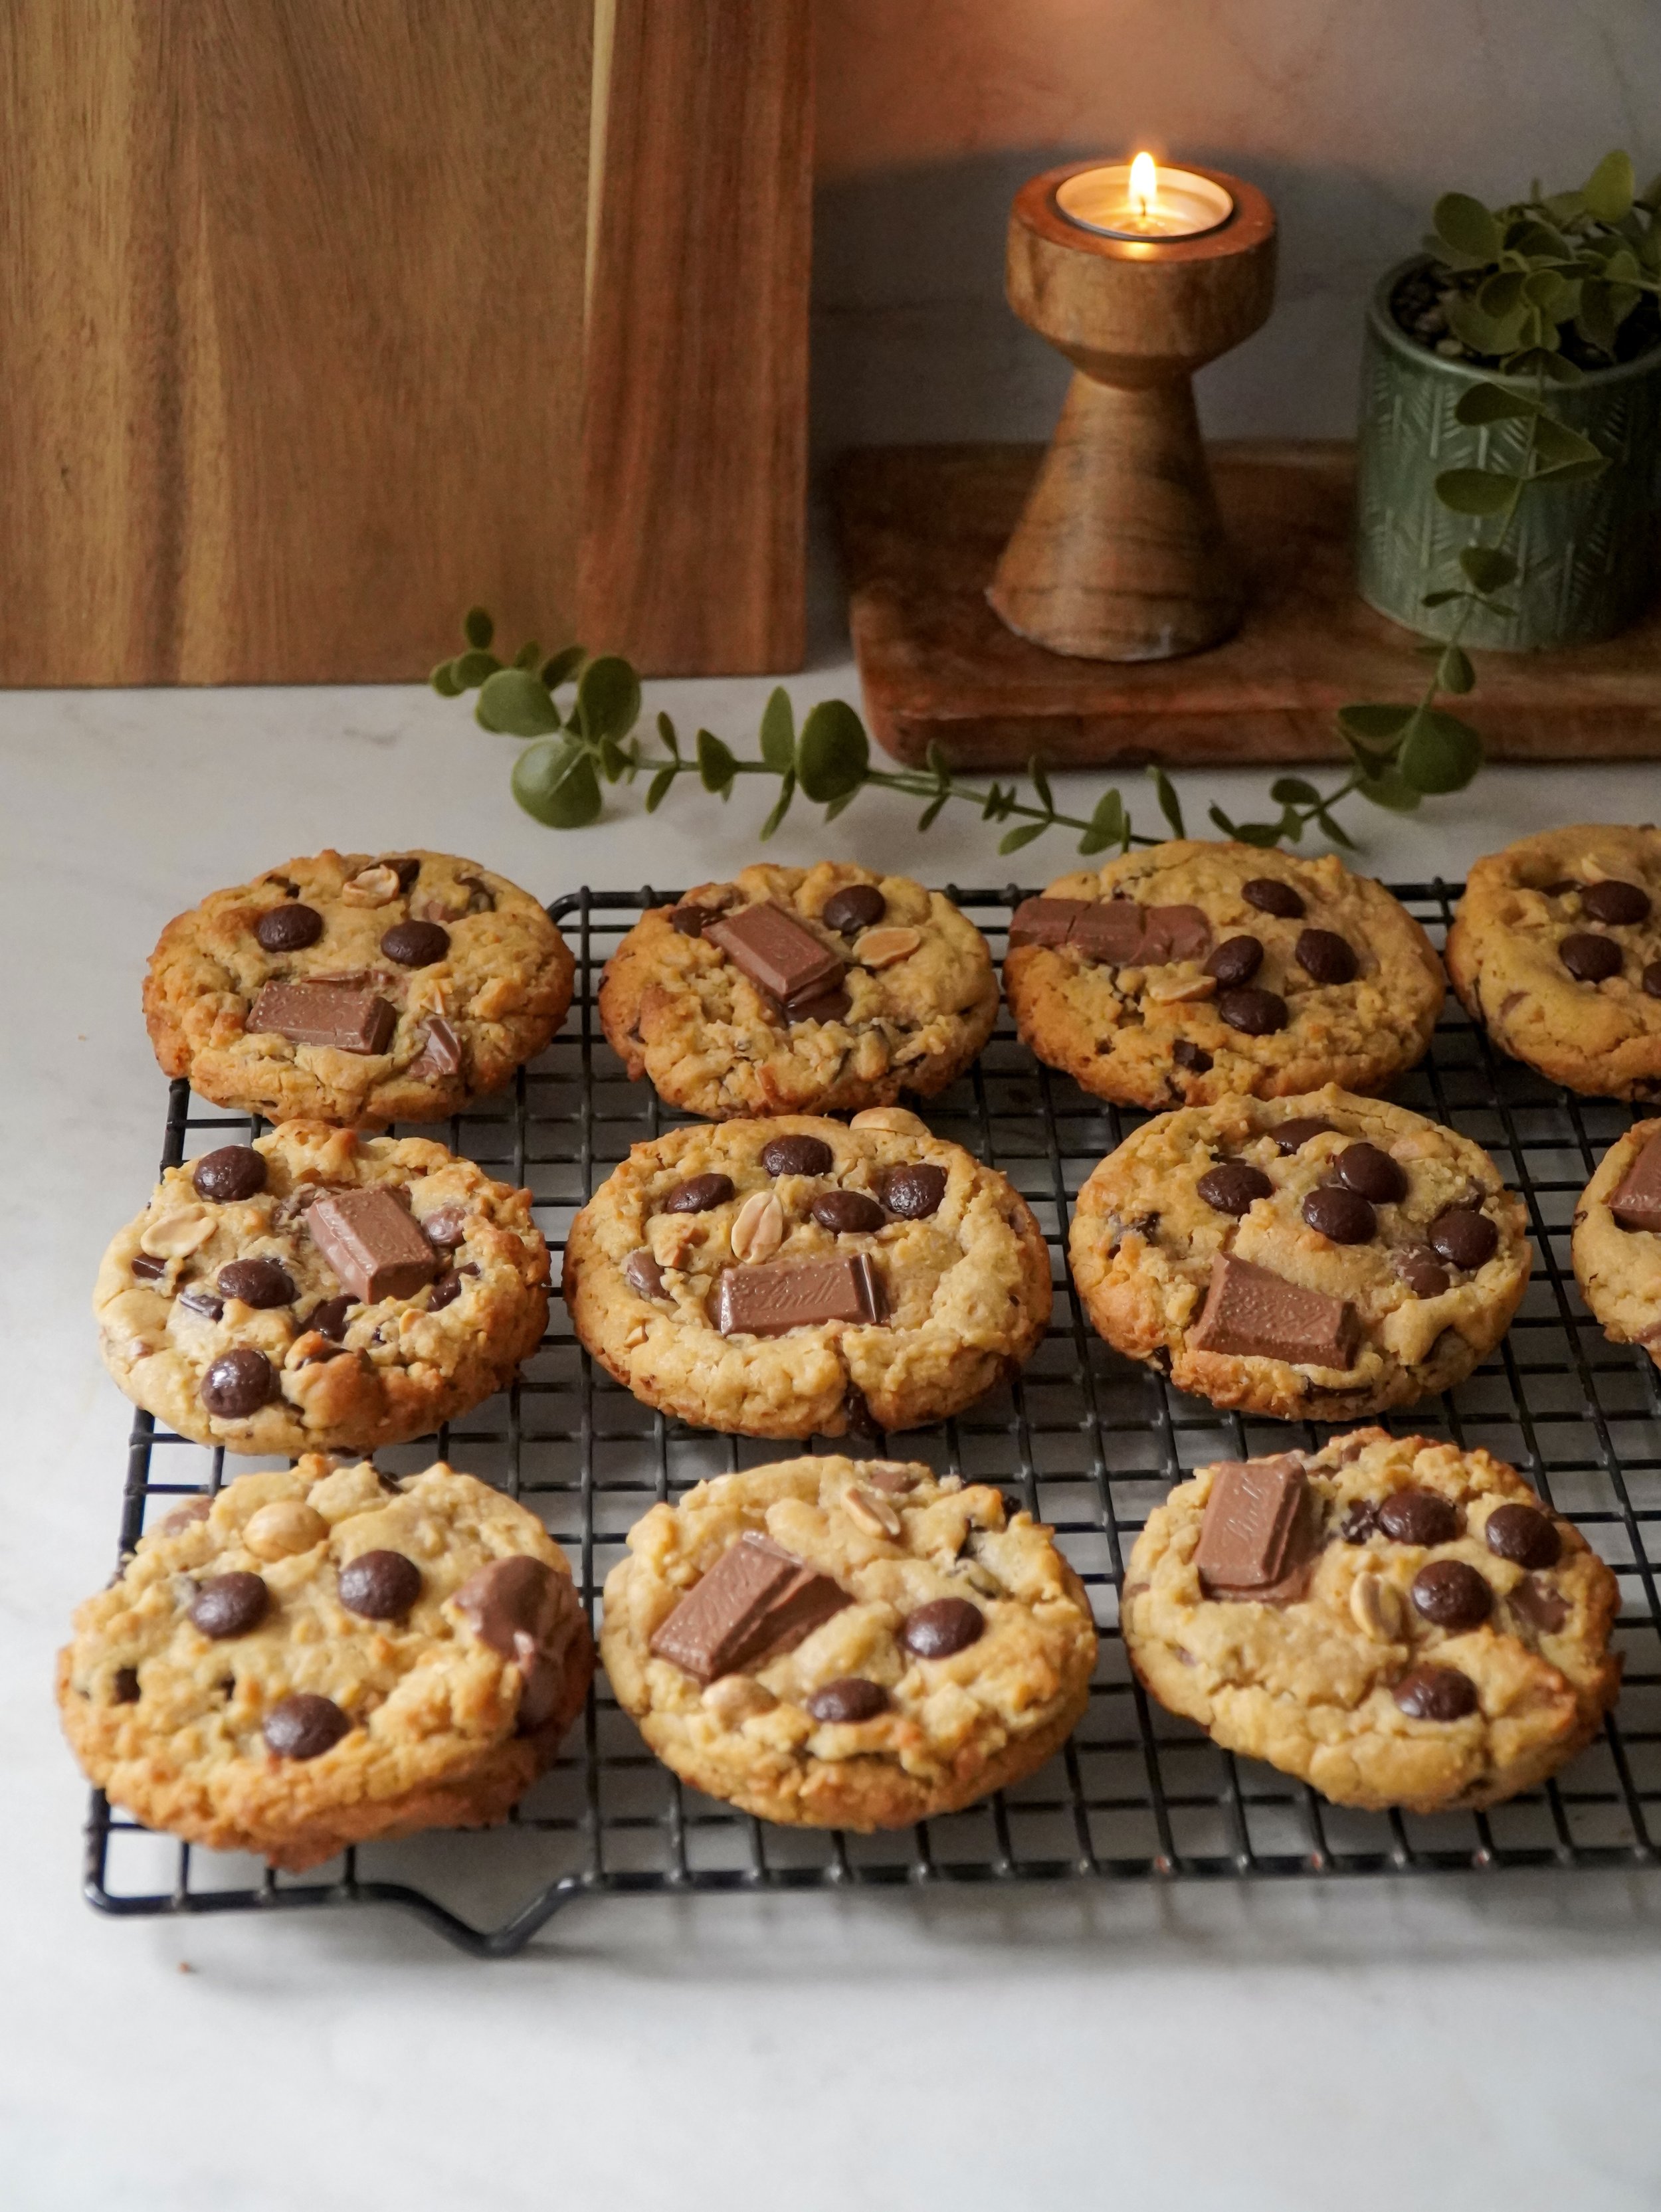
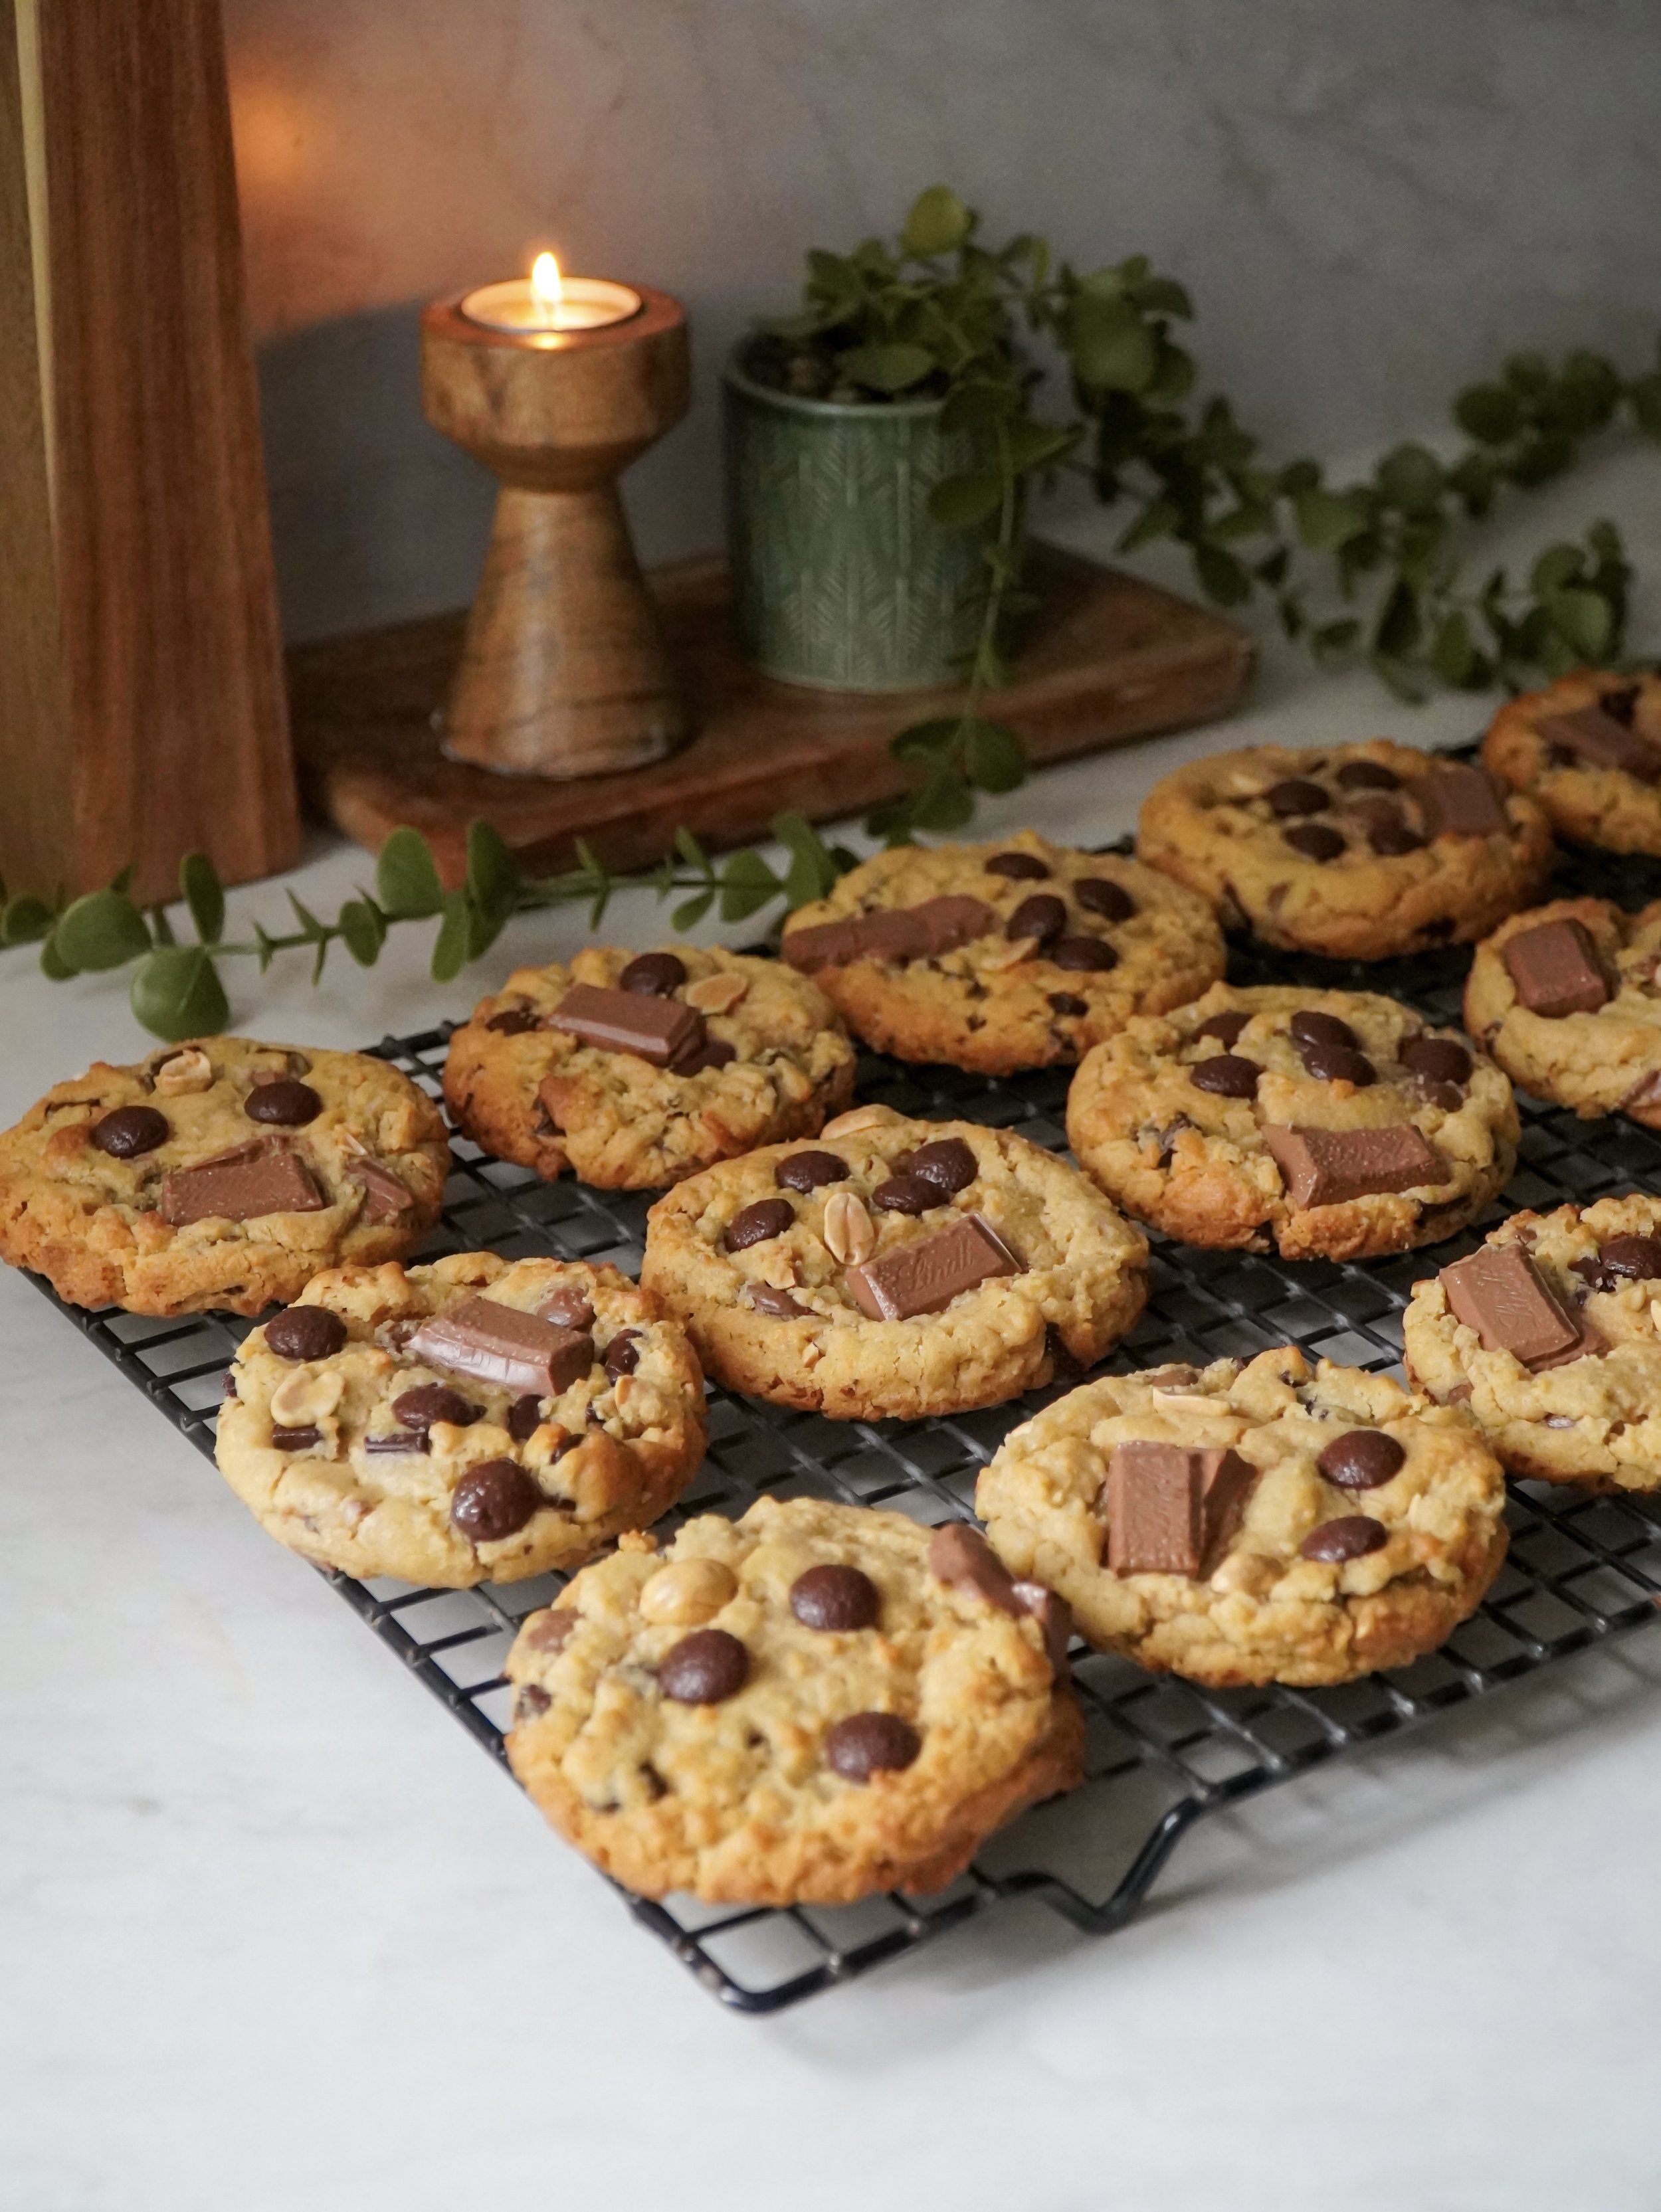
These Peanut Butter Chocolate Chip Cookies are soft, chewy and packed with rich peanut butter flavor, creamy chocolate chips and crunchy peanut pieces. With slightly crispy edges and soft, tender centers, they're the perfect combination of peanut butter and chocolate in every bite.
WHY YOU’LL LOVE THIS RECIPE
🤎Soft and chewy texture - These cookies have slightly crispy edges with soft, chewy centers, creating the perfect texture in every bite.
🤎Rich peanut butter flavor - Made with creamy peanut butter, these cookies are packed with delicious peanut butter flavor throughout.
🤎Loaded with chocolate - A combination of milk and dark chocolate chips adds the perfect amount of sweetness and richness to complement the peanut butter.
🤎Crunchy peanut pieces - Chopped peanuts add a little crunch, creating a delicious contrast with the soft cookie dough and melted chocolate.
🤎Easy to make - This recipe uses simple, everyday ingredients and requires no complicated baking techniques.
🤎Perfect for making ahead - The cookie dough can be prepared in advance and refrigerated until you're ready to bake, making it convenient for busy days.
Storage Options
Storing the baked cookies: Once the cookies have cooled completely, transfer them to an airtight container and store them at room temperature for up to 3 days for the best flavor and texture. Keeping them in a properly sealed container helps prevent them from drying out while maintaining their soft, chewy centers. I recommend allowing the cookies to cool completely before storing them, as trapping moisture from warm cookies inside the container can make them overly soft or sticky.
Freezing the unbaked cookie dough: If you'd like to prepare these cookies in advance, you can easily freeze the unbaked cookie dough for up to 1 month. After preparing the dough, scoop it into individual cookie dough balls and arrange them on a baking tray lined with parchment paper, leaving a little space between each one. Place the tray in the freezer for approximately 1 hour, or until the dough balls are completely firm. Once frozen, transfer them to a freezer-safe Ziploc bag or airtight container and return them to the freezer. When you're ready to bake, you have two options. You can bake the cookies directly from frozen, adding a few extra minutes to the baking time, or remove them from the freezer and let them sit at room temperature for approximately 15 minutes before baking. Keep in mind that the exact baking time may vary slightly depending on your oven and the temperature of the dough.


Tips & Tricks
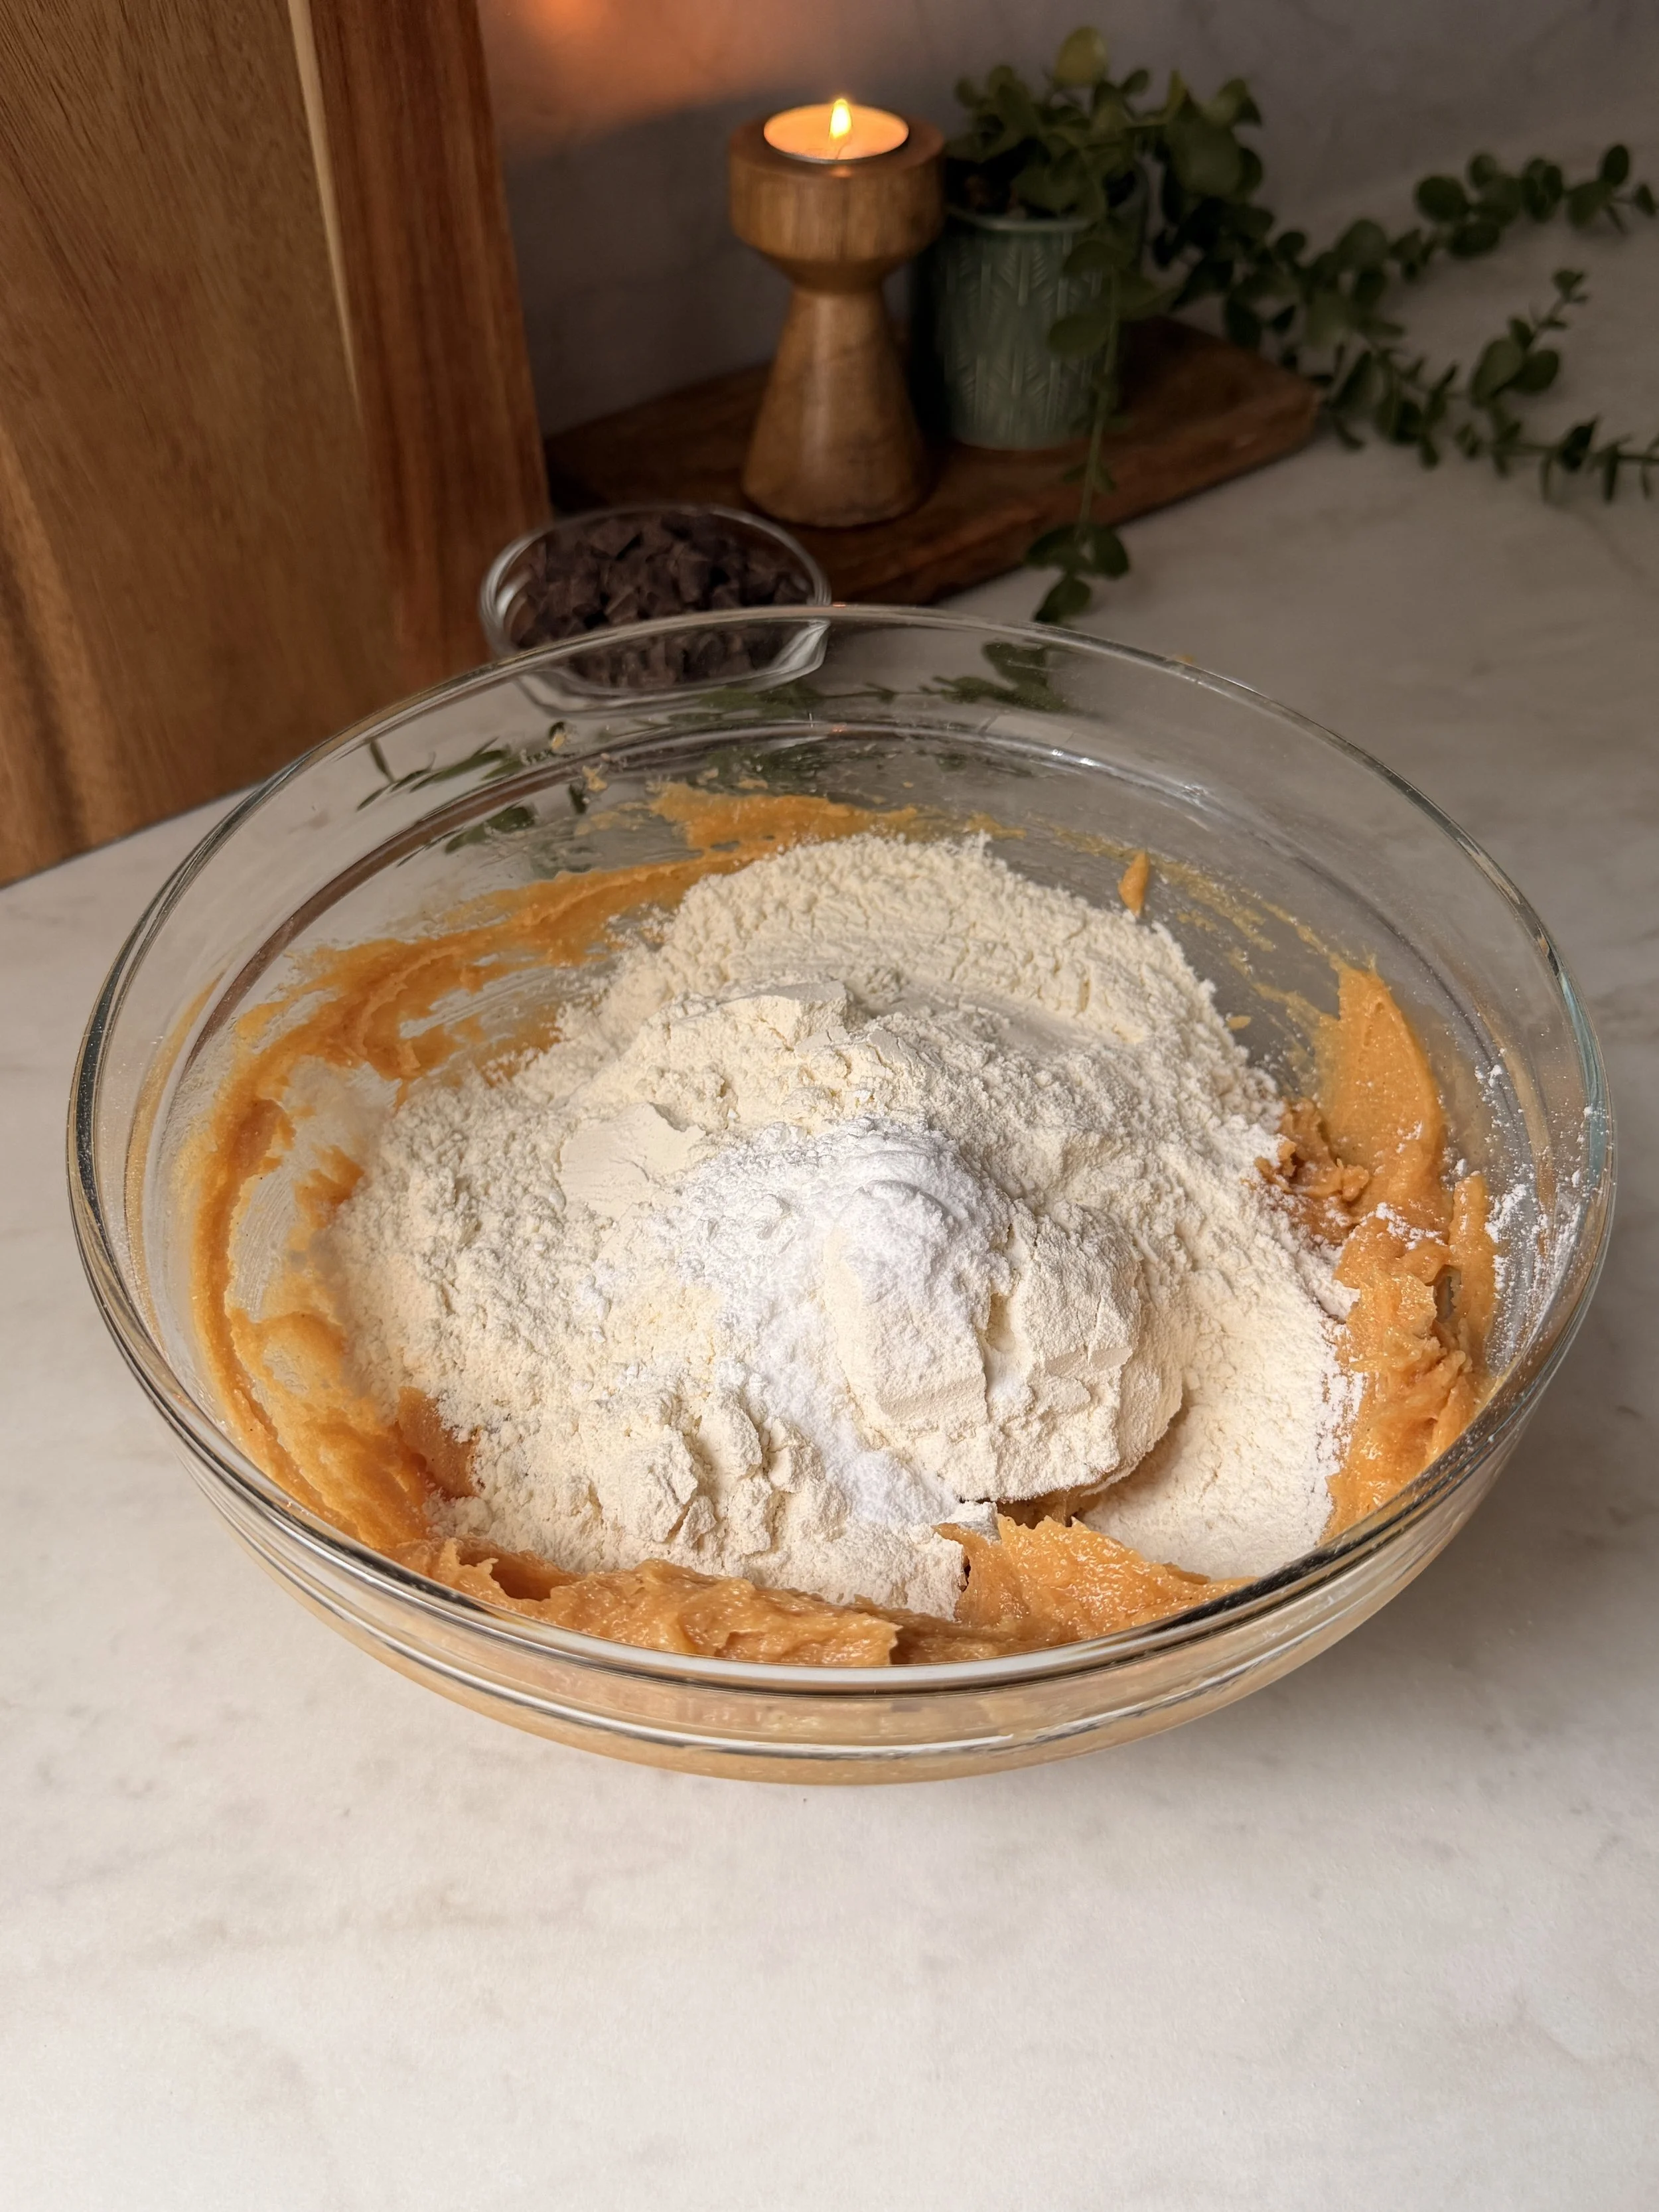
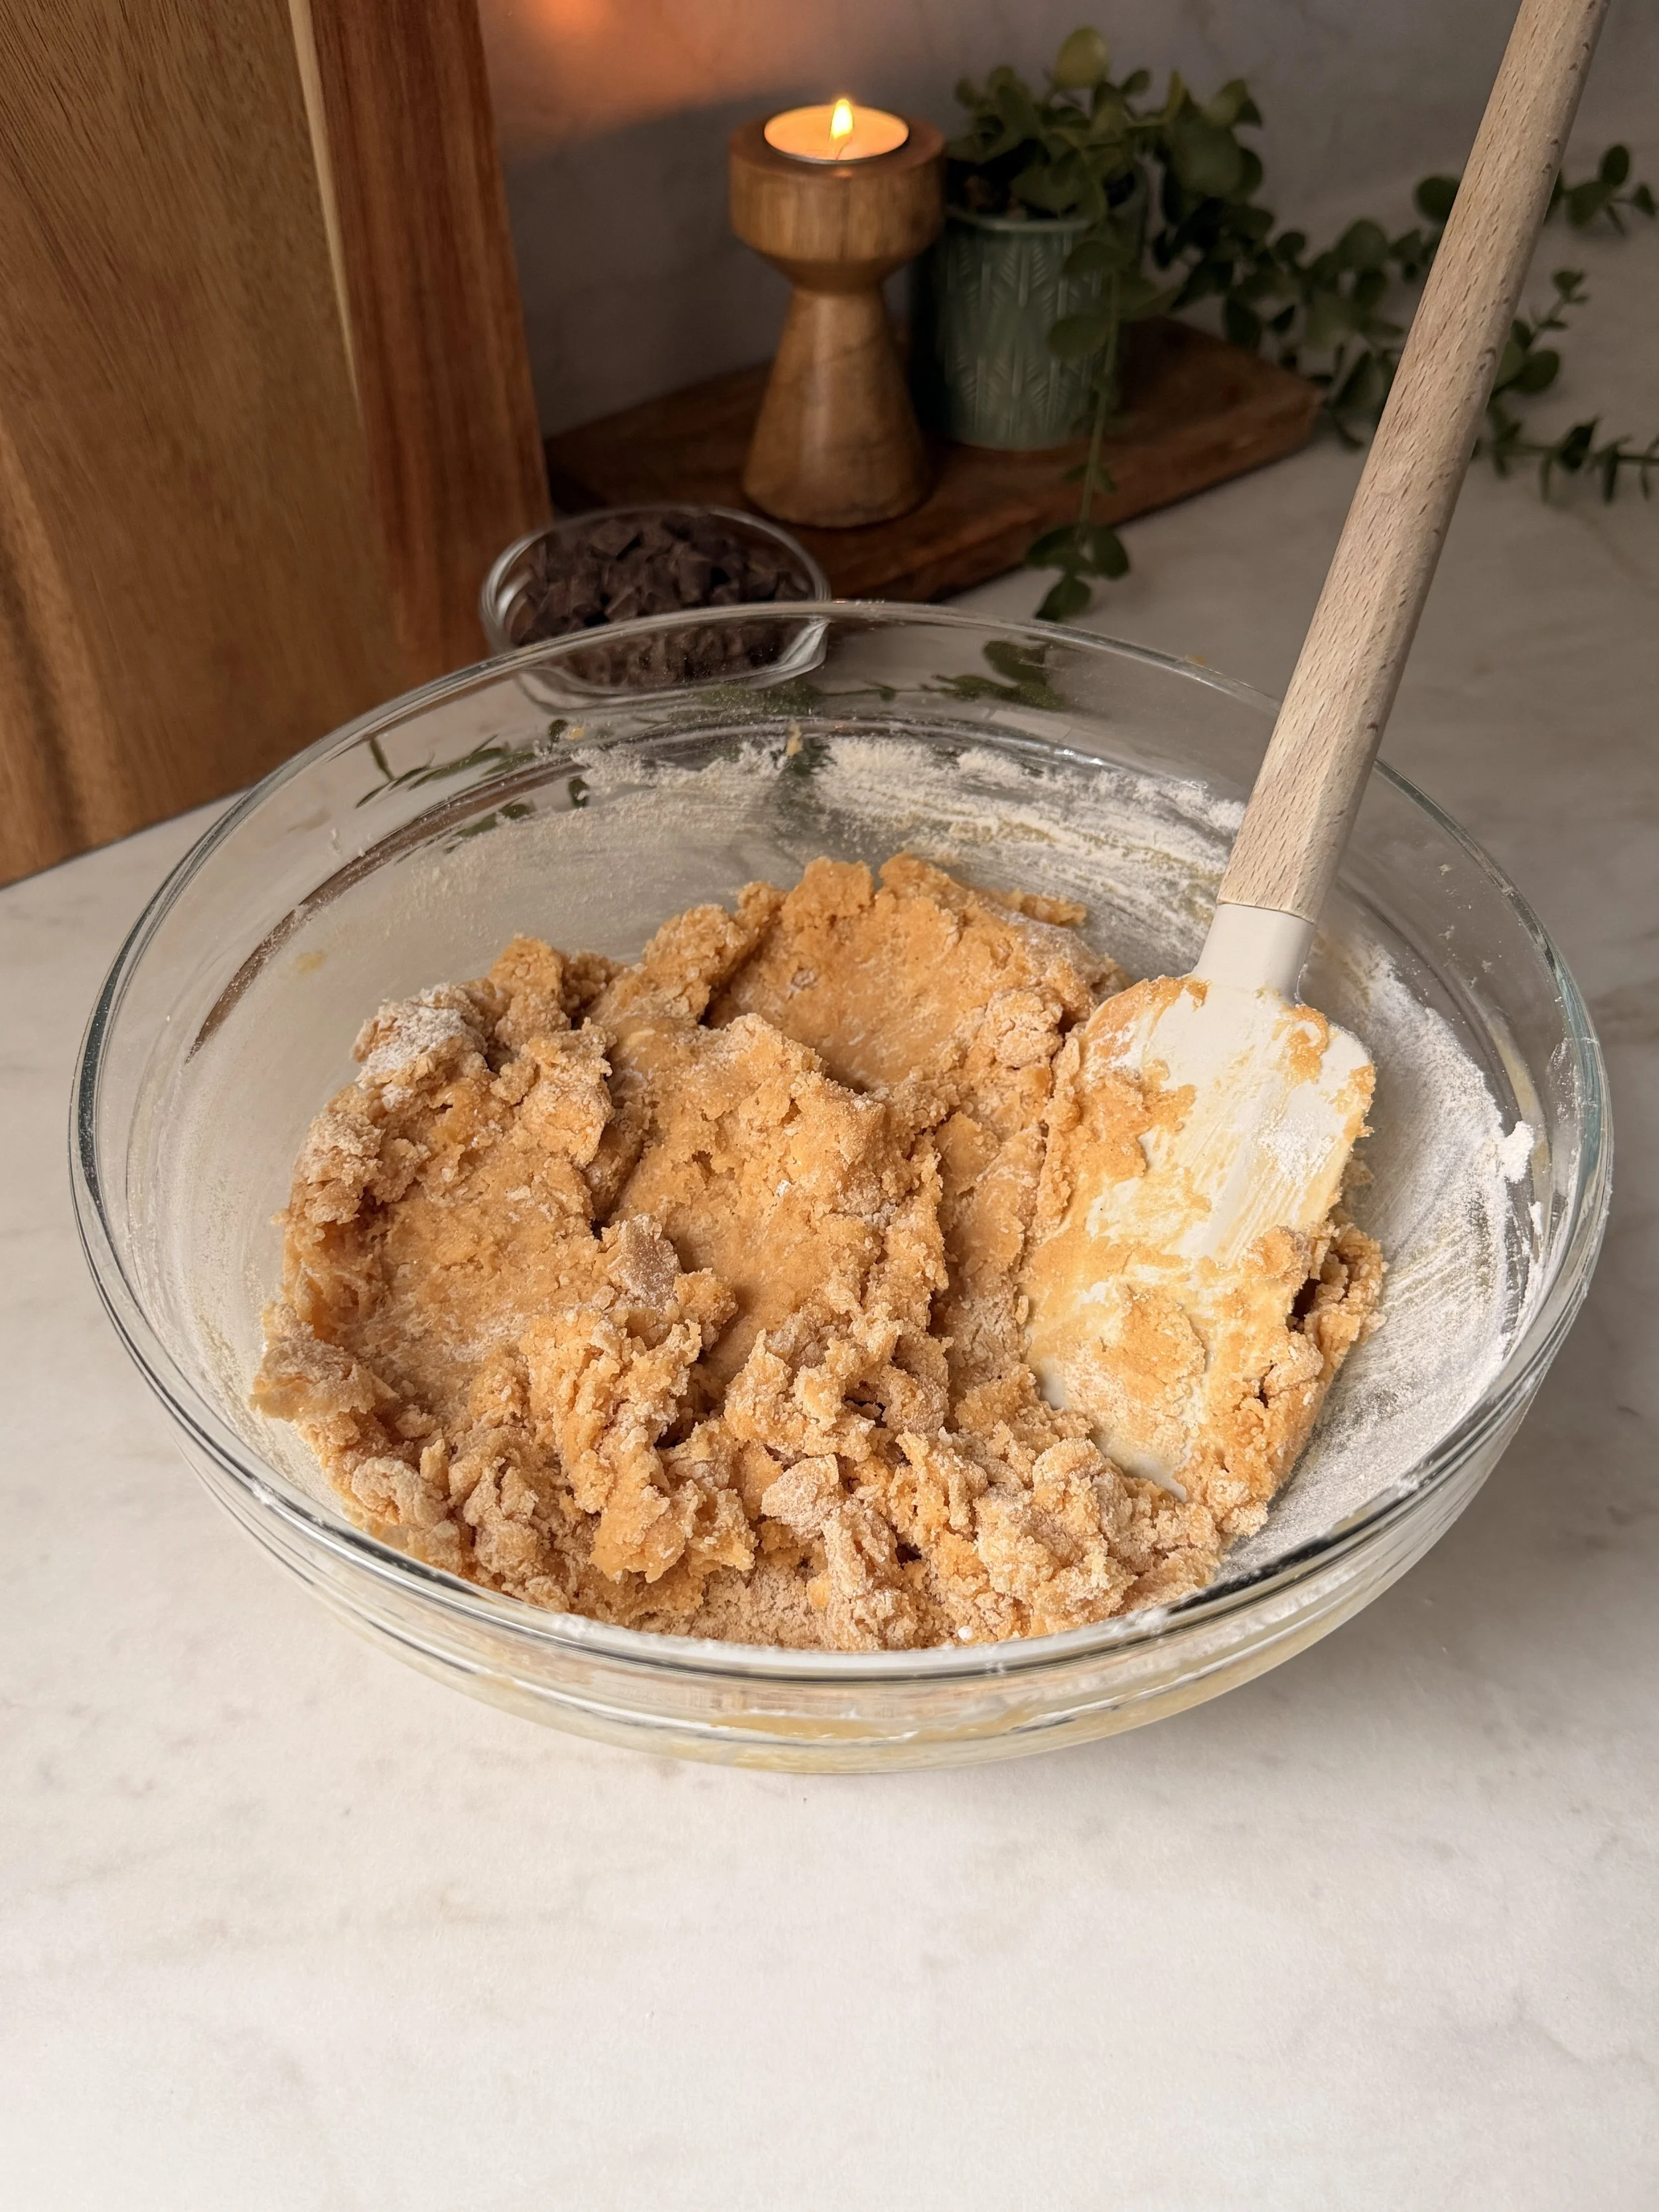
→ Do not overmix once you add the dry ingredients - Once you've added the flour, baking powder and baking soda to the wet ingredients, gently fold everything together until just combined. Overmixing at this stage can develop too much gluten, resulting in cookies that are tougher or more cakey rather than soft and chewy.
→ Avoid overbaking the cookies - One of the most important things when making soft, chewy cookies is knowing when to remove them from the oven. The edges should look lightly golden and set, while the centers should still appear slightly soft and slightly underbaked. This is exactly what you want, as the cookies will continue to firm up from the residual heat after being removed from the oven. For this recipe, approximately 12 minutes at 180°C should be enough, although baking times may vary depending on your oven. Allow the cookies to rest on the baking tray for 5-10 minutes before transferring them to a cooling rack so they can finish setting without losing their soft centers.
→ Use unsalted butter and avoid adding extra salt - I highly recommend using unsalted butter for this recipe because both the peanut butter and chopped peanuts already contribute saltiness to the cookie dough. Using salted butter or adding additional salt could make the finished cookies overly salty, especially if you're using roasted, salted peanuts. Since the combination of peanut butter and salted peanuts already provides a lovely balance of sweet and salty flavors, there's no need to add any additional salt to the dough. Using unsalted butter also gives you better control over the overall flavor of the cookies.
→ Make sure your butter is softened - Before preparing the cookie dough, allow your unsalted butter to soften to room temperature. Softened butter is much easier to combine with the granulated sugar, brown sugar and peanut butter, helping create a smooth, creamy mixture. I recommend taking the butter out of the refrigerator approximately 30-60 minutes before starting the recipe, depending on the temperature of your kitchen.
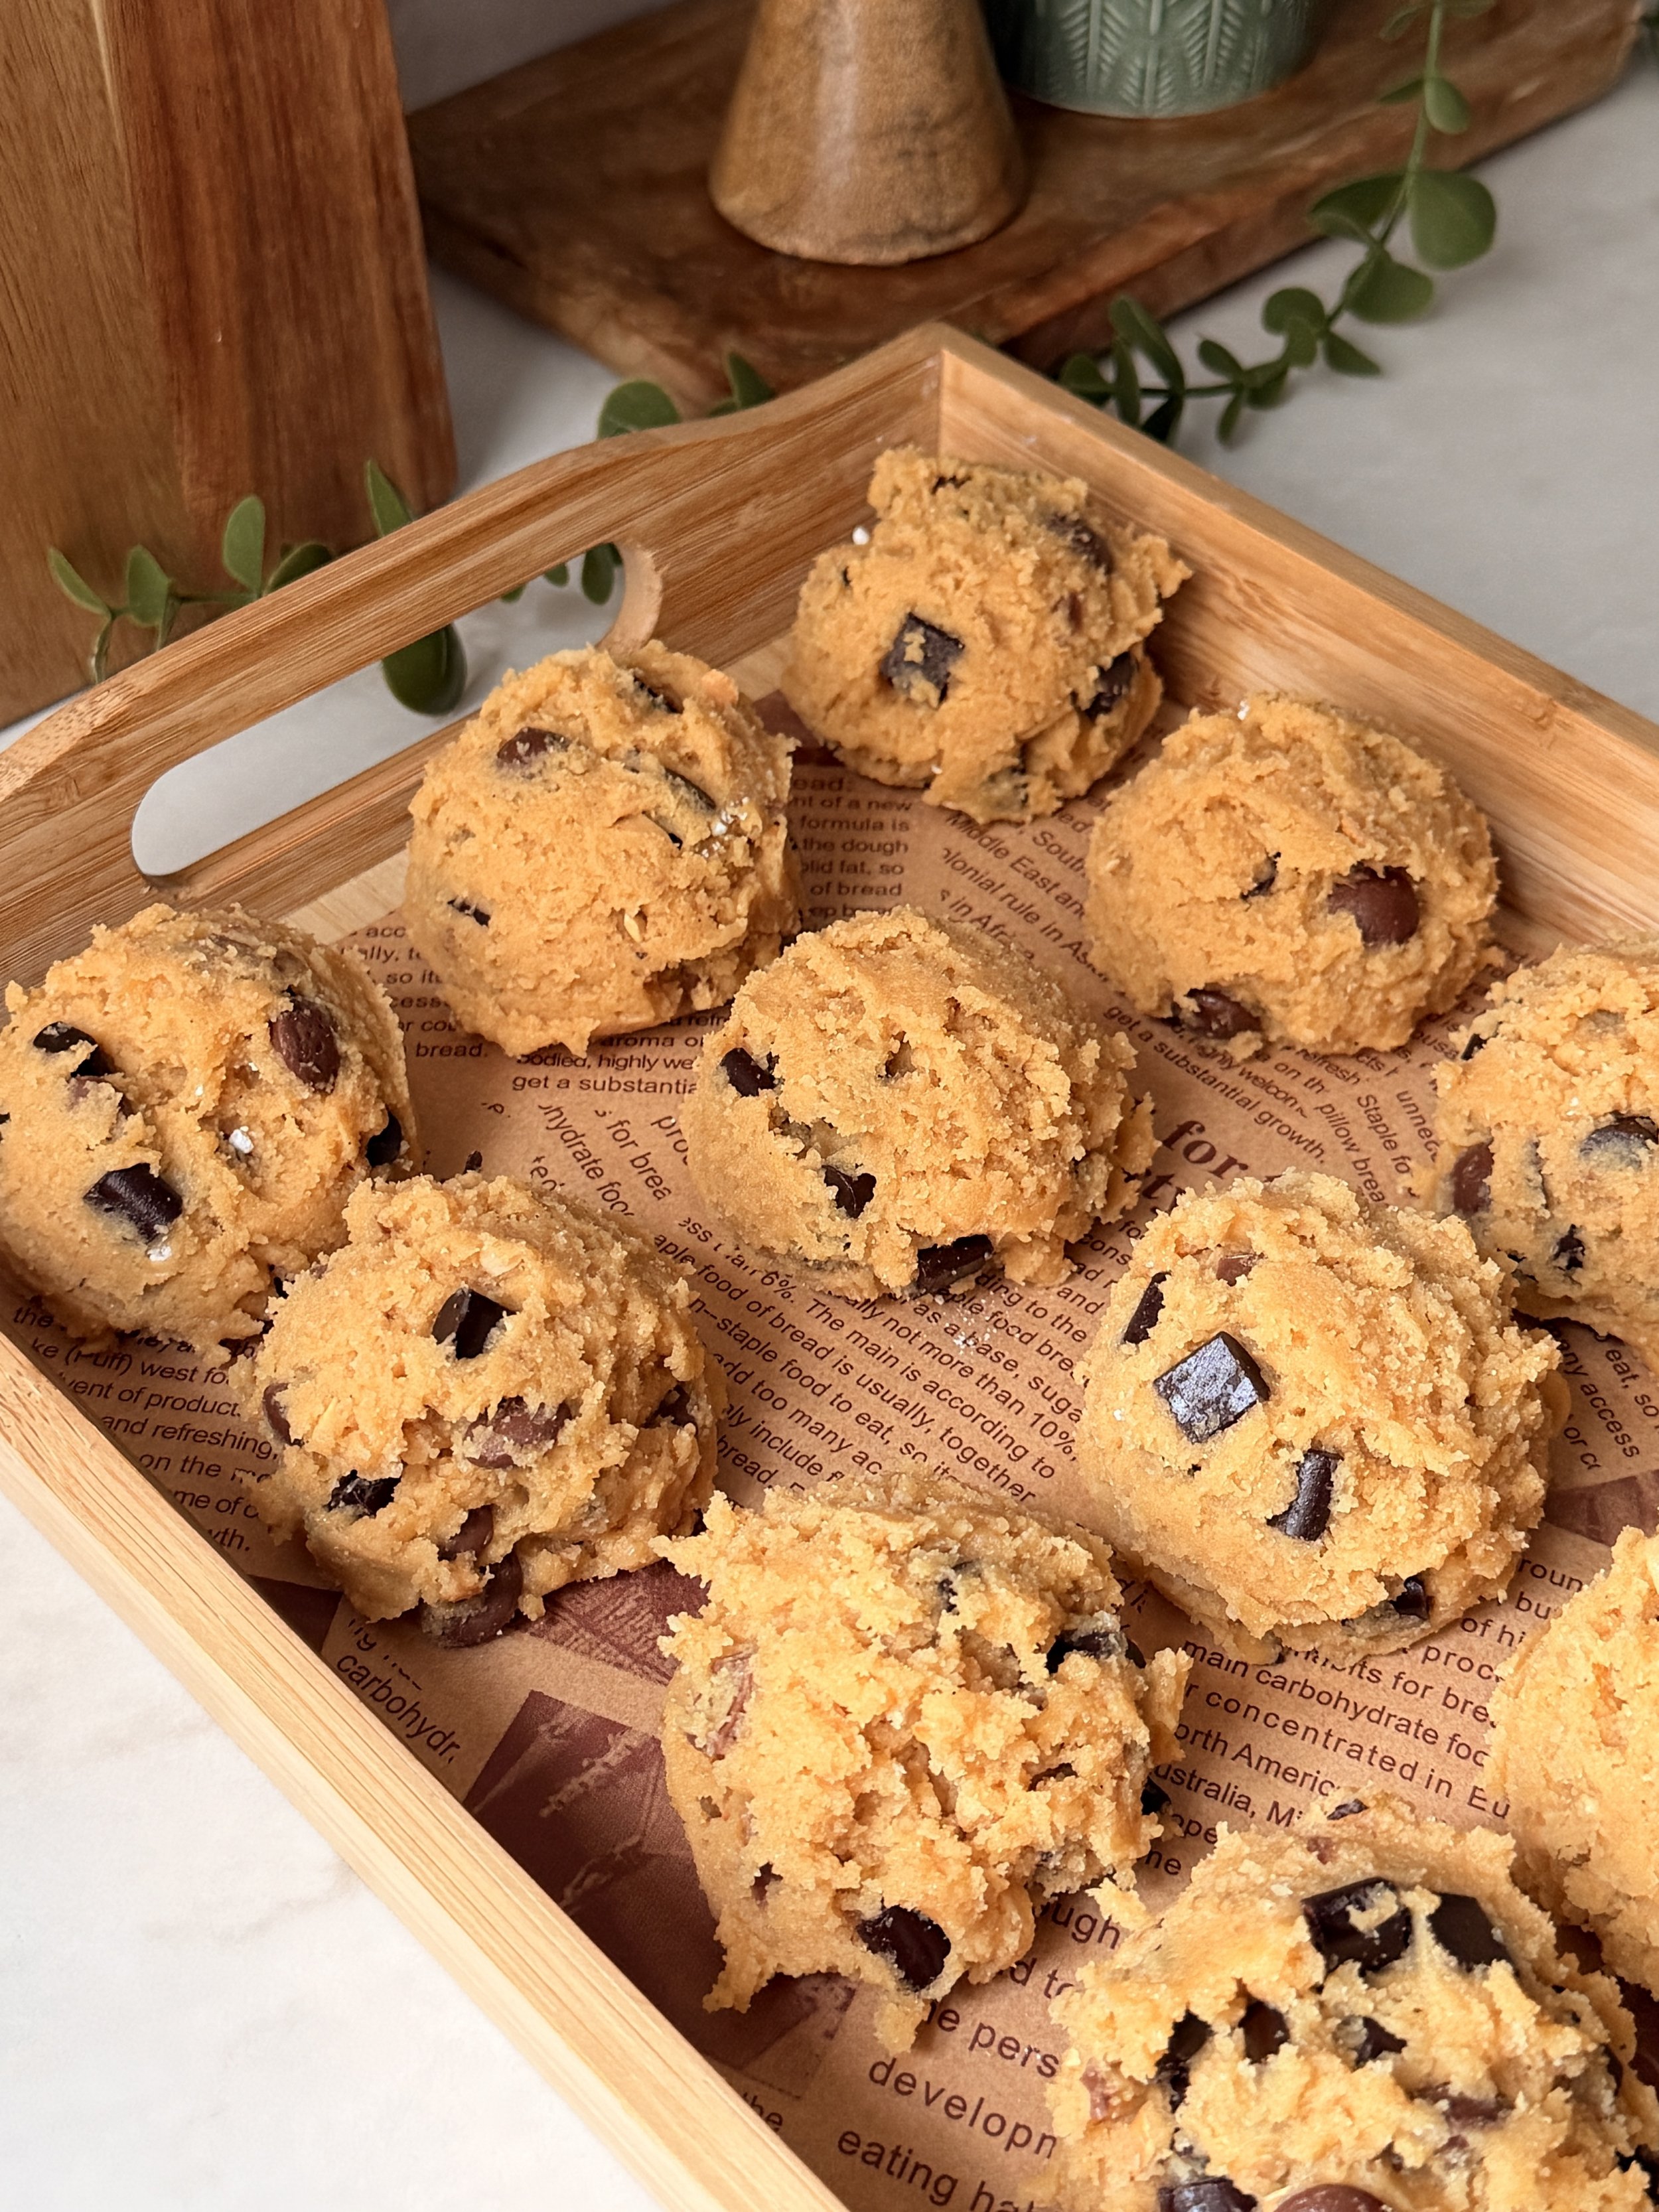
→ Do not skip the one hour chilling time - Once you've prepared the cookie dough, scoop it into individual cookie dough balls, arrange them on a parchment-lined baking tray and refrigerate for at least 1 hour before baking. Chilling allows the butter to firm up, helping the cookies maintain their shape and preventing them from spreading too much in the oven. It also gives the flour time to absorb moisture while allowing the flavors to develop. Since peanut butter contributes additional fat to the dough, this chilling step is especially helpful for achieving cookies with slightly crispy edges and soft, chewy centers.
→ Choose unsweetened creamy peanut butter - For this recipe, I recommend using smooth, creamy peanut butter without added sugar. Since the cookie dough already contains a generous amount of sugar, using sweetened peanut butter can make the finished cookies overly sweet. Unsweetened peanut butter allows the natural peanut flavor to stand out while balancing the sweetness of the chocolate chips. If you're using natural peanut butter, make sure to stir it thoroughly before measuring, as the natural oils can separate and affect the consistency of the dough. For the most consistent baking results, I recommend using a creamy peanut butter with a smooth, well-emulsified texture.
→ Use a cookie scoop for evenly sized cookies - To ensure that all your cookies bake evenly, I highly recommend using a medium sized cookie scoop to portion the dough. This recipe makes approximately 14 cookies, with each cookie weighing around 70-75 g. Using a scoop helps create cookies of a similar size, which is especially important when baking multiple batches. Evenly sized cookies will spread and bake at a similar rate, giving you more consistent results.
→ Leave enough space between the cookies - These cookies will spread during baking, so make sure to leave plenty of space between each cookie dough ball when arranging them on the baking tray. I recommend baking approximately 4 cookies at a time on a large baking tray, depending on its size. Placing the cookies too close together can cause them to spread into one another, making it difficult to achieve their individual round shapes.
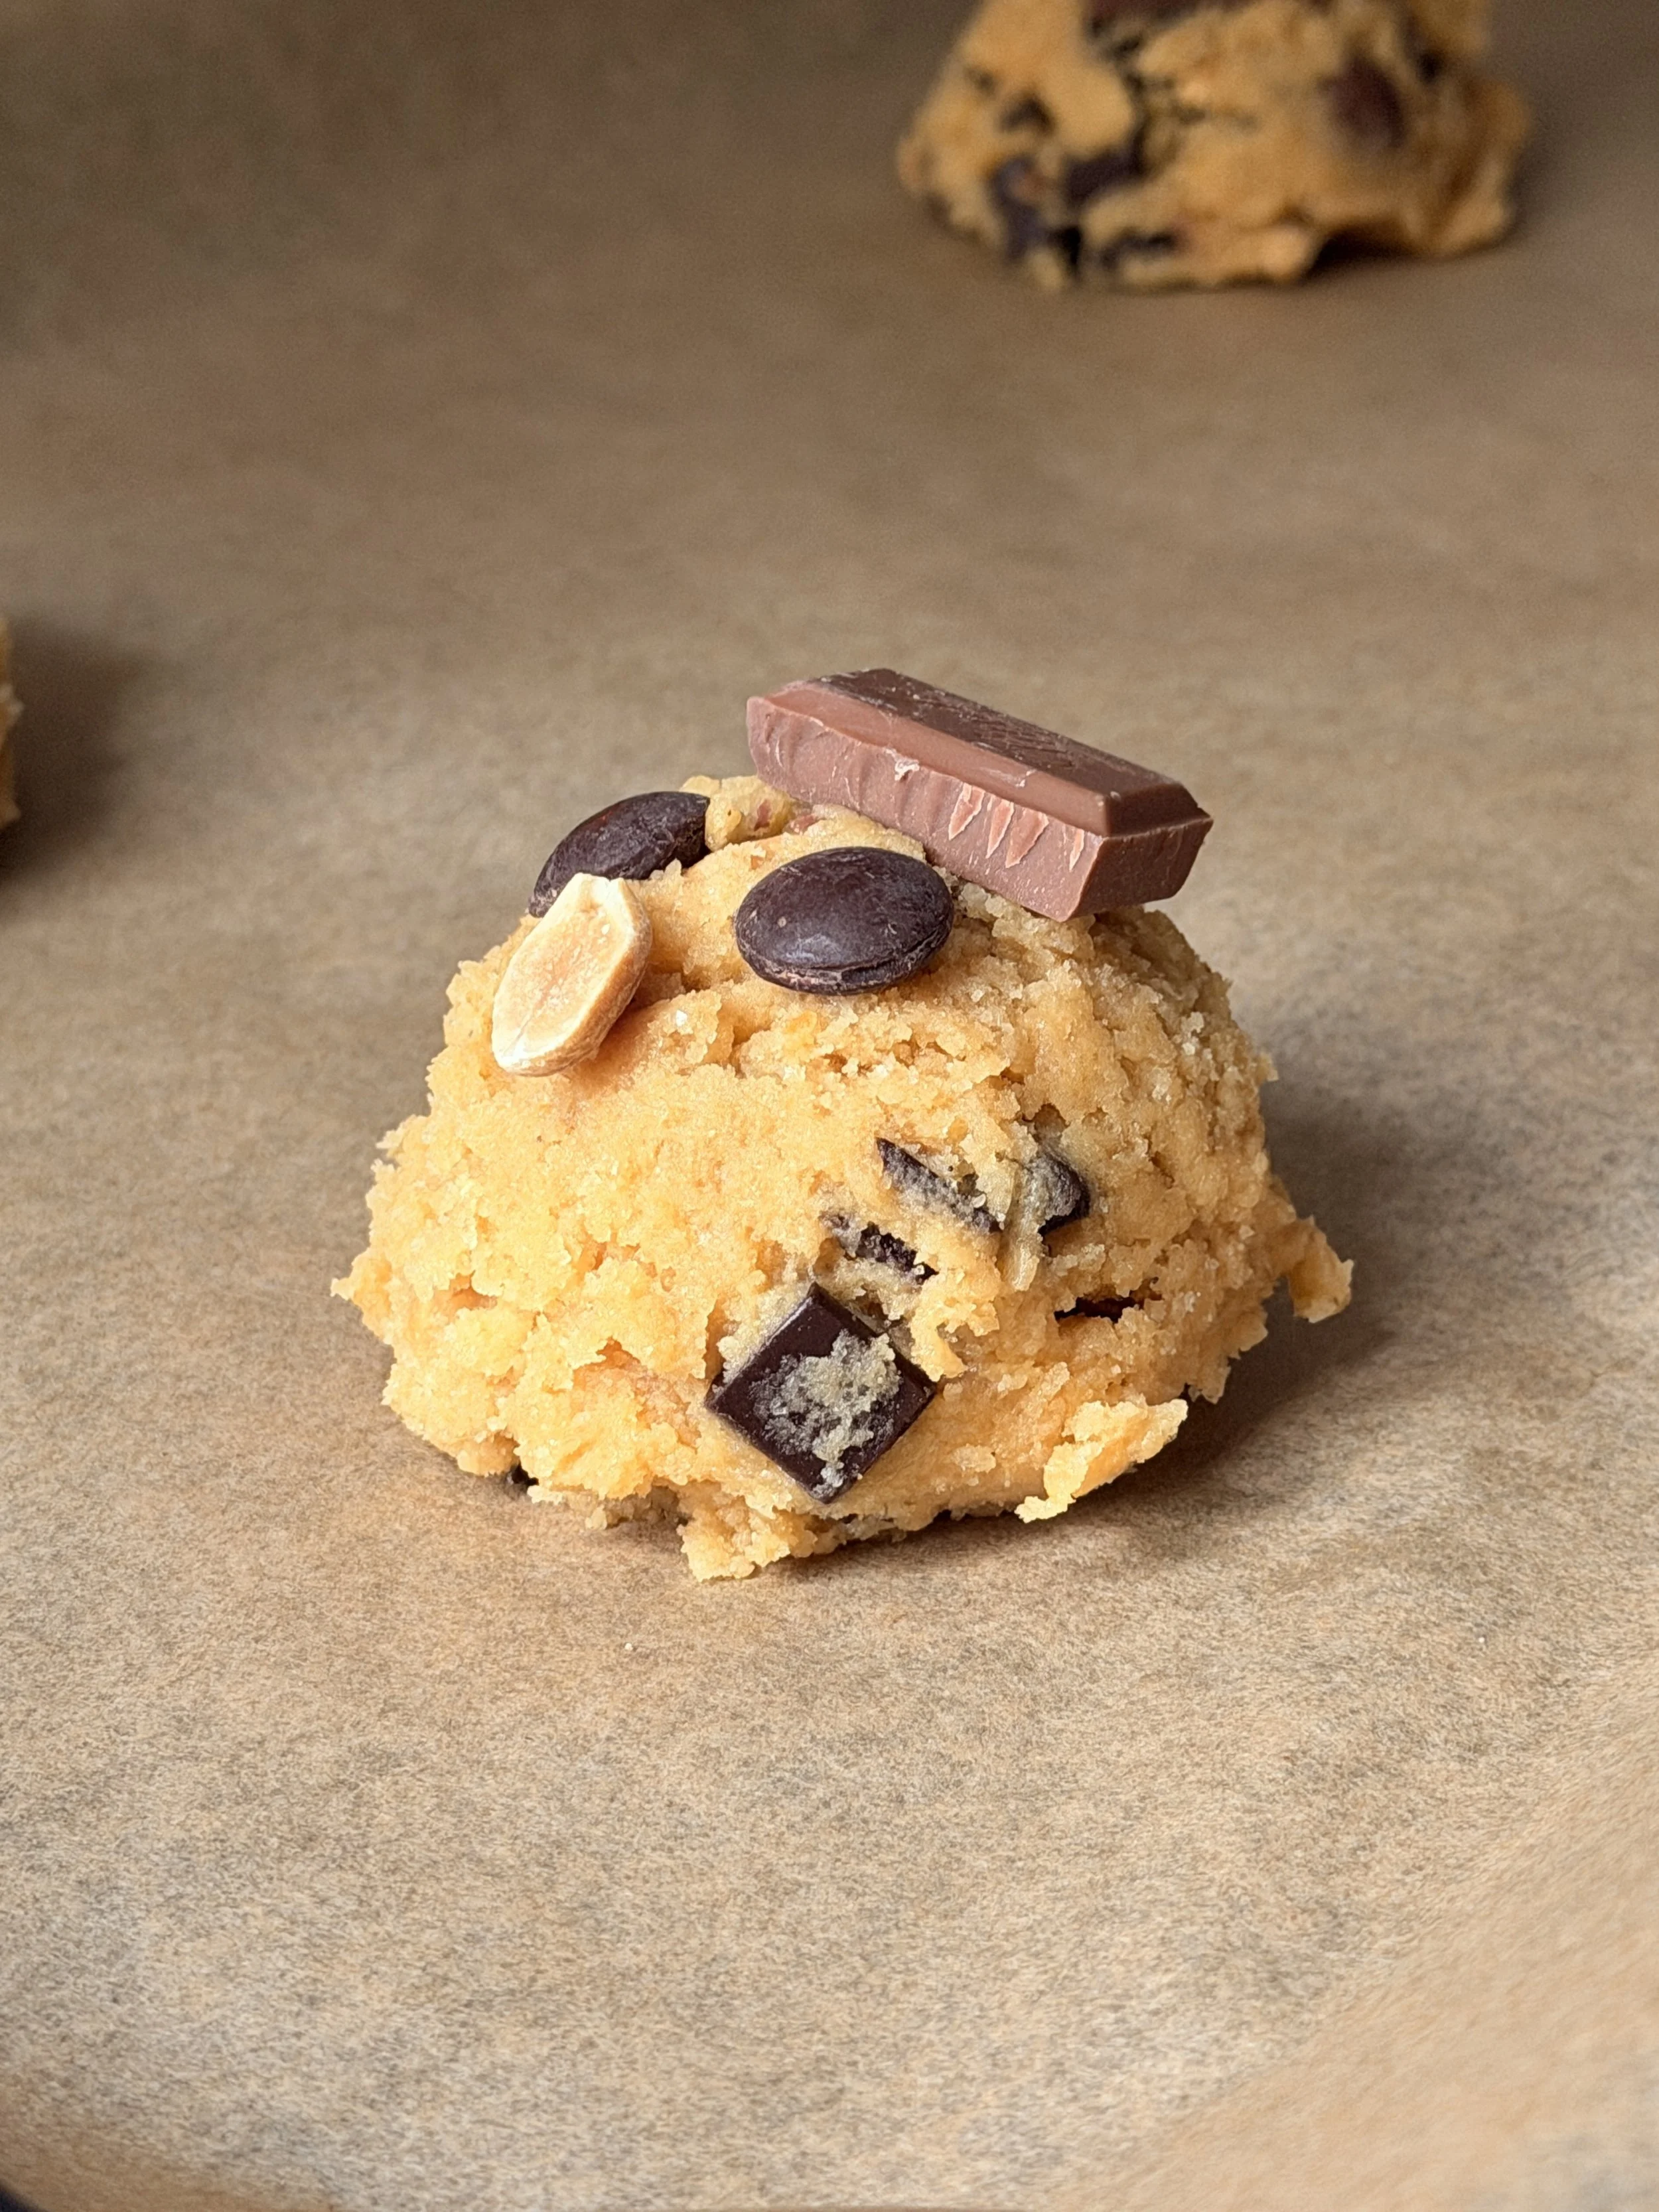
→ Add extra chocolate chips before baking - For that beautiful bakery-style appearance, I recommend pressing a few additional chocolate chips onto the tops of the cookie dough balls just before placing them in the oven. Some of the chocolate mixed into the dough may become hidden as the cookies spread, so adding a few extra pieces ensures that the chocolate remains visible on top.
→ Use the cookie cutter swirling method for perfectly round cookies - If you want your cookies to have a perfectly round, bakery-style appearance, this is one of my favorite tricks. Immediately after removing the cookies from the oven, place a large round cookie cutter around each cookie, making sure the cutter is slightly larger than the cookie itself. Gently swirl the cutter around the edges in a circular motion to bring any uneven edges back toward the center. This works best while the cookies are still hot and soft, so make sure to do it before they begin to firm up. Once shaped, allow the cookies to rest on the baking tray for a few minutes before transferring them to a cooling rack.
→ Use a kitchen scale for accurate measurements: When baking cookies, accurate measurements are essential for achieving the right texture and consistency. Even a small difference in the amount of flour, butter, or peanut butter can affect how much the cookies spread and how soft they remain after baking. Measuring ingredients by weight is much more reliable than using measuring cups, which can vary depending on how the ingredients are packed. I always recommend using a kitchen scale for the best results, especially when working with recipes that require a specific balance of fats, sugars, and flour.
Ingredients You Will Need For This Recipe
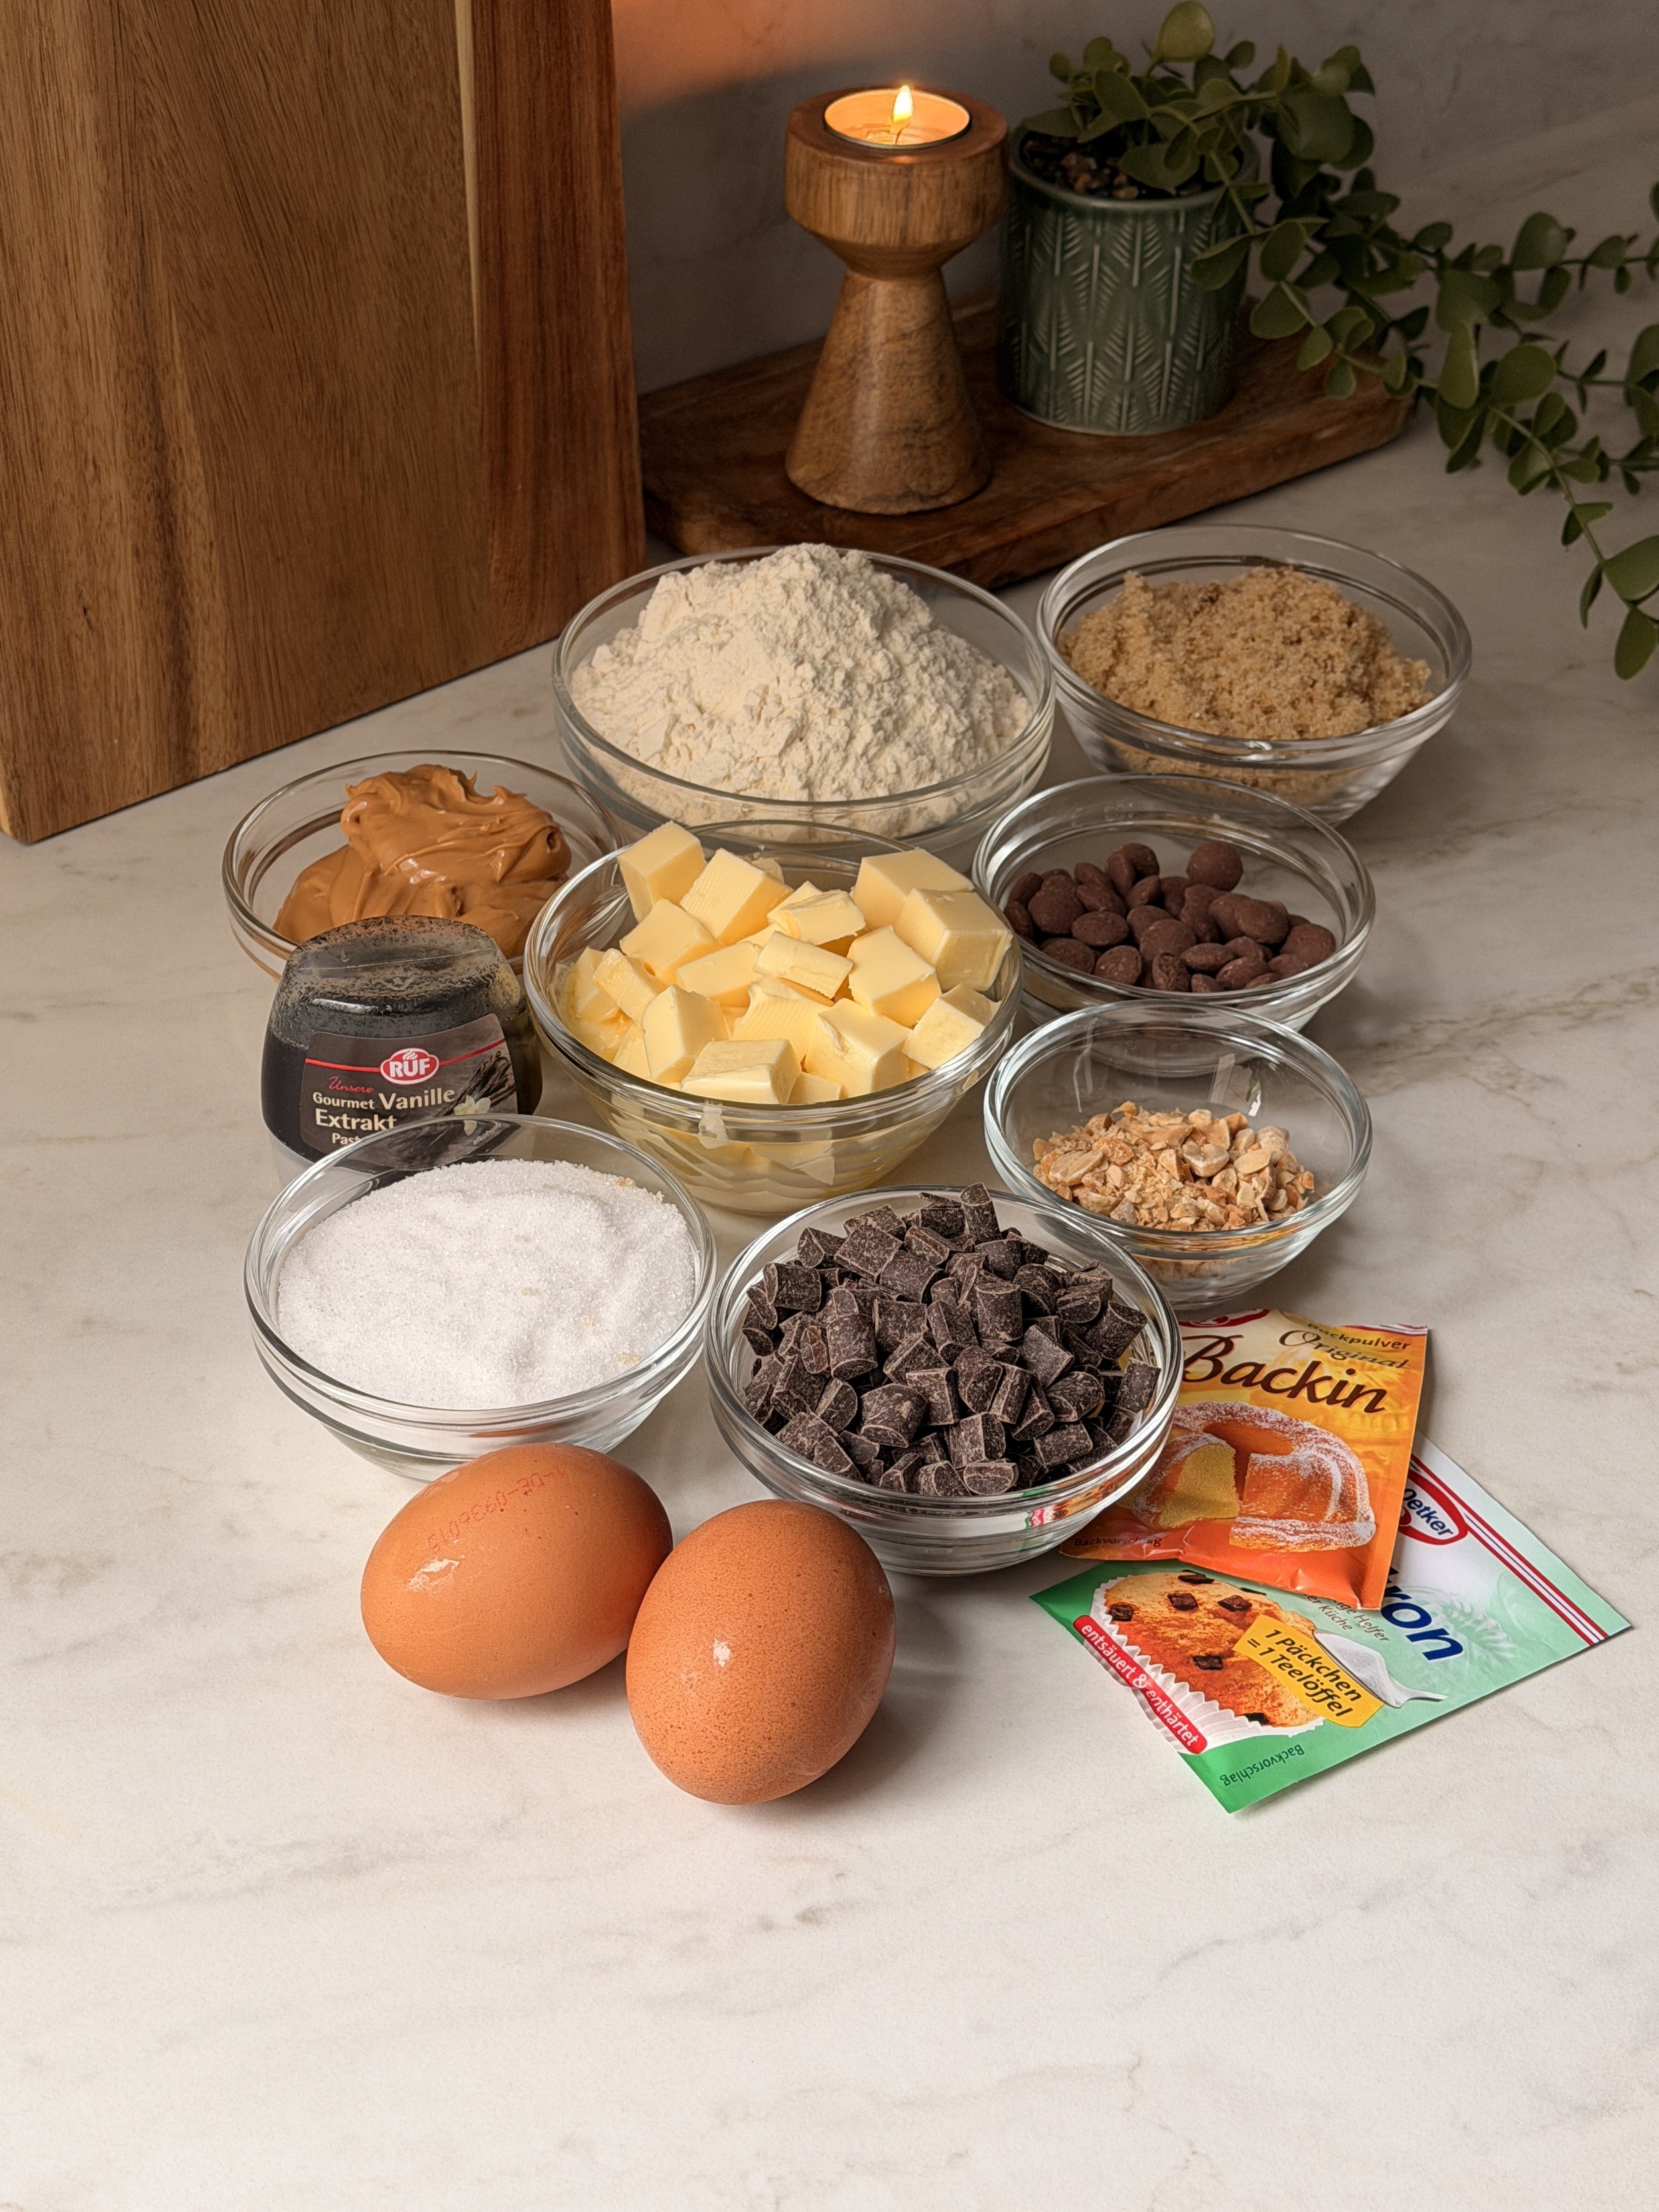
Unsalted butter: I recommend using unsalted butter for this recipe because both the peanut butter and salted peanuts already contribute saltiness to the dough. Make sure the butter is softened to room temperature before mixing, as this makes it much easier to combine with the sugars and peanut butter.
Smooth peanut butter: I highly recommend using smooth, creamy peanut butter without added sugar, as the cookie dough already contains a generous amount of sweetness. If you're using natural peanut butter, make sure to stir it thoroughly before measuring, as the oils can separate. For the most consistent results, choose a peanut butter with a smooth, well-emulsified consistency rather than one that's overly runny or oily.
Light brown sugar: Brown sugar adds moisture and a subtle caramel-like flavor to the cookie dough, helping create soft, chewy centers. I recommend using light brown sugar for its mild flavor, which complements the peanut butter without overpowering it.
Granulated sugar: Granulated sugar provides sweetness while helping the cookies spread during baking and develop lightly crispy edges.
Egg and egg yolk: This recipe uses one whole large egg and one additional egg yolk to achieve the perfect cookie texture.
Vanilla bean paste: You can also use vanilla extract if that’s what you have.
All-purpose flour: All-purpose flour provides the structure needed to hold the cookies together while keeping the centers soft and chewy. I highly recommend measuring the flour with a kitchen scale, as adding too much can result in dry, dense or cakey cookies.
Baking powder and baking soda: These two leavening agents work together to give the cookies their ideal texture and appearance. Baking powder provides a little lift, helping the cookies develop soft centers, while baking soda encourages spreading and browning during baking.
Milk chocolate chips or chunks: Milk chocolate adds a delicious creamy sweetness that pairs beautifully with the rich peanut butter flavor.
Dark chocolate chips or chunks: Dark chocolate provides a deeper, richer chocolate flavor that balances the sweetness of the milk chocolate and cookie dough.
Salted peanuts: Roughly chopped salted peanuts add a lovely crunch and enhance the peanut butter flavor throughout the cookies.


Step By Step Instructions With Photos
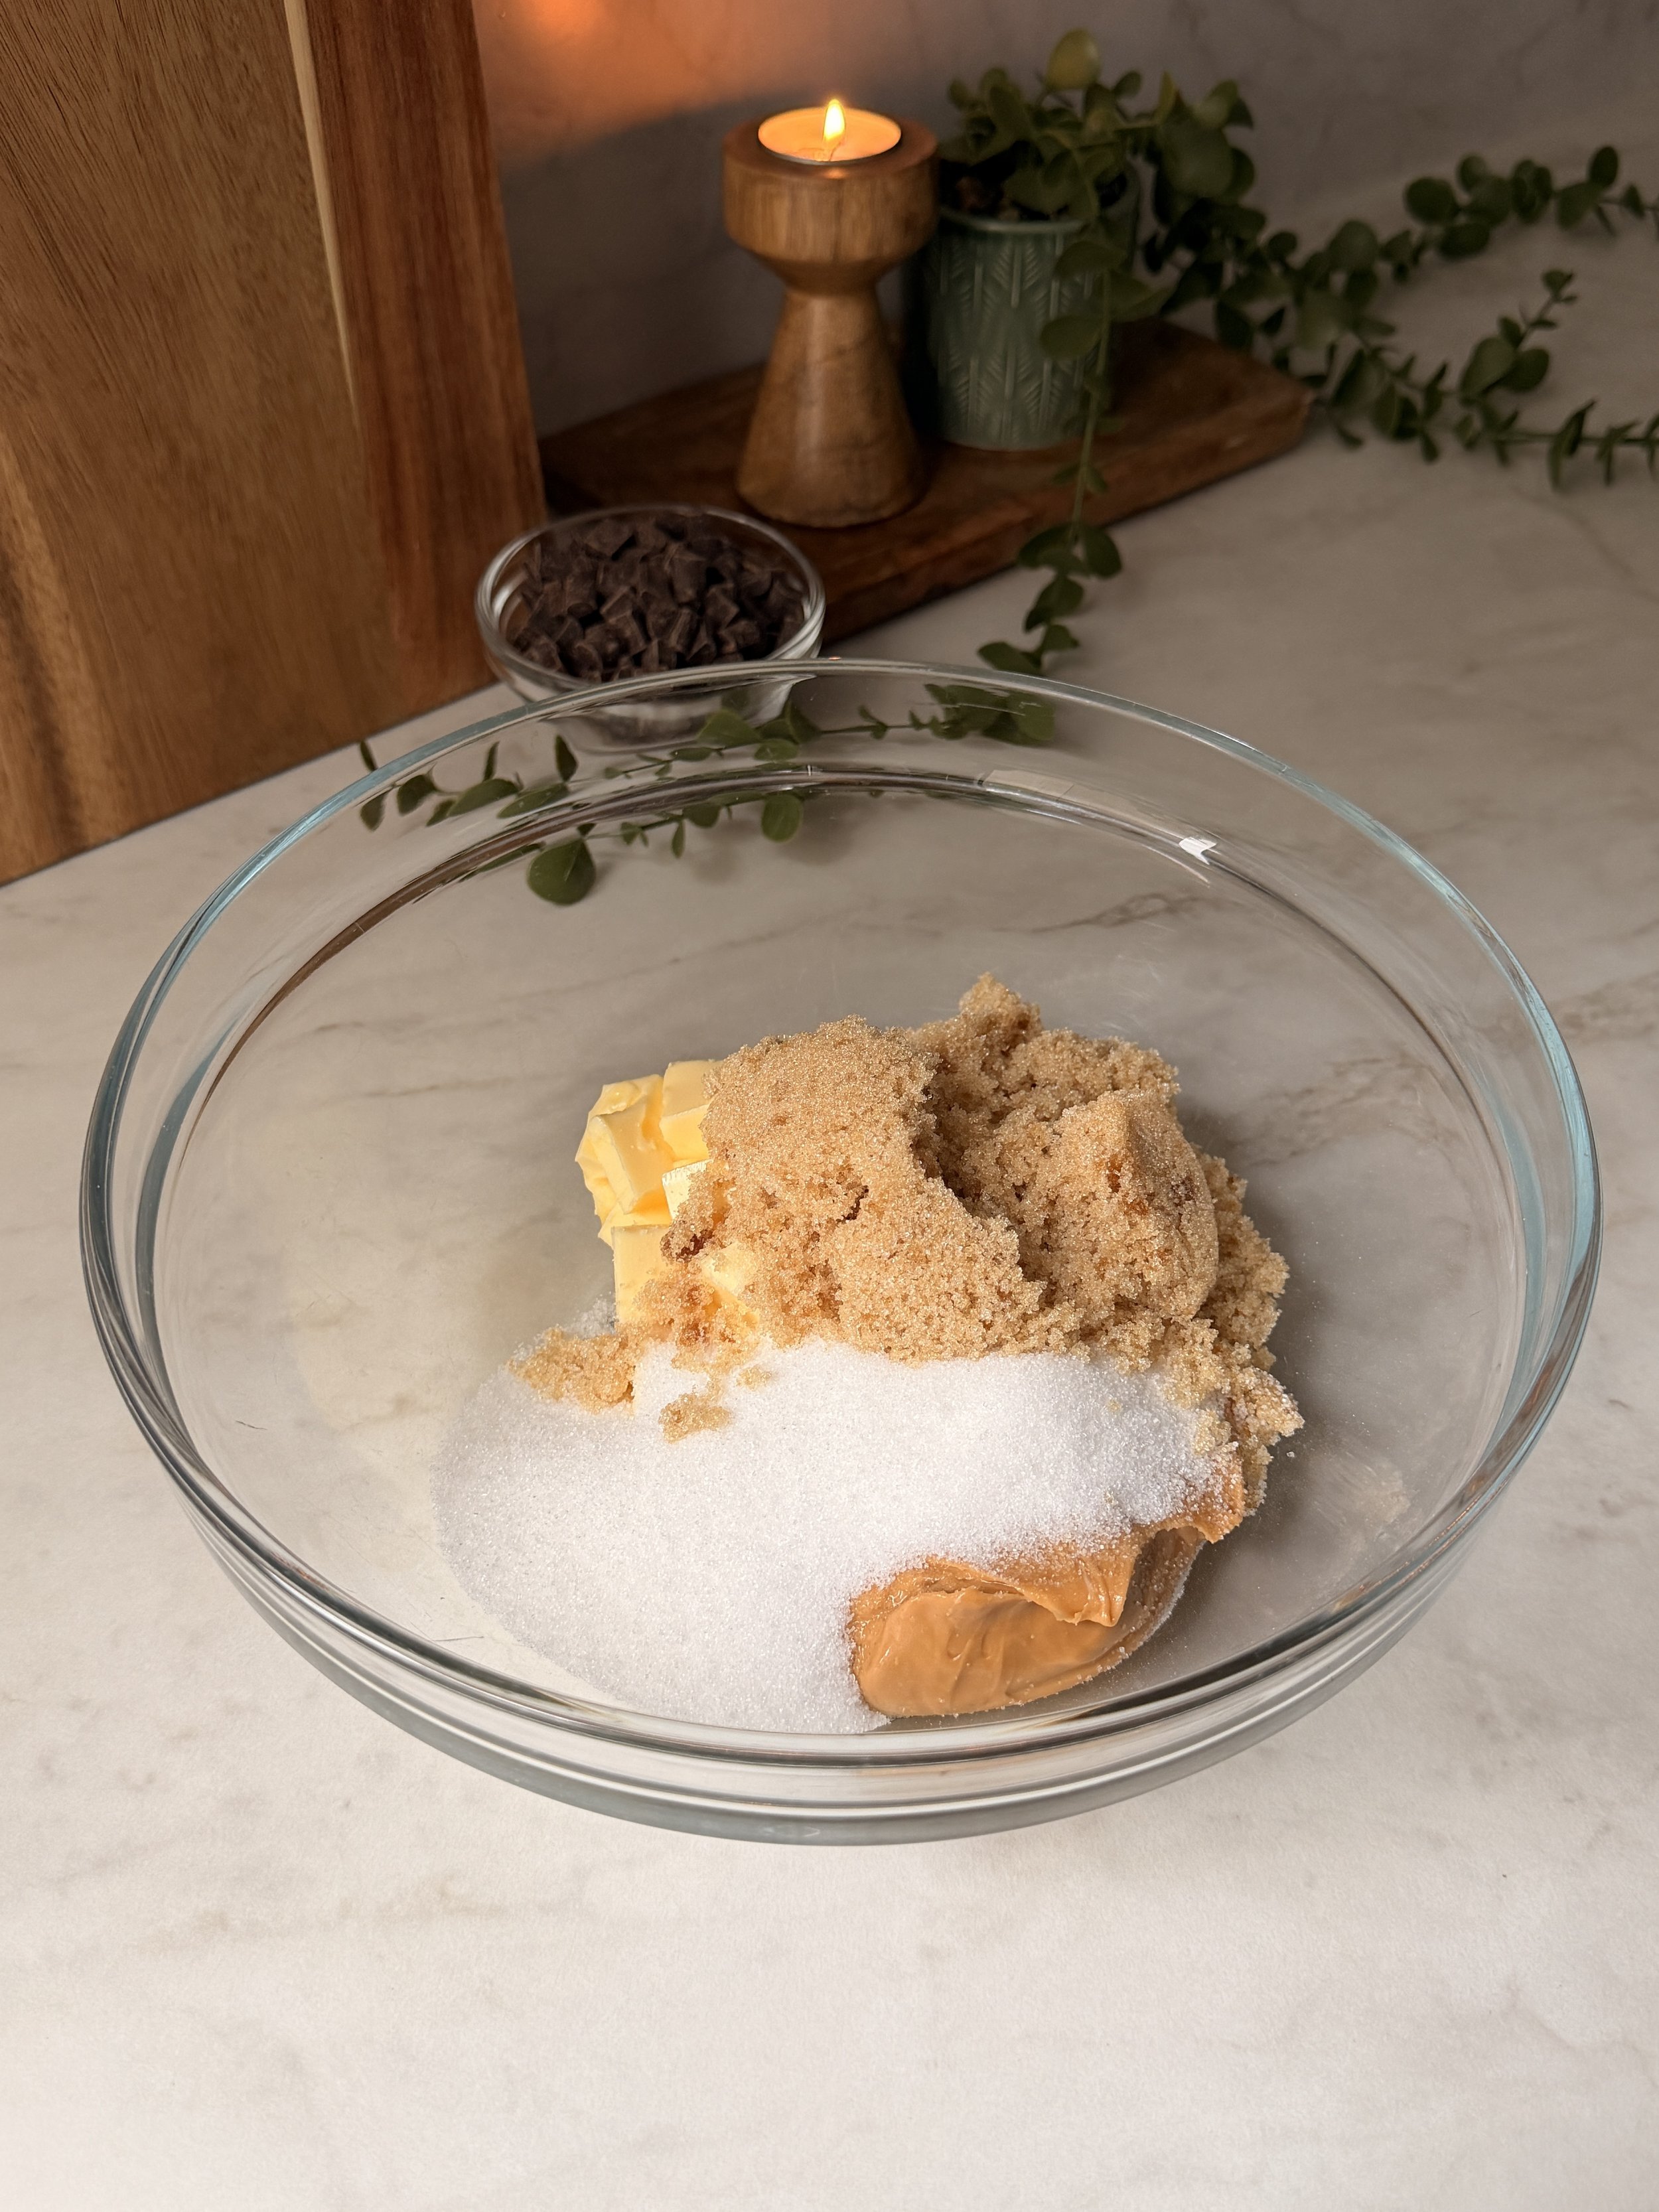
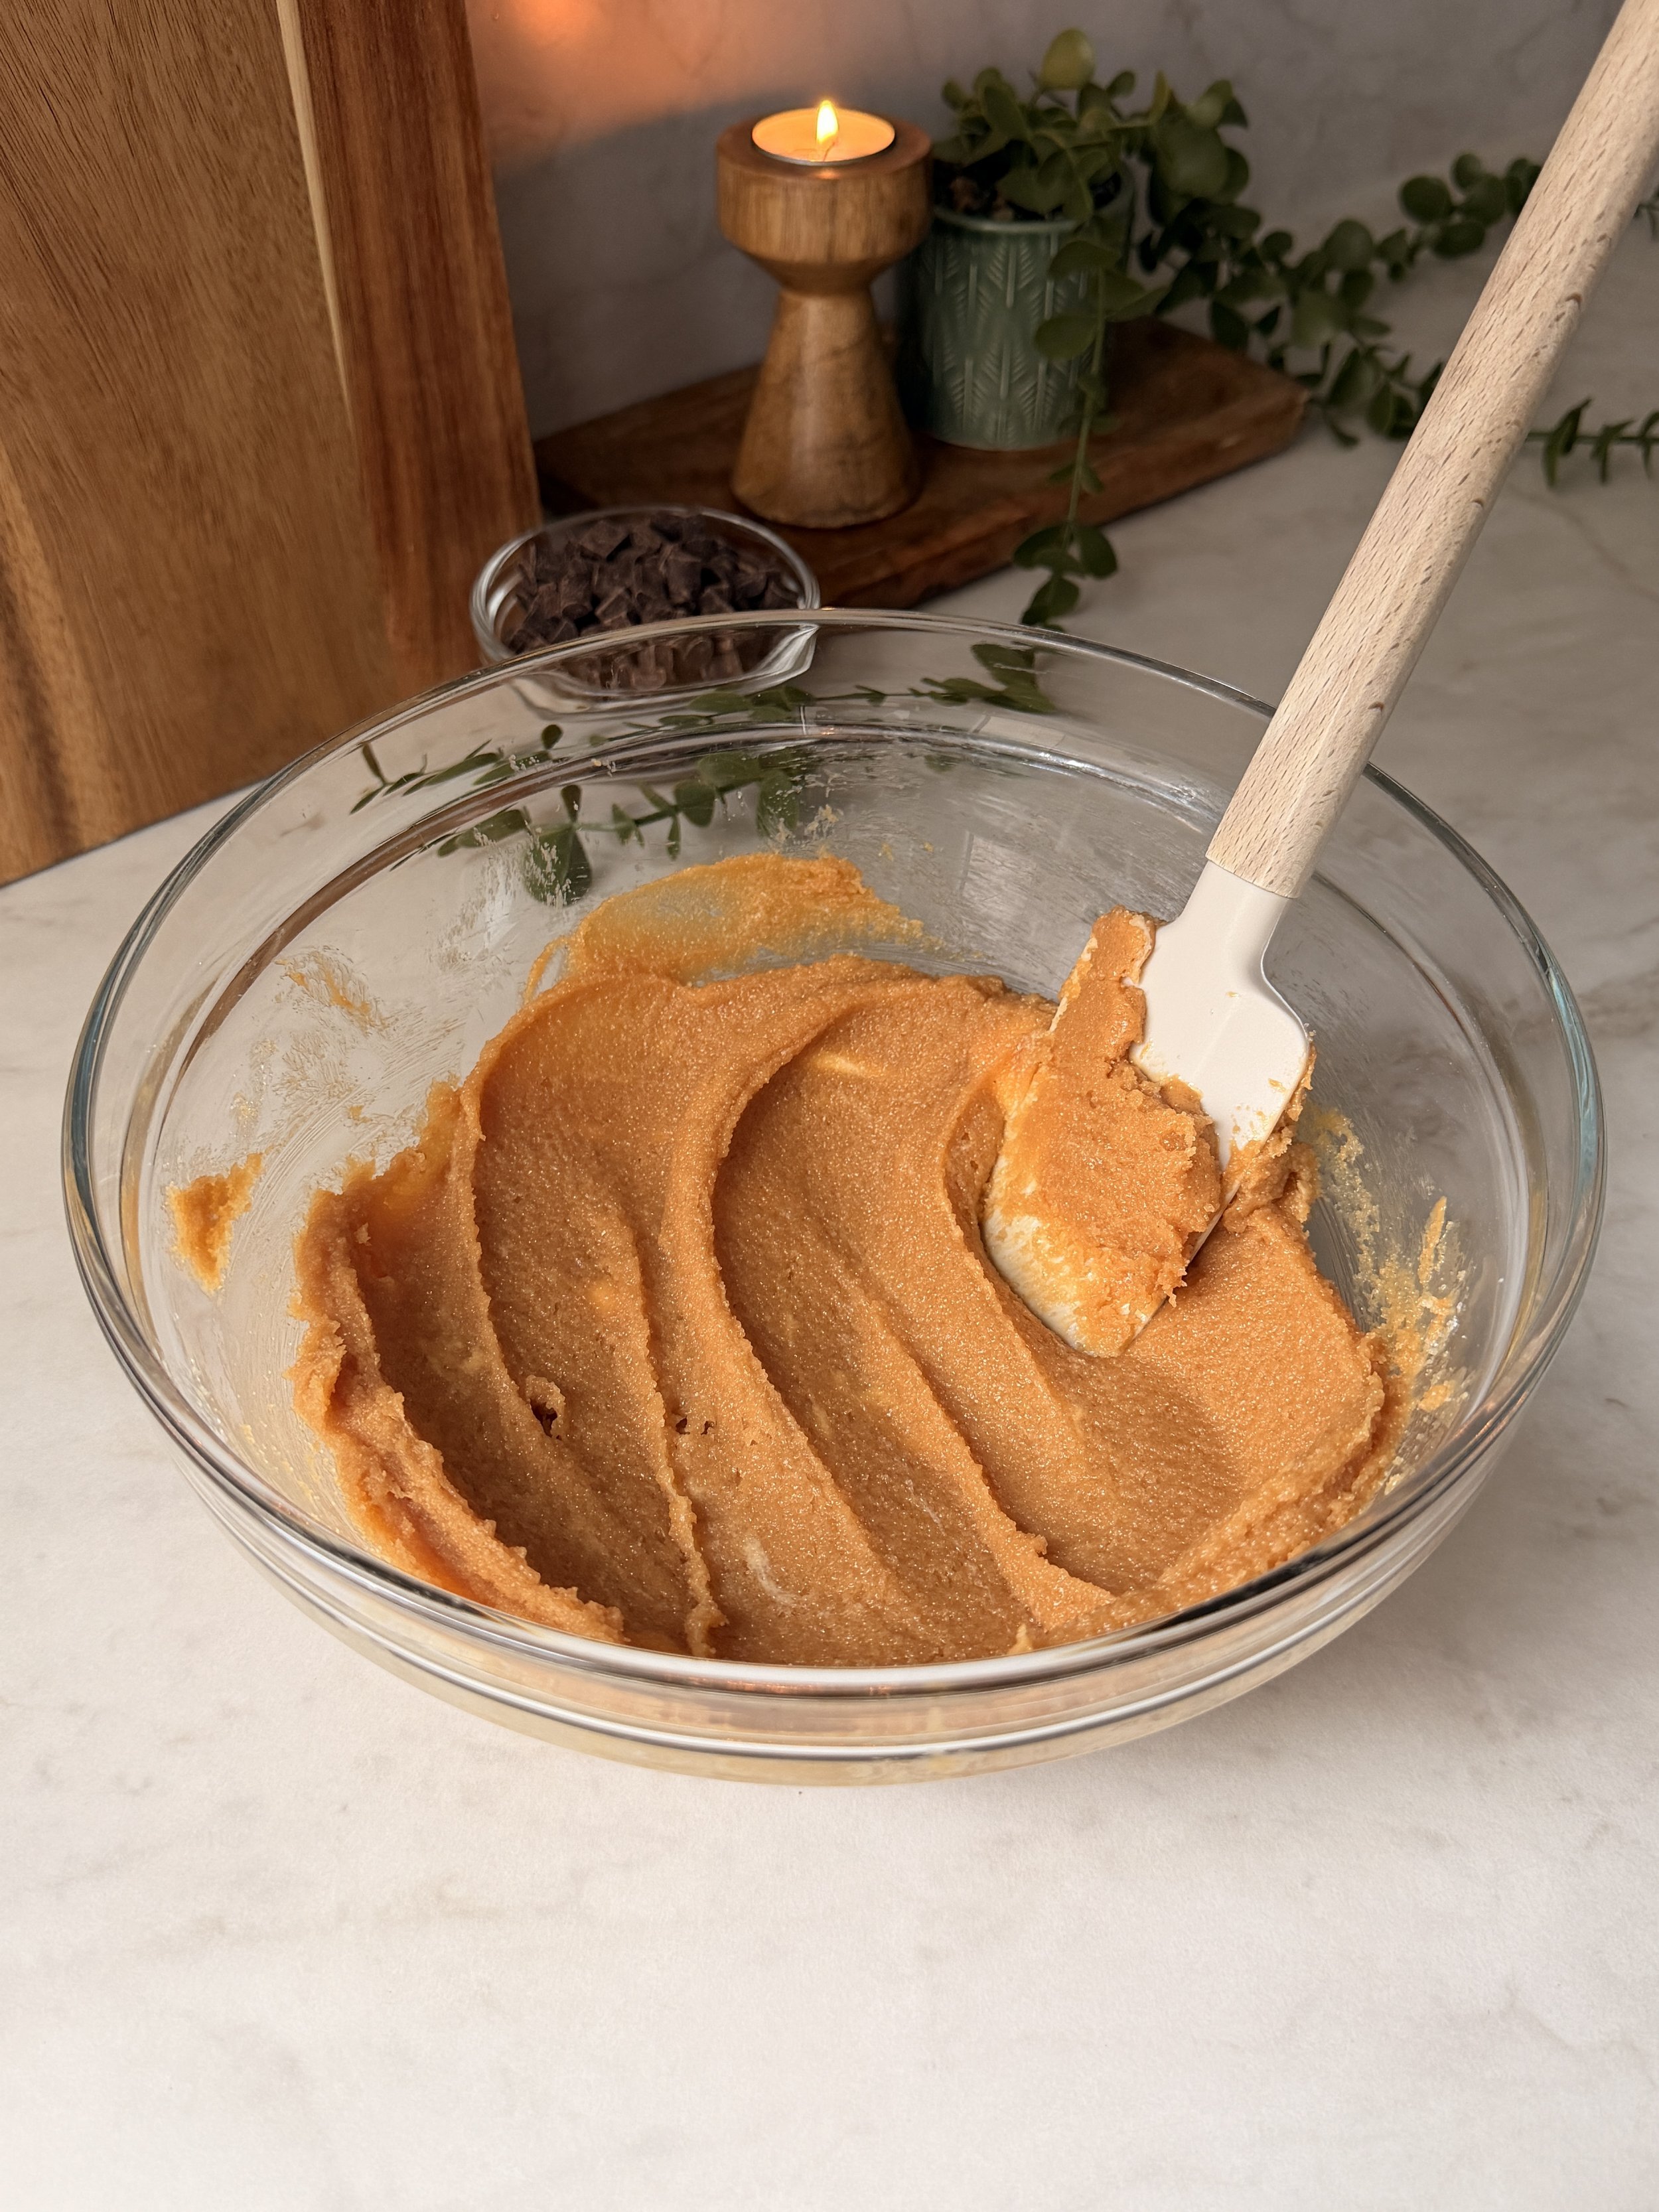
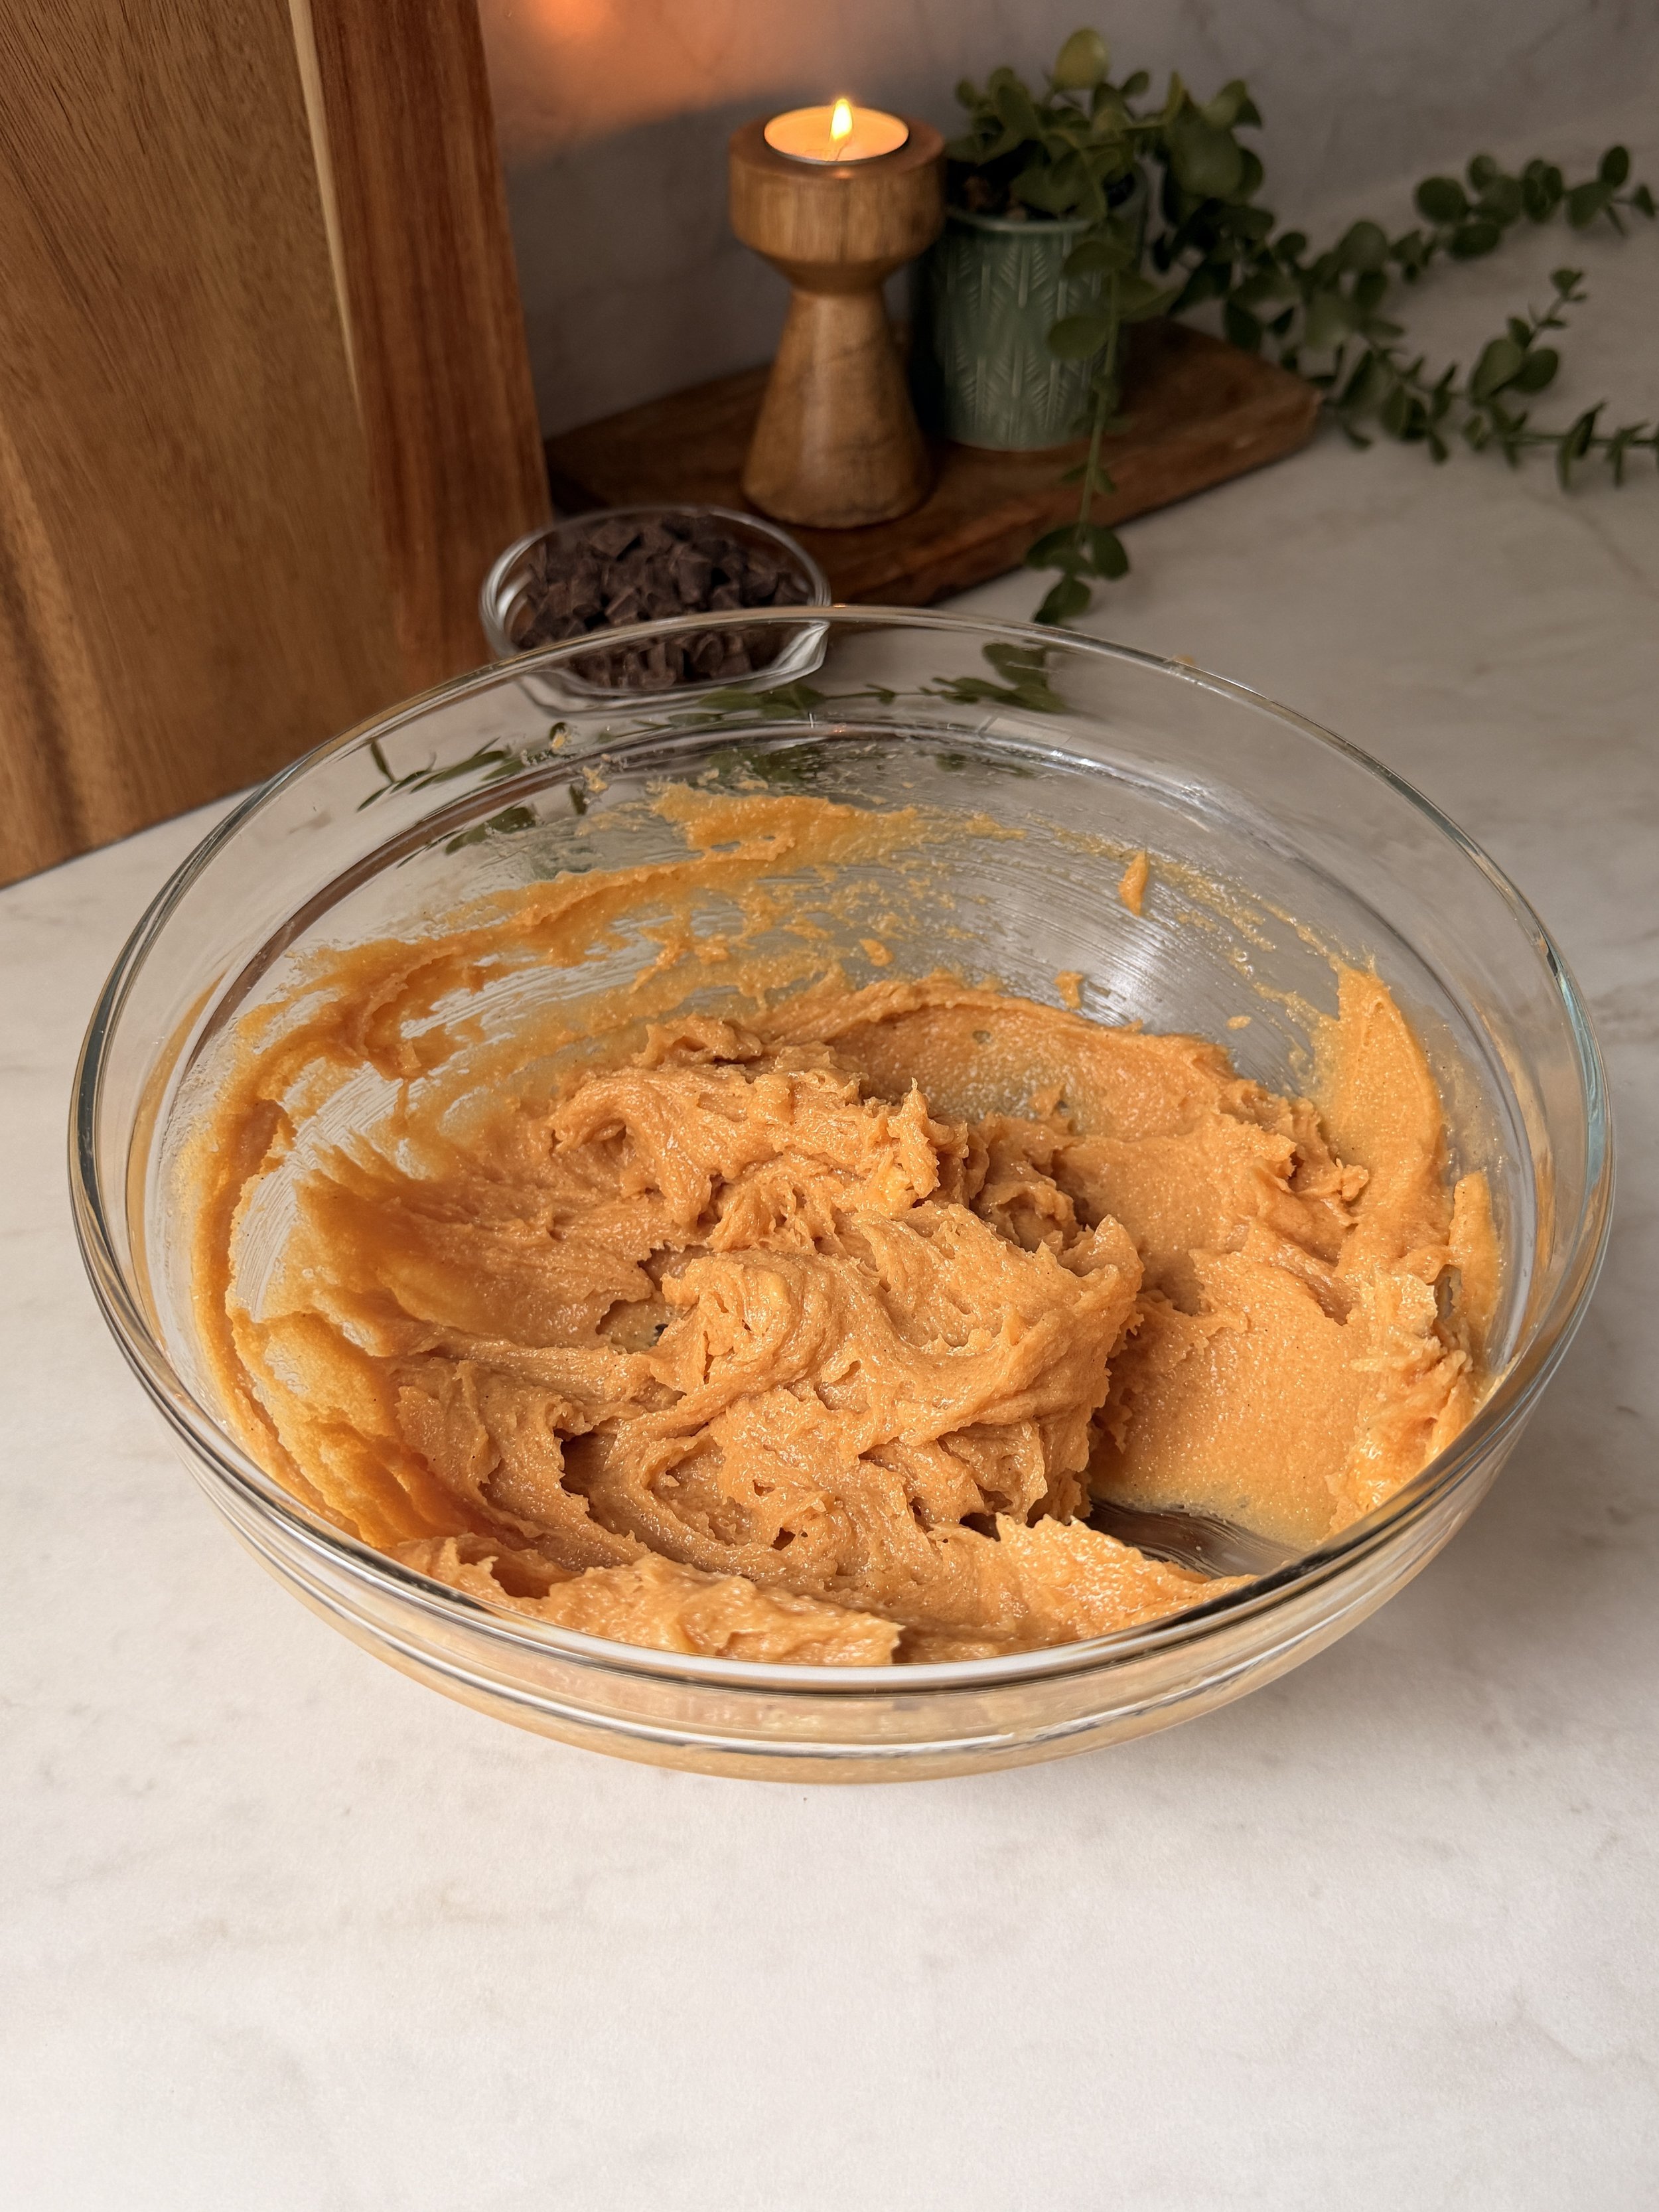
1. In a large bowl, combine the softened butter, granulated sugar, light brown sugar and peanut butter. Mix until smooth and creamy.
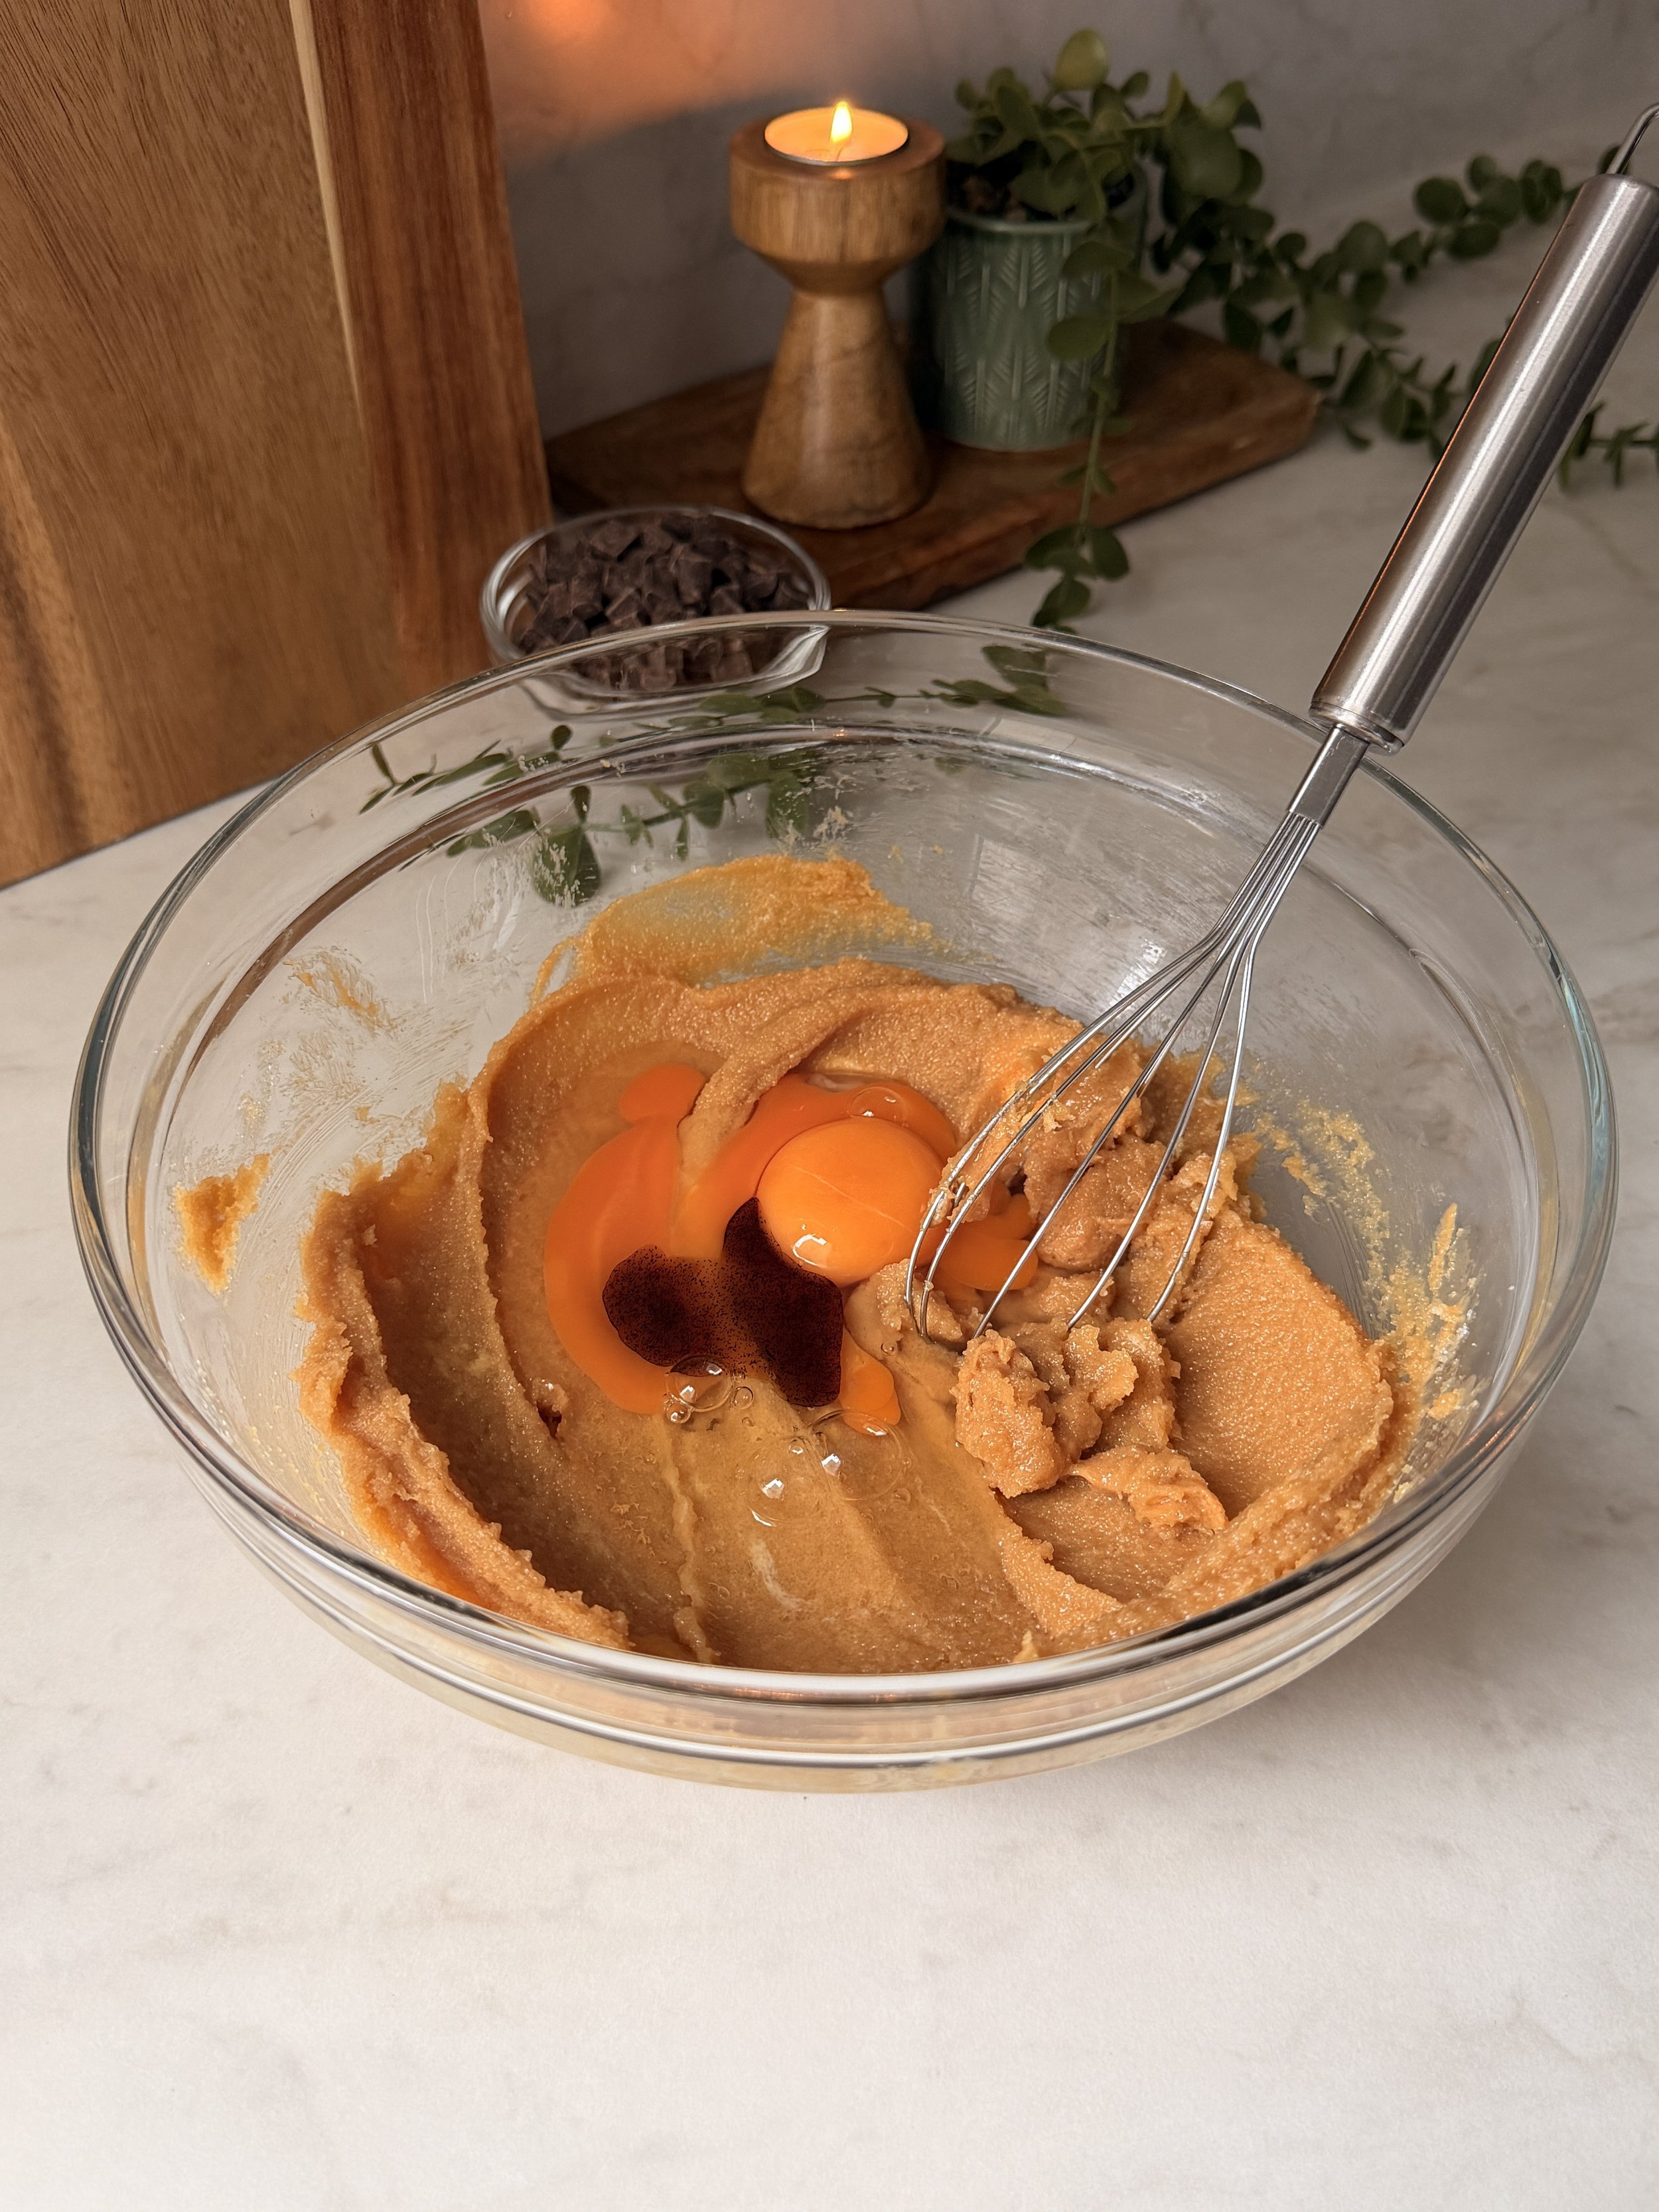
2. Add the egg, egg yolk and vanilla bean paste, and mix until fully incorporated.
3. Add the flour, baking powder and baking soda. Fold everything together until just combined.
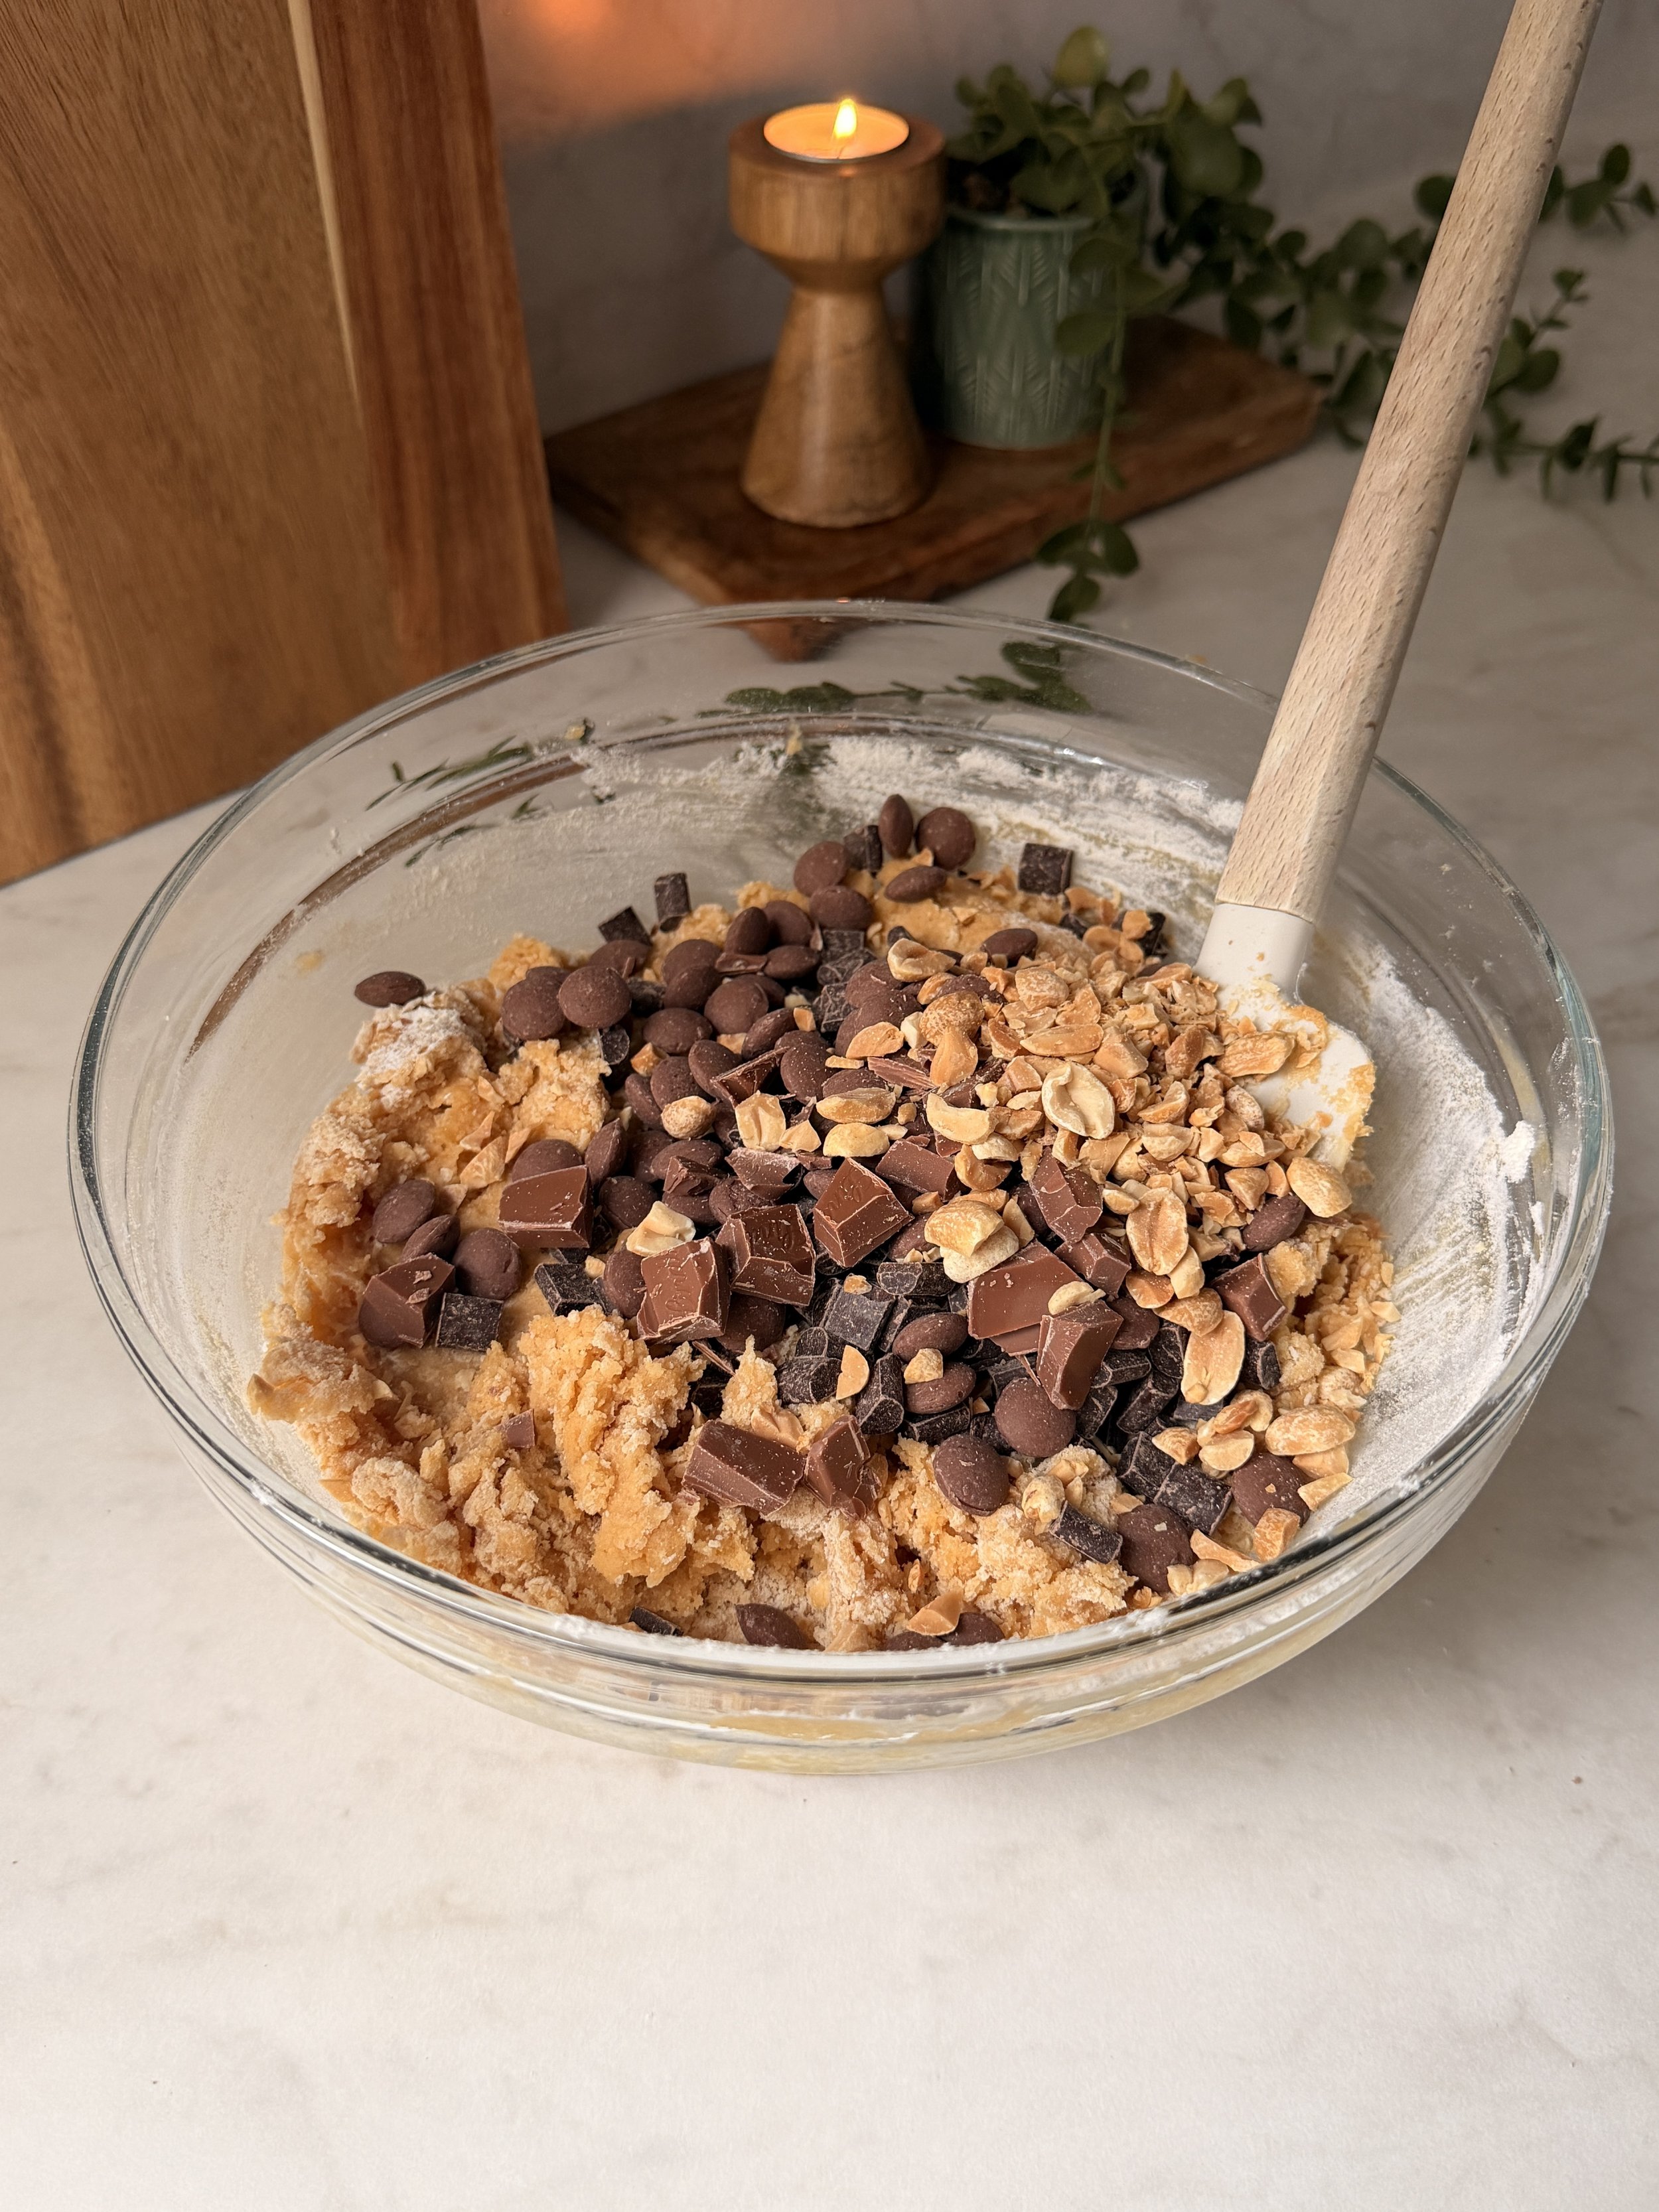
4. Lastly, fold in the milk chocolate chips, dark chocolate chips and chopped peanuts until evenly distributed throughout the dough.
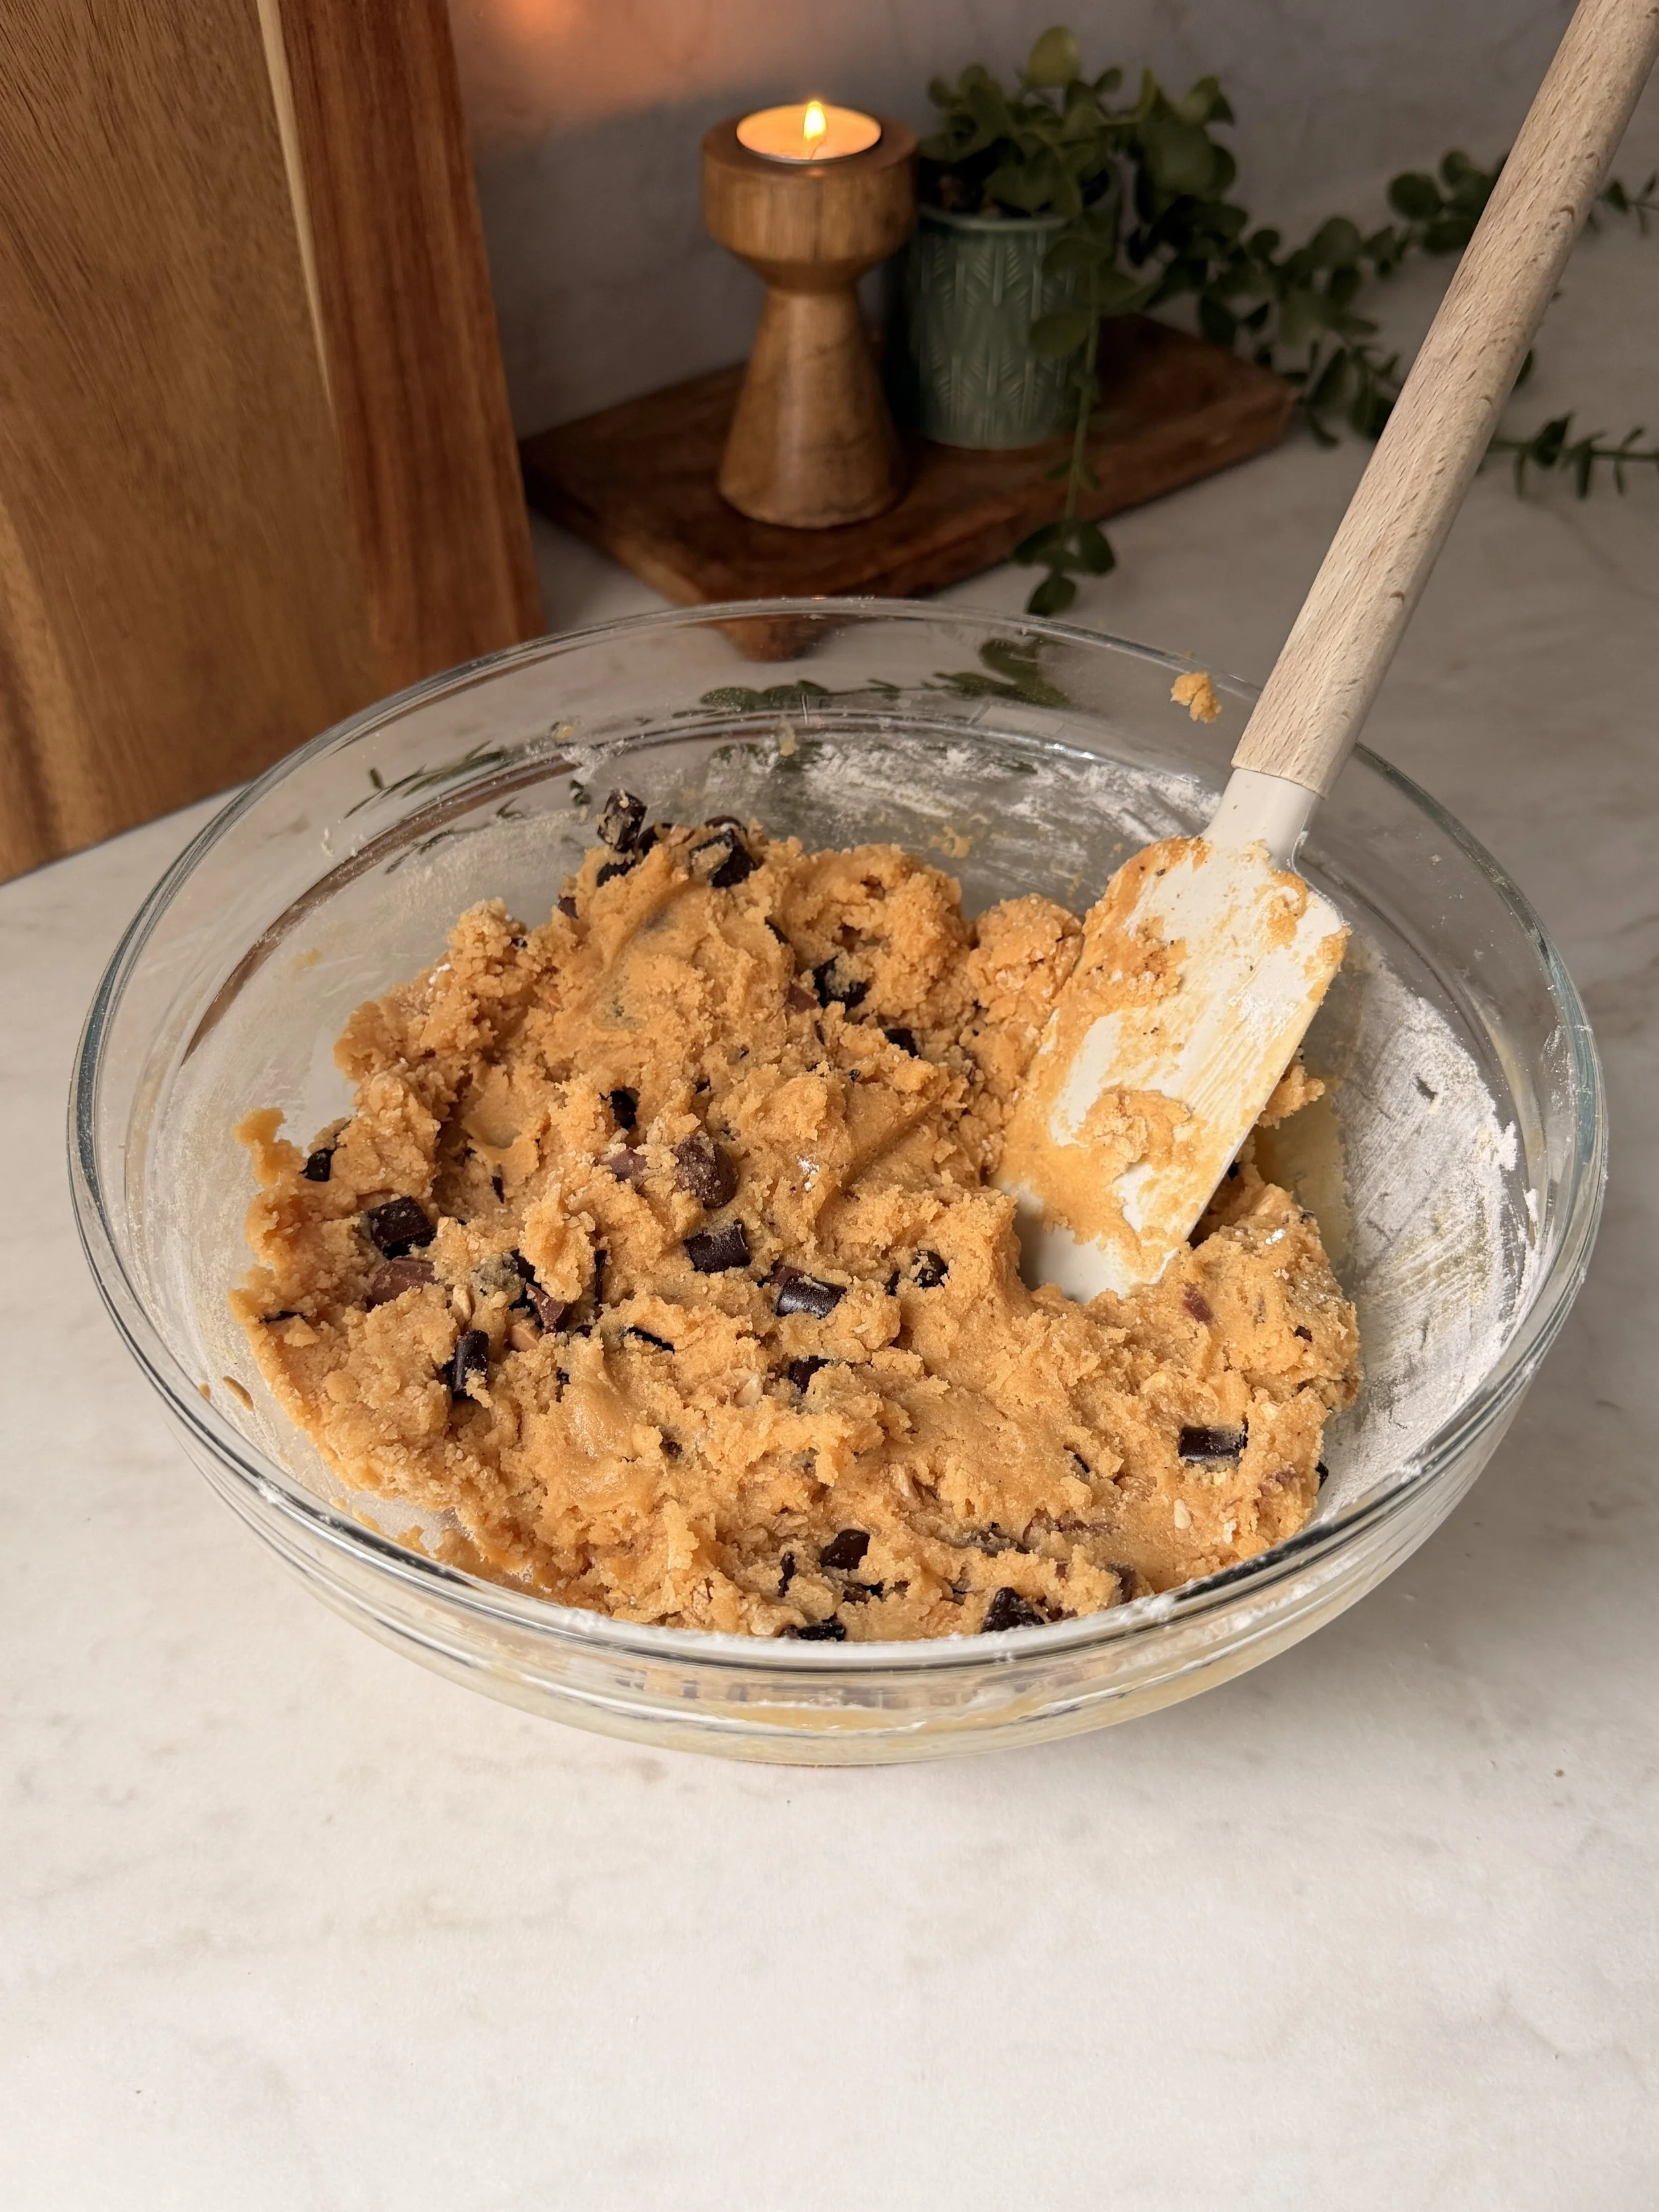
5. Using a cookie scoop, scoop out 14 equal-sized cookies (approximately 70-75g each) onto a baking tray lined with parchment paper. Cover with plastic wrap and refrigerate for at least 1 hour.
6. After 1 hour, preheat the oven to 180°C (350°F) and line a large baking tray with parchment paper.
7. Arrange 4 cookies on the prepared baking tray, leaving plenty of space between them to allow for spreading.
8. Top each cookie with additional chocolate chips and bake in the preheated oven for about 12 minutes.
9. Once baked, remove the cookies from the oven. While they are still hot, place a large round cookie cutter around each cookie and gently swirl it in a circular motion to create perfectly round edges.
10. Let the cookies rest on the baking tray for 5-10 minutes, allowing them to firm up.
11. Once firm enough to handle, carefully transfer the cookies to a wire rack and let them cool completely.
12. Enjoy!
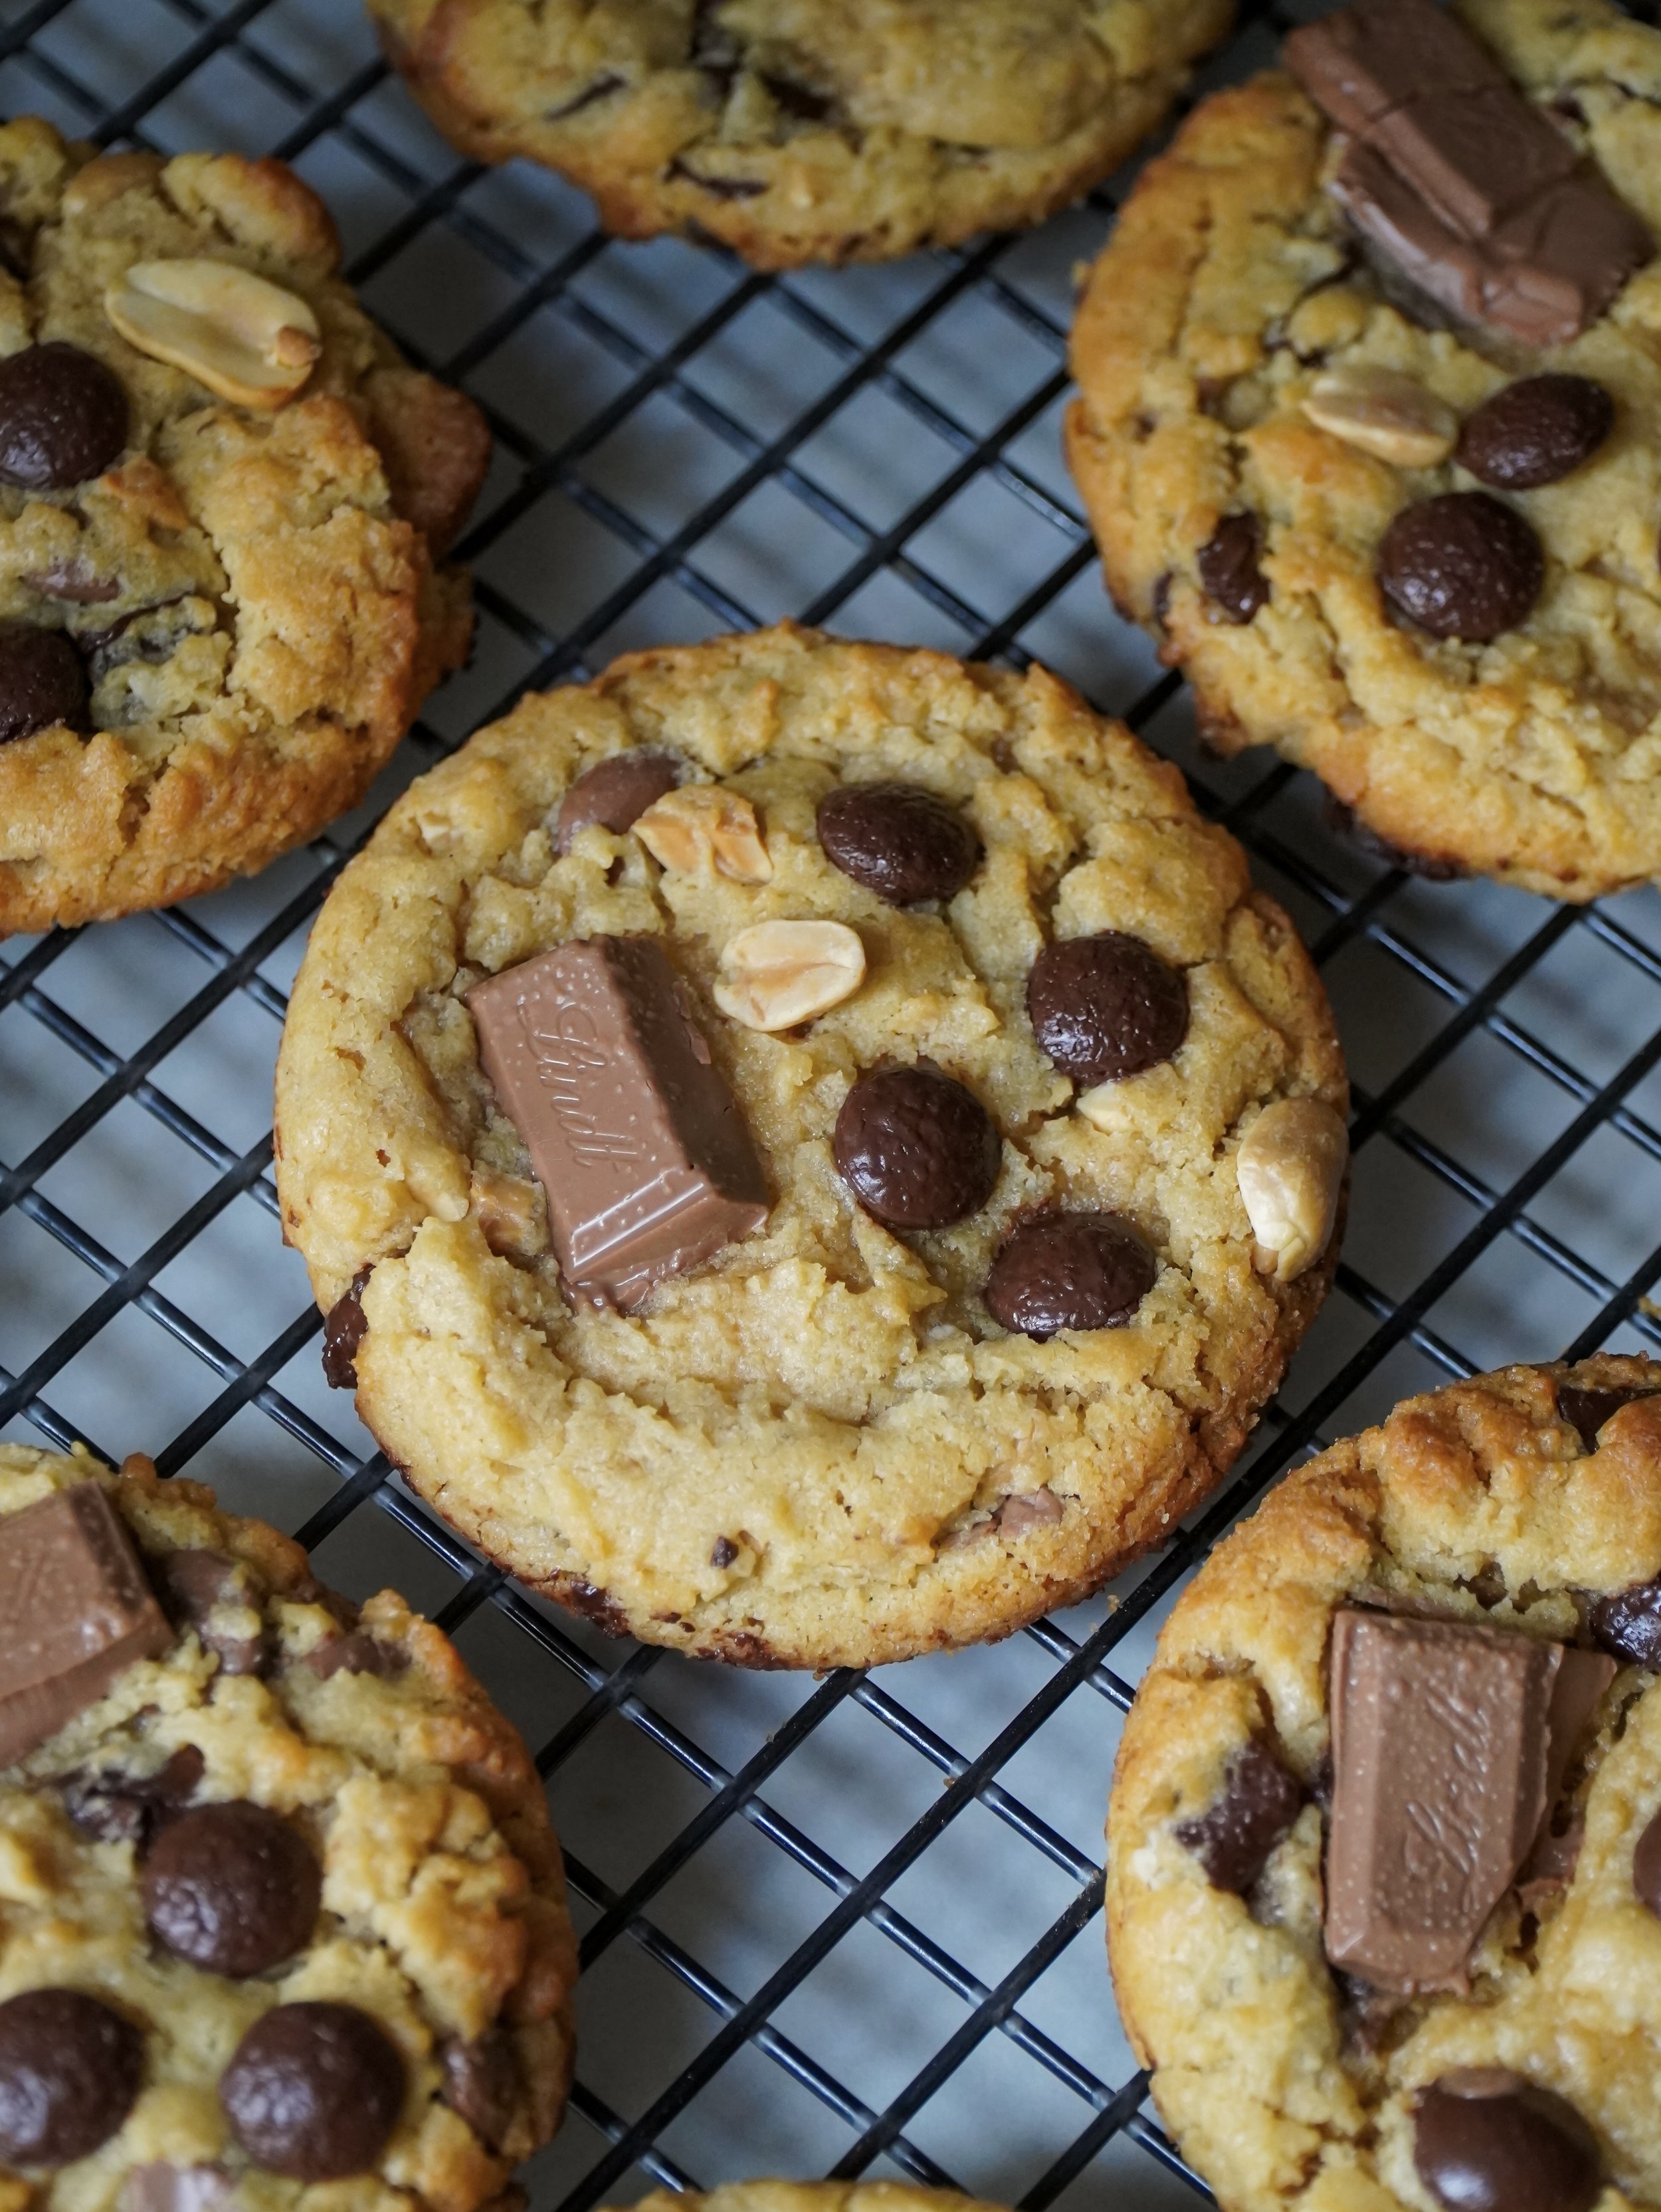

Peanut Butter Chocolate Chip Cookies
These Peanut Butter Chocolate Chip Cookies are soft, chewy and packed with rich peanut butter flavor, creamy chocolate chips and crunchy peanut pieces. With slightly crispy edges and soft, tender centers, they're the perfect combination of peanut butter and chocolate in every bite.
Ingredients
- 125g unsalted butter, softened (1 stick + 1 tablespoon)
- 125g smooth peanut butter, preferably with no added sugar (unsweetened) (1/2 cup)
- 100g light brown sugar (1/2 cup)
- 100g granulated sugar (1/2 cup)
- 1 large egg + 1 large egg yolk
- 1 teaspoon vanilla bean paste
- 220g all-purpose flour (1 cup + 3/4 cup)
- 1 teaspoon baking powder + 1/2 teaspoon baking soda
- 100g milk chocolate chips/chunks (2/3 cup)
- 100g dark chocolate chips/chunks (2/3 cup)
- 25g salted peanuts, chopped up (1/4 cup)
Instructions
- In a large bowl, combine the softened butter, granulated sugar, light brown sugar and peanut butter. Mix until smooth and creamy.
- Add the egg, egg yolk and vanilla bean paste, and mix until fully incorporated.
- Add the flour, baking powder and baking soda. Fold everything together until just combined.
- Lastly, fold in the milk chocolate chips, dark chocolate chips and chopped peanuts until evenly distributed throughout the dough.
- Using a cookie scoop, scoop out 14 equal-sized cookies (approximately 70-75g each) onto a baking tray lined with parchment paper. Cover with plastic wrap and refrigerate for at least 1 hour.
- After 1 hour, preheat the oven to 180°C (350°F) and line a large baking tray with parchment paper.
- Arrange 4 cookies on the prepared baking tray, leaving plenty of space between them to allow for spreading.
- Top each cookie with additional chocolate chips and bake in the preheated oven for about 12 minutes.
- Once baked, remove the cookies from the oven. While they are still hot, place a large round cookie cutter around each cookie and gently swirl it in a circular motion to create perfectly round edges.
- Let the cookies rest on the baking tray for 5-10 minutes, allowing them to firm up.
- Once firm enough to handle, carefully transfer the cookies to a wire rack and let them cool completely.
- Enjoy!